


来源:https://www.bilibili.com/video/BV1ki4y147oK?p=3
上一节链接:https://blog.csdn.net/qq_40893824/article/details/106968464
下一节链接:https://blog.csdn.net/qq_40893824/article/details/107005875
源码:
https://github.com/13407196713/layui-springboot
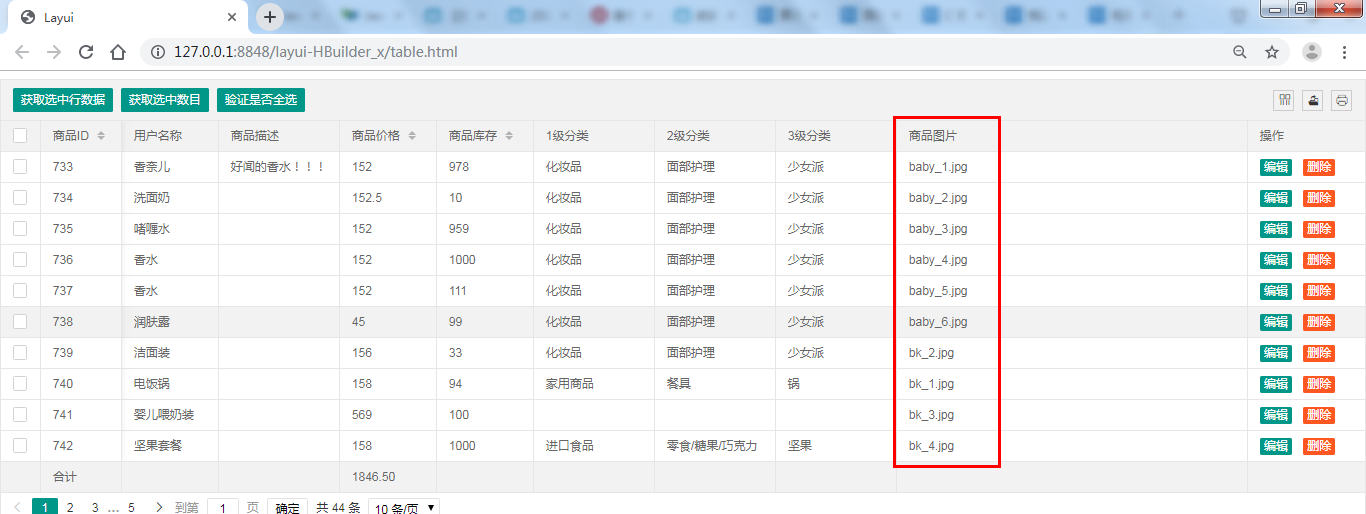
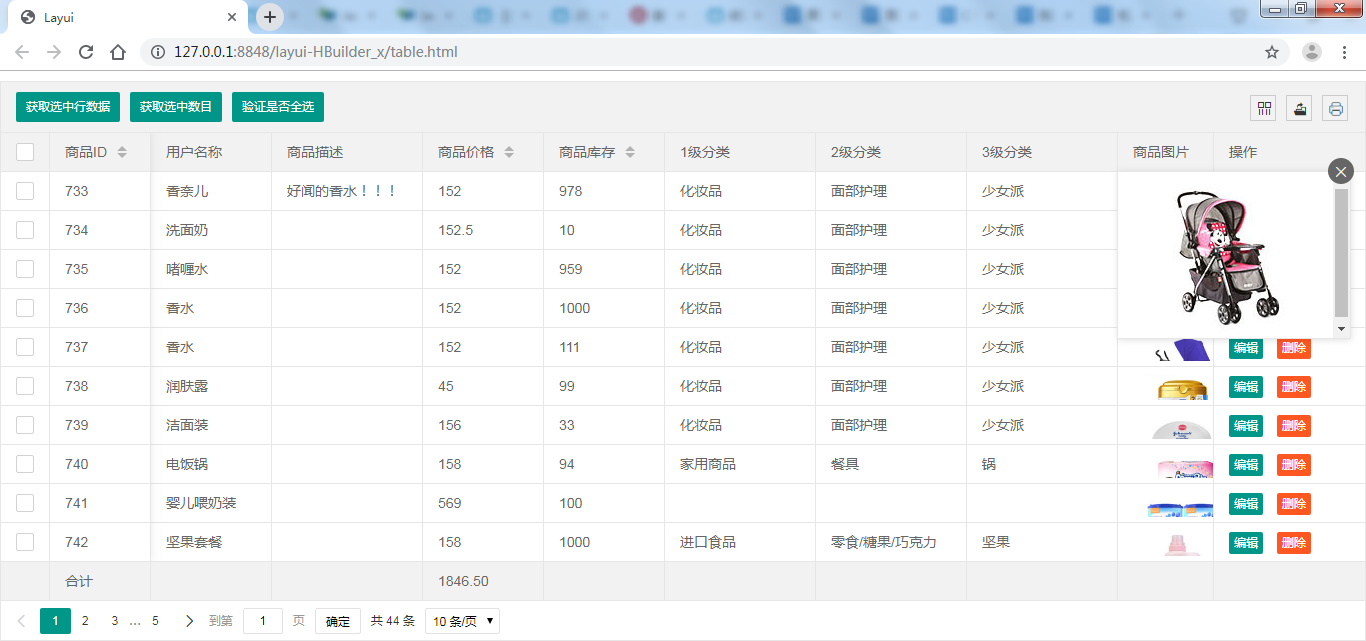
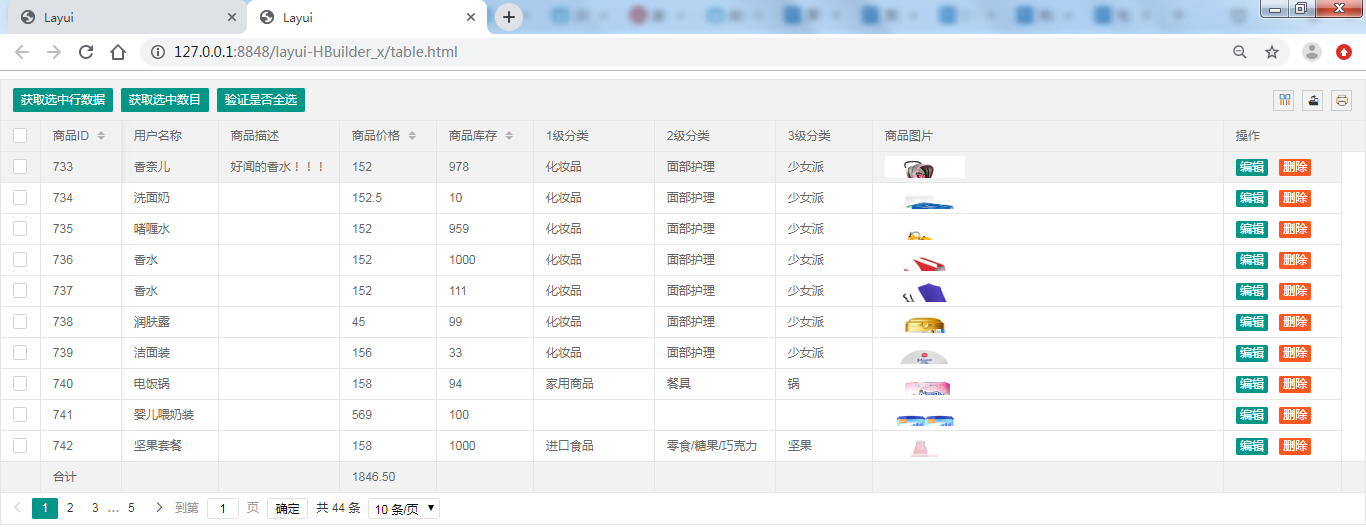
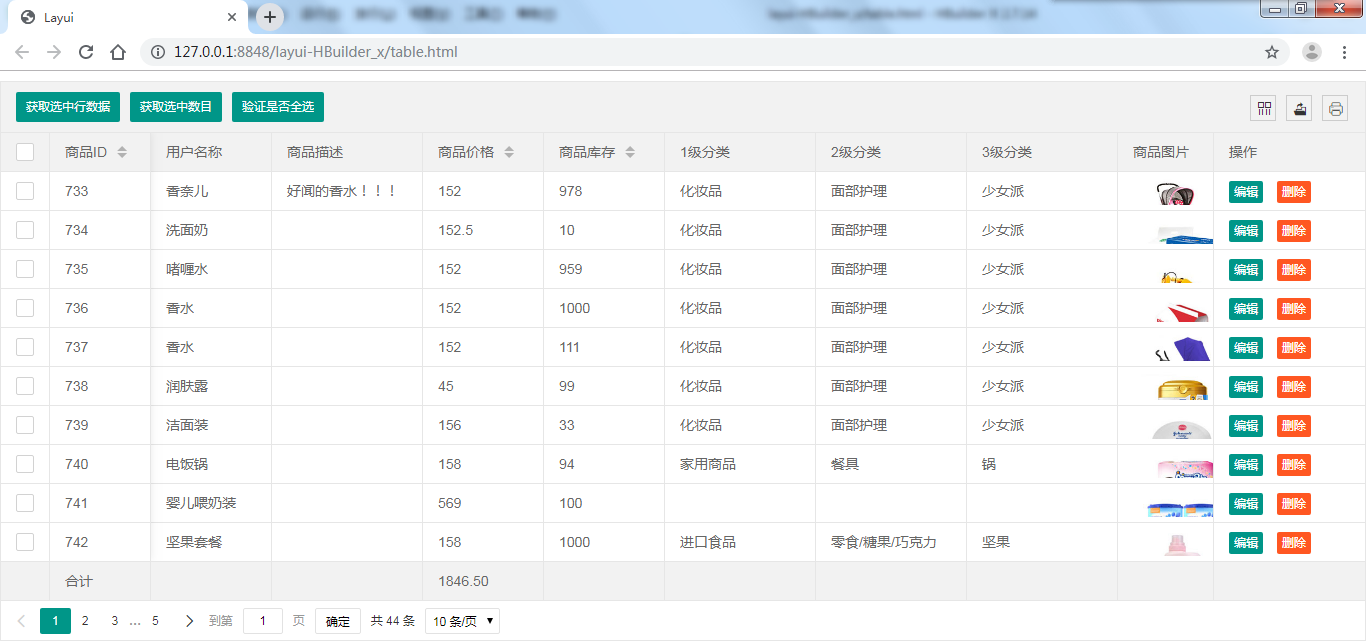
显示商品图片
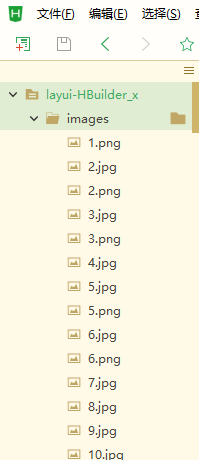
首先我本地要有这些图片!
1 把图片粘贴进 layui-HBuilder_x 中:
进入 http://127.0.0.1:8848/layui-HBuilder_x/images/2.jpg
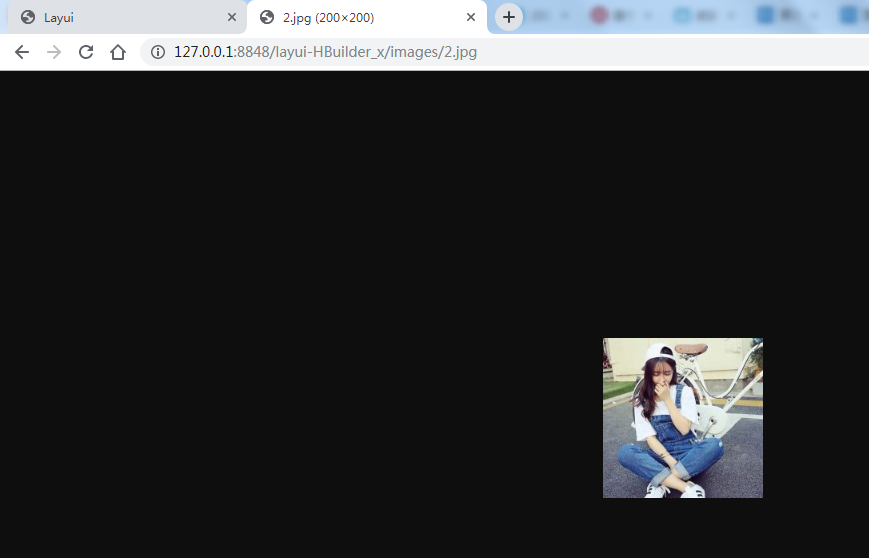
下面 2 个做法均有图片放大功能
若没有,看看浏览器的缩放比例是不是100%,若是80%,图片就没有放大功能
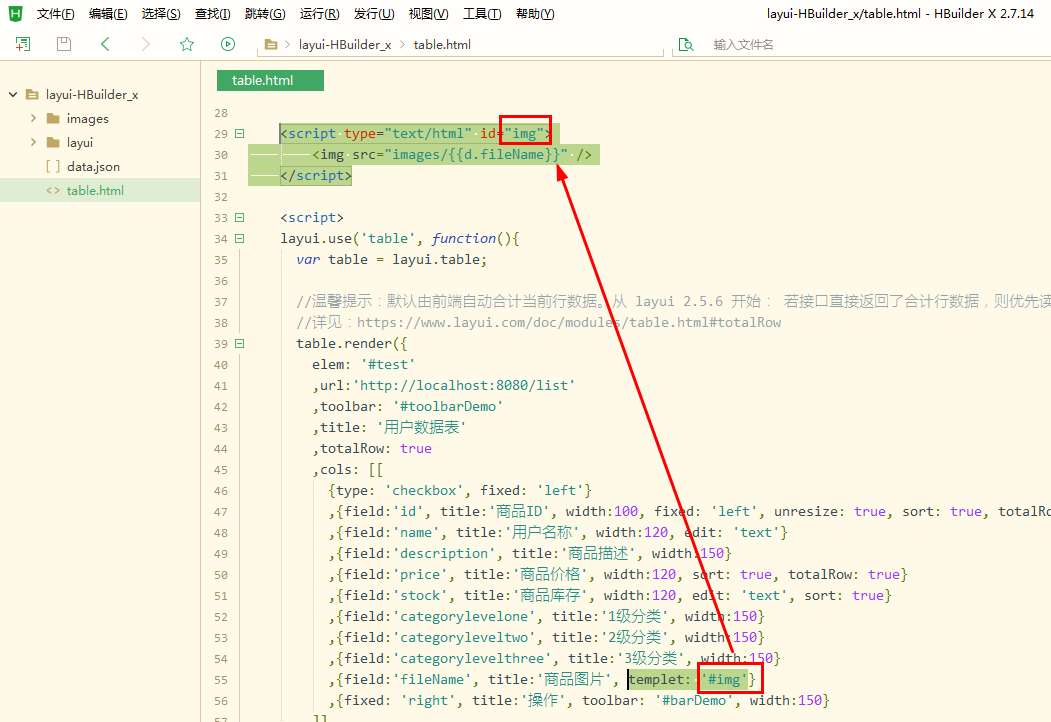
做法1
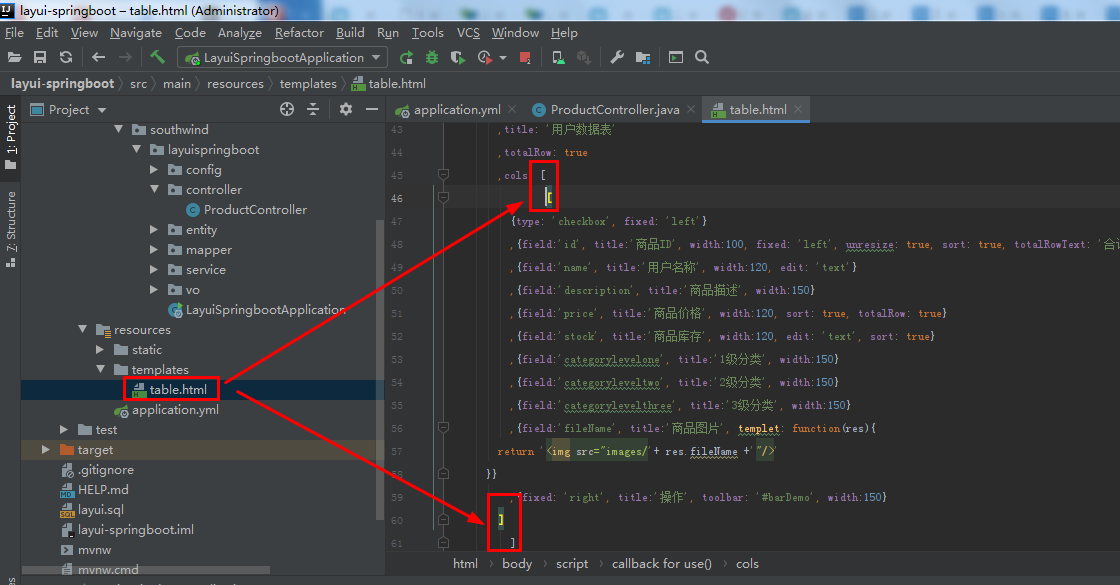
在 table.html 中加入:templet: '#img'
	<script type="text/html" id="img">
		<img src="images/{{d.fileName}}" />
	</script>
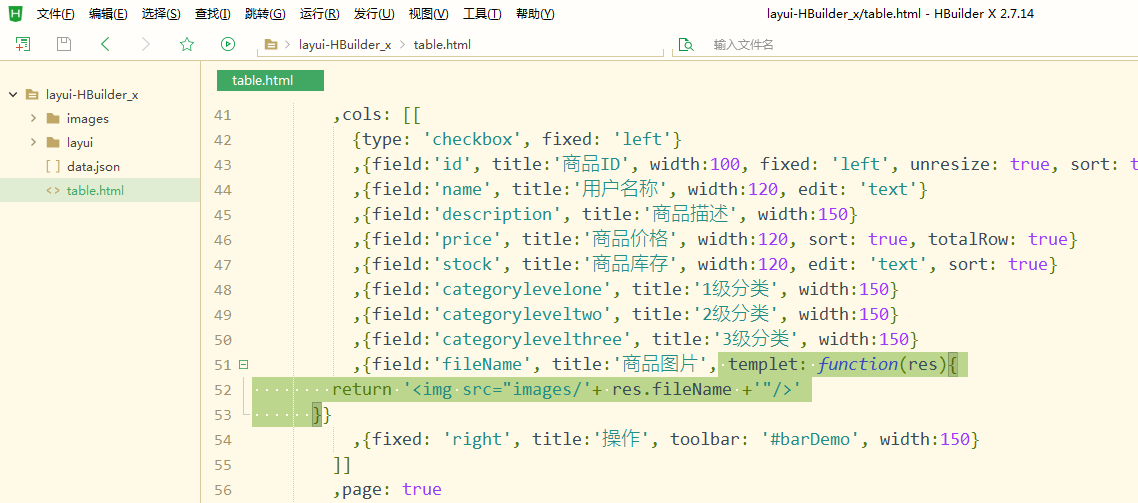
做法2
在 table.html 中加入
 	templet: function(res){
        return '<img src="images/'+ res.fileName +'"/>'
      }
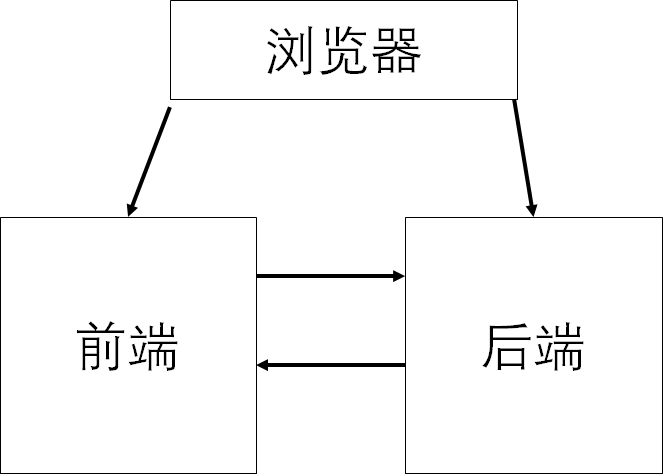
前端 整合进 springboot 工程
到这里,前后端已经分离!
前台拿到 后台提供的数据:http://localhost:8080/list
两者也通过 http://localhost:8080/list 连在一起
可以整合在一起:
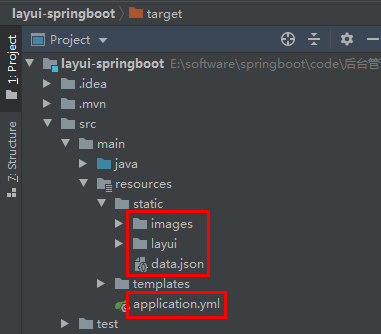
1
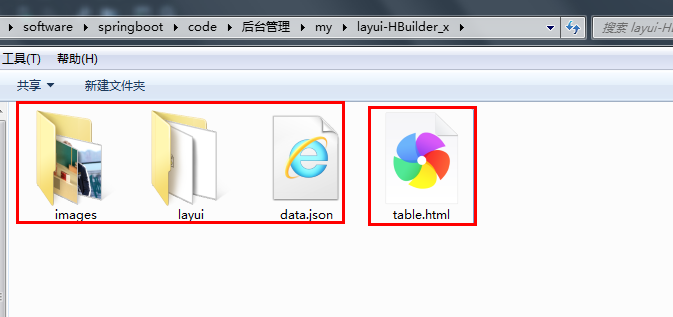
左边的 images、layui、data.json 粘贴进 resources/ static
右边的 table.html 粘贴进 resources/ templates
必须是这样的目录路径!
这样程序才能解析 js 的静态资源
table.html 中:
[[变成:
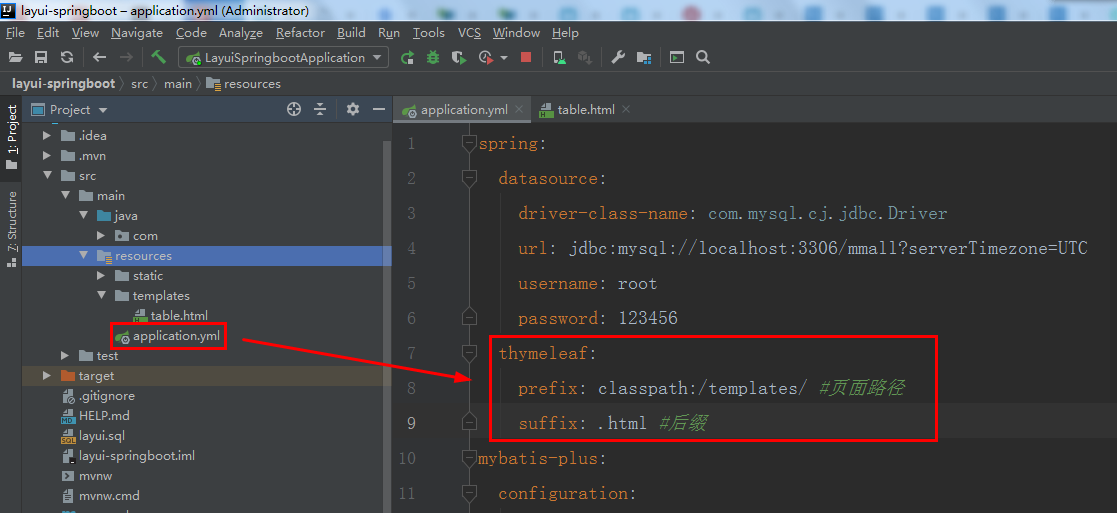
2 resources/ application.yml 中加入代码:
  thymeleaf:
    prefix: classpath:/templates/ #页面路径
    suffix: .html #后缀
映射
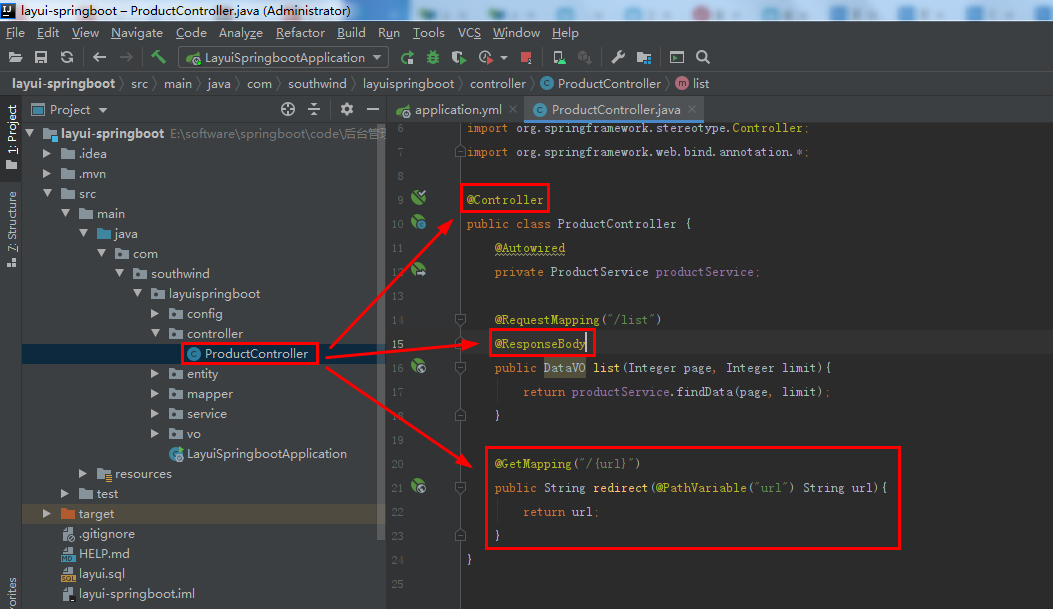
3 ProductController 中加入代码:
    @GetMapping("/{url}")
    public String redirect(@PathVariable("url") String url){
        return url;
    }
同时修改 两处注解
进入 http://localhost:8080/table
本来怎么测试都不行,浏览器 F12 报一大堆错误,idea 重启大法好…
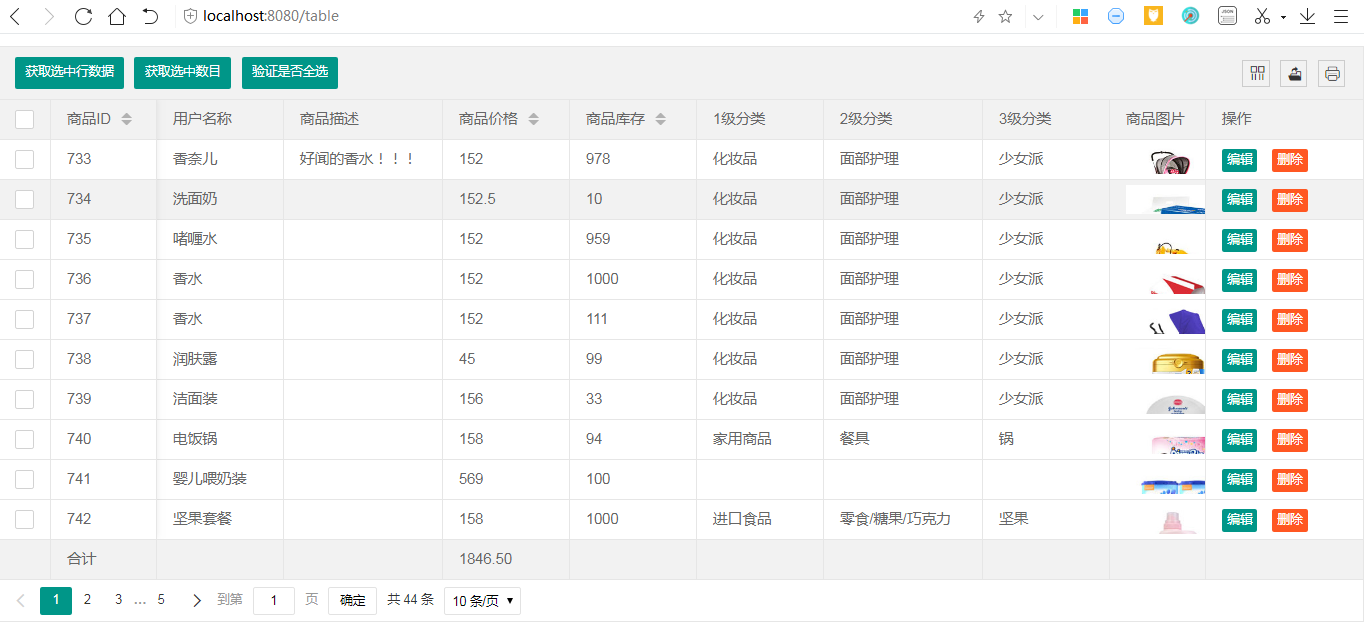
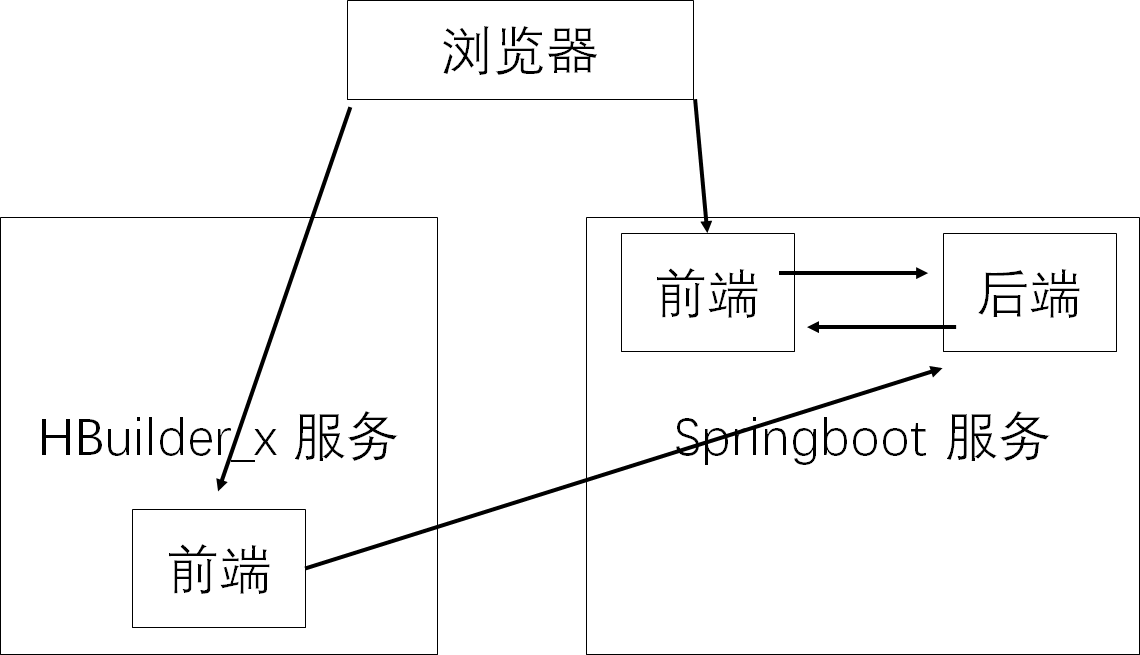
它和 http://127.0.0.1:8848/layui-HBuilder_x/table.html 这两个不同的服务
两者的关系:
上一节链接:https://blog.csdn.net/qq_40893824/article/details/106968464
下一节链接:https://blog.csdn.net/qq_40893824/article/details/107005875


 5315
5315


 被折叠的 条评论
为什么被折叠?
被折叠的 条评论
为什么被折叠?
 到【灌水乐园】发言


