


普通方式的封装
新建Toast.vue组件。导入到detail中,注册
<template>
  <div class="toast" v-show="isShow">
    <div>{{ message }}</div>
  </div>
</template>

<script>
export default {
  name: "Toast",
  props: {
    message: {
      type: String,
      default: "",
    },
    show: {
      type: Boolean,
      default: false,
    },
  },
};
</script>

<style>
.toast {
  position: fixed;
  top: 50%;
  left: 50%;
  transform: translate(-50%, -50%);
  padding: 8px 10px;
  z-index: 10000;

  color: #ffffff;
  background-color: rgba(0, 0, 0, 0.6);
}
</style>
此时message属性控制文字,show属性控制是否显示。所以这两个属性都需要传值进来;
在我们Detail中
<toast :message="" :show=""></toast>
这两个属性还都不能写死,都是变化的,所以需要变量来做记录。
在data()里面
    message:'',
    show:false
<toast :message="message" :show="show"></toast>
然后在addCart函数里面
this.add(product).then(res=>{
       this.show=true;
       this.message=res;

       //过一会消失,定时器
       setTimeout(()=>{
         this.show=false;
         this.message=''
       },1500)

       // console.log(res);
     })
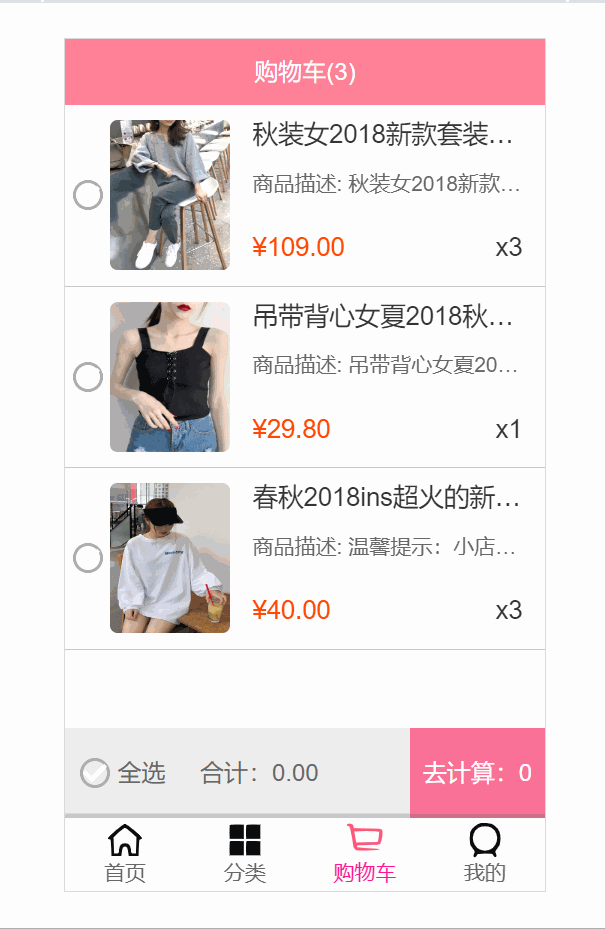
但是,这个toast我们不仅想在detail中使用,还想在CartBottomBar里面使用,购物车里面有个去计算。我们需要监听这个“去计算”,
  <div class="calculate" @click="calcClick">
    去计算:{{checkLength}}
  </div>
 calcClick() {
      if (!this.isSelectAll) {
        //里面也想用到toast里面的东西
      }
    },
再重新使用一遍太麻烦了。我们的toast组件不能直接添加到CartBottomBar里面,因为它不属于CartBottomBar子元素,它得添加到cart里面,到时候CartBottomBar还需要把 calcClick()这个事件发出去。
所以为了简化代码,我们需要对Toast用另外的方式进行封装。
插件方式的封装
我们现在有toast这个组件,我们想要将这个组件用起来。我们将toast组件封装到一个插件里面,然后安装这个插件,一旦安装了这个插件,我们就先把这个组件创建出来,并且把这个组件在最开始的时候就添加到body里面。然后在show某个函数的时候把这个东西展示出来。也就是说早就将toast预备好了,怎么预备好了呢?是在插件的安装函数里面先把它给装好。
在toast文件夹中新建index.js文件,然后在main.js中导入,并且安装toast插件。
main.js如下:
import Vue from 'vue'
import App from './App.vue'
import router from '@/router';
import store from '@/store';
import toast from '@/components/common/toast';

Vue.config.productionTip = false
Vue.prototype.$bus = new Vue();

//安装toast插件
Vue.use(toast)

new Vue({
  router,
  store,
  render: h => h(App),
}).$mount('#app')
下面的导入,导入文件夹toast默认导入index.js文件
import toast from '@/components/common/toast';
这里的叫做toast名称是因为:(index.js 里面export default obj;)obj可以在这个里面改名字为toast。
接下来是安装toast插件
//安装toast插件
Vue.use(toast)
也就是我们的main.js一启动,就被我们的toast安装好,安装好就是预备好了。一旦调用Vue.use本质上是调用括号里面的toast对象的install,也就是index.js里面导入的obj,也就是会执行obj.install.所以我们可以在这个install函数里面把所有要预备的东西全部预备好。这个install函数还会传过来一个参数,就是我们的Vue
其中index.js如下
import Toast from "@/components/common/toast/Toast";
const obj = {};
obj.install = function (Vue) {
  //创建组件构造器
  const toastConstructor = Vue.extend(Toast);
  //2.new的方式,根据组件构造器,可以创建出来一个组件对象
  const toast = new toastConstructor();

  //3.将组件对象,手动挂载到某一个元素上
  toast.$mount(document.createElement("div"));
  //4.toast.$el对应的就是div
  document.body.appendChild(toast.$el);

  Vue.prototype.$toast = toast;
};
export default obj;
下面我们就可以来用一下这个
在Detai里面addCart里面
  this.add(product).then(res=>{
       // this.show=true;
       // this.message=res;
       // //过一会消失,定时器
       // setTimeout(()=>{
       //   this.show=false;
       //   this.message=''
       // },1500)
       // console.log(res);

       this.$toast.show(res,1500)
       // console.log(this.$toast);
     })
效果如下:
我们还想在CartBottomBar里面使用
<div class="calculate" @click="calcClick">
    去计算:{{checkLength}}
  </div>
 calcClick() {
      if (!this.isSelectAll) {
        this.$toast.show('请选择购买的商品', 2000);
      }
    },
效果如下:


 442
442


 被折叠的 条评论
为什么被折叠?
被折叠的 条评论
为什么被折叠?
 到【灌水乐园】发言


