


1. 安装软件:
MySQL
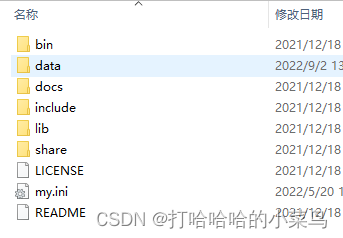
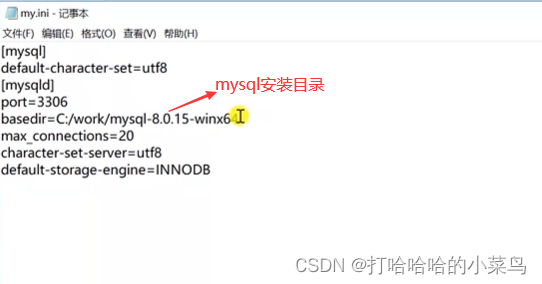
官网下载–>在根目录下,新建文件夹my.ini–>
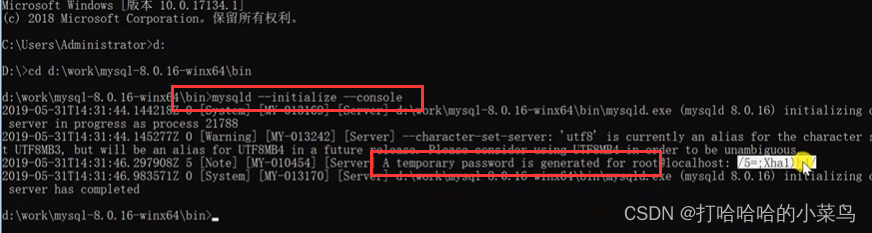
- 对mysql进行初始化
- 配置环境变量,将mysql的bin目录配置到path中;
- 对mysql进行初始化,密码设定等,
启动mysql
net start mysql
登录mysql
mysql -uroot -p
建库导入数据表
source ‘sql文件的文件路径’
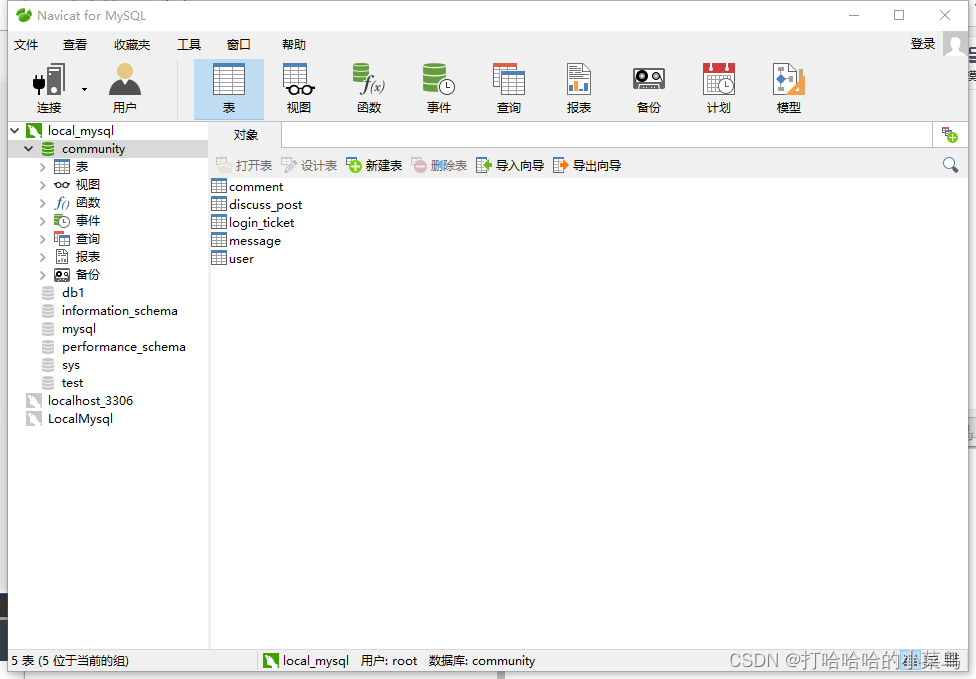
mysql-workbenth/navicat
装载客户端,可视化界面;本机上使用navicat
从官网下载,正常安装即可;
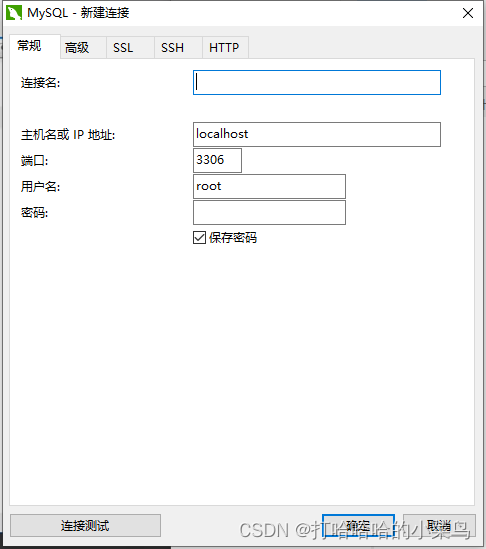
建立连接即可
MyBatis
核心组件
- SqlSessionFactory:用于创建SqlSession的工厂类。
- SqlSession: MyBatis的核心组件,用于向数据库执行SQL。
-主配置文件:XML配置文件,可以对MyBatis的底层行为做出详细的配置。 - Mapper接口:就是DAO接口(会有实现的机制,不用写实现类),在MyBatis中习惯性的称之为Mapper。
- Mapper映射器:用于编写SQL,并将SQL和实体类映射的组件,采用XML、注解均可实现。·
- 示例:使用MyBatis对用户表进行CRUD操作。
http://www.mybatis.org/mybatis-3
http://www.mybatis.org/spring
前三个组件被springboot整合,不需要自己实现
示例
前置操作
对用户表user,用mybatis进行增删改的操作
在项目中导入包

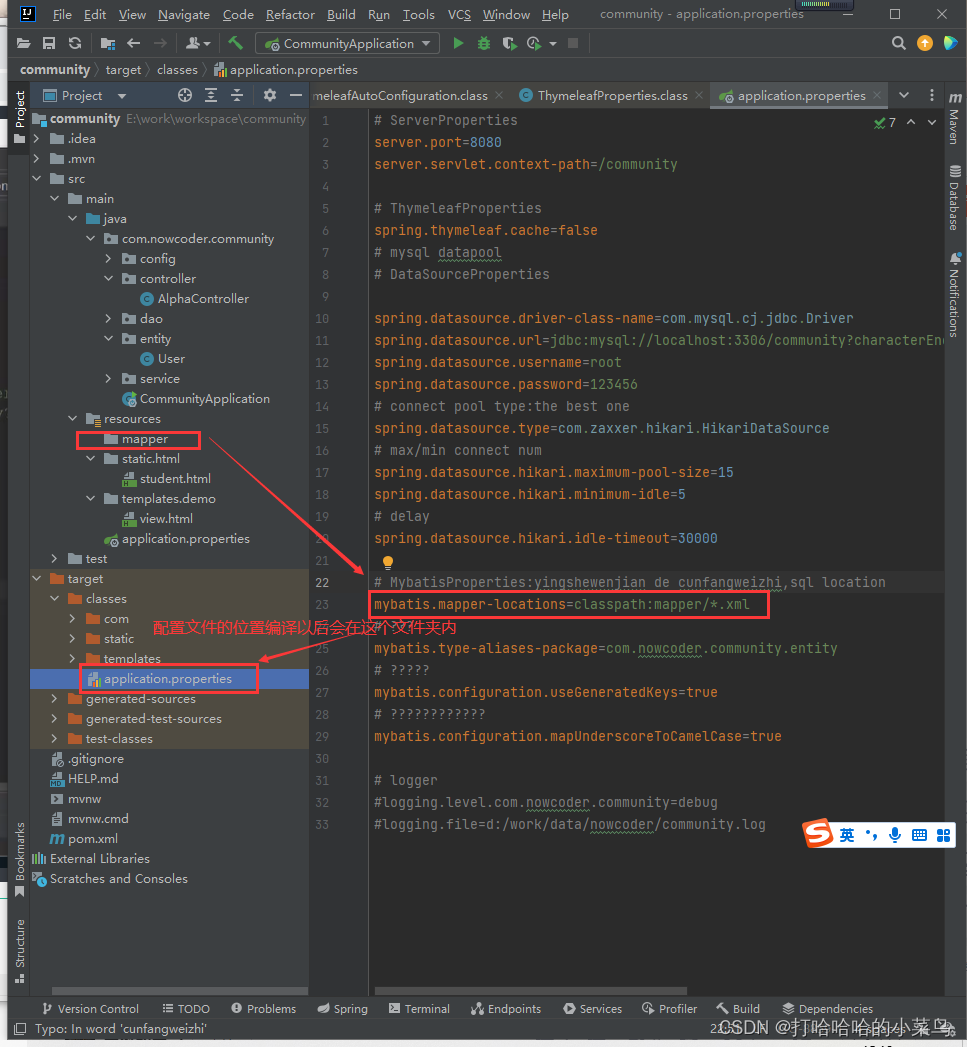
配置文件:
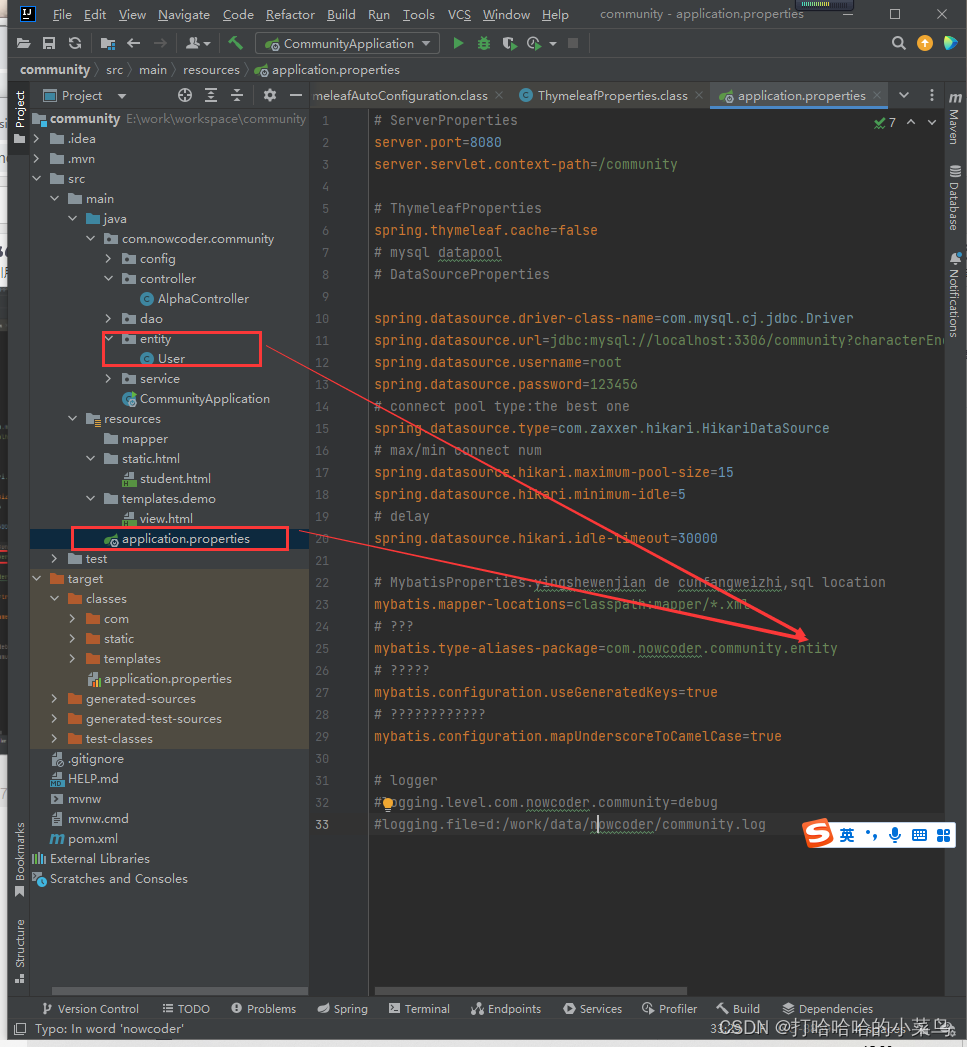
实体类:

代码部分:
创建user类
package com.nowcoder.community.entity;

import java.util.Date;

public class User {
    private int id;
    private String username;
    private String salt;
    private String email;
    private int type;
    private int status;
    private String activationCode;
    private String headerUrl;
    private Date createTime;

    public int getId() {
        return id;
    }

    public void setId(int id) {
        this.id = id;
    }

    public String getUsername() {
        return username;
    }

    public void setUsername(String username) {
        this.username = username;
    }

    public String getSalt() {
        return salt;
    }

    public void setSalt(String salt) {
        this.salt = salt;
    }

    public String getEmail() {
        return email;
    }

    public void setEmail(String email) {
        this.email = email;
    }

    public int getType() {
        return type;
    }

    public void setType(int type) {
        this.type = type;
    }

    public int getStatus() {
        return status;
    }

    public void setStatus(int status) {
        this.status = status;
    }

    public String getActivationCode() {
        return activationCode;
    }

    public void setActivationCode(String activationCode) {
        this.activationCode = activationCode;
    }

    public String getHeaderUrl() {
        return headerUrl;
    }

    public void setHeaderUrl(String headerUrl) {
        this.headerUrl = headerUrl;
    }

    public Date getCreateTime() {
        return createTime;
    }

    public void setCreateTime(Date createTime) {
        this.createTime = createTime;
    }

    @Override
    public String toString() {
        return "User{" +
                "id=" + id +
                ", username='" + username + '\'' +
                ", salt='" + salt + '\'' +
                ", email='" + email + '\'' +
                ", type=" + type +
                ", status=" + status +
                ", activationCode='" + activationCode + '\'' +
                ", headerUrl='" + headerUrl + '\'' +
                ", createTime=" + createTime +
                '}';
    }
}
创建Usermapper的抽象类,访问数据库,在Dao层中写。不用写实现类,
package com.nowcoder.community.dao;

import com.nowcoder.community.entity.User;
import org.apache.ibatis.annotations.Mapper;
import org.springframework.stereotype.Repository;
//添加注解,装配bean
@Mapper
public interface UserMapper {
    User selectById(int id);

    User selectByName(String name);

    User selectByEmail(String email);

    int insertUser(User user);

    int updateStatus(int id,int status);

    int updateHeader(int id,String headerUrl);

    int updatePassword(int id,String password);
}
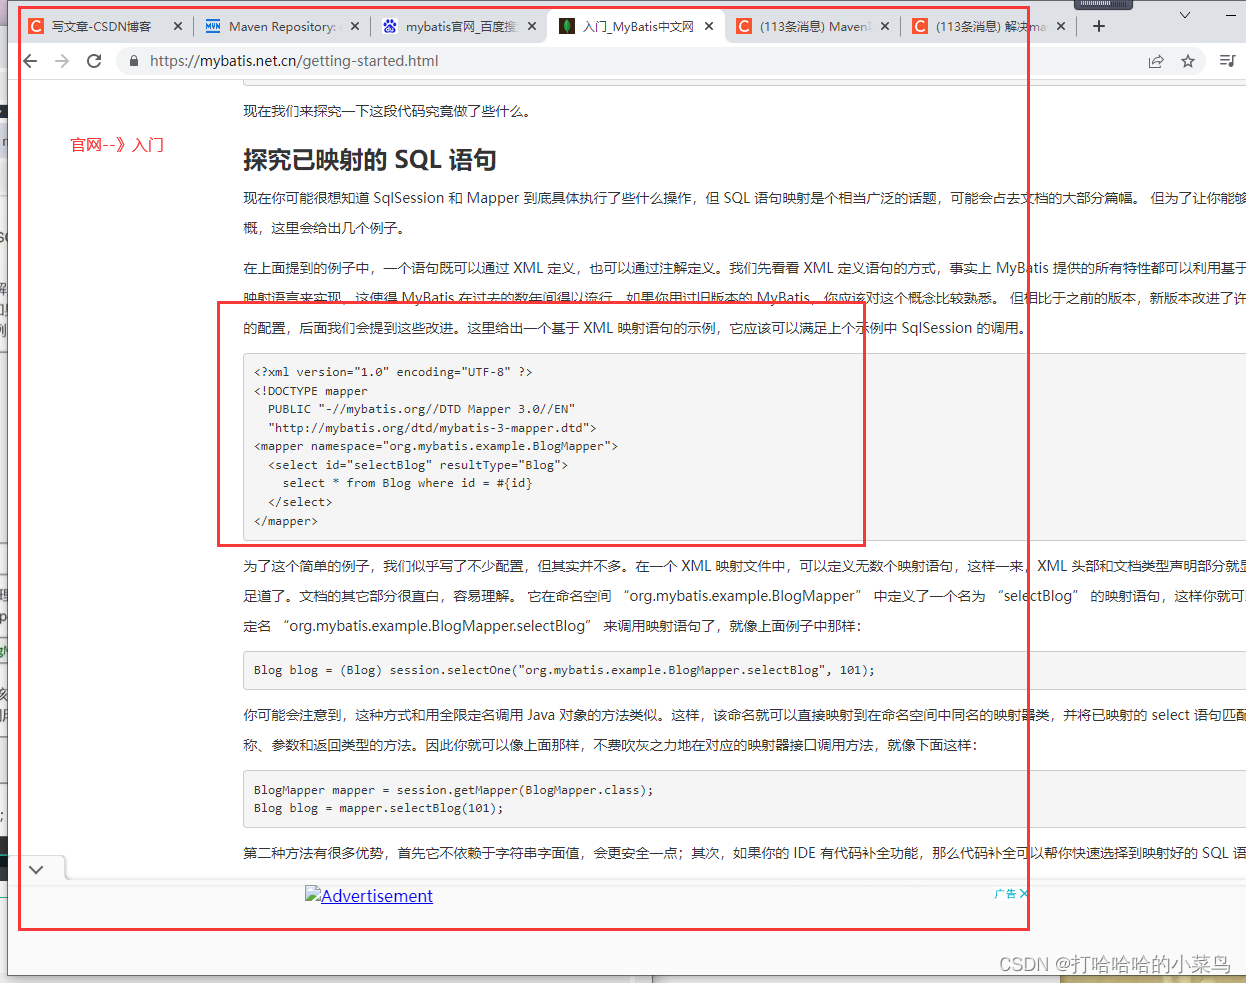
提供配置文件
mapper文件夹下创建*.xml文件
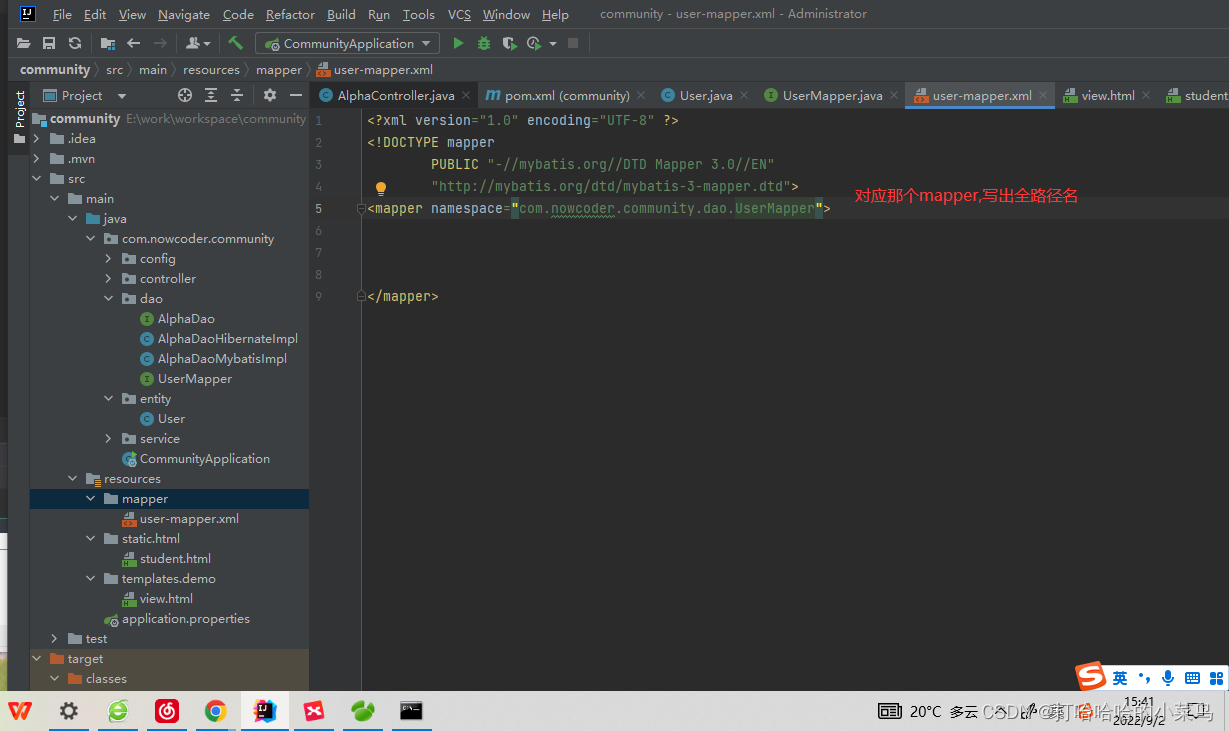
注意写全限定名(完整的包名)

<?xml version="1.0" encoding="UTF-8" ?>
<!DOCTYPE mapper
PUBLIC "-//mybatis.org//DTD Mapper 3.0//EN"
"http://mybatis.org/dtd/mybatis-3-mapper.dtd">
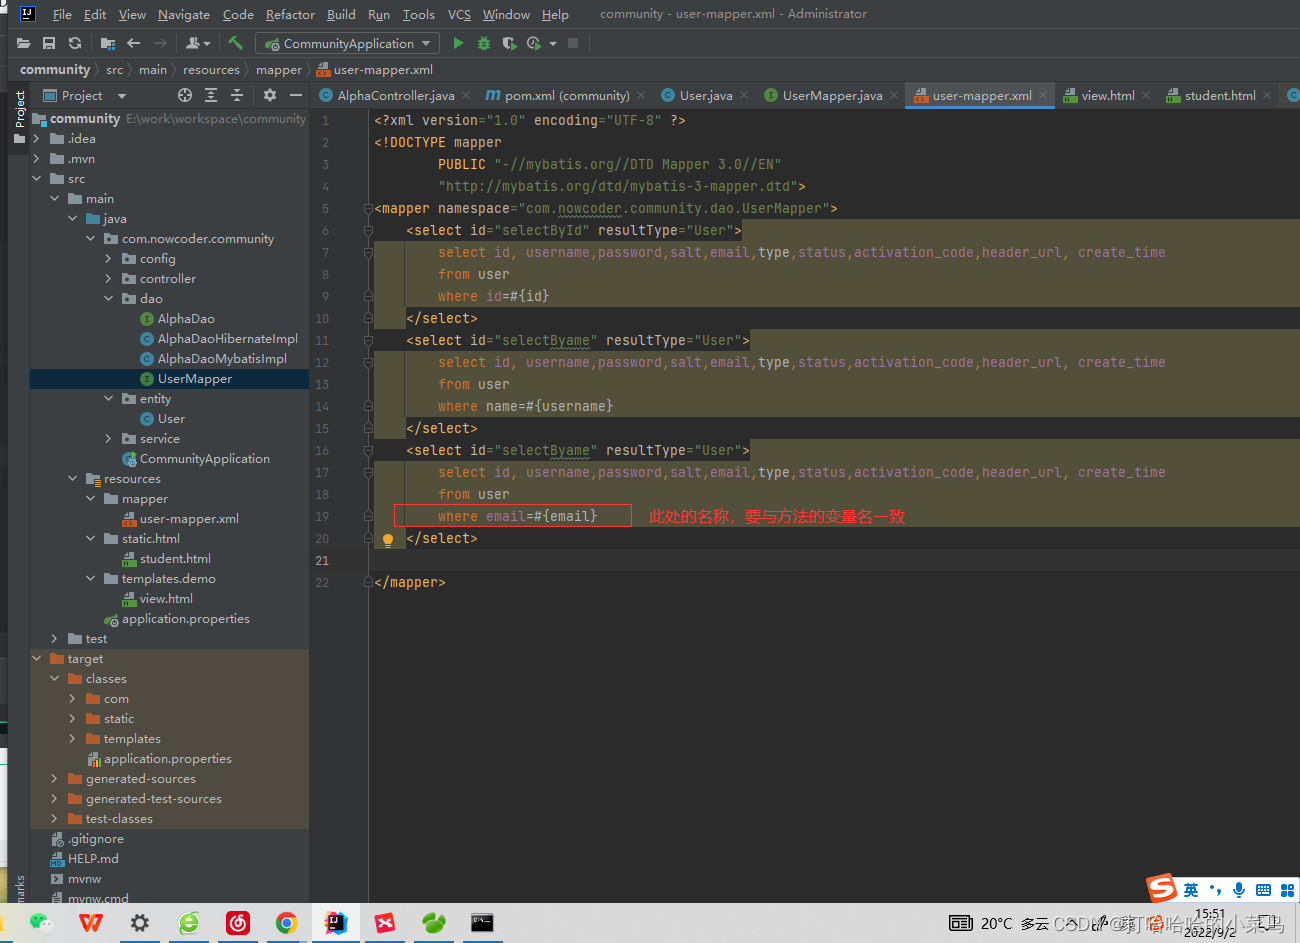
<mapper namespace="com.nowcoder.community.dao.UserMapper">
<sql id="selectFields">
id, username,password,salt,email,type,status,activation_code,header_url, create_time
</sql>
<select id="selectById" resultType="User">
select id, username,password,salt,email,type,status,activation_code,header_url, create_time
from user
where id=#{id}
</select>
<select id="selectByame" resultType="User">
select id, username,password,salt,email,type,status,activation_code,header_url, create_time
from user
where name=#{username}
</select>
<select id="selectByame" resultType="User">
select id, username,password,salt,email,type,status,activation_code,header_url, create_time
from user
where email=#{email}
</select>
</mapper>
完整增改查的操作,并在测试类里面验证
<?xml version="1.0" encoding="UTF-8" ?>
<!DOCTYPE mapper
PUBLIC "-//mybatis.org//DTD Mapper 3.0//EN"
"http://mybatis.org/dtd/mybatis-3-mapper.dtd">
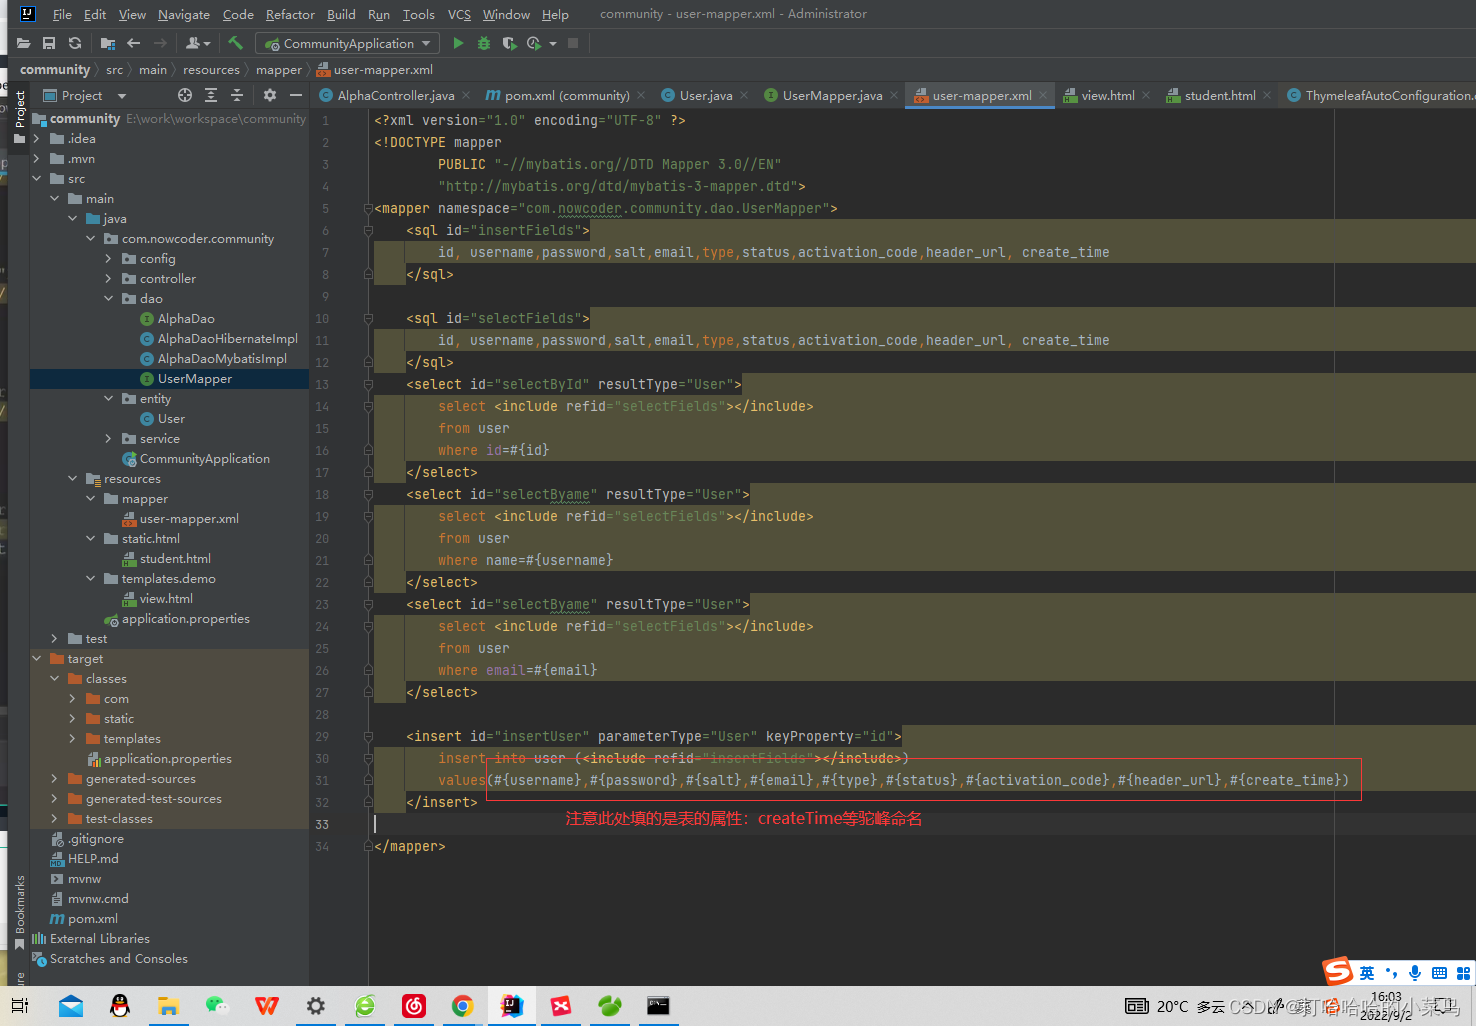
<mapper namespace="com.nowcoder.community.dao.UserMapper">
<sql id="insertFields">
id, username,password,salt,email,type,status,activation_code,header_url, create_time
</sql>
<sql id="selectFields">
id, username,password,salt,email,type,status,activation_code,header_url, create_time
</sql>
<select id="selectById" resultType="User">
select <include refid="selectFields"></include>
from user
where id=#{id}
</select>
<select id="selectByame" resultType="User">
select <include refid="selectFields"></include>
from user
where name=#{username}
</select>
<select id="selectByame" resultType="User">
select <include refid="selectFields"></include>
from user
where email=#{email}
</select>
<insert id="insertUser" parameterType="User" keyProperty="id">
insert into user (<include refid="insertFields"></include>)
values(#{username},#{password},#{salt},#{email},#{type},#{status},#{activationCode},#{headerUrl},#{createTime})
</insert>
<update id="updateStatus">
update user set status=#{status} where id=#{id}
</update>
<update id="updateHeader">
update user set header_url=#{headerUrl} where id=#{id}
</update>
<update id="updatePassword">
update user set password=#{password} where id=#{id}
</update>
</mapper>
package com.nowcoder.community;

import com.nowcoder.community.dao.UserMapper;
import com.nowcoder.community.entity.User;
import org.junit.Test;
import org.junit.runner.RunWith;
import org.springframework.beans.factory.annotation.Autowired;
import org.springframework.boot.test.context.SpringBootTest;
import org.springframework.test.context.ContextConfiguration;
import org.springframework.test.context.junit4.SpringRunner;

import java.util.Date;

@RunWith(SpringRunner.class)
@SpringBootTest
@ContextConfiguration(classes = CommunityApplication.class)
public class MapperTests {

    @Autowired//注入bean
    private UserMapper userMapper;

    @Test
    public void testSelectUser(){
        User user=userMapper.selectById(101);
        System.out.println(user);

        user=userMapper.selectByName("liubei");
        System.out.println(user);

        user=userMapper.selectByEmail("nowcoder101@sina.com");
        System.out.println(user);

    }
    @Test
    public void testInsertUser(){
        User user=new User();
        user.setUsername("test");
        user.setPassword("123456");
        user.setSalt("abc");
        user.setEmail("test@qq.com");
        user.setHeaderUrl("http://www.nowcoder.com/101.png");
        user.setCreateTime(new Date());

        int rows=userMapper.insertUser(user);
        System.out.println(user);
        System.out.println(user.getId());
    }
    @Test
    public void updateUser(){
        int rows=userMapper.updateStatus(150,1);
        System.out.println(rows);

        rows=userMapper.updateHeader(150,"http://www.nowcoder.com/101.png");
        System.out.println(rows);

        rows=userMapper.updatePassword(150,"123456789");
        System.out.println(rows);


    }
}
调试技巧
设置日志级别
logger
#logging.level.com.nowcoder.community=debug
#logging.file=d:/work/data/nowcoder/community.log


 910
910


 被折叠的 条评论
为什么被折叠?
被折叠的 条评论
为什么被折叠?
 到【灌水乐园】发言


