


Django目录:https://blog.csdn.net/qq_41106844/article/details/105554082
什么是ajex
ajex用一句话来形容,就是客户端和服务端交互的一种形式。
我们在学ajex之前,他们之间交互大概有三种形式:
1.url访问 默认get请求
2.form表单 可以是get请求,也可以是post请求
3.a标签 默认get请求
但是这三种形式有一个特点:
也就是前端提交的数据直接就交给后端,然后获取一个新的页面。这就太过于杂乱,同时一旦页面数据刷新就是全页面的,无法局部刷新,而且还给安全留下了后顾之忧。
这就需要有一个东西可以规范化前端和后端之间的数据交互:ajex。
我们用简书注册当一个例子看一下:
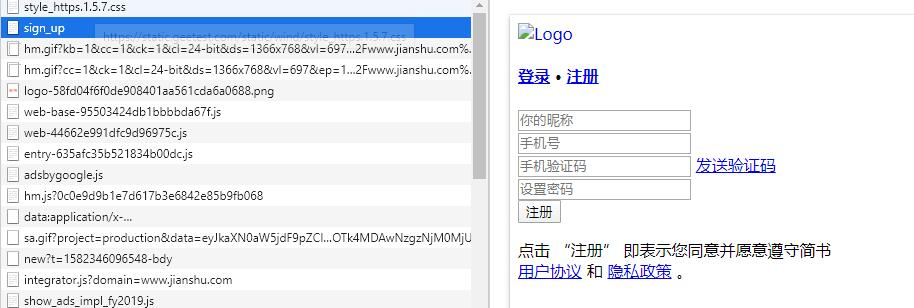
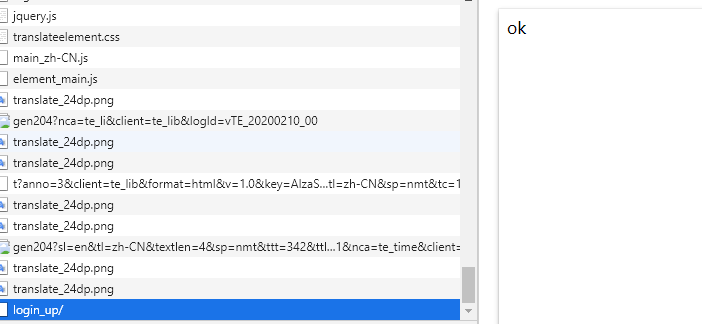
我们首先打开页面,查看network里面的包。
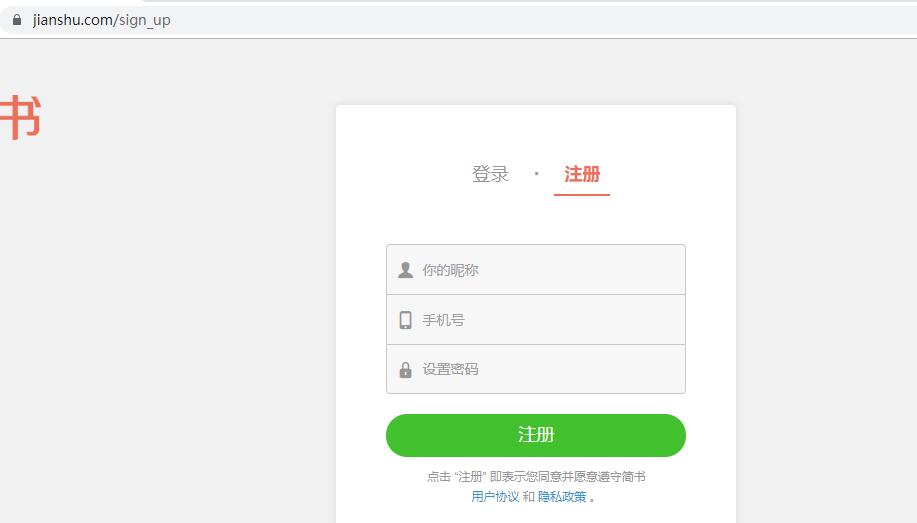
然后我们打上用户名,尝试注册,然后弹框说昵称已经被使用。
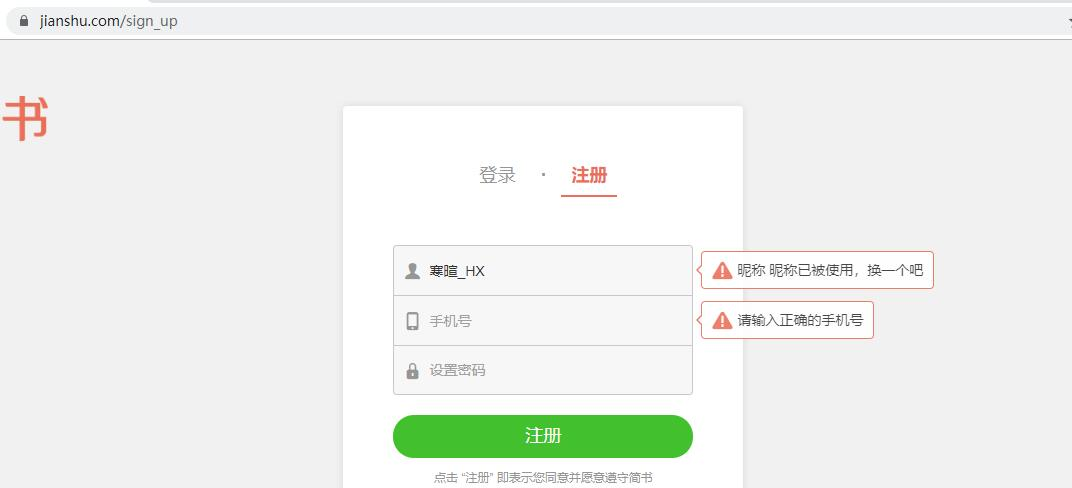
我们再看看一些这时接受的包,发现他并没有切换页面,还是在原来的页面上。

Ajax 即“Asynchronous Javascript And XML”(异步 JavaScript 和 XML),是指一种创建交互式、快速动态网页用的网页开发技术,无需重新加载整个网页的情况下,能够更新部分网页的技术。
ajex的简单使用
我们建立一个项目,叫做two_exa.在建立一个app01和一个index.html.
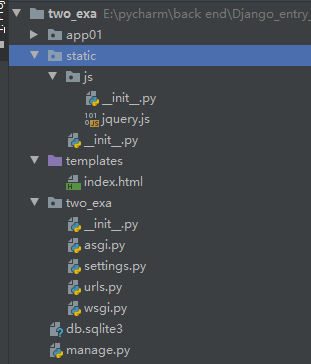
two_exa.two_exa.urls.py
-----------------------
from django.contrib import admin
from django.urls import path
from app01 import views
urlpatterns = [
path('admin/', admin.site.urls),
path('index/',views.index),
path('handle_Ajax/',views.handle_Ajax)
]
two_exa.app01.views.py
----------------------
from django.shortcuts import render
def index(request):
return render(request,"index.html")
def handle_Ajax(request):
return HttpResponse("ok")
two_exa.templates.index.html
-----------------------------
{% load static %}
<!DOCTYPE html>
<html lang="en">
<head>
<meta charset="UTF-8">
<title>Title</title>
<script type="text/javascript" src="{% static 'js/jquery.js' %}"></script>
</head>
<body>
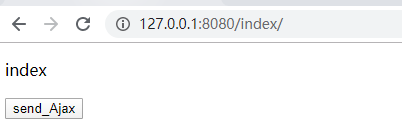
<p>index</p>
<button class="btn">send_Ajax</button>
<script>
$(".btn").click(function() {
$.ajax({
#发起一个请求/handle_Ajax/页面的请求,类型是get请求。
url: "/handle_Ajax/",
type: "get",
#接受数据,并执行相应方法。
success: function (response) {
console.log(response)
},
})
})
</script>
</body>
</html>
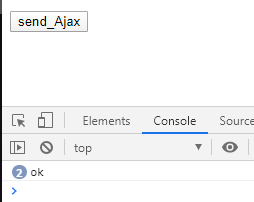
当我们点击按钮,下面的ok就会+1,但是这时我们的页面不会转换,还是在index页面内。
我们来捋一下他的运行过程:
点击按钮。
按钮触发js代码,发起ajex请求。
ajex请求发送一个请求路径。
通过路由表运行响应的视图函数。
视图函数返回 ok 字符串。
执行ajex中接受返回数据的方法。
传参ajex
上面那个例子是简单的模拟一下不带参请求,下面试一个带参请求。
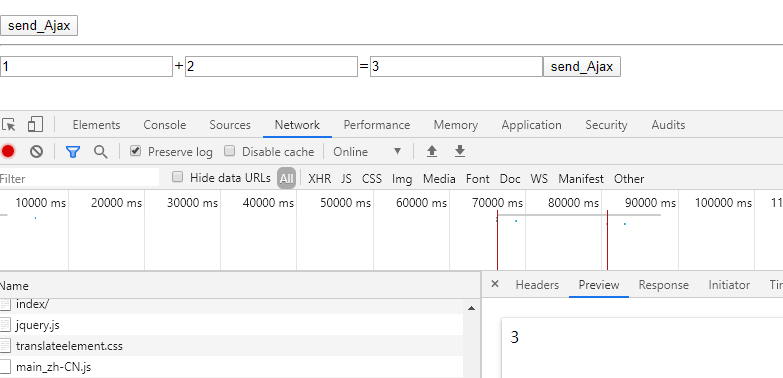
我们做一个例子 在页面上完成一个加法操作。
two_exa.two_exa.urls.py
-----------------------
from django.contrib import admin
from django.urls import path
from app01 import views

urlpatterns = [
    path('admin/', admin.site.urls),
    path('index/',views.index),
    path('handle_Ajax/',views.handle_Ajax),
    path('cal/',views.cal),
]

two_exa.app01.views.py
----------------------
from django.shortcuts import render

def index(request):
    return render(request,"index.html")

def handle_Ajax(request):
    return HttpResponse("ok")

def cal(request):
    a=request.GET.get("num1")
    b=request.GET.get("num2")
    c=eval(a)+eval(b)
    return HttpResponse(str(c))

two_exa.templates.index.html
-----------------------------
{% load static %}
<!DOCTYPE html>
<html lang="en">
<head>
    <meta charset="UTF-8">
    <title>Title</title>
    <script type="text/javascript"  src="{% static 'js/jquery.js' %}"></script>
</head>
<body>
<p>index</p>
<button class="btn">send_Ajax</button>
<hr>
<input type="text" id="num1">+<input type="text" id="num2">=<input type="text" id="num3"><button class="ctl">send_Ajax</button>
<script>

       $(".btn").click(function() {

           $.ajax({
               url: "/handle_Ajax/",
               type: "get",
               success: function (response) {
                   console.log(response)
               },

           })
       })

       $(".ctl").click(function() {
           var num1 = $("#num1").val()
           var num2 = $("#num2").val()
           $.ajax({
               url: "/cal/",
               type: "get",
               data:{
                   num1:num1,
                   num2:num2,
               },
               success: function (response) {
                   $("#num3").val(response)
               },

           })
       })

</script>
</body>
</html>
ajex登录验证
大家可以去看一下简书的登录页面,你在输入用户名密码的时候点击登录的时候,登录失败时不会刷新页面的,这也是ajex的应用。
two_exa.two_exa.urls.py
-----------------------
from django.contrib import admin
from django.urls import path
from app01 import views

urlpatterns = [
    path('admin/', admin.site.urls),
    path('login/',views.login),
    path('login_up/',views.login_up)
]

two_exa.app01.views.py
----------------------
from django.shortcuts import render
from django.views.decorators.csrf import csrf_exempt

def login(request):

        return render(request,"login.html")

@csrf_exempt
def login_up(request):
    if request.method == "POST":
        print(request.POST)
        user = request.POST.get("user")
        pwd = request.POST.get("pass")
        print(user,pwd)
        if user == 'alex' and pwd == '123':
            return HttpResponse("ok")
        else:
            return HttpResponse("no")
    else:
        return HttpResponse("NO_NO")

two_exa.templates.login.html
-----------------------------
{% load static %}
<!DOCTYPE html>
<html lang="en">
<head>
    <meta charset="UTF-8">
    <title>模拟登录</title>
    <script type="text/javascript"  src="{% static 'js/jquery.js' %}"></script>
</head>
<body>
<from>
账号 <input type="text" name="user">
密码 <input type="password" name="pass">
<input type="button" value="提交" id="login_btn">
{% csrf_token %}
</from>
<script>

    $("#login_btn").click(function() {
           $.ajax({
               url: "/login_up/",
               type: "post",
               data:{
                   user:$("[name=user]").val(),
                   pass:$("[name=pass]").val(),
                   csrfmiddlewaretoken:$("[name=csrfmiddlewaretoken]").val()
               },
               success: function (response) {
                   console.log(response)
               },

           })
    })
</script>
</body>
</html>
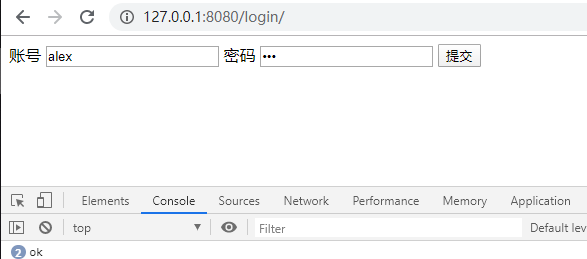
登录成功页面命令行会打印ok,失败打印no。
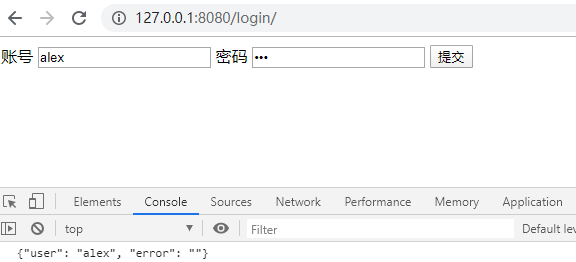
ajex处理json数据
我们继续在登录验证上面拓展:
假如我们登录成功,我们会进入主页,但是右上角就变成了我们的头像和我们的用户名,如果输错了用户名和密码,就会有一个框显示用户名或密码错误。
这些信息不可能是前端写好的,只能是后端传过去的。
但是这些信息传输的方式五花八门,为了让后端程序和前端程序都认可,就需要一个序列化类型--json。(关于json和csv这些数据存储库会单开一章。)
two_exa.two_exa.urls.py
-----------------------
from django.contrib import admin
from django.urls import path
from app01 import views
urlpatterns = [
path('admin/', admin.site.urls),
path('login/',views.login),
path('login_up/',views.login_up)
]
two_exa.app01.views.py
----------------------
from django.shortcuts import render
from django.views.decorators.csrf import csrf_exempt
import json
def login(request):
return render(request,"login.html")
@csrf_exempt
def login_up(request):
if request.method == "POST":
res = {"user":None,"error":""}
print(request.POST)
user = request.POST.get("user")
pwd = request.POST.get("pass")
print(user,pwd)
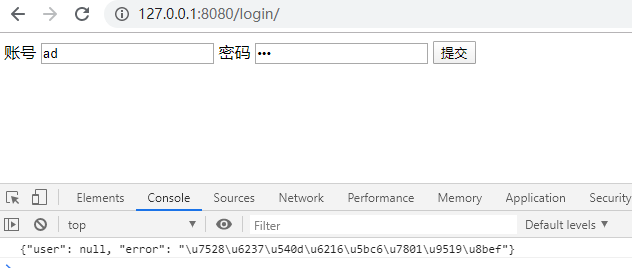
#如果登录成功,把用户名赋给字典,如果登录失败,把错误信息赋给字典。然后序列化。
if user == 'alex' and pwd == '123':
res["user"] = user
else:
res["error"] = '用户名或密码错误'
return HttpResponse(json.dumps(res))
else:
return HttpResponse("NO_NO")
two_exa.templates.login.html
-----------------------------
{% load static %}
<!DOCTYPE html>
<html lang="en">
<head>
<meta charset="UTF-8">
<title>模拟登录</title>
<script type="text/javascript" src="{% static 'js/jquery.js' %}"></script>
</head>
<body>
<from>
账号 <input type="text" name="user">
密码 <input type="password" name="pass">
<input type="button" value="提交" id="login_btn">
{% csrf_token %}
</from>
<script>
$("#login_btn").click(function() {
$.ajax({
url: "/login_up/",
type: "post",
data:{
user:$("[name=user]").val(),
pass:$("[name=pass]").val(),
csrfmiddlewaretoken:$("[name=csrfmiddlewaretoken]").val()
},
success: function (response) {
console.log(response)
},
})
})
</script>
</body>
</html>
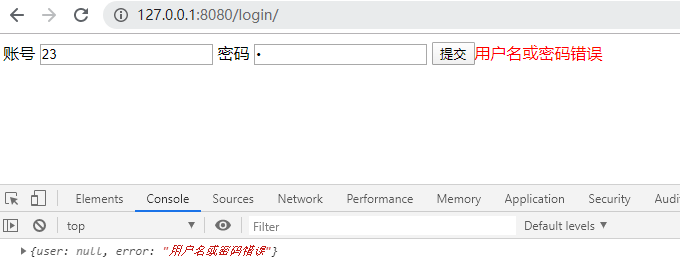
这里是第一步,我们把数据传到页面上,之后就是前端对数据的反序列化。
{% load static %}
<!DOCTYPE html>
<html lang="en">
<head>
    <meta charset="UTF-8">
    <title>模拟登录</title>

    <script type="text/javascript"  src="{% static 'js/jquery.js' %}"></script>
</head>
<body>
<from>
账号 <input type="text" name="user">
密码 <input type="password" name="pass">
    <input type="button" value="提交" id="login_btn"><span class="error"></span>
{% csrf_token %}
</from>
<script>

    $("#login_btn").click(function() {
           $.ajax({
               url: "/login_up/",
               type: "post",
               data:{
                   user:$("[name=user]").val(),
                   pass:$("[name=pass]").val(),
                   csrfmiddlewaretoken:$("[name=csrfmiddlewaretoken]").val()
               },
               success: function (response) {
                   var res = $.parseJSON(response);
                   console.log(res);
                   if (res.user){
                       {#登陆成功#}
                       location.href="http://www.baidu.com"
                   }else{
                       {#登录失败#}
                        $(".error").html(res.error).css("color","red");
                        setTimeout(function () {
                            $(".error").html("")
                        },1000)
                   }
               },

           })
    })
</script>
</body>
</html>
登录成功就会跳转到百度,登录失败显示我们定义的文字。


 1207
1207

 被折叠的 条评论
为什么被折叠?
被折叠的 条评论
为什么被折叠?
 到【灌水乐园】发言


