


14.基于注解配置AOP详解
步骤:
-
创建java项目,导入AOP相关坐标
-
创建目标接口和目标实现类(定义切入点)
-
创建通知类(定义通知)
-
将目标类和通知类对象创建权交给spring
-
在通知类中使用注解配置织入关系,升级为切面类
-
在配置文件中开启组件扫描和 AOP 的自动代理
-
编写测试代码
1.创建java项目,导入AOP相关坐标
<dependencies>
        <!--导入spring的context坐标,context依赖aop-->
        <dependency>
            <groupId>org.springframework</groupId>
            <artifactId>spring-context</artifactId>
            <version>5.1.5.RELEASE</version>
        </dependency>
        <!-- aspectj的织入(切点表达式需要用到该jar包) -->
        <dependency>
            <groupId>org.aspectj</groupId>
            <artifactId>aspectjweaver</artifactId>
            <version>1.8.13</version>
        </dependency>
        <!--spring整合junit-->
        <dependency>
            <groupId>org.springframework</groupId>
            <artifactId>spring-test</artifactId>
            <version>5.1.5.RELEASE</version>
        </dependency>
        <dependency>
            <groupId>junit</groupId>
            <artifactId>junit</artifactId>
            <version>4.12</version>
        </dependency>
    </dependencies>
2. 创建目标接口和目标实现类
public interface AccountService {
    void transfer();
}
@Service
public class AccountServiceImpl  implements AccountService {
    @Override
    public void transfer() {
        System.out.println("转账业务···");
    }
}
3 创建通知类
@Component
@Aspect
public class MyAdevice {

    @Before("execution(* com.weihong.service.Impl.AccountServiceImpl.*(..))")
    public void before(){
        System.out.println("前置增强");
    }
}
4.将目标类和通知类对象创建权交给spring
@Component
@Aspect
public class MyAdevice {


}
5.在通知类中使用注解配置织入关系,升级为切面类
@Component
@Aspect
public class MyAdevice {

    @Before("execution(* com.weihong.service.Impl.AccountServiceImpl.*(..))")
    public void before(){
        System.out.println("前置增强");
    }
}
6 在配置文件中开启组件扫描和 AOP 的自动代理
- 只有注解配置才需要开启自动代理,目的是找到切面。
- 基于xml的方式不需要开启自动代理。
<!--    开启注解扫描-->
    <context:component-scan base-package="com.weihong"></context:component-scan>
<!--AOP的自动代理 -->
    <aop:aspectj-autoproxy></aop:aspectj-autoproxy>
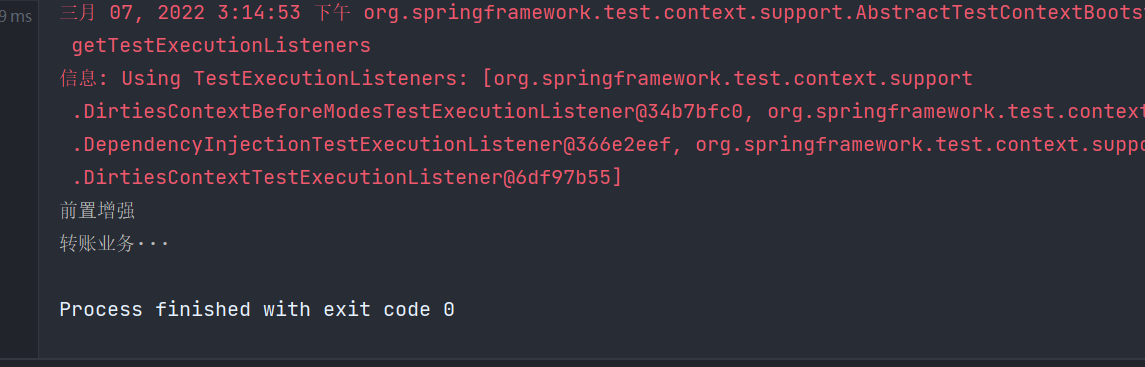
7 编写测试代码
@RunWith(SpringJUnit4ClassRunner.class)
@ContextConfiguration("classpath:applicationContext.xml")
public class MyTest {

    @Autowired
    private AccountService accountService;

    @Test
    public void test1(){
        accountService.transfer();
    }
}
8.切点表达式的抽取
-
没抽取前
@Before("execution(* com.weihong.service.Impl.AccountServiceImpl.*(..))") public void before(){ System.out.println("前置增强"); } @AfterReturning("execution(* com.weihong.service.Impl.AccountServiceImpl.*(..))") public void afterReturning(){ System.out.println("后置通知执行了"); } -
抽取后
public class MyAdevice {

    @Pointcut("execution(* com.weihong.service.Impl.AccountServiceImpl.*(..))")
    public void myPoint(){}

    @Before("MyAdevice.myPoint()")
    public void before(){
        System.out.println("前置增强");
    }

    @AfterReturning("MyAdevice.myPoint()")
    public void afterReturning(){
        System.out.println("后置通知执行了");
    }
}
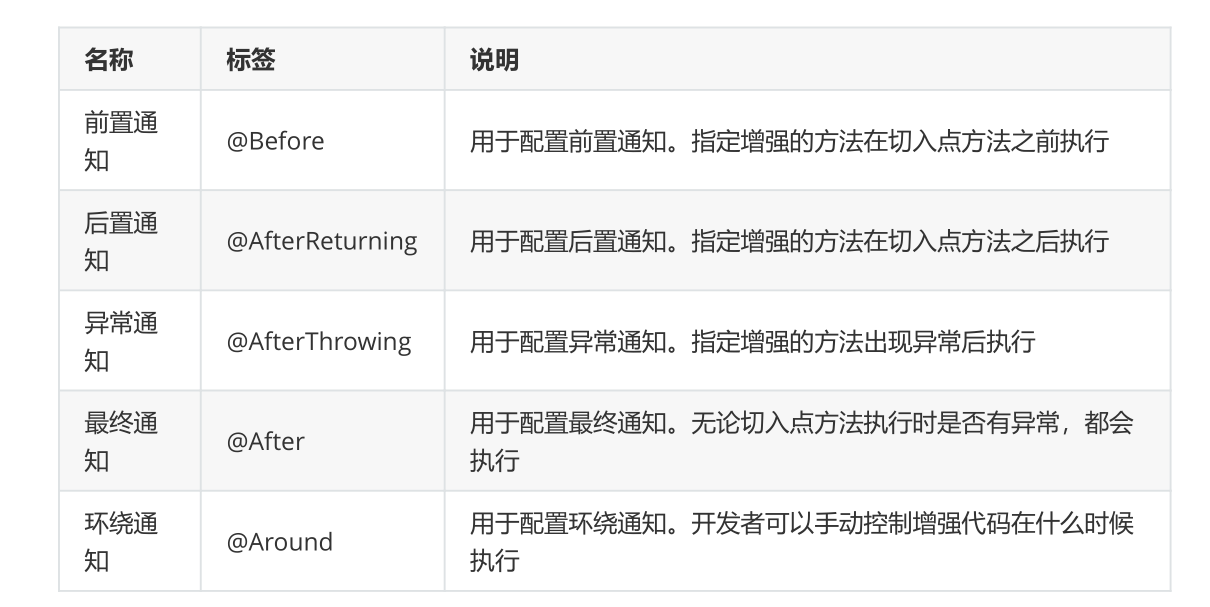
8.1通知类型
通知的配置语法:@通知注解(“切点表达式")
注意:这是与xml配置不一样的地方(执行顺序不一致)
当前四个通知组合在一起时,执行顺序如下:
@Before -> @After -> @AfterReturning(如果有异常:@AfterThrowing)
解决办法:
可以用环绕切面解决。
 @Around("MyAdvice.myPoint()")
    public Object around(ProceedingJoinPoint pjp){

        Object proceed = null;
        try {
            System.out.println("前置通知执行了...");
            proceed = pjp.proceed();
            System.out.println("后置通知执行了...");
        } catch (Throwable throwable) {
            throwable.printStackTrace();
            System.out.println("异常通知执行了...");
        } finally {
            System.out.println("最终通知执行了...");
        }


        return  proceed;
    }


 331
331


 被折叠的 条评论
为什么被折叠?
被折叠的 条评论
为什么被折叠?
 到【灌水乐园】发言


