


文章目录

urllib的使用
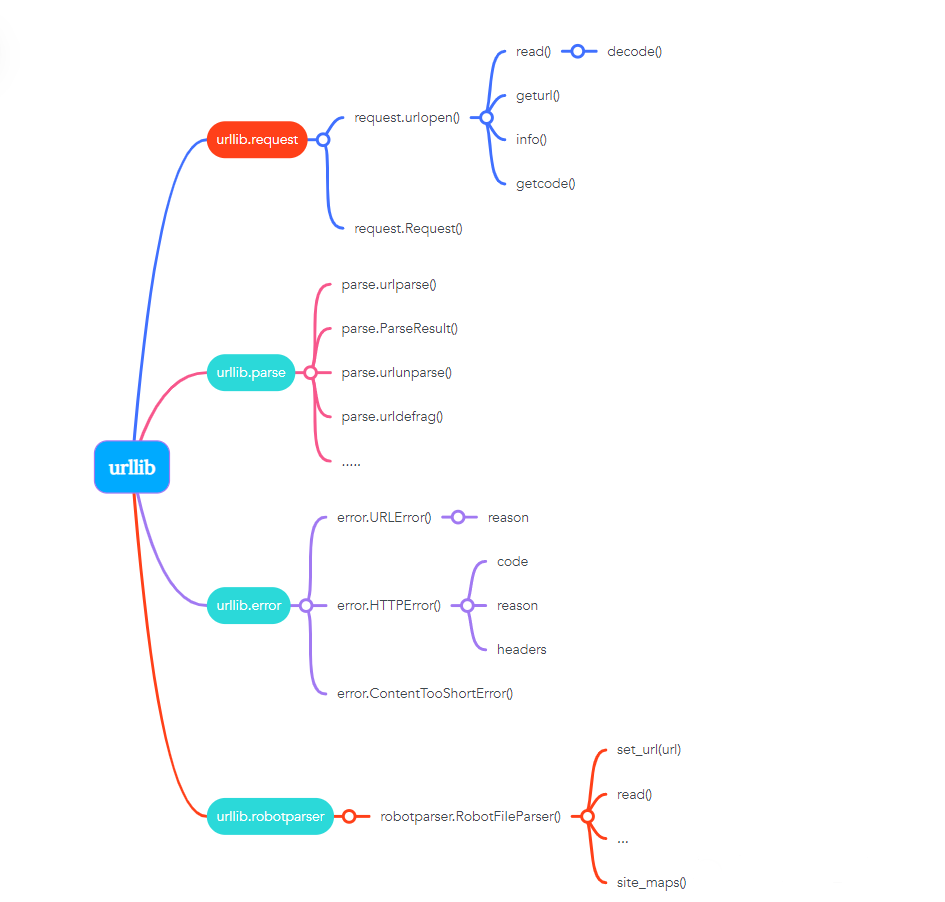
Python的urllib库是用来处理和操作网页URL以及抓取和处理网页内容的。
urllib库包括4个模块:
-
request: 这是最基本的HTTP请求模块,可以模拟请求的发送。
-
error: 异常处理模块。
-
parse: 一个工具模块。提供URL处理方法,例如拆分,解析,合并等。
-
robotparser: 主要用来识别网站的robots.txt文件,然后判断哪些网站可以爬。
每个模块的内置方法和函数。方法如下图:
1.urllib.request模块
urllib.request 定义了一些打开 URL 的函数和类,包含授权验证、重定向、浏览器 cookies等。
urllib.request 可以模拟浏览器的一个请求发起过程。
使用 urllib 库,request 模块,urlopen 方法请求响应
示例:
# 使用urllib库,request模块
import urllib.request
# 变量(response)=使用urllib库的request模块,使用urlopen函数打开指定网站
response = urllib.request.urlopen('https://www.python.org/')
# 抓取整个网页
# read()每次读取整个文件,它通常将读取到底文件内容放到一个字符串变量中。
print(response.read().decode('utf-8'))
# type: 返回对象的类型,这里显示的是响应的类型
print(type(response))
运行结果:
<class 'http.client.HTTPResponse'> # 响应类型: HTTPResponse类型
输出参数
主要包括read、readinto、getheader、getheaders、filen等方法,msg、version、status、reason、debuglevel、closed等属性。
read: 可以获得响应的网站内容
status: 可以获得响应结果的状态码
getheaders(): 显示响应参数
type(): 显示类型
示例:
#使用urllib库,request模块
import urllib.request
#变量(response)=使用urllib库的request模块,使用urlopen函数打开指定网站
response = urllib.request.urlopen(‘https://www.python.org/’)
#获得响应结果的状态码
print(response.status)
#响应头的信息
print(response.getheaders())
#调用getheader,查找server参数,获取响应头中server的值
print(response.getheader(‘server’))
运行结果:200
[(‘Connection’, ‘close’), (‘Content-Length’, ‘49928’), (‘Server’, ‘nginx’), (‘Content-Type’, ‘text/html; charset=utf-8’), (‘X-Frame-Options’, ‘DENY’), (‘Via’, ‘1.1 vegur, 1.1 varnish, 1.1 varnish’), (‘Accept-Ranges’, ‘bytes’), (‘Date’, ‘Sat, 22 Jan 2022 18:19:43 GMT’), (‘Age’, ‘893’), (‘X-Served-By’, ‘cache-iad-kjyo7100160-IAD, cache-nrt18351-NRT’), (‘X-Cache’, ‘HIT, HIT’), (‘X-Cache-Hits’, ‘3, 1528’), (‘X-Timer’, ‘S1642875583.227732,VS0,VE0’), (‘Vary’, ‘Cookie’), (‘Strict-Transport-Security’, ‘max-age=63072000; includeSubDomains’)]
nginx

URL传递参数
response = urllib.request.urlopen(url,data=Nome, [timeout,]*, cafile=Nome,capath=Nome,cadefault=False,context=Nome)
data(POST请求)
urlopen方法中几个参数的用法:
data参数是可选的。添加该参数,需使用bytes方法将参数转换字节流编码格式的内容,即bytes类型。
传递该参数,它的请求方式就不是GET,而是POST。
示例:
#使用urllib库,parse模块
import urllib.parse

#使用urllib库,request模块
import urllib.request

#变量(data)=bytes(转换为二进制编码格式)使用urllib库,parse模块(工具),urlencode方法(将字典参数转化成字符串),encoding为指定编码格式

#传递参数name等于germey
data = bytes(urllib.parse.urlencode({'name': 'germey'}), encoding='utf-8')

#使用urllib库,request模块,urlopen方法(打开URL,指定POST),data=变量(data)
response = urllib.request.urlopen('https://www.httpbin.org/post', data=data)

#响应URL网站内容(read),指定编码utf-8
print(response.read().decode('utf-8'))
运行结果:
{
"args": {},
"data": "",
"files": {},
"form": {
 "name": "germey"      # POST请求,覆盖了原有的name的值
},
"headers": {
 "Accept-Encoding": "identity",
 "Content-Length": "11",
 "Content-Type": "application/x-www-form-urlencoded",
 "Host": "www.httpbin.org",
 "User-Agent": "Python-urllib/3.9",
 "X-Amzn-Trace-Id": "Root=1-61ed4d3c-1f94916a195495175eff840d"
},
"json": null,
"origin": "113.57.114.150",
"url": "https://www.httpbin.org/post"
}
timeout(响应时间)
timeout参数用于设置超时时间,单位为秒。意思是如果请求超出了设置的这个时间,还没有的到响应,就会抛出异常。
不指定该参数,则会使用全局默认时间。支持HTTP,HTTPS,FTP请求。
示例:
# 使用urllib库,request模块
import urllib.request
# 使用urllib库,request模块,urlopen方法(打开URL)
# timeout参数用于设置超时时间,单位为秒。意思是如果请求超出了设置的这个时间,还没有的到响应,就会抛出异常。
response = urllib.request.urlopen('https://www.httpbin.org/post', timeout=0.1)
# 响应URL网站内容(read),指定编码utf-8
print(response.read().decode('utf-8'))
运行结果:
During handling of the above exception, another exception occurred:
Traceback (most recent call last):
File "/home/dage/PycharmProjects/爬虫test.py", line 6, in <module>
 response = urllib.request.urlopen('https://www.httpbin.org/post', timeout=0.1)
......
urllib.error.URLError: <urlopen error timed out>
设置超时时间为0.1秒。程序运行了0.1秒后,服务器没有响应,就抛出了URLError异常。
该异常属于urllib.error模块,错误原因是超时。
其他参数
context参数,该参数必须是ssl.SSLContext类型,用来指定SSL的设置。
cafile参数,capathj参数,分别用来指定CA证书和其路径,请求HTTPS链接使用。

Request
Request类构造请求
示例:
# 使用urllib库,request模块
import urllib.request
# 使用urllib库,request模块,Request方法(打开URL)
request = urllib.request.Request('https://python.org')
# 使用urllib库,request模块,urlopen方法(Request类的对象)
response = urllib.request.urlopen(request)
# 响应URL网站内容(read),指定编码utf-8
print(response.read().decode('utf-8'))
运行结果:
<!doctype html>
<!--[if lt IE 7]>   <html class="no-js ie6 lt-ie7 lt-ie8 lt-ie9">   <![endif]-->
......
这样请求,可以配置其他参数
通过怎样的参数来构造Request类,如:
class urllib.request.Request(url, data=None, headers={}, origin_req_host=None, unverifiable=False, method=None)
URL: 用于请求URL,必传参数,其他都是可选参数。
data: 如果要传数据,必须传bytes类型。如果数据为字典,使用urllib.parse模块urlencode方法进行编码。
headers: 是一个字典,这就是请求头,在构造请求时,即可以通过headers参数直接构造,也可以调用实例add_herder方法添加。
添加请求头最常见的方法就是通过修改User-Agent来伪装浏览器。默认为Python-urllib
origin_req_host: 指的是请求方的host名称或IP地址。
unverifiable: 表示请求是否是无法验证的,默认取值是False,意思是用户没有足够的权限来接收这个请求的结果。
例如,请求一个HTML文档中的一个图片,但是没有自动抓取图像的权限,这时unverifiable的值就是True。
method: 是一个字符串,用来指示请求使用的方法,例如GET,POST,PUT等。
示例:
# 调用urllib库指定request和parse模块
from urllib import request, parse
# 指定的变量的内容(网址)
url = 'https://www.httpbin.org/post'
# 指定变量(headers)字典的内容
headers = {
    'User-Agent': 'Mozilla/4.0 (compatible; MSIE 5.5; Windows NT)',
    'Host': 'www.httpbin.org'
}
# 指定变量字典的内容,传递参数name等于germey
dict = {'name': 'germey'}
# 变量(data)=bytes(转换为二进制编码格式)使用parse模块(工具),urlencode方法(将字典参数转化成字符串)指定的变量内容,encoding为指定编码格式
data = bytes(parse.urlencode(dict), encoding='utf-8')
# 使用urllib库,request模块,Request方法(打开URL),指定data、headers参数method为请求方法
req = request.Request(url=url, data=data, headers=heade
                      rs, method='POST')
# 使用urllib库,request模块,urlopen方法(Request类的对象)
response = request.urlopen(req)
# 响应URL网站内容(read),指定编码utf-8
print(response.read().decode('utf-8'))
运行结果:
{
  "args": {},
  "data": "",
  "files": {},
  "form": {
    "name": "germey"
  },
  "headers": {
    "Accept-Encoding": "identity",
    "Content-Length": "11",
    "Content-Type": "application/x-www-form-urlencoded",
    "Host": "www.httpbin.org",
    "User-Agent": "Mozilla/4.0 (compatible; MSIE 5.5; Windows NT)",
    "X-Amzn-Trace-Id": "Root=1-620e8e3a-72599a4115df3e127b798b08"
  },
  "json": null,
  "origin": "175.0.158.184",
  "url": "https://www.httpbin.org/post"
}
高级用法
handler: 各种处理器,处理登录验证,处理cookit,处理代理设置等。
urllib.request模块下,BaseHandler类是父类,其他handler是子类
-
HTTPDefaultErrorHandler: 用于处理HTTP响应错误,错误显示HTTPError类型的异常。
-
HTTPRedirectHandler: 用于处理重定向
-
HTTPCookieProcessor: 用于处理Cookie
-
ProxyHandler: 用于设置代理,代理默认为空
-
HTTPPasswordMgr: 用于管理密码,用户名密码对照表
-
HTTPBasicAuthHandler: 用于管理认证
OpenerDirector类
Opener类可以提供open方法,该方法返回的响应类型与urlopen一样。
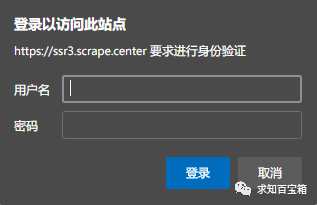
验证型网站示例
示例
# 调用urllib库指定request模块的类HTTPPasswordMgrWithDefaultRealm(管理用户密码), HTTPBasicAuthHandler(认证登录), build_opener
from urllib.request import HTTPPasswordMgrWithDefaultRealm, HTTPBasicAuthHandler, build_opener
# 调用urllib库指定error模块的类URLError(异常处理模块)
from urllib.error import URLError
# 设置变量
username = 'admin'
password = 'admin'
url = 'https://ssr3.scrape.center/'
p = HTTPPasswordMgrWithDefaultRealm()
# 使用变量(p),以add_password方法写入网址,用户和密码
p.add_password(None, url, username, password)
# HTTPBasicAuthHandler类进行认证,使用变量(p)输入登录的网址和用户名密码
auth_handler = HTTPBasicAuthHandler(p)
# 使用build_opener进行请求
opener = build_opener(auth_handler)
# 异常情况处理方式
try:
    result = opener.open(url)
    html = result.read().decode('utf-8')
    print(html)
except URLError as e:
    print(e.reason)
运行结果:
<html lang="en">
<head>

  <meta charset="utf-8">
  ...
思路:
HTTPPasswordMgrWithDefaultRealm类管理用户名和密码,使用add_password写入用户名密码
HTTPBasicAuthHandler类进行认证
参数传入build_opener方法,构建opener.open(url)请求
代理
需搭建本地HTTP代理
from urllib.error import URLError
from urllib.request import ProxyHandler, build_opener
proxy_handler = ProxyHandler({
    'http': 'http://127.0.0.1:8080',
    'https': 'https://127.0.0.1:8080'
})
opener = build_opener(proxy_handler)
try:
    response = opener.open('http://www.baidu.com')
    print(response)
except URLError as e:
    print(e.reason)
思路;
使用ProxyHandler()构建地址池,再使用build_opener()方法
Cookie
获取网站Cookie
示例:
import http.cookiejar, urllib.request
# 变量cookie = http库下cookiejar模块,CookieJar类
cookie = http.cookiejar.CookieJar()
# 调用urllib库request模块HTTPCookie类
handler = urllib.request.HTTPCookieProcessor(cookie)
# 调用urllib库request模块build_opener方法写入
opener = urllib.request.build_opener(handler)
# open(打开)url
response = opener.open('https://www.baidu.com')
# 循环cookie,并写入item变量
for item in cookie:
    # 输出item,name=item的值(value)
    print(item.name + "=" + item.value)
运行结果:
BAIDUID=94648D45C96F4686D42ADB5B44EB201F:FG=1
BIDUPSID=94648D45C96F46868BA0E6EED3118AA7
PSTM=1645187239
BD_NOT_HTTPS=1
思路:
导入http.cookiejar和urllib.request模块,声明一个CookieJar()对象,使用urllib.request.HTTPCookieProcessor(),导入对象,使用build_opener()方法,open()打开链接,for()叠加循环。
保存Cookit方法
示例:
import urllib.request, http.cookiejar
filename = 'cookie.txt'
# 调用http库cookiejar模块MozillaCookieJar类(处理文件)
cookit = http.cookiejar.MozillaCookieJar(filename)  #MozillaCookieJar方法
# 调用http库cookiejar模块LWPCookieJar类(处理文件)
cookit = http.cookiejar.LWPCookieJar(filename)  #LWPCookieJar方法
# 调用urllib库request模块HTTPCookieProcessor类,传入参数cookit
handler = urllib.request.HTTPCookieProcessor(cookit)
# 调用urllib库request模块build_opener方法写入
opener = urllib.request.build_opener(handler)
# 请求
response = opener.open('https://www.baidu.com')
# save(保存任意格式的内容)
cookit.save(ignore_discard=True, ignore_expires=True)
运行结果:
MozillaCookieJar方法

LWPCookieJar方法

调用Cookit文件方法
示例:
import urllib.request, http.cookiejar
# http库cookiejar模块LWPCookieJar方法
q = http.cookiejar.LWPCookieJar()
# 调用load读取文件
w = q.load('cookie.txt', ignore_discard=True, ignore_expires=True)
# urllib.request.HTTPCookieProcessor
e = urllib.request.HTTPCookieProcessor(w)
r = urllib.request.build_opener(e)
t = r.open('https://www.baidu.com')
print(t.read().decode('utf-8'))
3.rullib.error模块
URLError
用于处理不存在网页异常
示例:
from urllib import request, error
try:
    reques = request.urlopen('https://www.baidu.com/404')
    print(reques)
except error.URLError as e:
    print(e.reason)
运行结果:
Not Found
HTTPError
HTTPError是URLError的子类,用于处理HTTP请求错误
-
code: 返回HTTP状态码
-
reason: 返回错误原因
-
headers: 返回请求头
示例:
from urllib import request, error
try:
    q = request.urlopen('https://www.cuiqingcai.com/404')
except error.HTTPError as e:
    print(e.reason, e.code, e.headers, sep='\n')
运行结果:
Not Found
404
Content-Length: 201
Content-Type: text/html; charset=iso-8859-1
Date: Sun, 10 Apr 2022 04:59:20 GMT
Server: Apache
Connection: close
组合处理异常
URLError > HTTPError
先捕获子类HTTPError异常,输出code,reason,headers属性。
示例:
from urllib import request, error
try:
    q = request.urlopen('https://www.baidu.com/404')
except error.HTTPError as e:
    print(e.reason, e.code, e.headers, sep='\n')
except error.URLError as e:
    print(e.reason)
else:
    print('1')
运行结果:
Not Found
404
Content-Length: 201
Content-Type: text/html; charset=iso-8859-1
Date: Sun, 10 Apr 2022 05:07:12 GMT
Server: Apache
Connection: close

3.urllib.parse模块
用于处理URL的标准接口,实现URL个部分的抽取,合并以及链接转换。
urlparse (识别)
可以实现URL的识别和分段
示例:
from urllib.parse import urlparse
q = urlparse('https://www.baidu.com/index.html;user?id=5#comment')
print(type(q))
print(q)
运行结果:
<class 'urllib.parse.ParseResult'>
ParseResult(scheme='https', netloc='www.baidu.com', path='/index.html', params='user', query='id=5', fragment='comment')
scheme: 协议
netloc: 域名
path: 路径
params: 参数
query: 查询条件,一般用于GET类型的URL
fragment: 锚点,用于定位网页内的下拉位置
使用urlparse类解析url是一个ParseResult类型对象,标准的链接格式:
scheme://neloc/path;params?query#fragment
urlparse API用法
格式:
urllib.parse.urlparse(urlstring, scheme='', allow_fragments=True)
参数:
-
urlstring: URL
-
scheme: 默认协议(例如http,https)
-
allow_fragments: 是否忽略fragment,设置为False,则被忽略
获取其值:
from urllib.parse import urlparse
w = urlparse('https://www.baidu.com/index.html#comment', allow_fragments=False,)
print(w.scheme, w[0], w.netloc, w[1], sep='\n')
运行结果:
https
https
www.baidu.com
www.baidu.com
urlunparse (构造URL)
用于构造URL,这个方法接收可迭代对象,其长度必须为6
from urllib.parse import urlunparse
# 构造列表,构造参数,协议,域名,位置,参数,查询条件,锚点
# 长度为6
data = ['https', 'www.baidu.com', 'index.html', 'user', 'a=6', 'comment']
# 输出urlunparse()对象结果
print(urlunparse(data))
运行结果:
https://www.baidu.com/index.html;user?a=6#comment
urlsplit()
不会单独解析params(参数)这部分(合并到path中)
示例:
from urllib.parse import urlsplit
q = urlsplit('https://www.baidu.com/index.html;user?id=5#comment')
print(q)
运行结果:
SplitResult(scheme='https', netloc='www.baidu.com', path='/index.html;user', query='id=5', fragment='comment')
获取其值
from urllib.parse import urlsplit
q = urlsplit('https://www.baidu.com/index.html;user?id=5#comment')
print(q.scheme, q[0])
运行结果:
https https
urlunsplit()
构造url,长度为5
from urllib.parse import urlunsplit
# 构造列表,构造参数,协议,域名,位置,参数,查询条件,锚点
# 长度为5
data = ['https', 'www.baidu.com', 'index.html', 'a=6', 'comment']
# 输出urlunparse()对象结果
print(urlunsplit(data))
运行结果:
https://www.baidu.com/index.html?a=6#comment
urljoin()补充
对新链接缺失部分进行补充
使用base_url()方法,对scheme,netloc,path三个部分解析补充
from urllib.parse import urljoin
print(urljoin('https://www.baidu.com', 'FAQ.html'))
print(urljoin('https://www.baidu.com', 'https://www.bilibili.com'))
运行结果:
https://www.baidu.com/FAQ.html  # 进行补充
https://www.bilibili.com        # 使用新链接
urlencode()构造GET请求参数
构造GET请求参数
from urllib.parse import urlencode
q = {
    'name': '1234',
    'age': 25
}
base_url = 'http://www.baidu.com'
w = base_url + urlencode(q)
print(w)
运行结果:
http://www.baidu.comname=1234&age=25
parse_qs()反序列化
from urllib.parse import parse_qs
q = 'name=1234&age=25'
print(parse_qs(q))
运行结果:
{'name': ['1234'], 'age': ['25']}
parse_qsl() 参数转换元组
from urllib.parse import parse_qsl
q = 'name=1234&age=25'
print(parse_qsl(q))l(q))
运行结果
[('name', '1234'), ('age', '25')]
quote()转换编码格式
内容转换URL编码格式
当参数有中文参数时,会发生错误,使用quote(),将编码转换成中文编码
from urllib.parse import quote
key = '中文'
url = 'https://www.baidu.com' + quote(key)
print(url)
运行结果:
https:www.baidu.com%E4%B8%AD%E6%96%87
unquote()
内容转换URL解码格式
from urllib.parse import unquote
url = 'http://www.baidu.com/s?wd=%E5%A3%81%E7%BA%B8'
print(unquote(url))
运行结果:
http://www.baidu.com/s?wd=壁纸
分析Robots协议
Robots协议也称爬虫协议, 机器人协议: 网络爬虫排除标准
告诉爬虫和搜索引擎, 那些可以抓取,那些不可以
robots.txt: 通常放置网站根目录下, 网站的入口文件放在一起(例如 index.php, index.html和index.jsp等)
robots.txt 内容分析:
User-agent: *
Disallow: /
Allow: /public
User-agent: 描述爬虫的名称, 设置为* , 代表对所有爬虫都有效
Disallow: 指定不允许爬虫爬取目录, 设置为/ , 表示不允许爬取所有页面
Allow: 一般不会独用, 与Disallow一起使用, 表示所有页面不允许爬取,但可以爬取public目录
示例:
禁止所有爬虫访问所有目录
User-agent: *
Disallow: /
允许所有爬虫访问所有目录, robots.txt留空也可以
User-agent: *
Allow: *
禁止所有爬虫访问某些目录
User-agent: *
Disallow: /public
Disallow: /tmp
只允许某个爬虫访问所有目录
User-agent: WebCrawler
Disallow: /
User-agent: *
Disallow: /
爬虫名称
| 爬虫名称 | 网站名称 |
|---|---|
| BaiduSpider | 百度 |
| 360Spider | 360搜索 |
| Googlebot | 谷歌 |
4.urllib.robotparser模块
提供了一个类 RobotFileParser, 判断是否有权限爬取这个网页
构造方法
urllib.robotparser.RobotFileParser(url:'')
RobotFileParser 类,参数:
-
set_url: 用来设置robots.txt文件的链接
-
read: 读取 robots.txt 文件进行分析. 注意, 这个方法执行读取和分析操作,默认为False
-
parse: 原来解析 robots.txt 文件. 传入的参数为 robots.txt 文件某行的内容, 按照robots.txt的语法规则来分析
-
can_fetch: 该方法有两个参数, 第一个User-Agent, 第二个是要抓取的URL,返回结果为布尔值, 表示是否可以抓取这个URL
-
mtime: 返回上次抓取和分析 robots.txt 文件的时间
-
modified: 将当前时间设置为上次抓取和分析robots.txt 文件的时间
示例:
from urllib.robotparser import RobotFileParser
# 创建一个RobotFileParser()对象的rp
rp = RobotFileParser()
# set_url方法设置robots.txt链接
rp.set_url('https://www.baidu.com/robots.txt')
# read():可以获得响应的网站内容
rp.read()
# can_fetch方法,判断是否可以抓取
print(rp.can_fetch('BaiduSpider', 'https://www.baidu.com'))
print(rp.can_fetch('BaiduSpider', 'https://www.baidu.com/homepage/'))
print(rp.can_fetch('Googlebot', 'https://www.baidu.com/homepage/'))
运行结果:
True
True
False
分析:
# BaiduSpider可以抓取
# Googlebot:谷歌不可以抓取
# 访问https://www.baidu.com/robots.txt
User-agent: Baiduspider
Disallow: /baidu
Disallow: /s?
Disallow: /ulink?
Disallow: /link?
Disallow: /home/news/data/
Disallow: /bh
User-agent: Googlebot
Disallow: /baidu
Disallow: /s?
Disallow: /shifen/
Disallow: /homepage/
Disallow: /cpro
Disallow: /ulink?
Disallow: /link?
Disallow: /home/news/data/
Disallow: /bh
题外话
当下这个大数据时代不掌握一门编程语言怎么跟的上脚本呢?当下最火的编程语言Python前景一片光明!如果你也想跟上时代提升自己那么请看一下.

感兴趣的小伙伴,赠送全套Python学习资料,包含面试题、简历资料等具体看下方。

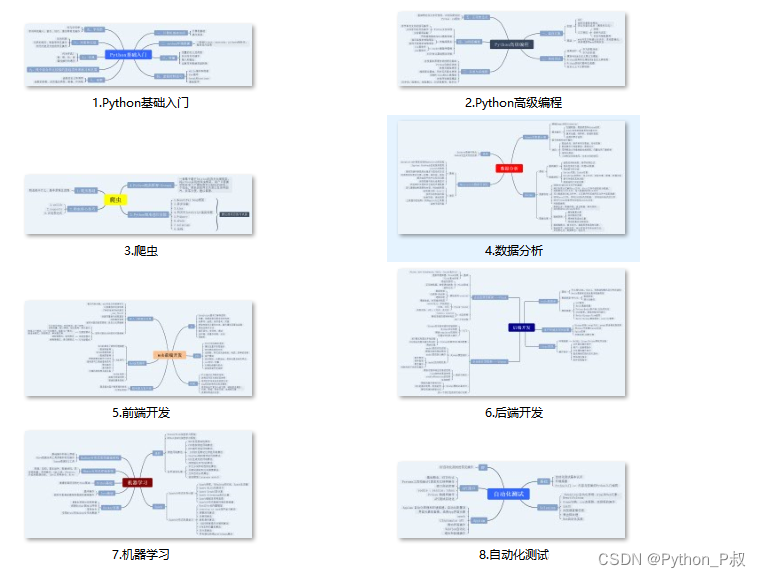
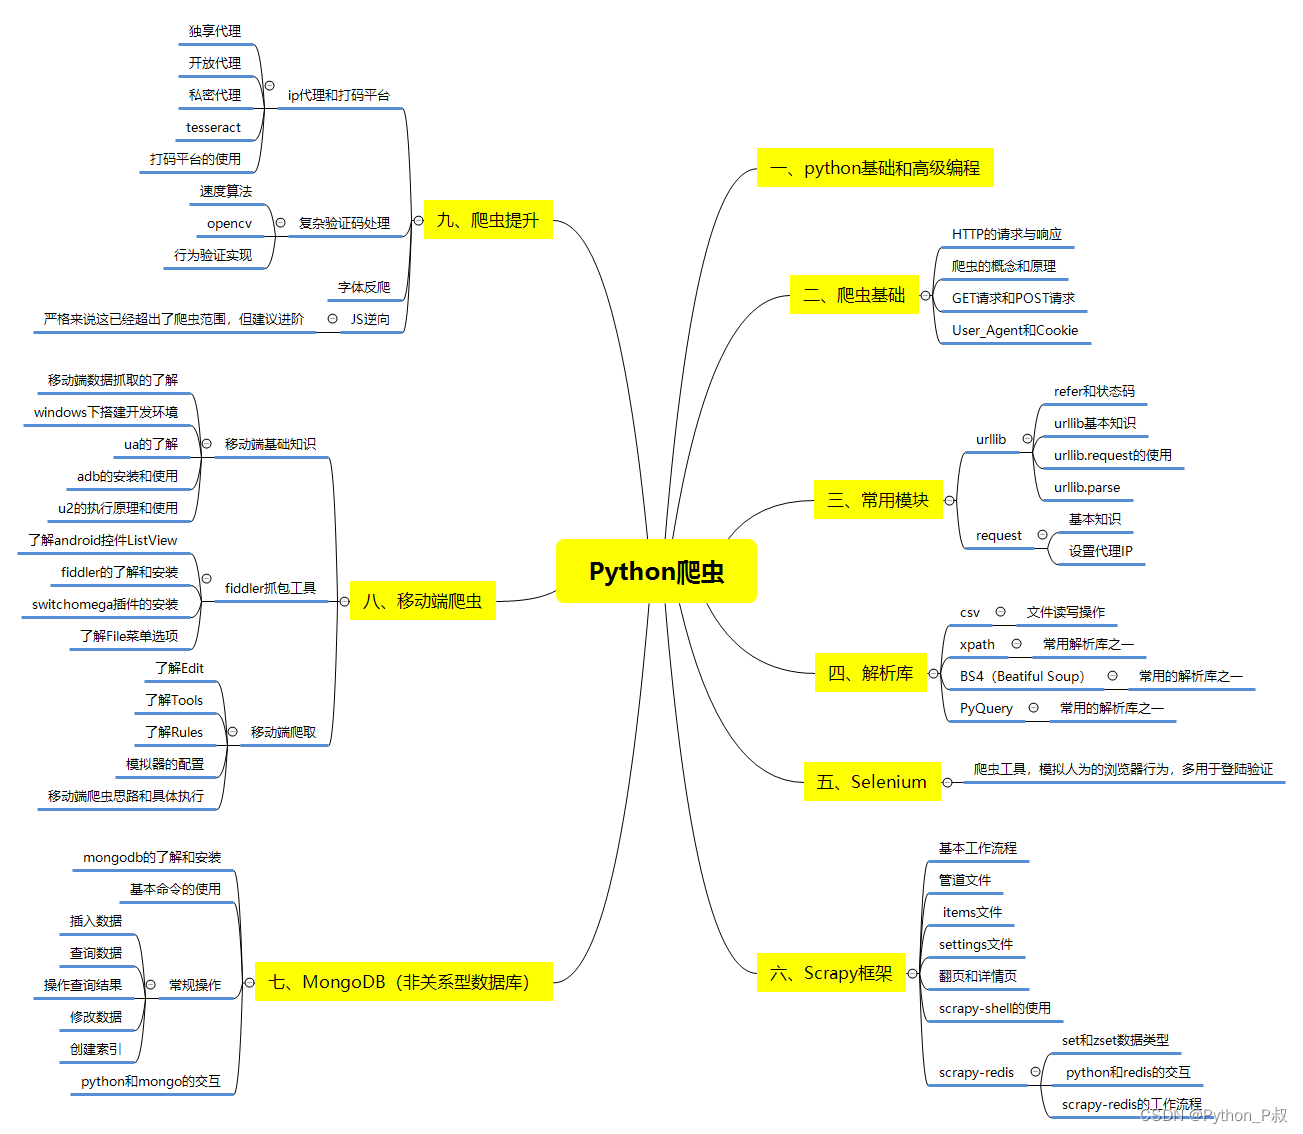
一、Python所有方向的学习路线
Python所有方向的技术点做的整理,形成各个领域的知识点汇总,它的用处就在于,你可以按照下面的知识点去找对应的学习资源,保证自己学得较为全面。
二、Python必备开发工具
工具都帮大家整理好了,安装就可直接上手!
三、最新Python学习笔记
当我学到一定基础,有自己的理解能力的时候,会去阅读一些前辈整理的书籍或者手写的笔记资料,这些笔记详细记载了他们对一些技术点的理解,这些理解是比较独到,可以学到不一样的思路。

四、Python视频合集
观看全面零基础学习视频,看视频学习是最快捷也是最有效果的方式,跟着视频中老师的思路,从基础到深入,还是很容易入门的。

五、实战案例
纸上得来终觉浅,要学会跟着视频一起敲,要动手实操,才能将自己的所学运用到实际当中去,这时候可以搞点实战案例来学习。
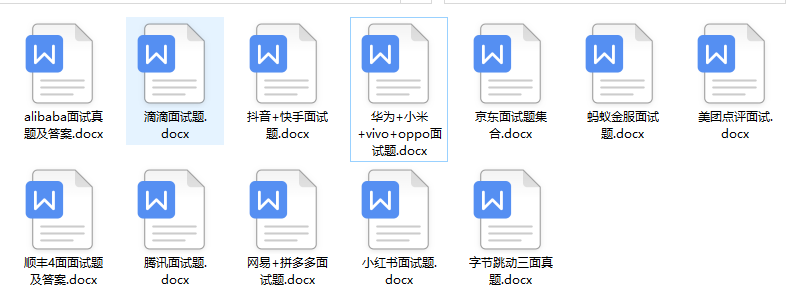
六、面试宝典
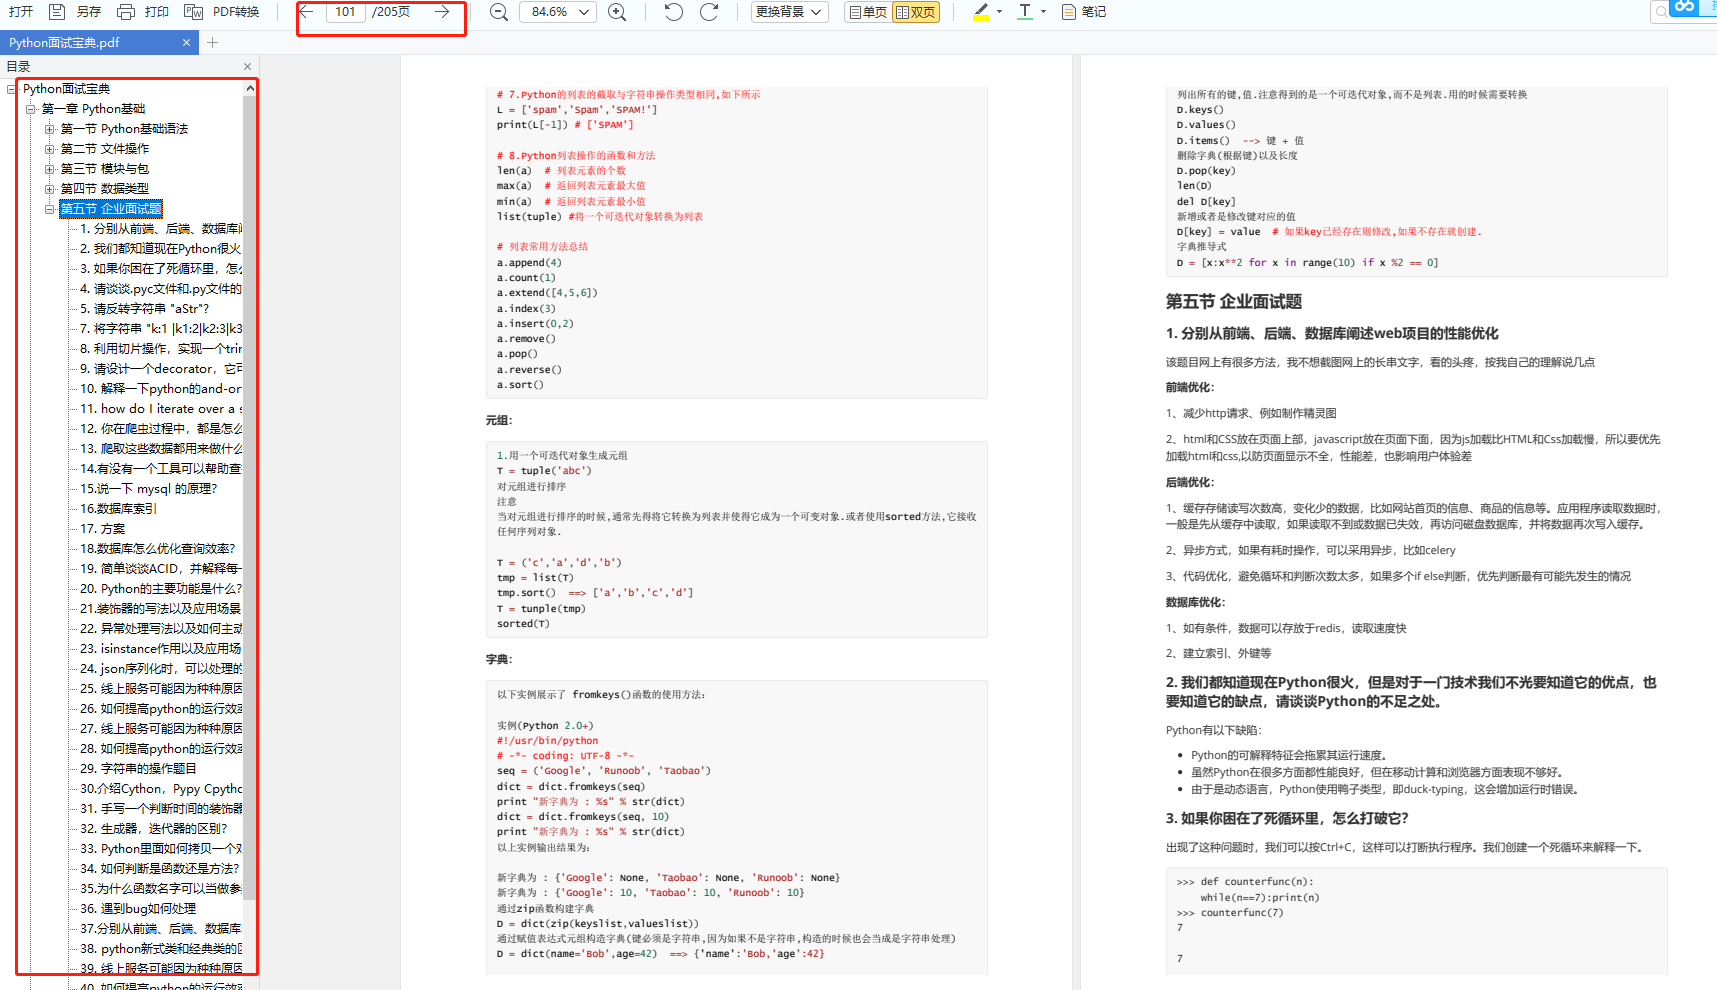
简历模板


 1533
1533


 被折叠的 条评论
为什么被折叠?
被折叠的 条评论
为什么被折叠?
 到【灌水乐园】发言


