


文章目录
前言
在当今数字世界中,动画和虚拟角色已经成为了互联网文化的重要组成部分。从游戏到虚拟主播,我们越来越多地看到人们使用动画角色来表达自己,创造令人惊叹的数字体验。而其中一个让人印象深刻的技术就是 Live2D Cubism,它为我们提供了创建逼真、生动角色的工具和平台。
在本文中,我们将探讨如何在 React 项目中集成 Cubism Web SDK,这是一项强大的技术,可以让我们将 Live2D 模型无缝嵌入到我们的应用程序中。无论您是为您的网站添加一些趣味性,还是为您的应用程序带来一些独特的风格,Cubism Web SDK 都将是您的绝佳选择。
CubismWeb 是什么?
Cubism Web是一个基于Web技术的软件开发工具包,用于创建实时的2D人物模型(也称为Live2D模型)。Live2D是一种基于2D图形的技术,允许将静态的2D图像转换为具有动态效果的模型,这些模型可以根据用户的输入实时进行动画和变形。
Cubism Web提供了一组工具和库,使开发人员可以轻松地将Live2D模型集成到Web应用程序中。它支持多种平台和框架,包括HTML5、JavaScript和CSS,因此可以在各种设备和浏览器上运行。
使用Cubism Web,开发人员可以创建各种各样的交互式2D人物模型,例如虚拟主播、聊天机器人和游戏角色。这些模型可以通过用户的鼠标、触摸或声音输入进行操控,为用户带来更加生动和有趣的体验。
一、创建项目
1. 安装create-react-app
npm install -g create-react-app
2. 使用create-react-app创建react项目
npx create-react-app simple-cubismweb-app --template typescript
二、配置项目
1. 配置Live2D framework
在src/路径下面创建Live2D文件夹
将cubismweb framework作为子模块添加到项目中
git submodule add https://github.com/Live2D/CubismWebFramework.git src/Live2D/Live2DFramework
也可以在下面网站下载SDK将Framework手动添加到项目中
https://www.live2d.com/zh-CHS/sdk/download/web/
注意事项:将src/Live2D/Live2DFramework文件夹下面的.eslintrc.yml删除
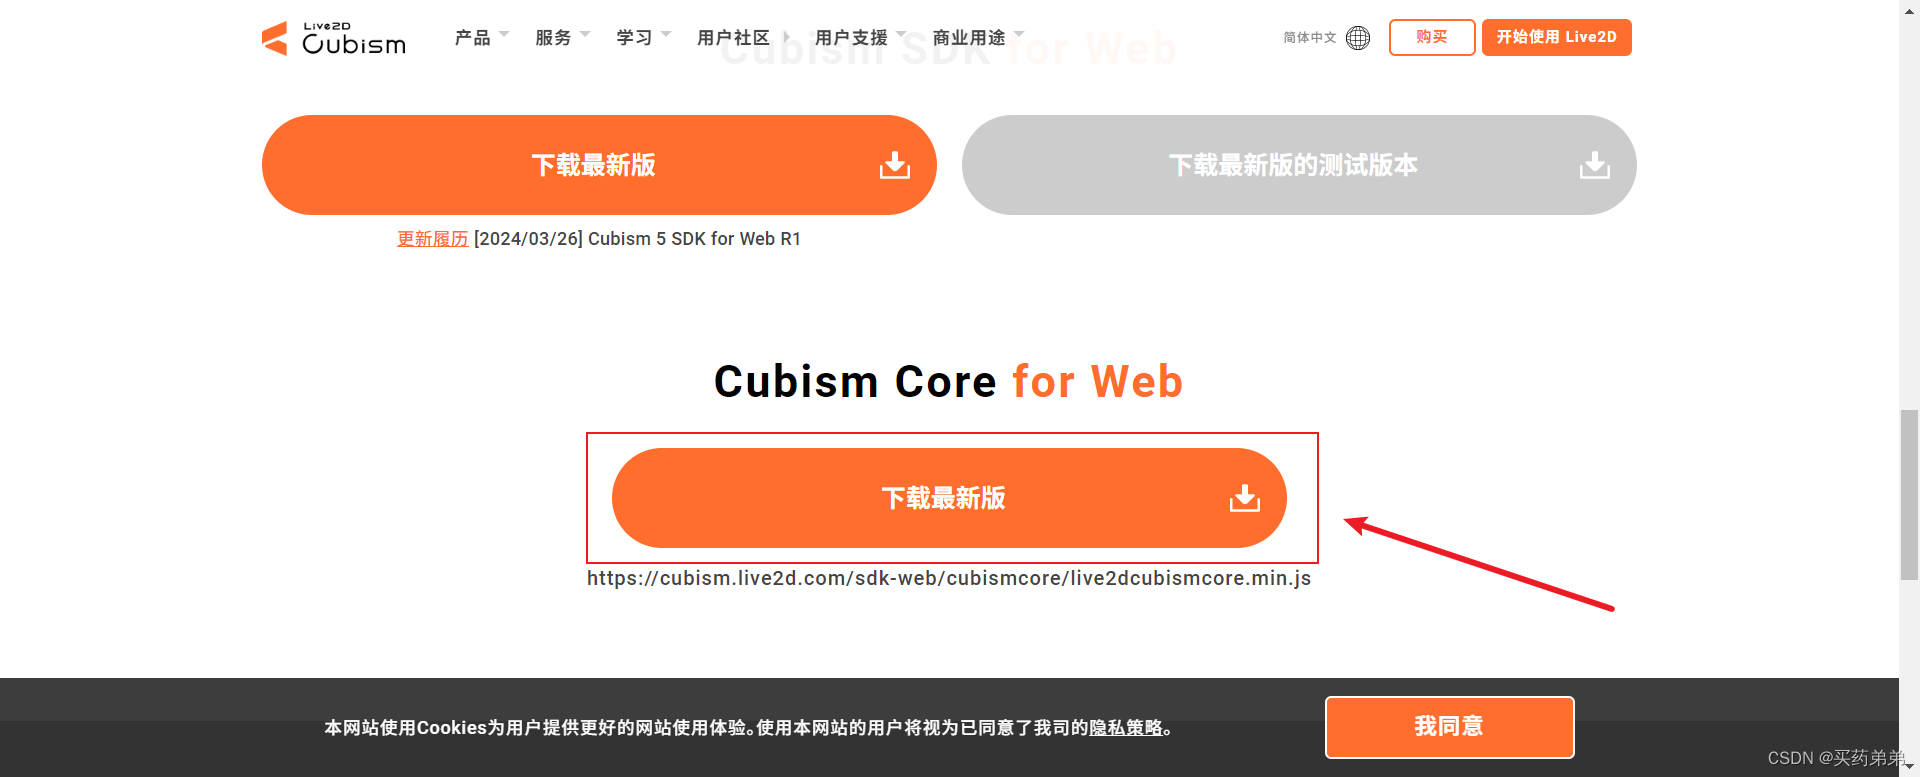
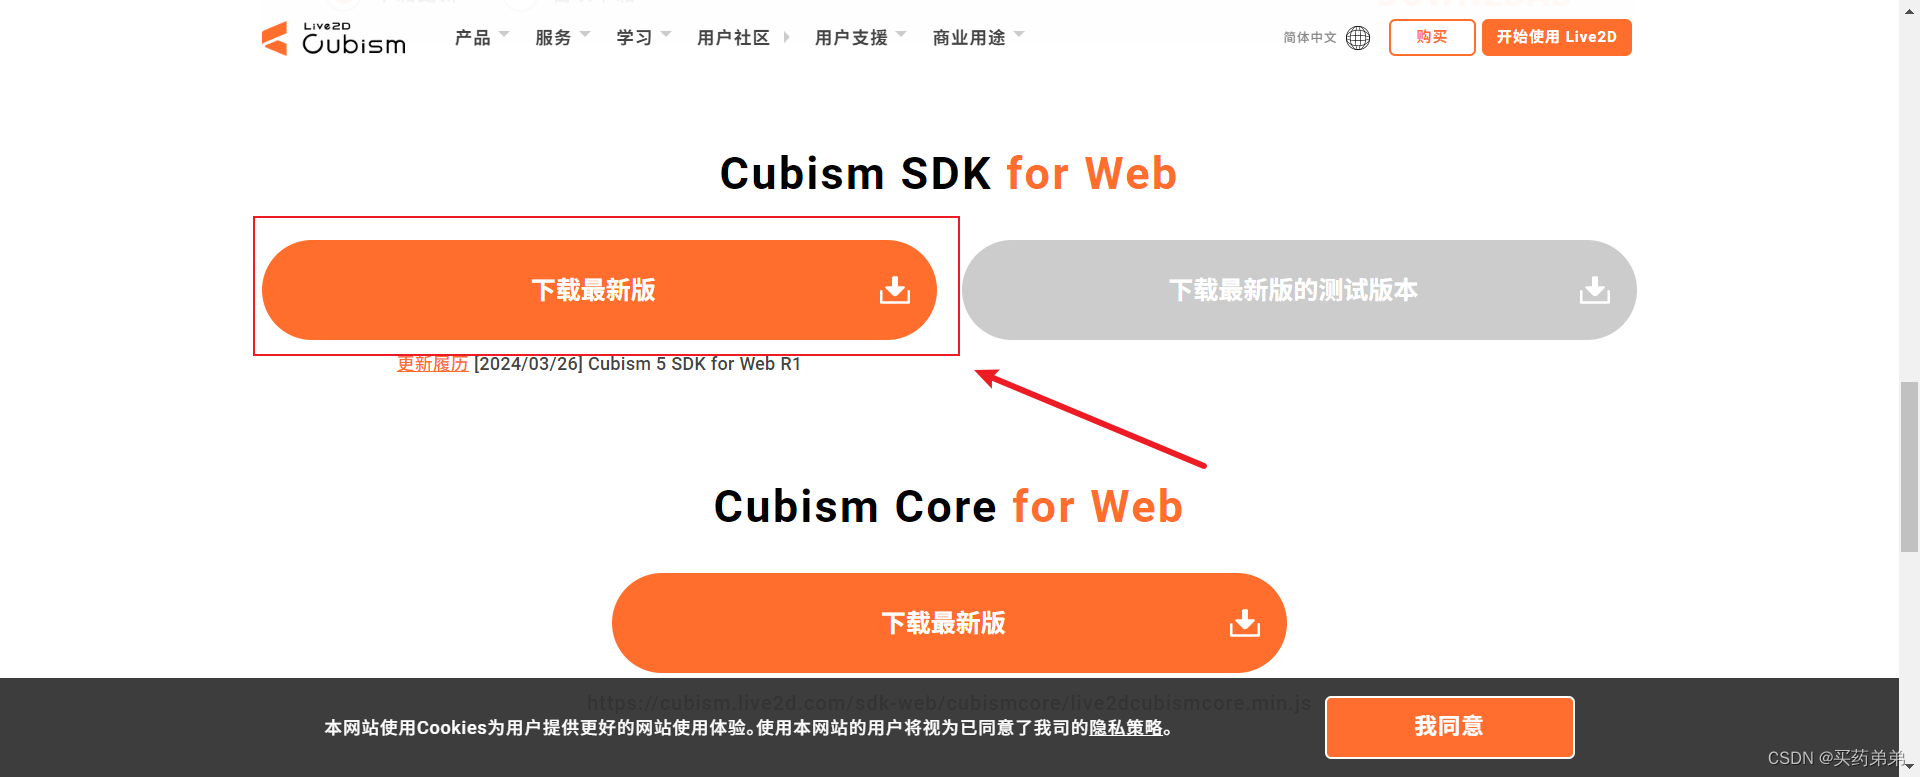
2. 配置 Live2D Core
在下面网站现在Live2D Core 复制到 public 文件夹下
https://www.live2d.com/zh-CHS/sdk/download/web/

修改index.html 增加对Live2D Core的引用,index.js内容如下
<!doctype html>
<html lang="en">
  <head>
    <meta charset="utf-8" />
    <link rel="icon" href="%PUBLIC_URL%/favicon.ico" />
    <meta name="viewport" content="width=device-width, initial-scale=1" />
    <meta name="theme-color" content="#000000" />
    <meta
      name="description"
      content="Web site created using create-react-app"
    />
    <link rel="apple-touch-icon" href="%PUBLIC_URL%/logo192.png" />
    <!--
      manifest.json provides metadata used when your web app is installed on a
      user's mobile device or desktop. See https://developers.google.com/web/fundamentals/web-app-manifest/
    -->
    <link rel="manifest" href="%PUBLIC_URL%/manifest.json" />
    <!--
      Notice the use of %PUBLIC_URL% in the tags above.
      It will be replaced with the URL of the `public` folder during the build.
      Only files inside the `public` folder can be referenced from the HTML.

      Unlike "/favicon.ico" or "favicon.ico", "%PUBLIC_URL%/favicon.ico" will
      work correctly both with client-side routing and a non-root public URL.
      Learn how to configure a non-root public URL by running `npm run build`.
    -->
    <title>React App</title>
    <script src="./live2dcubismcore.min.js"></script>
  </head>
  <body>
    <noscript>You need to enable JavaScript to run this app.</noscript>
    <div id="root"></div>
    <!--
      This HTML file is a template.
      If you open it directly in the browser, you will see an empty page.

      You can add webfonts, meta tags, or analytics to this file.
      The build step will place the bundled scripts into the <body> tag.

      To begin the development, run `npm start` or `yarn start`.
      To create a production bundle, use `npm run build` or `yarn build`.
    -->
  </body>
</html>
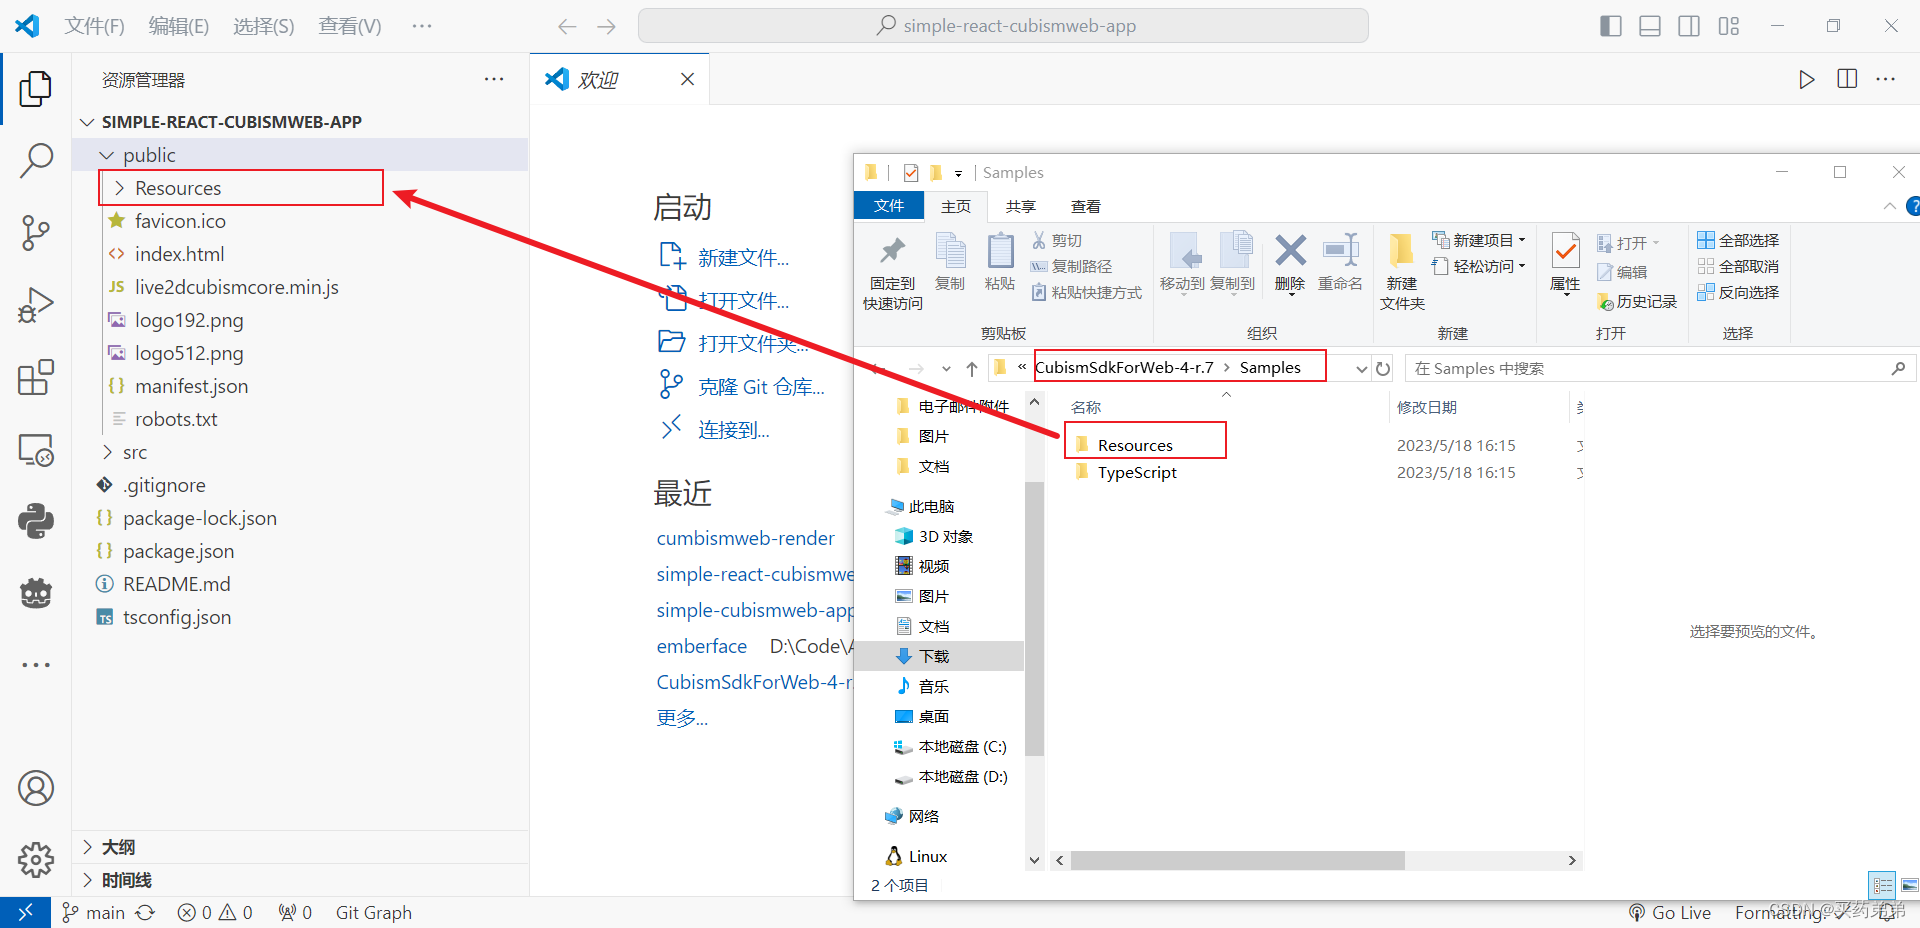
3. 将Live2D模型资源文件添加到public文件夹中
也可以在下面网站下载SDK
https://www.live2d.com/zh-CHS/sdk/download/web/
将SDK中的官方资源文件夹复制到public文件夹中
4. 将Render库作为子模块加入src文件夹
该Render项目作为子项目,加入到项目中(该项目为从cubismweb的示例项目提取修改而来,使用请遵守cubismweb官方的协议)
git submodule add https://github.com/couchette/cumbismweb-render.git src/Live2D/Render

5. 创建自定义hook
在src文件夹下面创建hook文件夹,创建useLive2D.ts文件,内容如下
import { useEffect } from "react";
import * as Define from "../Live2D/Render/Define";
import { Delegate } from "../Live2D/Render/Delegate";

export default function useLive2D() {
  return useEffect(() => {
    Delegate.releaseInstance();

    if (Delegate.getInstance().initialize() === false) {
      return;
    }

    Delegate.getInstance().run();

    if (Define.CanvasSize === "auto") {
      Delegate.getInstance().onResize();
    }

    window.addEventListener("resize", () => {
      Delegate.getInstance().onResize();
    });
  }, []);
}
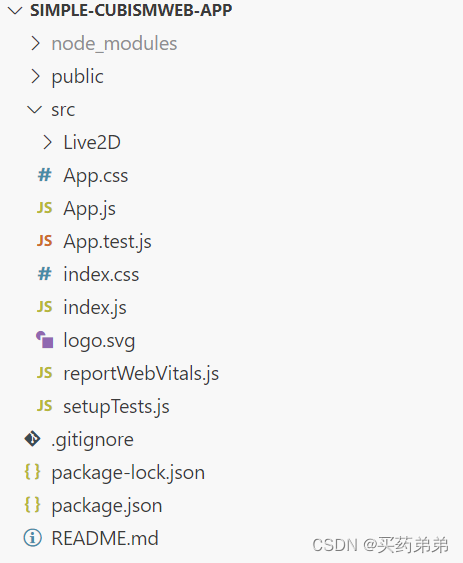
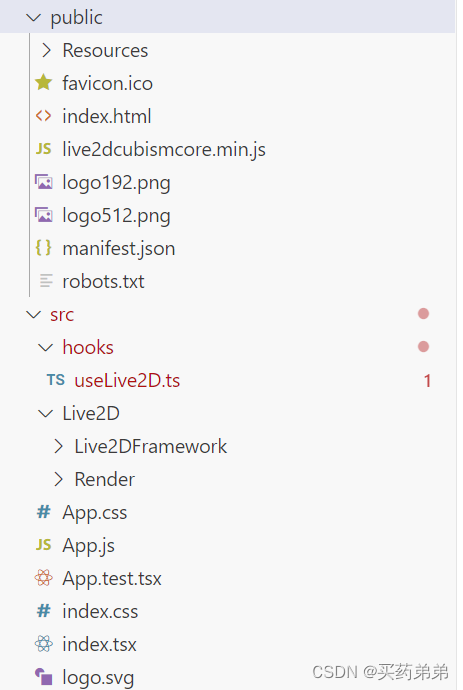
项目结构如下
6. 修改src/App.tsx为App.js
修改内容如下
import "./App.css";
import useLive2D from "./hooks/useLive2D";

function App() {
  useLive2D();

  return (
    <div className="App">
      <div
        style={{
          display: "flex",
          flexDirection: "row",
          height: "100vh",
          width: "100vw",
        }}
      >
        <canvas id="can"></canvas>
      </div>
    </div>
  );
}

export default App;
7.配置package.json和tsconfig.json
package.json文件内容如下
{
  "name": "simple-cubismweb-app",
  "version": "0.1.0",
  "private": true,
  "dependencies": {
    "@testing-library/jest-dom": "^5.17.0",
    "@testing-library/react": "^13.4.0",
    "@testing-library/user-event": "^13.5.0",
    "@types/jest": "^27.5.2",
    "@types/node": "^16.18.91",
    "@types/react": "^18.2.73",
    "@types/react-dom": "^18.2.22",
    "react": "^18.2.0",
    "react-dom": "^18.2.0",
    "react-scripts": "5.0.1",
    "typescript": "^4.9.5",
    "web-vitals": "^2.1.4"
  },
  "scripts": {
    "dev": "craco start",
    "start": "react-scripts start",
    "build": "react-scripts build",
    "test": "react-scripts test",
    "eject": "react-scripts eject"
  },
  "eslintConfig": {
    "extends": [
      "react-app",
      "react-app/jest"
    ],
    "ignorePatterns": [
      "src/Live2D/Live2DFramework/src/*.*",
      "src/Live2D/Live2DFramework/src/**/*.*",
      "src/Live2D/Render/*.*"
    ]
  },
  "browserslist": {
    "production": [
      ">0.2%",
      "not dead",
      "not op_mini all"
    ],
    "development": [
      "last 1 chrome version",
      "last 1 firefox version",
      "last 1 safari version"
    ]
  },
  "devDependencies": {}
}
tsconfig.json内容如下
{
  "compilerOptions": {
    "target": "ESNext",
    "lib": ["dom", "dom.iterable", "esnext"],
    "allowJs": true,
    "skipLibCheck": true,
    "esModuleInterop": true,
    "allowSyntheticDefaultImports": true,
    "strict": true,
    "forceConsistentCasingInFileNames": true,
    "noFallthroughCasesInSwitch": true,
    "module": "NodeNext",
    "moduleResolution": "NodeNext",
    "resolveJsonModule": true,
    "isolatedModules": true,
    "noEmit": true,
    "jsx": "react-jsx",
  },
  "includes": ["**/*.ts", "**/*.tsx", "src"],
  "exclude": ["node_modules", "node_modules/", "**/node_modules"],
  "extends": "./tsconfig.paths.json"
}
三、运行项目
npm i安装依赖, npm start运行项目
运行结果如下

总结
感谢您看到这里,本文介绍了如何在React中使用CubismWebSDK,希望对您有所帮助,如果文章中存在任何问题、疏漏,或者您对文章有任何建议,请在评论区提出。


 5191
5191


 被折叠的 条评论
为什么被折叠?
被折叠的 条评论
为什么被折叠?
 到【灌水乐园】发言


