windows环境安装mmdetection
使用mmdetection最好使用linux系统
使用windows系统,用最佳实践去安装遇到了问题
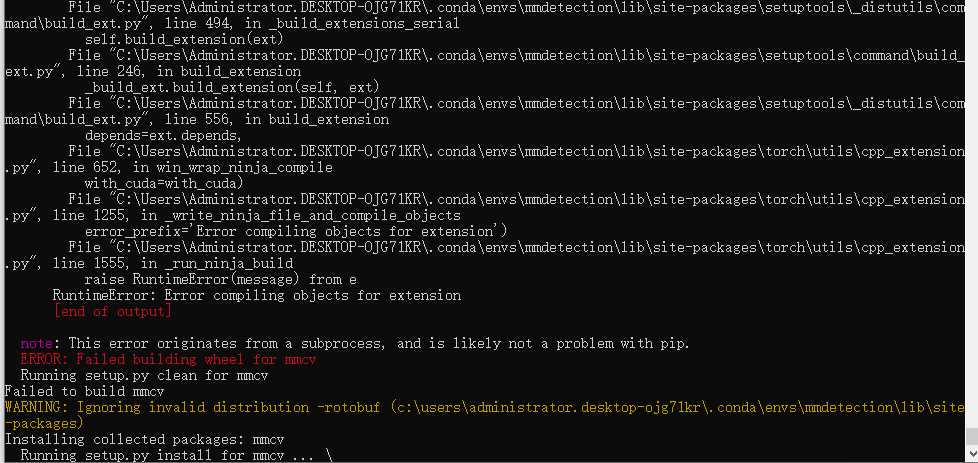
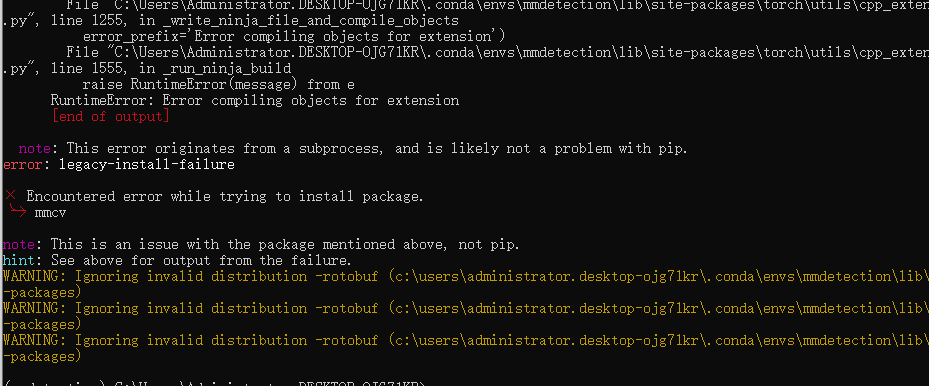
下面是正确的windows安装方案
创建pytorch环境
mmdetection是基于PyTorch、CUDA环境来安装的,所以首先得安装深度学习pytorch环境、参考我的这篇pytorch环境安装文档
这里,我拷贝pt17环境为mmdetection

之后我重装系统了,得重新安装了
过程如下
先确定需要安装的版本信息:


- 先安装pytorch
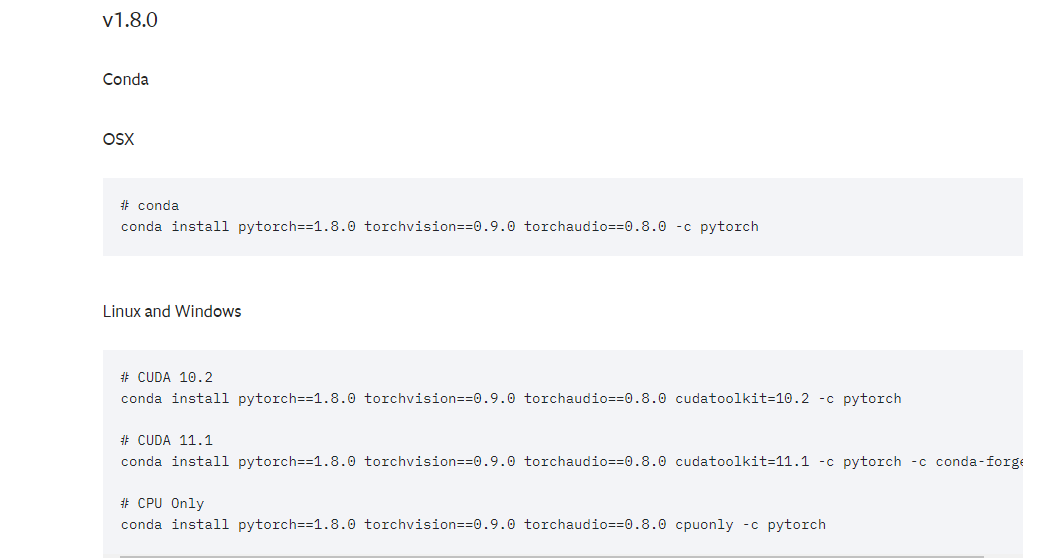

pip install torch==1.8.0+cu111 torchvision==0.9.0+cu111 torchaudio==0.8.0 -f https://download.pytorch.org/whl/torch_stable.html
查看当前python版本

安装虚拟环境
conda create -n pt18 python=3.8
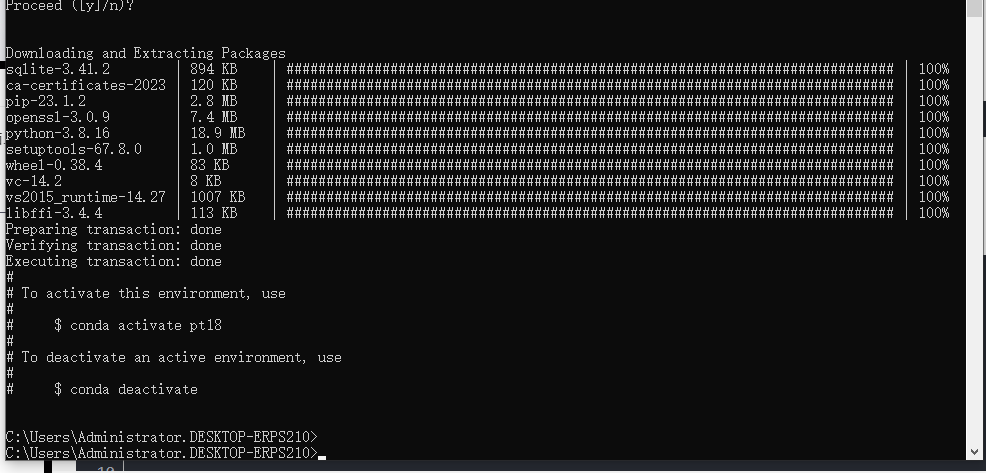
激活虚拟环境

安装pytorch
如果下载慢可以配置pip.ini

[global]
index-url = http://pypi.mirrors.ustc.edu.cn/simple
[install]
use-mirrors =true
mirrors =http://pypi.mirrors.ustc.edu.cn/simple/
trusted-host =pypi.mirrors.ustc.edu.cn
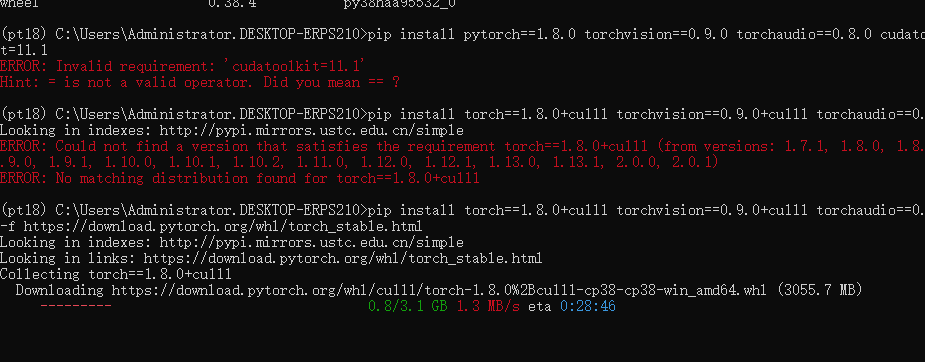
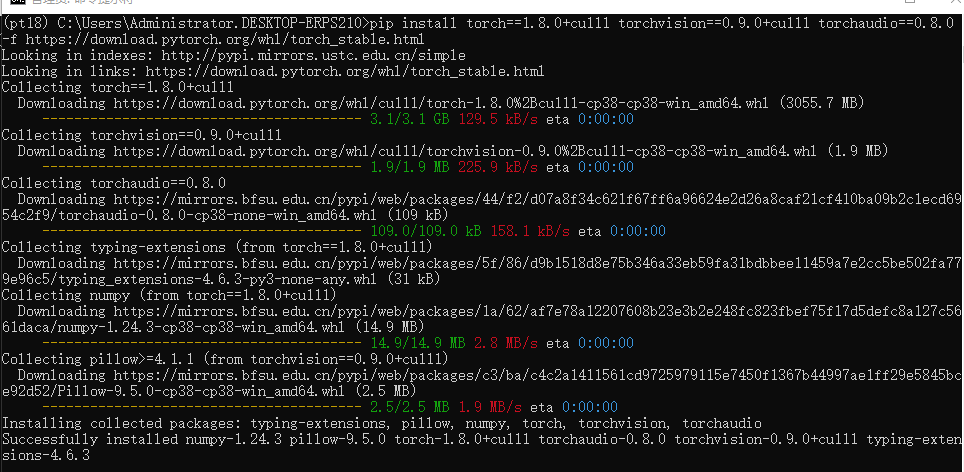
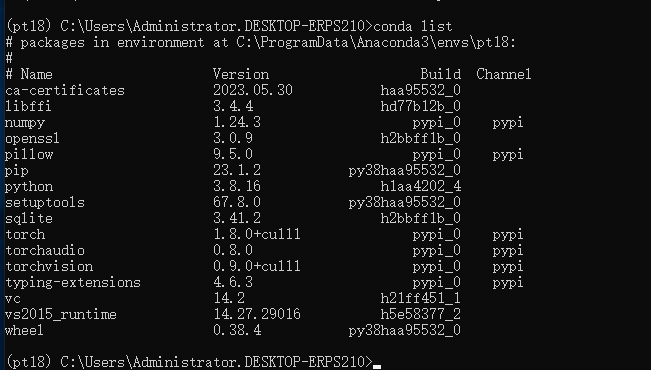
最终安装的版本信息
显卡:RTX 2080 ti
系统:Windows 10
cuda:11.1
cudnn:8.0.4.30
pytorch:1.8.0
torchvision:0.9.0
mmcv-full:
mmdetection:
查看cuda版本号:在cmd中键入:nvcc --version即可
安装过程
注意:以下安装都是在具体某一虚拟环境下的! 所以记得先在cmd中激活环境进入后再安装(我是安装在mmdetection虚拟环境下的)
step1:安装mmcv-full
mmcv是mm系列的底层支持,包括安装mmclassification、mmsegmentation都会使用到mmcv,这里有两个安装版本,一个是简化的版本mmcv,一个是完整的版本mmcv-full,完整的版本中包含了大量的算子,GPU下最好还是安装这个完整的版本,安装命令如下:
pip install mmcv==2.0.0rc3 -f https://download.openmmlab.com/mmcv/dist/cu111/torch1.8/index.html

Failed building wheel for mmcv-full
注意: 如果已经安装了 mmcv,首先需要使用 pip uninstall mmcv 卸载已安装的 mmcv,如果同时安装了 mmcv 和 mmcv-full,将会报 ModuleNotFoundError 错误。
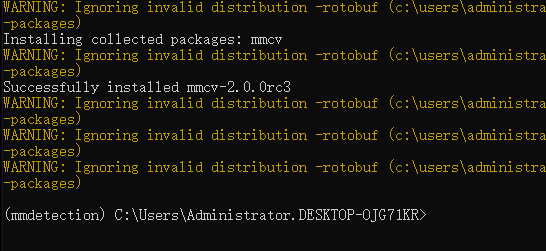
这里我克隆pt18环境为mmdetection然后安装
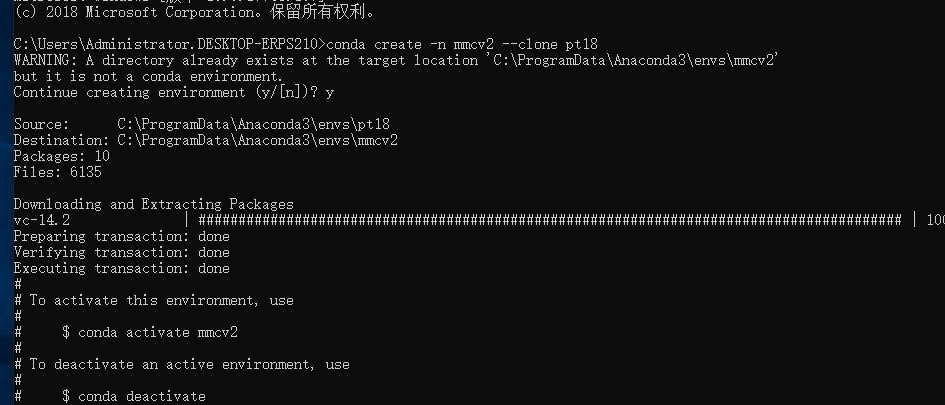
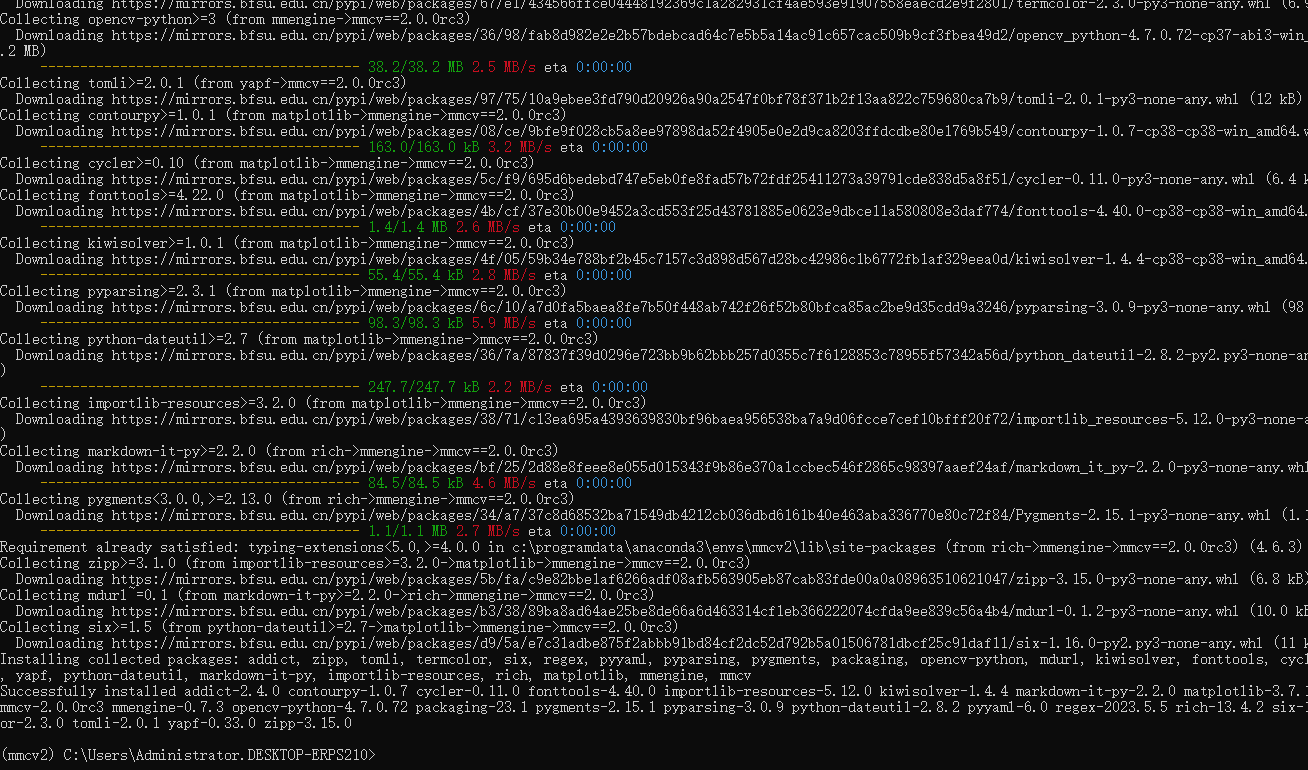
成功安装mmcv2
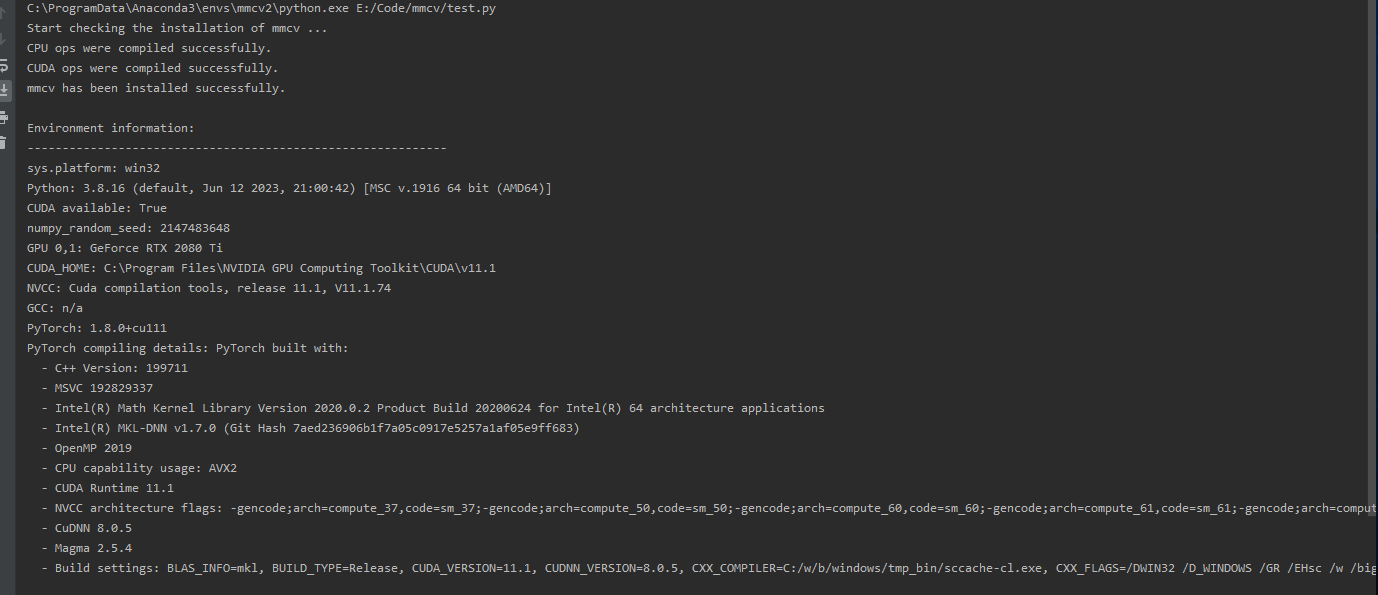
测试是否安装成功的代码:
import numpy as np
import torch

from mmcv.ops import box_iou_rotated
from mmcv.utils import collect_env


def check_installation():
    """Check whether mmcv has been installed successfully."""
    np_boxes1 = np.asarray(
        [[1.0, 1.0, 3.0, 4.0, 0.5], [2.0, 2.0, 3.0, 4.0, 0.6],
         [7.0, 7.0, 8.0, 8.0, 0.4]],
        dtype=np.float32)
    np_boxes2 = np.asarray(
        [[0.0, 2.0, 2.0, 5.0, 0.3], [2.0, 1.0, 3.0, 3.0, 0.5],
         [5.0, 5.0, 6.0, 7.0, 0.4]],
        dtype=np.float32)
    boxes1 = torch.from_numpy(np_boxes1)
    boxes2 = torch.from_numpy(np_boxes2)

    # test mmcv with CPU ops
    box_iou_rotated(boxes1, boxes2)
    print('CPU ops were compiled successfully.')

    # test mmcv with both CPU and CUDA ops
    if torch.cuda.is_available():
        boxes1 = boxes1.cuda()
        boxes2 = boxes2.cuda()
        box_iou_rotated(boxes1, boxes2)
        print('CUDA ops were compiled successfully.')
    else:
        print('No CUDA runtime is found, skipping the checking of CUDA ops.')


if __name__ == '__main__':
    print('Start checking the installation of mmcv ...')
    check_installation()
    print('mmcv has been installed successfully.\n')

    env_info_dict = collect_env()
    env_info = '\n'.join([(f'{k}: {v}') for k, v in env_info_dict.items()])
    dash_line = '-' * 60 + '\n'
    print('Environment information:')
    print(dash_line + env_info + '\n' + dash_line)


step2:安装mmdetection
拷贝虚拟环境
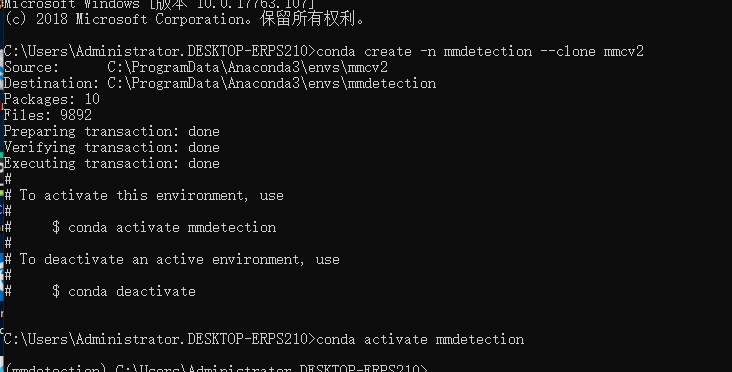

如果电脑上没有下载安装过git工具的话,是无法执行第一条命令的!所以我就直接在github上下载了最新版本的mmdetection包,然后依次执行的剩下两行命令。过程如下:
pip install -r requirements/build.txt
pip install -v -e .

然后遇到问题
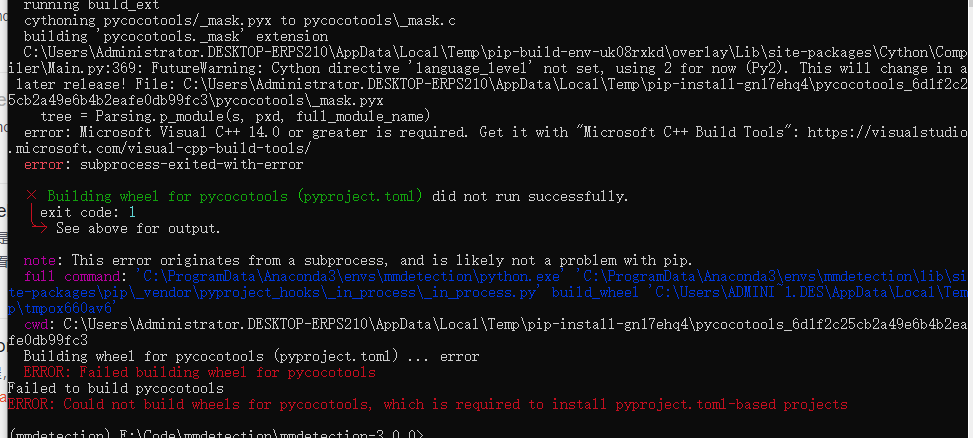
安装mmdet报错:Could not build wheels for pycocotools, which is required to install pyproject.toml-based projects
ERROR: Could not build wheels for pycocotools, which is required to install pyproject.toml-based projects
因为在安装mmdet时需要安装的相关库pycocotools无法安装,直接pip install pycocotools也会报错,具体原因不明
解决方法;
anaconda中给出建议可以上网站https://anaconda.org中进行搜索pycocotools后发现有人上传过这个包,因此在anaconda prompt 上执行以下四个命令之一先安装pycocotools
conda install -c conda-forge pycocotools
conda install -c "conda-forge/label/gcc7" pycocotools
conda install -c "conda-forge/label/cf201901" pycocotools
conda install -c "conda-forge/label/cf202003" pycocotools
在执行一次安装命令

pip install -v -e .

成功安装mmdetection
验证mmdetection是否可用
import mmdet
print(mmdet.__version__)

mmcv和mmdetection版本不对应。。。
MMDetection,MMEngine 和 MMCV 的版本兼容关系如下。请选择合适的版本避免安装错误
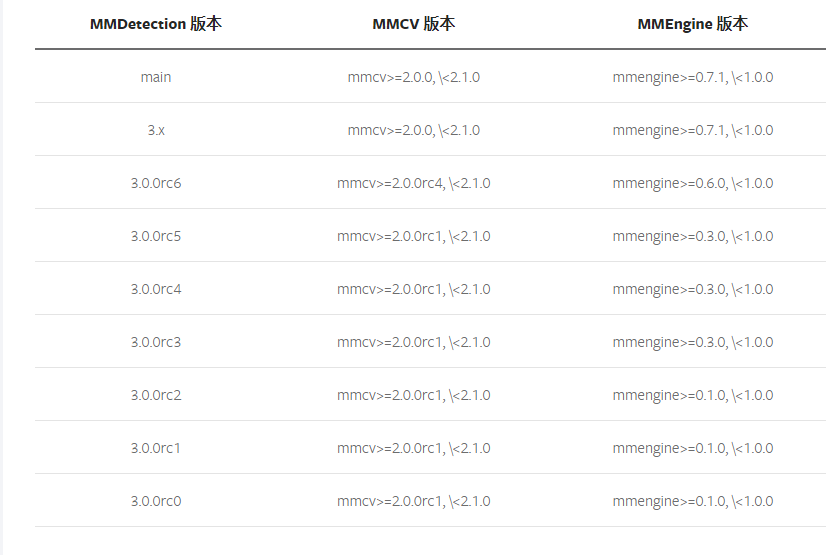
我最高只能下载rc5的代码


再来测试
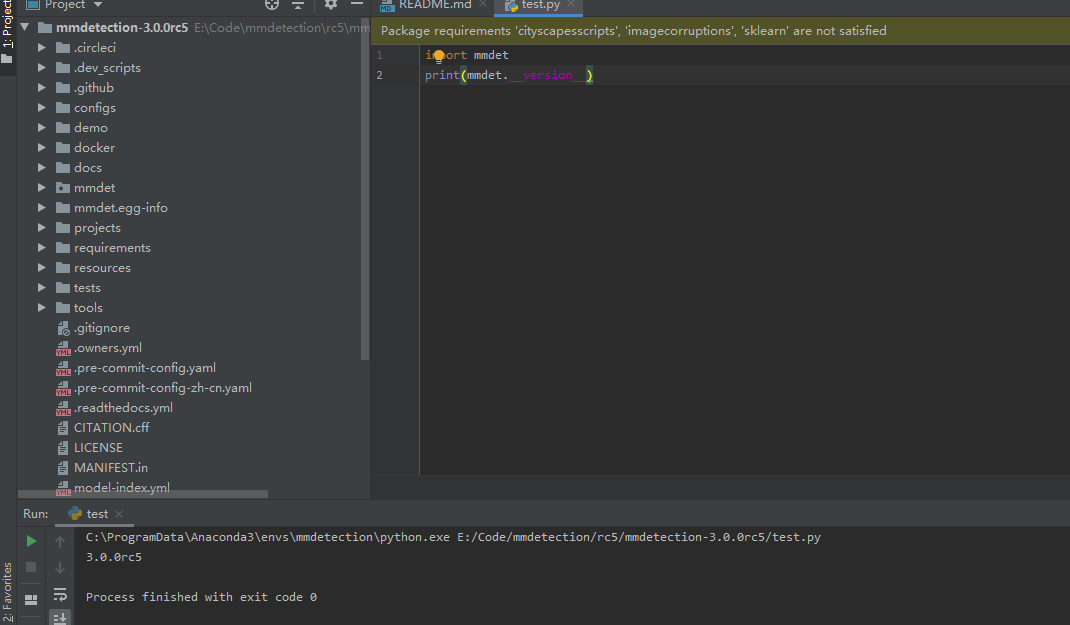
成功安装
进行推理测试
先下载faster rcnn权重
faster rcnn权重下载地址
更多权重目录
权重文件地址
python demo/image_demo.py demo/demo.jpg configs\faster_rcnn\faster-rcnn_r50_fpn_1x_coco.py checkpoints/faster_rcnn_r50_fpn_1x_coco_20200130-047c8118.pth
报错:

在原本的测试代码中加入:
import os

os.environ["KMP_DUPLICATE_LIB_OK"]="TRUE"
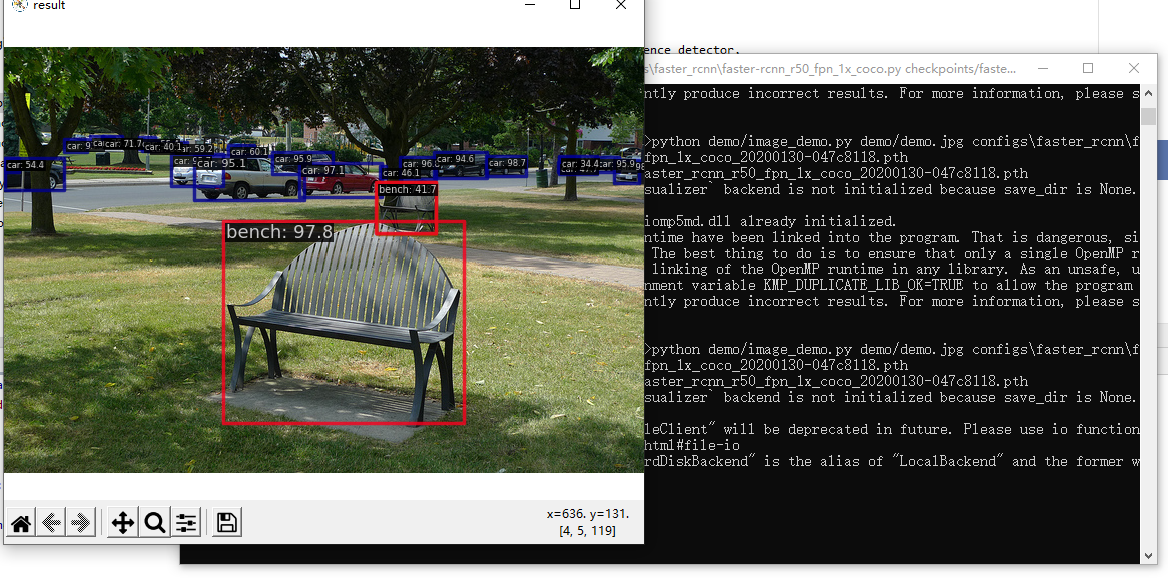
成功


 203
203


 被折叠的 条评论
为什么被折叠?


