


1,建立场景
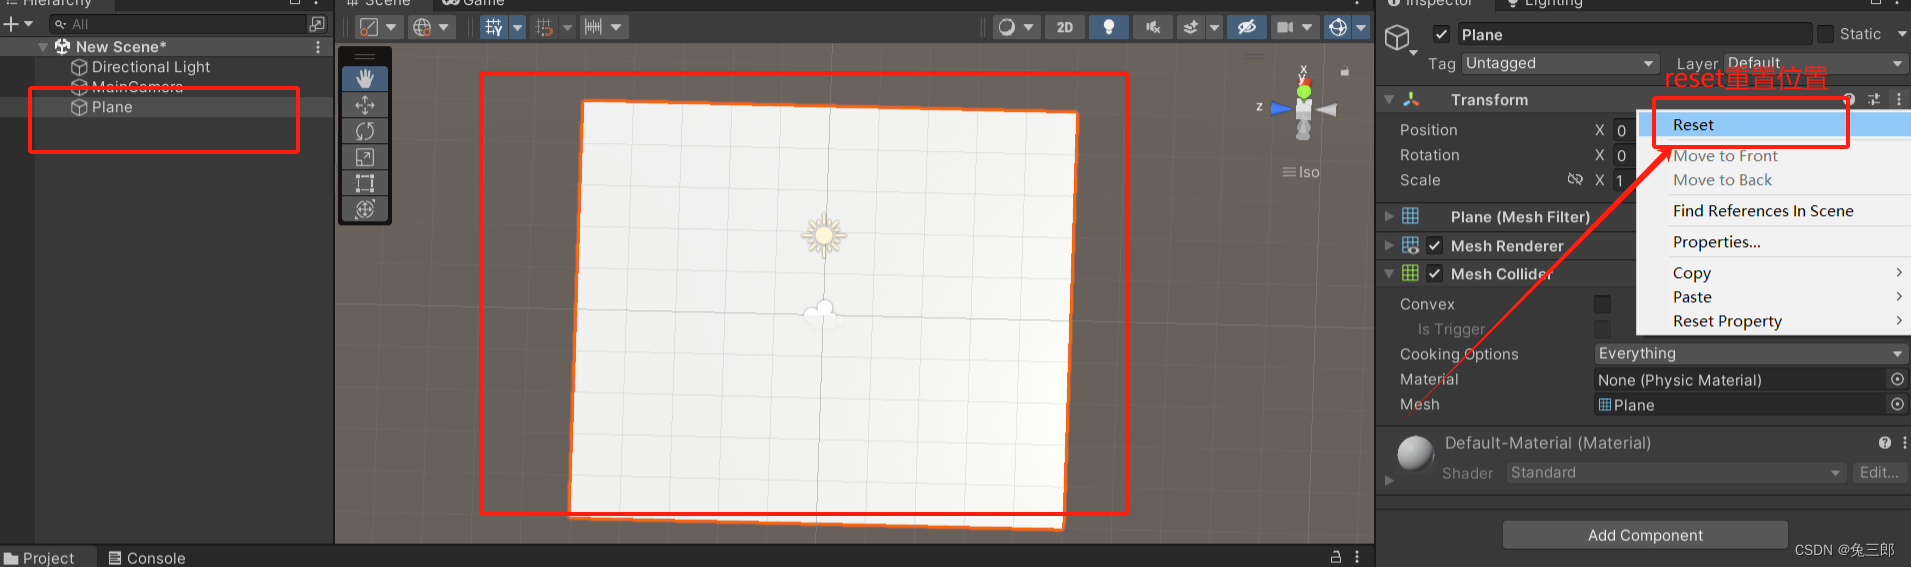
(1)右键建立平面,reset重置位置
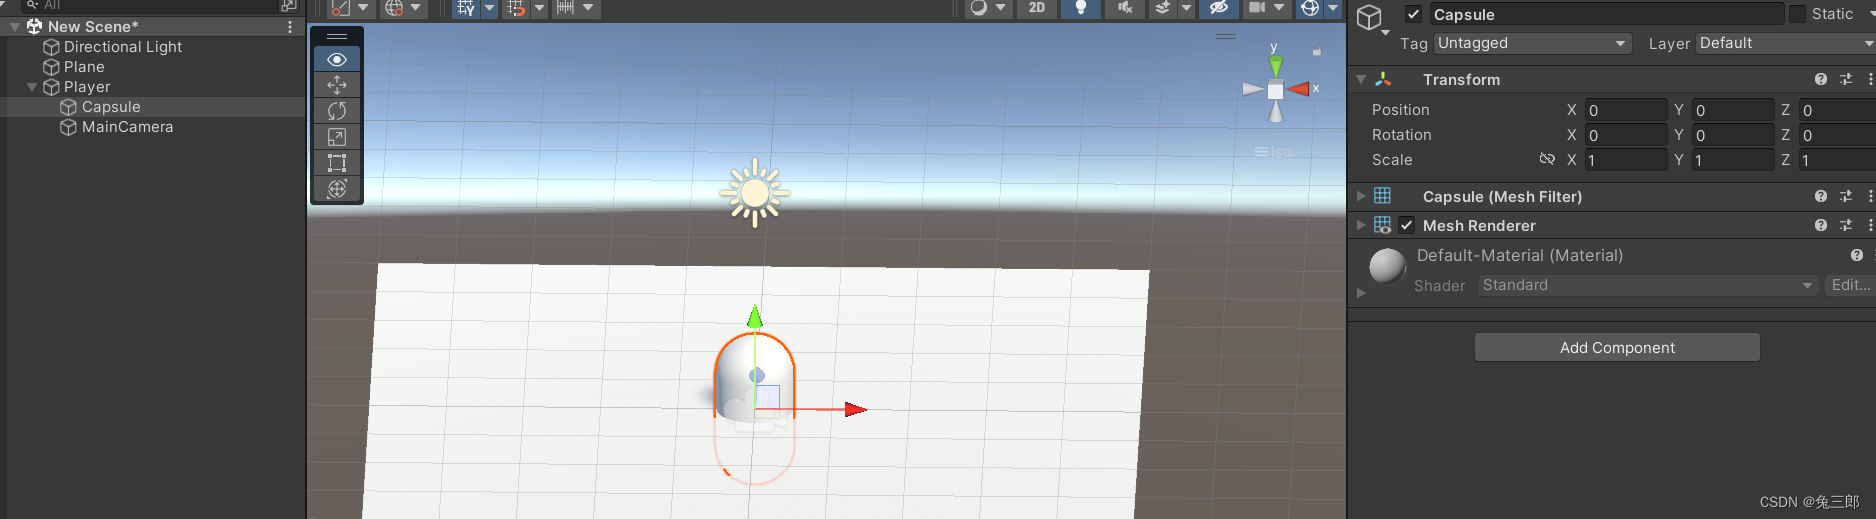
(2)右键创建空物体,然后改名为Player,随后在其下创建capsule,然后将主相机拖拽到Player下面。
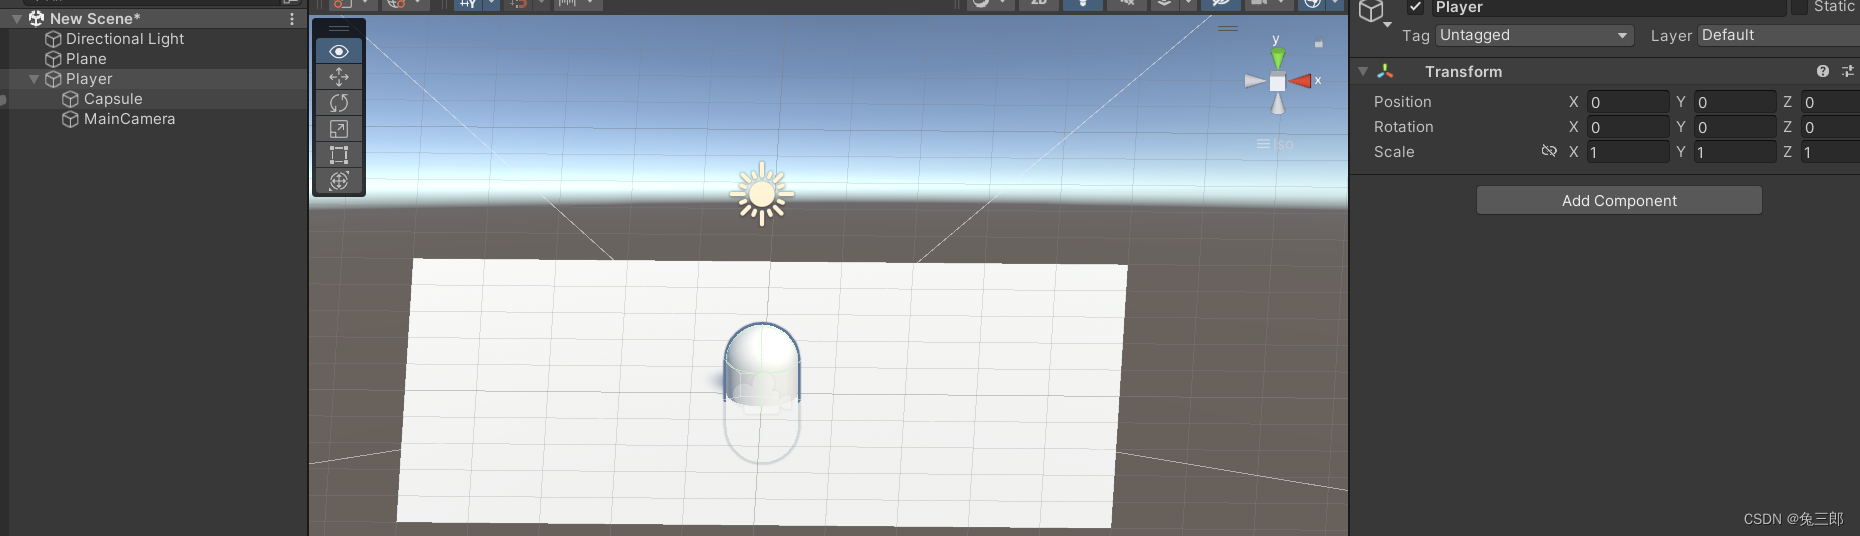
重置所有Player及其子物体全部位置为(0,0,0)
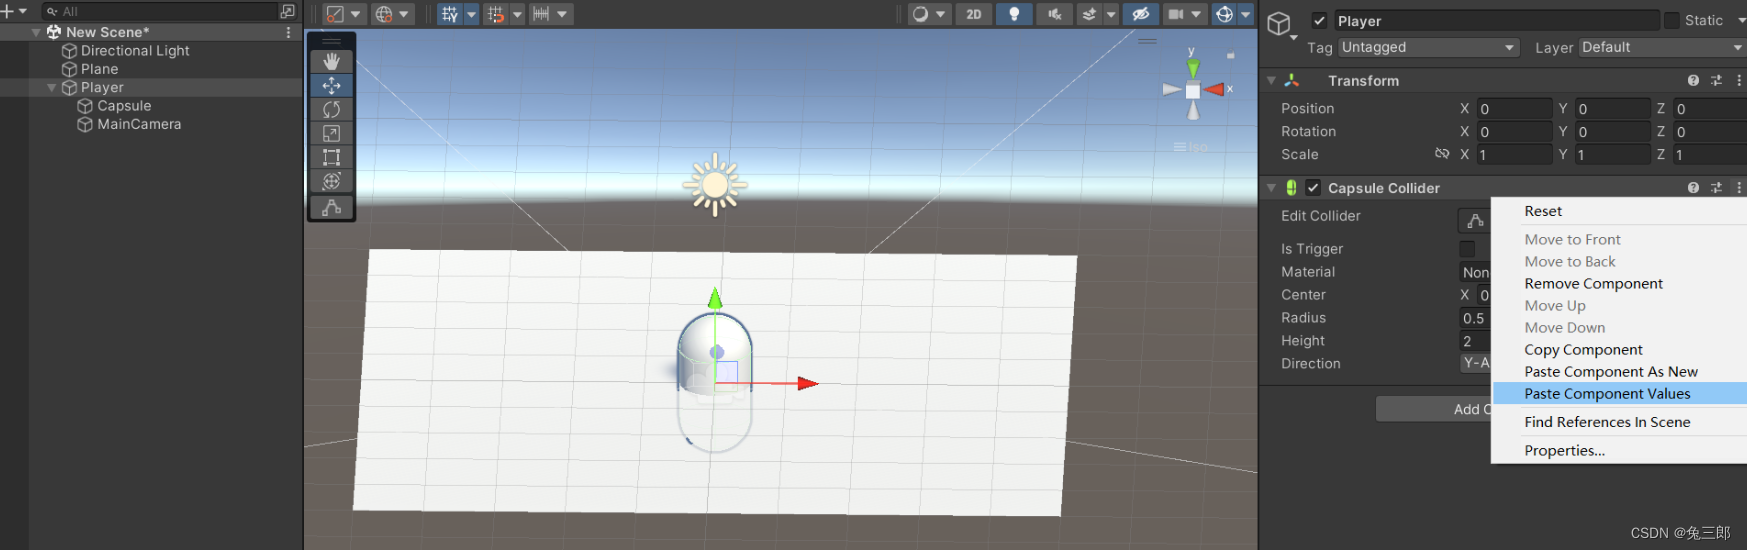
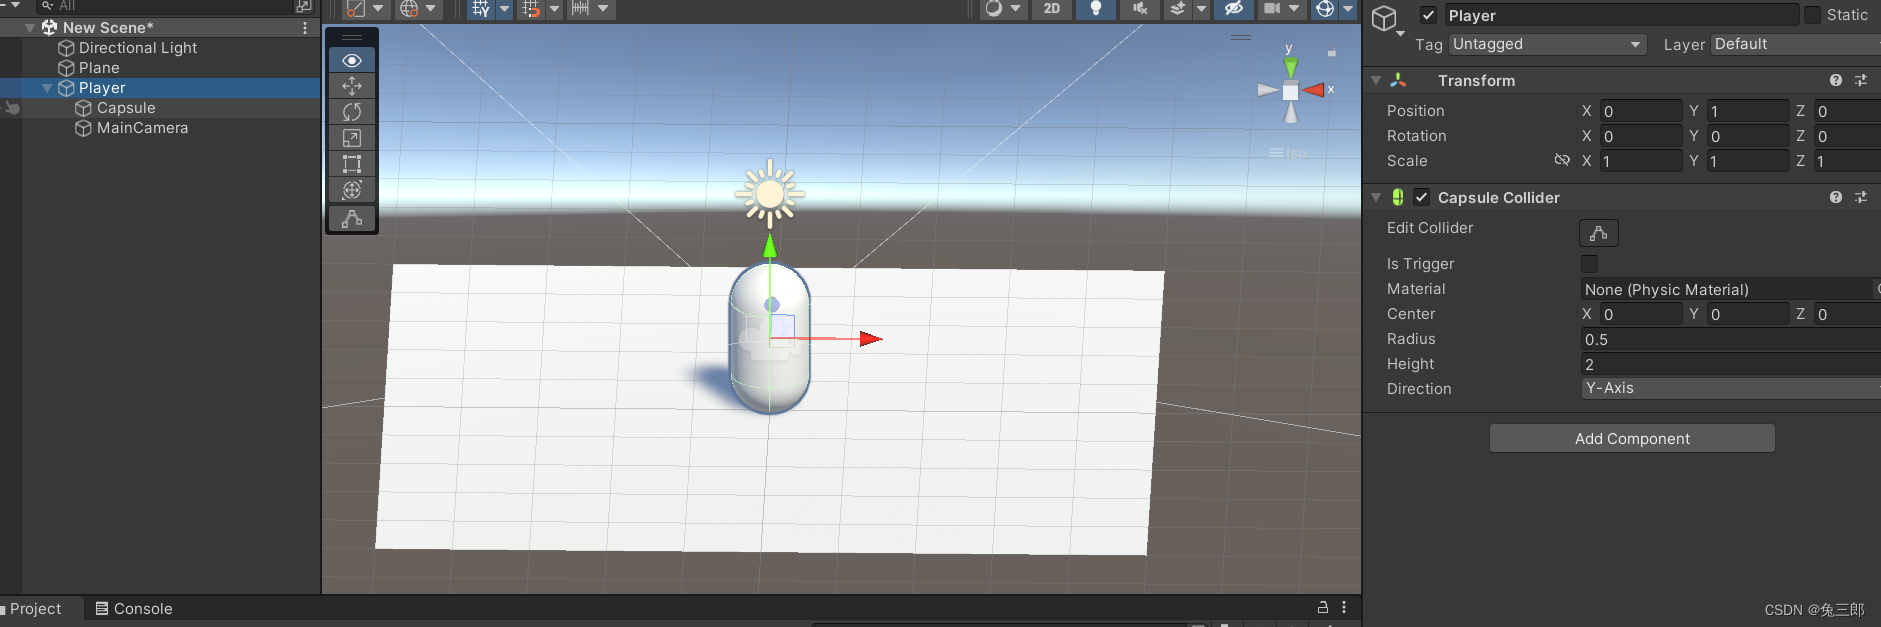
随后将capsule的碰撞体属性复制,然后在Player下添加碰撞体,并粘贴。
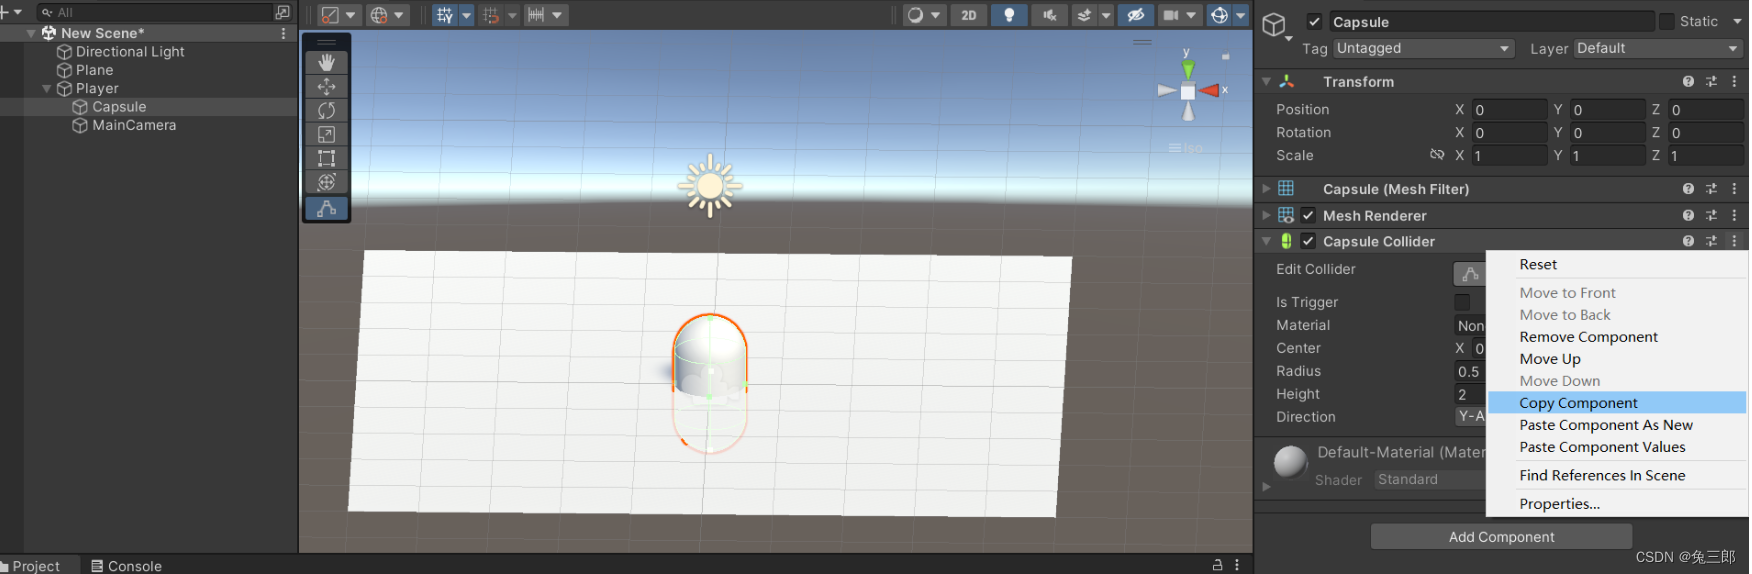
随后删除Capsule的碰撞体。
这样做是为了将逻辑处理放到父类身上,而不是子物体身上,减少逻辑混乱。这里在本小节没有实质的作用,但还是要做。
完成后将Player的位置改为(0,1,0)
2,代码部分
using System.Collections;
using System.Collections.Generic;
using UnityEngine;

public class FirstPersonController : MonoBehaviour
{
    public float speed = 6.0f; // 移动速度
    [Range(0f,200f)]
    public float mouseSensitivity = 100.0f; // 鼠标灵敏度
    public Transform cameraTransform; // 摄像机的Transform组件

    private float xRotation = 0f; // X轴旋转角度

    void Start()
    {
        // 如果没有在编辑器中指定摄像机,则默认使用附加此脚本的对象上的摄像机
        if (cameraTransform == null)
        {
            cameraTransform = transform.Find("Camera"); // 假设摄像机是角色的子对象,并且命名为"Camera"
        }
    }

    void Update()
    {
        // 鼠标控制视角旋转
        float mouseX = Input.GetAxis("Mouse X") * mouseSensitivity * Mathf.Deg2Rad; // 将鼠标X轴移动转换为弧度
        float mouseY = Input.GetAxis("Mouse Y") * mouseSensitivity * Mathf.Deg2Rad; // 将鼠标Y轴移动转换为弧度

        xRotation -= mouseY; // 更新X轴旋转角度
        xRotation = Mathf.Clamp(xRotation, -90f, 90f); // 限制视角的倾斜角度,防止倒立或底朝天

        cameraTransform.localRotation = Quaternion.Euler(xRotation, 0f, 0f); // 设置摄像机的X轴旋转
        transform.Rotate(0f, mouseX, 0f); // 旋转整个角色(包括摄像机)以实现Y轴旋转

        // WASD键控制移动
        float moveForward = Input.GetAxis("Vertical") * speed * Time.deltaTime;
        float moveHorizontal = Input.GetAxis("Horizontal") * speed * Time.deltaTime;

        Vector3 movement = new Vector3(moveHorizontal, 0.0f, moveForward); // 创建移动向量
        transform.Translate(movement); // 移动角色
    }
}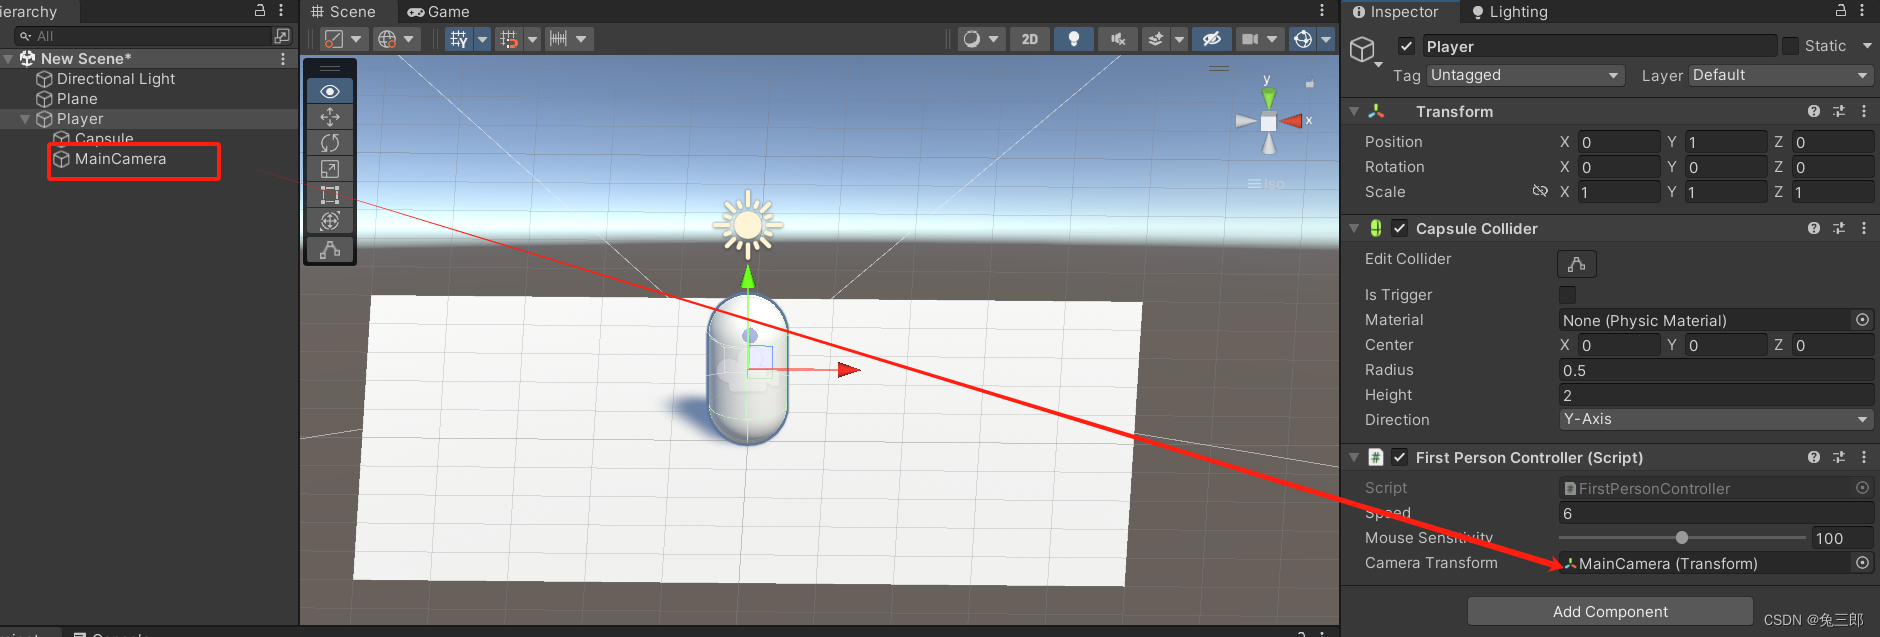
将代码添加到Player身上,将主相机拖拽到对应位置。

这里也有人使用Time.deltaTime,但是实际感觉下来,Mathf.Deg2Rad更加的丝滑一点。


 被折叠的 条评论
为什么被折叠?
被折叠的 条评论
为什么被折叠?
 到【灌水乐园】发言


