


启动kafka
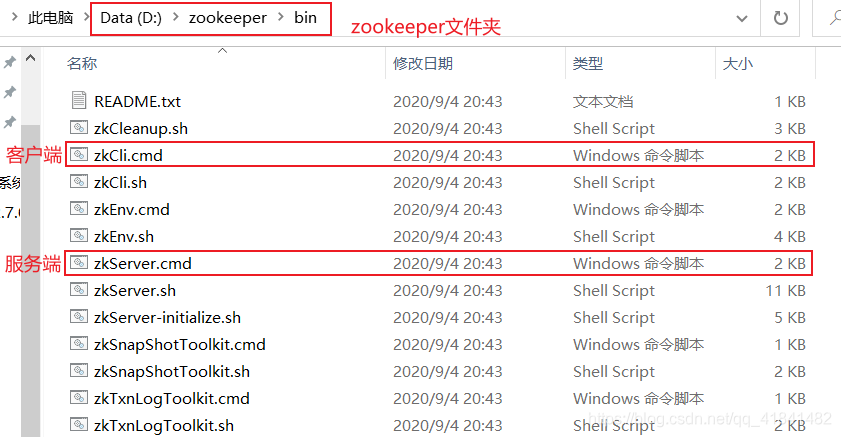
1. 启动zookeeper
2. 启动kafka
打开黑窗口,输入
.\bin\windows\kafka-server-start.bat .\config\server.properties
代码
导入kafka依赖
		<dependency>
			<groupId>org.apache.zookeeper</groupId>
			<artifactId>zookeeper</artifactId>
			<version>3.6.0</version>
		</dependency>

		<dependency>
			<groupId>org.apache.curator</groupId>
			<artifactId>curator-recipes</artifactId>
			<version>4.0.1</version>
		</dependency>

		<dependency>
			<groupId>org.apache.kafka</groupId>
			<artifactId>kafka_2.10</artifactId>
			<version>0.8.2.1</version>
			<exclusions>
				<exclusion>
					<artifactId>jmxri</artifactId>
					<groupId>com.sun.jmx</groupId>
				</exclusion>
				<exclusion>
					<artifactId>jms</artifactId>
					<groupId>javax.jms</groupId>
				</exclusion>
				<exclusion>
					<artifactId>jmxtools</artifactId>
					<groupId>com.sun.jdmk</groupId>
				</exclusion>
			</exclusions>
		</dependency>

		<dependency>
			<groupId>org.springframework.kafka</groupId>
			<artifactId>spring-kafka</artifactId>
		</dependency>

		<dependency>
			<groupId>org.apache.kafka</groupId>
			<artifactId>kafka-clients</artifactId>
		</dependency>
配置
package com.config;

import java.util.HashMap;
import java.util.Map;

import org.apache.kafka.clients.consumer.ConsumerConfig;
import org.apache.kafka.clients.producer.ProducerConfig;
import org.apache.kafka.common.serialization.StringDeserializer;
import org.apache.kafka.common.serialization.StringSerializer;
import org.springframework.context.annotation.Bean;
import org.springframework.context.annotation.Configuration;
import org.springframework.kafka.annotation.EnableKafka;
import org.springframework.kafka.config.ConcurrentKafkaListenerContainerFactory;
import org.springframework.kafka.core.ConsumerFactory;
import org.springframework.kafka.core.DefaultKafkaConsumerFactory;
import org.springframework.kafka.core.DefaultKafkaProducerFactory;
import org.springframework.kafka.core.KafkaTemplate;
import org.springframework.kafka.core.ProducerFactory;

import com.listener.MyListener;

@Configuration
@EnableKafka
public class KafkaConfig {

	/*------生产者配置--------*/
	@Bean
	public Map<String, Object> producerConfigs(){
		Map<String, Object> props = new HashMap<String, Object>();
		props.put(ProducerConfig.BOOTSTRAP_SERVERS_CONFIG, "localhost:9092,localhost:9093");
		props.put(ProducerConfig.RETRIES_CONFIG, 0);
		props.put(ProducerConfig.BATCH_SIZE_CONFIG, 16384);
		props.put(ProducerConfig.LINGER_MS_CONFIG, 1);
		props.put(ProducerConfig.BUFFER_MEMORY_CONFIG,33554432);
		props.put(ProducerConfig.KEY_SERIALIZER_CLASS_CONFIG, StringSerializer.class);
		props.put(ProducerConfig.VALUE_SERIALIZER_CLASS_CONFIG, StringSerializer.class);
		//props.put(ProducerConfig.ACKS_CONFIG, "0");
		return props;
	}

	@Bean
	public ProducerFactory<String, String> producerFactory(){
		return new DefaultKafkaProducerFactory<String, String>(producerConfigs());
	}

	/*---------消费者配置---------*/
	@Bean
	public Map<String, Object> consumerConfigs(){
		Map<String, Object> props = new HashMap<String, Object>();
		props.put(ConsumerConfig.BOOTSTRAP_SERVERS_CONFIG, "localhost:9092,localhost:9093");
		props.put(ConsumerConfig.GROUP_ID_CONFIG,"0");
		props.put(ConsumerConfig.ENABLE_AUTO_COMMIT_CONFIG,true);
		props.put(ConsumerConfig.AUTO_COMMIT_INTERVAL_MS_CONFIG, 100);
		props.put(ConsumerConfig.SESSION_TIMEOUT_MS_CONFIG, "15000");
		props.put(ConsumerConfig.KEY_DESERIALIZER_CLASS_CONFIG, StringDeserializer.class);
		props.put(ConsumerConfig.VALUE_DESERIALIZER_CLASS_CONFIG, StringDeserializer.class);
		//props.put(ConsumerConfig.MAX_POLL_RECORDS_CONFIG, 1);
		props.put(ConsumerConfig.FETCH_MAX_BYTES_CONFIG, 1024*2);
		return props;
	}

	@Bean
	ConcurrentKafkaListenerContainerFactory<String, String> kafkaListenerContainerFactory(){
		ConcurrentKafkaListenerContainerFactory<String, String> factory = new ConcurrentKafkaListenerContainerFactory<String, String>();
		factory.setConsumerFactory(consumerFactory());
		return factory;
	}

	@Bean
	public ConsumerFactory<String, String> consumerFactory(){
		return new DefaultKafkaConsumerFactory<String, String>(consumerConfigs());
	}

	// 消息监听器
	@Bean
	public MyListener myListener() {
		return new MyListener();
	}

	/*------配置 kafka-------*/
	@Bean
	public KafkaTemplate<String, String> kafkaTemplate(){
		KafkaTemplate<String, String> kafkaTemplate = new KafkaTemplate<String, String>(producerFactory());
		return kafkaTemplate;
	}

}
package com.config;

import java.util.HashMap;
import java.util.Map;

import org.apache.kafka.clients.admin.AdminClientConfig;
import org.apache.kafka.clients.admin.NewTopic;
import org.springframework.context.annotation.Bean;
import org.springframework.context.annotation.Configuration;
import org.springframework.kafka.annotation.EnableKafka;
import org.springframework.kafka.core.KafkaAdmin;

@Configuration
@EnableKafka
public class TopicConfig {

	@Bean
	public KafkaAdmin kafkaAdmin() {
		Map<String, Object> configs = new HashMap<String, Object>();
		configs.put(AdminClientConfig.BOOTSTRAP_SERVERS_CONFIG, "localhost:9092,localhost:9093");
		return new KafkaAdmin(configs);
	}

	@Bean
	public NewTopic topic1() {
		// 第一个参数是topic的名字,第二个参数是分区个数,第三个是topic的复制因子个数
		// 当broker个数为1时会创建topic失败
		// 只有在集群中才能使用kafka备份
		return new NewTopic("topic1", 3, (short) 2);
	}

	@Bean
	public NewTopic topic2() {
		return new NewTopic("topic2", 3, (short) 2);
	}

	@Bean
	public NewTopic topic3() {
		return new NewTopic("topic3", 3, (short) 2);
	}

	@Bean
	public NewTopic topic4() {
		return new NewTopic("topic4", 3, (short) 2);
	}
}
监听
package com.listener;

import org.apache.kafka.clients.consumer.ConsumerRecord;
import org.springframework.kafka.annotation.KafkaListener;
import org.springframework.kafka.annotation.PartitionOffset;
import org.springframework.kafka.annotation.TopicPartition;
import org.springframework.stereotype.Component;

public class MyListener {
//	@KafkaListener(id = "myContainer1", // id是消费者监听器
//			topicPartitions = // 配置topic和分区:监听两个topic,分别为topic1和topic2
//								// topic1接收分区0/3的消息,topic2接收分区0/1的消息,分区1的消费者初始位置为5
//			{@TopicPartition(topic = "topic1", partitions = {"0", "3"}),
//					@TopicPartition(topic = "topic2", partitions = "0", partitionOffsets = @PartitionOffset(partition = "1", initialOffset = "4"))})
//	public void listen(ConsumerRecord<?, ?> record) {
//		System.out.println("topic:" + record.topic());
//		System.out.println("key:" + record.key());
//		System.out.println("value:" + record.value());
//		System.out.println("partition:"+record.partition());
//		System.out.println("offset:"+record.offset());
//	}

	@KafkaListener(id = "myContainer1", topics = {"topic1"})
	public void listen2(ConsumerRecord<?, ?> record) {
		System.out.println("topic:" + record.topic());
		System.out.println("key:" + record.key());
		System.out.println("value:" + record.value());
		System.out.println("partition:"+record.partition());
		System.out.println("offset:"+record.offset());
	}
}
发送消息到消息队
package com.controller;

import org.slf4j.Logger;
import org.slf4j.LoggerFactory;
import org.springframework.beans.factory.annotation.Autowired;
import org.springframework.kafka.core.KafkaTemplate;
import org.springframework.web.bind.annotation.PathVariable;
import org.springframework.web.bind.annotation.RequestMapping;
import org.springframework.web.bind.annotation.RequestMethod;
import org.springframework.web.bind.annotation.RequestParam;
import org.springframework.web.bind.annotation.RestController;

@RestController
public class KafkaController {
	private final static Logger logger = LoggerFactory.getLogger(KafkaController.class);

	@Autowired
	private KafkaTemplate<String, String> kafkaTemplate;

	@RequestMapping(value = "/{topic}/send",method = RequestMethod.GET)
	public void sendMessageToTopic1(@PathVariable String topic,@RequestParam(value="partition",defaultValue = "0")int partition,@RequestParam(value = "key",required = false)String key,@RequestParam(value = "value")String value) {
		logger.info("start send message to {}",topic);
		kafkaTemplate.send(topic, key, value);
	}
}
启动
package com;

import org.slf4j.Logger;
import org.slf4j.LoggerFactory;
import org.springframework.boot.SpringApplication;
import org.springframework.boot.autoconfigure.SpringBootApplication;

@SpringBootApplication
public class KafkaStartApplication {

	private final static Logger logger = LoggerFactory.getLogger(KafkaStartApplication.class);

	public static void main(String[] args) throws Exception {
		SpringApplication.run(KafkaStartApplication.class, args);
	}
}


 5678
5678


 被折叠的 条评论
为什么被折叠?
被折叠的 条评论
为什么被折叠?
 到【灌水乐园】发言


