


约束布局ConstraintLayout按钮堆叠问题解决
在学《第一行代码(第二版)》中,书上用的是LinearLayout,但是android给的默认布局是ConstraintLayout,在敲书2.2.4的代码时,遇到按钮堆叠问题。
问题描述:
先是按书上敲的如下代码
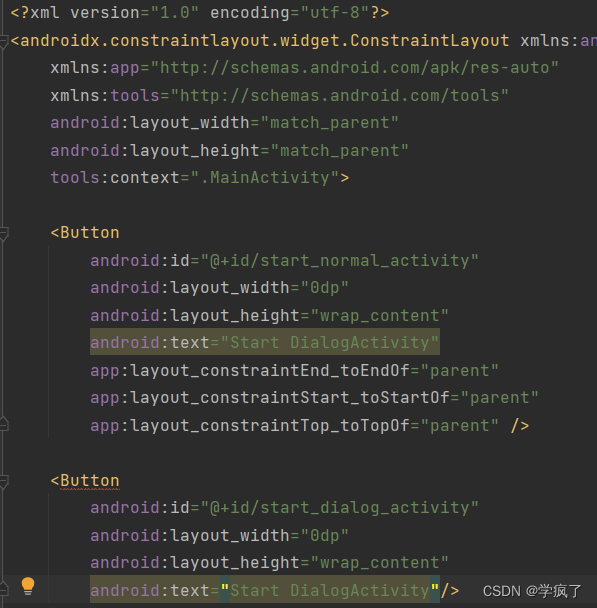
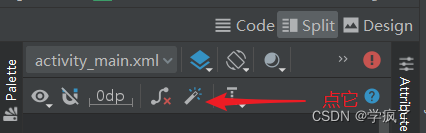
结果Button爆红,按以前的做法是用Infer Constraints(如下图)
 代码就变成了下图
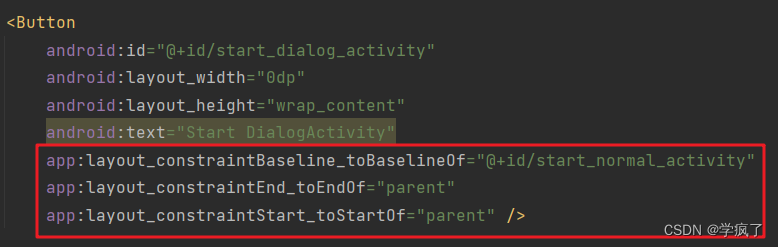
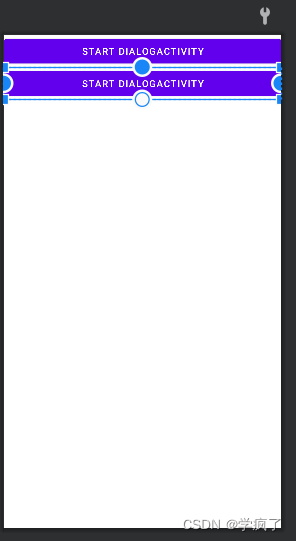
然后就变成了两个按钮重叠(如下图)

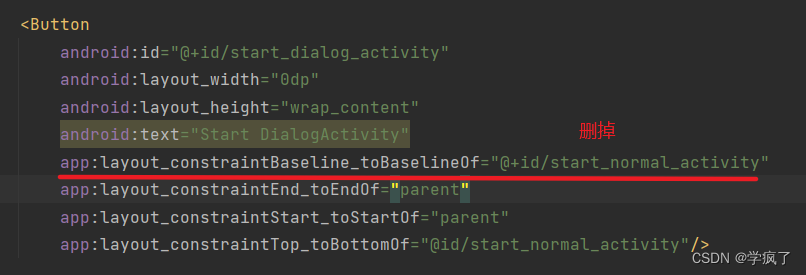
按照Android的ConstraintLayout布局控件堆积一起的解决方法在第二个按钮中添加了
app:layout_constraintTop_toBottomOf="@id/start_normal_activity"
依旧重叠。
解决方法
删除layout_constraintBaseline_toBaselineOf
app:layout_constraintBaseline_toBaselineOf="@+id/start_normal_activity"
问题解决:
问题原因:
layout_constraintBaseline_toBaselineOf是设定两个控件的基线对齐,什么是基线对齐?可以参考下图

而上面的第二个按钮不仅基线对齐,还是宽高都和第一个按钮的一样,于是就重叠了。


 1184
1184


 被折叠的 条评论
为什么被折叠?
被折叠的 条评论
为什么被折叠?
 到【灌水乐园】发言


