


常见问题
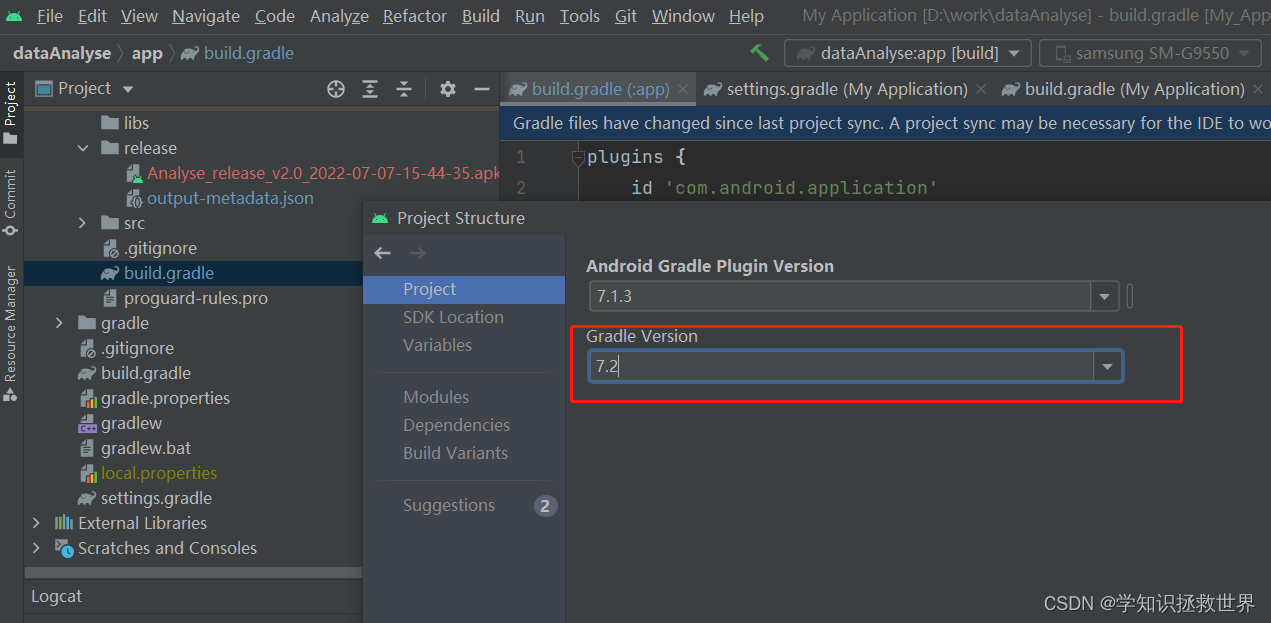
Minimum supported Gradle version is 7.2. Current version is 6.8. If using the gradle wrapper
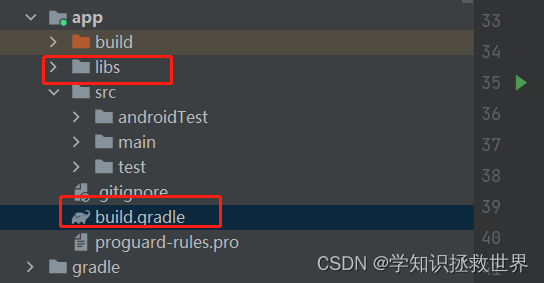
看下当前工程目录中是否存在gradle目录,如果不存在,创建一个新的工程,拷贝新工程的gradle文件夹到当前工程。gradle中有两个文件。


androidjava.io.IOException: Unable to tunnel through proxy. Proxy returns “HTTP/1.1 400 Bad Request“
解决方法:
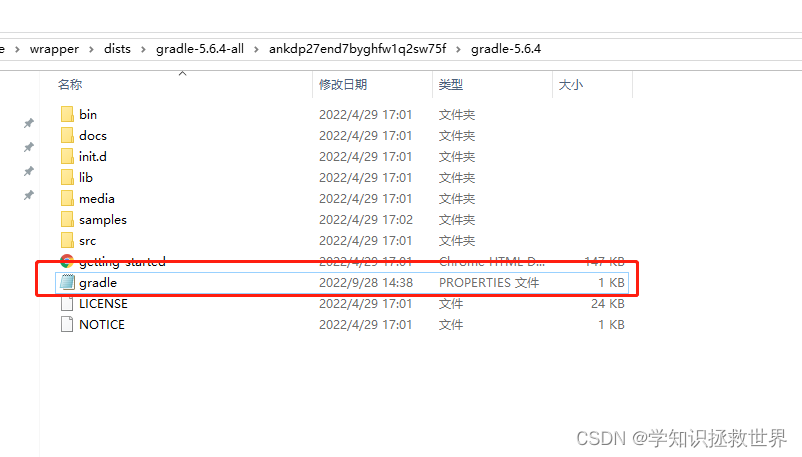
1.找到c盘下的gradle.properties文件
2.将代理注释

3.在gradle中设置不使用代理,重新加载,问题解决

Could not initialize class com.android.sdklib.repository.AndroidSdkHandler
gradle的版本太老了。将gradle升级。
https://blog.csdn.net/qq_36317441/article/details/122325618
Lint found errors in the project; aborting build.
打包AAR报错 lint 进行代码检查,防止代码不规范—如使用了过时的 api。
Lint found errors in the project; aborting build.

Fix the issues identified by lint, or create a baseline to see only new errors:

android {
    lint {
        baseline = file("lint-baseline.xml")
    }
}
解决方法:
在将要打包的模块中的 build.gradle 文件中添加如下内容,并单击 sync now。
android {
  //...
  lintOptions {
      abortOnError false
  }
}
Android如何引用jar包
Android如何引用jar包
将打包好的jar包添加到需要引入工程的Lib文件夹下。
右键点击此jar包,选择add as library。
https://developer.android.com/studio/build/dependencies?hl=zh-cn
其他方法
implementation fileTree(dir: 'libs', include: ['*.jar','*.aar'])

Gradle 声明了对项目的 module_name/libs/ 目录中 JAR 文件的依赖关系(因为 Gradle 会读取 build.gradle 文件的相对路径)。
也就是说Gradle会读取build.gradle的相对路径,然后找build.gradle相对路径/libs/下路径的libs文件导入到项目中。所以创建的libs的目录要和build.gradle同级
Android模块如何使用本地的依赖,忽略项目的依赖。
- 在android的setting中进行以下设置。
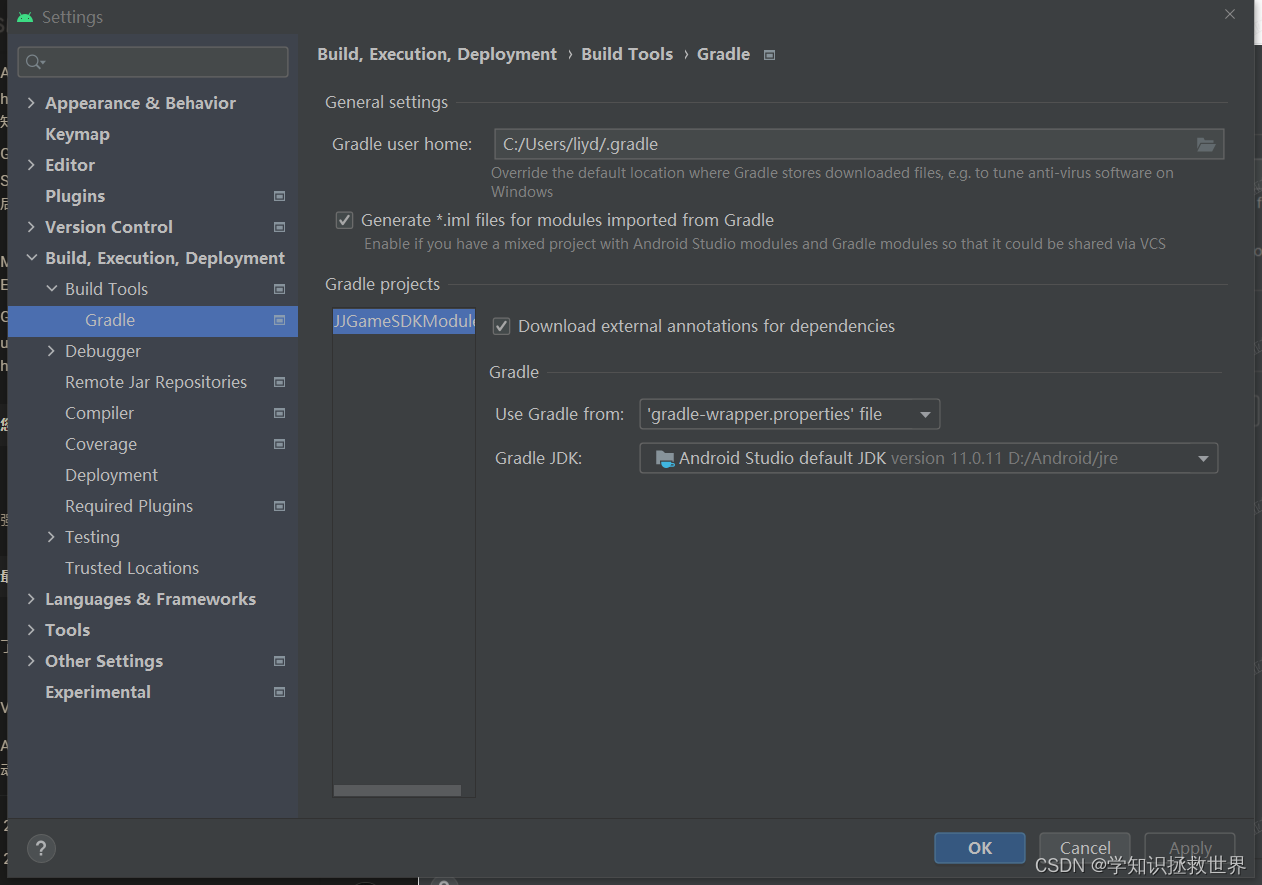
- 根据gradle-wrapper中distributionUrl的值,找到相应的gradle文件,并修改gradle文件添加
android.useAndroidX=true
android.enableJetifier=true

Android Studio R文件爆红但是项目可以运行
这种原因是你的R文件太大了(超过了Android Studio的上限25.6M了)
解决办法如下:
Help -> Edit Custom Properties -> create custom properties?(yes) ->添加 idea.max.intellisense.filesize=5000
转载:https://blog.csdn.net/LosingCarryJie/article/details/79489403
Android查看gradle版本
avc: denied { read } for name=“stat” dev=“proc” ino=4026532449 scontext=u:r:untrusted_app
https://blog.csdn.net/tung214/article/details/72734086
SELinex限制,
限制之后有三种结果:
- An Enforcing SELinux writes that Log AND denied the access. // 强制拒绝 记录日志且无法获取信息。
- A Permissive SELinux writes that Log BUT allow the access. // 写下日志并允许获取值
- A Disabled SELinux do NOT writes the log AND allow the access. // 不记录日志并且可以获取值
缺少权限的补救方法:
https://cloud.tencent.com/developer/article/1662137
Android主动杀死进程
Process.killProcess(Process.myPid());
https://blog.csdn.net/hwe_xc/article/details/50803454
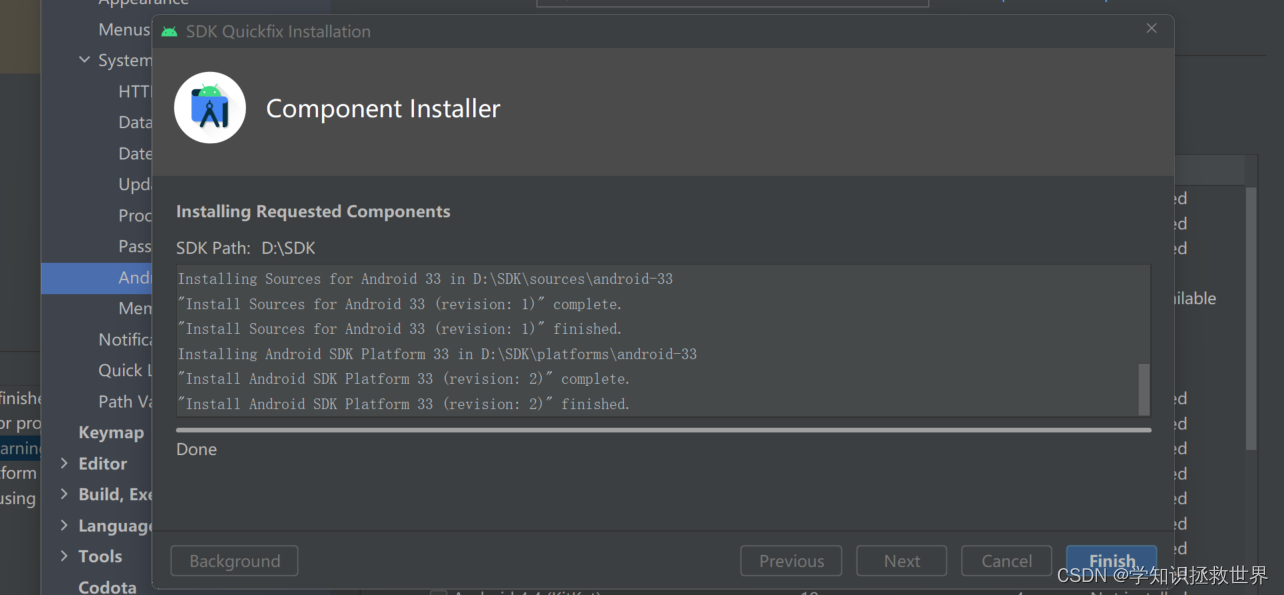
Android导入项目时未具备相应平台版本。
下载相应平台版本导入后,在重新sync工程。
Failed to find Platform SDK with path: platforms;android-33

We recommend using a newer Android Gradle plugin to use compileSdk = 33

This Android Gradle plugin (7.1.3) was tested up to compileSdk = 32
清空并退出当前activity所在栈
activity.finishAffinity();
https://blog.csdn.net/xieluoxixi/article/details/53469553
assets 资源存放文档
https://www.jianshu.com/p/5974fcf88170
webView
https://blog.csdn.net/harvic880925/article/details/51523983
So库问题
问题:
couldn't find "libHplayers.so"
解决方法:
android {

    // 添加so库
    sourceSets{
        main{
            jniLibs.srcDirs = ['libs']
        }
    }
}
core版本问题
 C:\Users\xxx\.gradle\caches\transforms-2\files-2.1\319492c62ad32ad530467d6d0d6c17f1\core-1.8.0\res\values\values.xml:104:5-113:25: AAPT: error: resource android:a
ttr/lStar not found.
core版本过高导致编译未通过。可以在build.gradle中添加
}
configurations.all {
    resolutionStrategy{
        force 'androidx.core:core:1.6.0'
    }
}

dependencies {

}
基础问题
0x0000 十六进制
使用AndroidX报错
Caused by: com.android.builder.errors.EvalIssueException: This project uses AndroidX dependencies, but the 'android.useAndroidX' property is not enabled. Set this property to true in the gradle.properties file and retry.

解决方法:
添加下面的代码:
android.useAndroidX=true
android.enableJetifier=true
Android31以及以上可能出现的问题
将测试应用安装到高版本android手机的时候会报下面的错误。
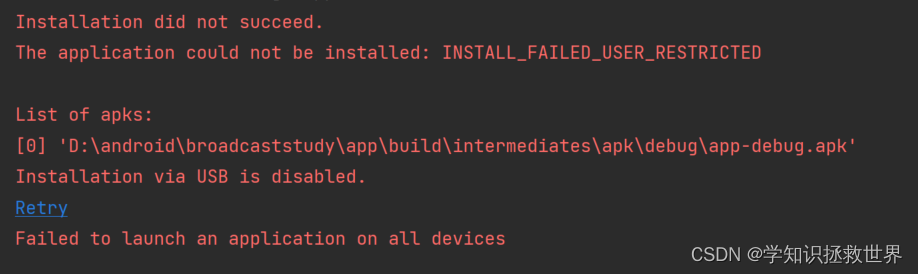
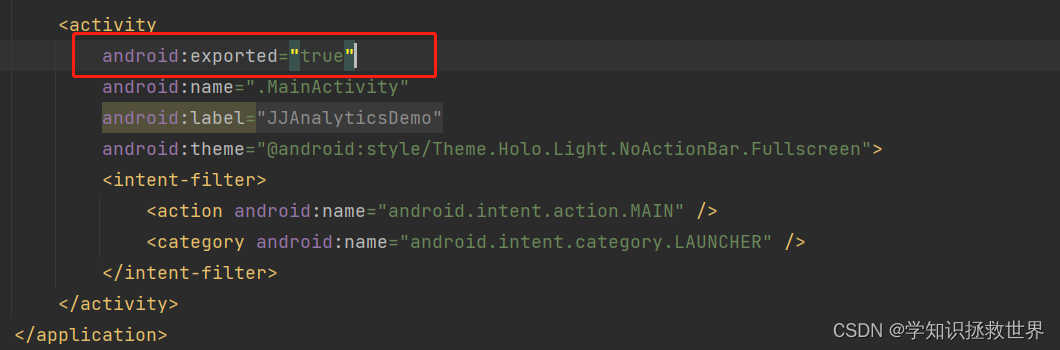
解决此错误,在activity的属性中添加
android:exported="true"
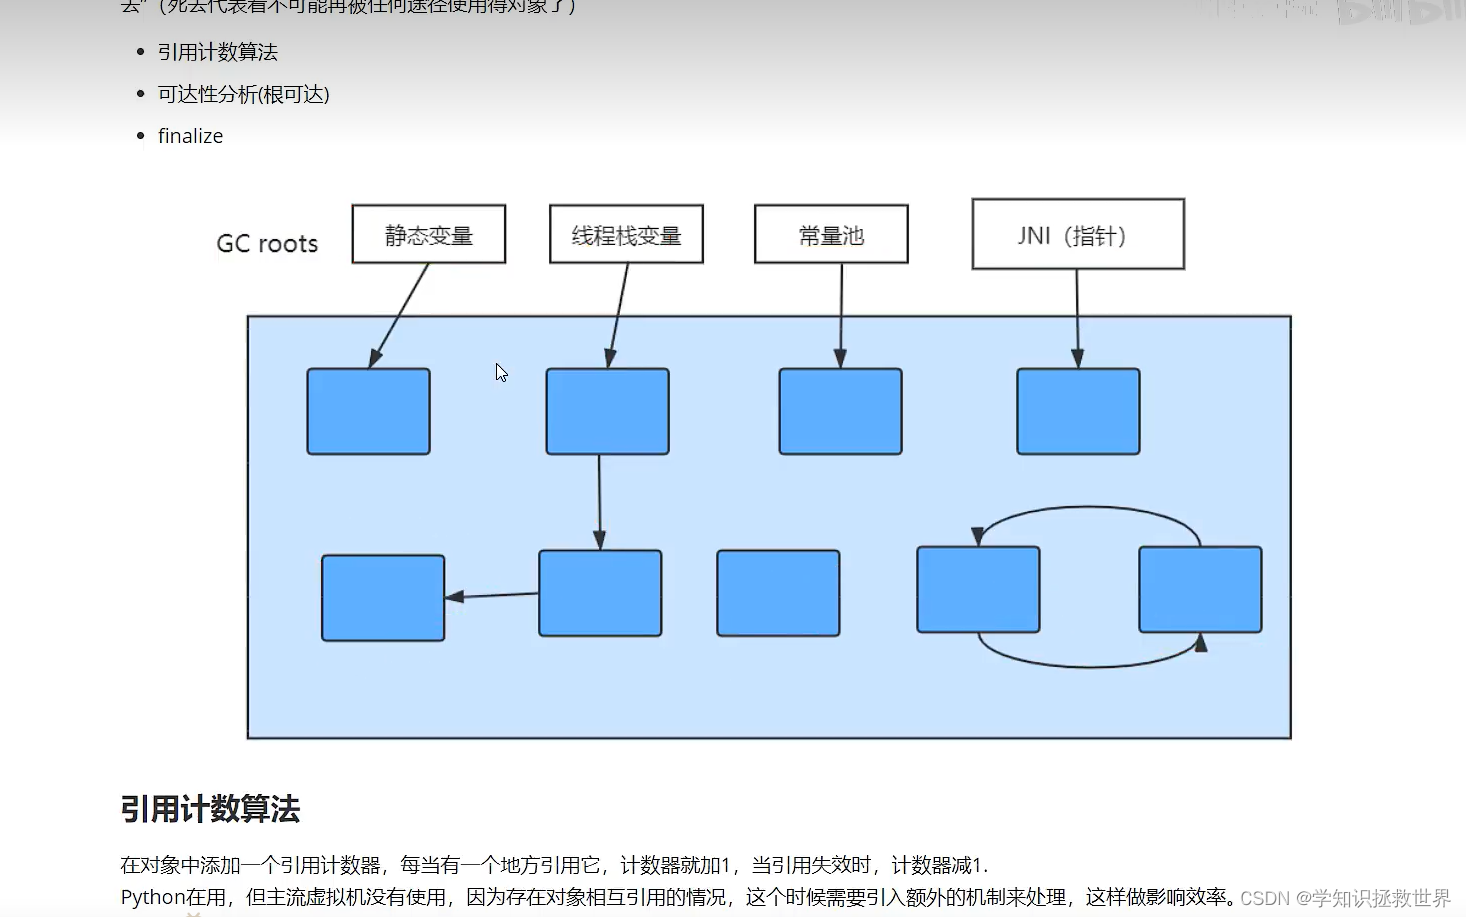
GC:


 5858
5858


 被折叠的 条评论
为什么被折叠?
被折叠的 条评论
为什么被折叠?
 到【灌水乐园】发言


