


1. 首先我已经完整编译过一遍osdrv,进入busybox源码目录,执行命令:
make menuconfig 打开udhcp client功能后保存配置: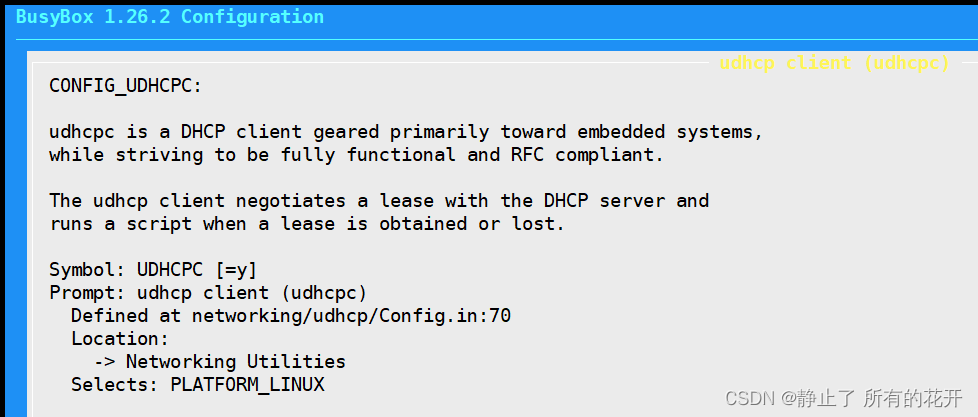
再执行编译,安装命令:
makemake install编译并安装成功后,在 busybox 源码目录下的 _install 目录下生成以下目录及文件:
再把这些目录以及文件全都拷贝到根文件系统 rootfs_uclibc 目录下面即可。
2.在 rootfs_uclibc 目录下的 /usr/share/ 目录里创建 udhcpc 目录,然后在 udhcpc 目录下面创建default.script 文件。udhcpc命令只能去获取到ip,但是不能设置。设置过程是(default.script)脚本来完成的。busybox源码examples/udhcp目录下提供了一个示例脚本simple.script,把其内容复制到default.script文件中即可。脚本内容如下:
#!/bin/sh
# udhcpc script edited by Tim Riker <Tim@Rikers.org>

RESOLV_CONF="/etc/resolv.conf"

[ -n "$1" ] || { echo "Error: should be called from udhcpc"; exit 1; }

NETMASK=""
if command -v ip >/dev/null; then
	[ -n "$subnet" ] && NETMASK="/$subnet"
else
	[ -n "$subnet" ] && NETMASK="netmask $subnet"
fi
BROADCAST="broadcast +"
[ -n "$broadcast" ] && BROADCAST="broadcast $broadcast"

case "$1" in
	deconfig)
		echo "Clearing IP addresses on $interface, upping it"
		if command -v ip >/dev/null; then
			ip -4 addr flush dev $interface
			ip link set dev $interface up
		else
			ifconfig $interface 0.0.0.0
		fi
		;;

	renew|bound)
		echo "Setting IP address $ip on $interface"
		if command -v ip >/dev/null; then
			ip addr add $ip$NETMASK $BROADCAST dev $interface
		else
			ifconfig $interface $ip $NETMASK $BROADCAST
		fi

		if [ -n "$router" ] ; then
			echo "Deleting routers"
			while route del default gw 0.0.0.0 dev $interface ; do
				:
			done

			metric=0
			for i in $router ; do
				echo "Adding router $i"
				if [ "$subnet" = "255.255.255.255" ]; then
	# special case for /32 subnets:
	# /32 instructs kernel to always use routing for all outgoing packets
	# (they can never be sent to local subnet - there is no local subnet for /32).
	# Used in datacenters, avoids the need for private ip-addresses between two hops.
					ip route add $i dev $interface
				fi
				route add default gw $i dev $interface metric $((metric++))
			done
		fi

		# If the file is a symlink somewhere (like /etc/resolv.conf
		# pointing to /run/resolv.conf), make sure things work.
		if test -L "$RESOLV_CONF"; then
			# If it's a dangling symlink, try to create the target.
			test -e "$RESOLV_CONF" || touch "$RESOLV_CONF"
		fi
		realconf=$(readlink -f "$RESOLV_CONF" 2>/dev/null || echo "$RESOLV_CONF")
		echo "Recreating $realconf"
		tmpfile="$realconf-$$"
		> "$tmpfile"
		[ -n "$domain" ] && echo "search $domain" >> "$tmpfile"
		for i in $dns ; do
			echo " Adding DNS server $i"
			echo "nameserver $i" >> "$tmpfile"
		done
		mv "$tmpfile" "$realconf"
		;;
esac

exit 0
3. 板子启动后,执行如下命令即可正常获取到ip了:
ifconfig eth0 upudhcpc -i eth0 -b参考了以下博客:


 1188
1188


 被折叠的 条评论
为什么被折叠?
被折叠的 条评论
为什么被折叠?
 到【灌水乐园】发言


