


简介
Hugo是由Go语言实现的静态网站生成器。简单、易用、高效、易扩展、快速部署。
该篇文章是在Linux/Ubuntu系统下安装搭建 Hugo 博客。
本博客参考了该视频:https://www.bilibili.com/video/BV1q4411i7gL
一、安装Hugo
到 https://github.com/gohugoio/hugo/releases 查看与CPU对应的版本下载
我用 sudo apt-get install 命令下载的 hugo 是16年的版本,所以我建议到官网手动下载 deb 安装程序,或者复制下载地址,用命令
wjy@ubuntu:~$ wget https://github.com/gohugoio/hugo/releases/download/v0.80.0/hugo_0.80.0_Linux-64bit.deb
进行下载,下载完后安装:
wjy@ubuntu:~/Downloads$ sudo dpkg -i hugo_0.80.0_Linux-64bit.deb
(正在读取数据库 ... 系统当前共安装有 183289 个文件和目录。)
正准备解包 hugo_0.80.0_Linux-64bit.deb  ...
正在将 hugo (0.80.0) 解包到 (0.80.0) 上 ...
正在设置 hugo (0.80.0) ...
这样表示成功。验证(查看版本):
wjy@ubuntu:~$ hugo version
Hugo Static Site Generator v0.80.0-792EF0F4 linux/amd64 BuildDate: 2020-12-31T13:37:58Z
二、用hugo来生成博客
命令:
wjy@ubuntu:~$ hugo new site myblog
Congratulations! Your new Hugo site is created in /home/wjy/myblog.

Just a few more steps and you're ready to go:

1. Download a theme into the same-named folder.
   Choose a theme from https://themes.gohugo.io/ or
   create your own with the "hugo new theme <THEMENAME>" command.
2. Perhaps you want to add some content. You can add single files
   with "hugo new <SECTIONNAME>/<FILENAME>.<FORMAT>".
3. Start the built-in live server via "hugo server".

Visit https://gohugo.io/ for quickstart guide and full documentation.
myblog 为博客的目录名,这个看个人意愿取名
三、下载并设置主题
主题官网:https://themes.gohugo.io ,找到想要的主题,点击去,复制下载命令,下载到 myblog 目录下的 themes 目录下,
例如,在 themes 目录下命令:
wjy@ubuntu:~/myblog/themes$ git clone https://github.com/vaga/hugo-theme-m10c.git m10c
正克隆到 'm10c'...
remote: Enumerating objects: 22, done.
remote: Counting objects: 100% (22/22), done.
remote: Compressing objects: 100% (17/17), done.
remote: Total 345 (delta 3), reused 13 (delta 3), pack-reused 323
接收对象中: 100% (345/345), 459.21 KiB | 236.00 KiB/s, 完成.
处理 delta 中: 100% (118/118), 完成.
检查连接... 完成。
下载后目录名默认为链接的最后的“/”后的目录名,在链接后面加 m10c,相当于把下载的主题放在 m10c 目录下,而不是使用默认的名字,需要注意,下载主题要使用到 git 命令。下载 git :
wjy@ubuntu:~/myblog/themes$ sudo apt-get install git
验证(查看版本):
wjy@ubuntu:~/myblog$ git version
git version 2.7.4
四、在本地启动博客
在 myblog 目录下命令:
root@ubuntu:/home/wjy/myblog# hugo server -t m10c --buildDrafts
Start building sites …

                   | EN
-------------------+-----
  Pages            |  7
  Paginator pages  |  0
  Non-page files   |  0
  Static files     |  1
  Processed images |  0
  Aliases          |  1
  Sitemaps         |  1
  Cleaned          |  0

Built in 11 ms
Watching for changes in /home/wjy/myblog/{archetypes,content,data,layouts,static,themes}
Watching for config changes in /home/wjy/myblog/config.toml
Environment: "development"
Serving pages from memory
Running in Fast Render Mode. For full rebuilds on change: hugo server --disableFastRender
Web Server is available at http://localhost:1313/ (bind address 127.0.0.1)
Press Ctrl+C to stop
-t:指定主题(主题目录名)
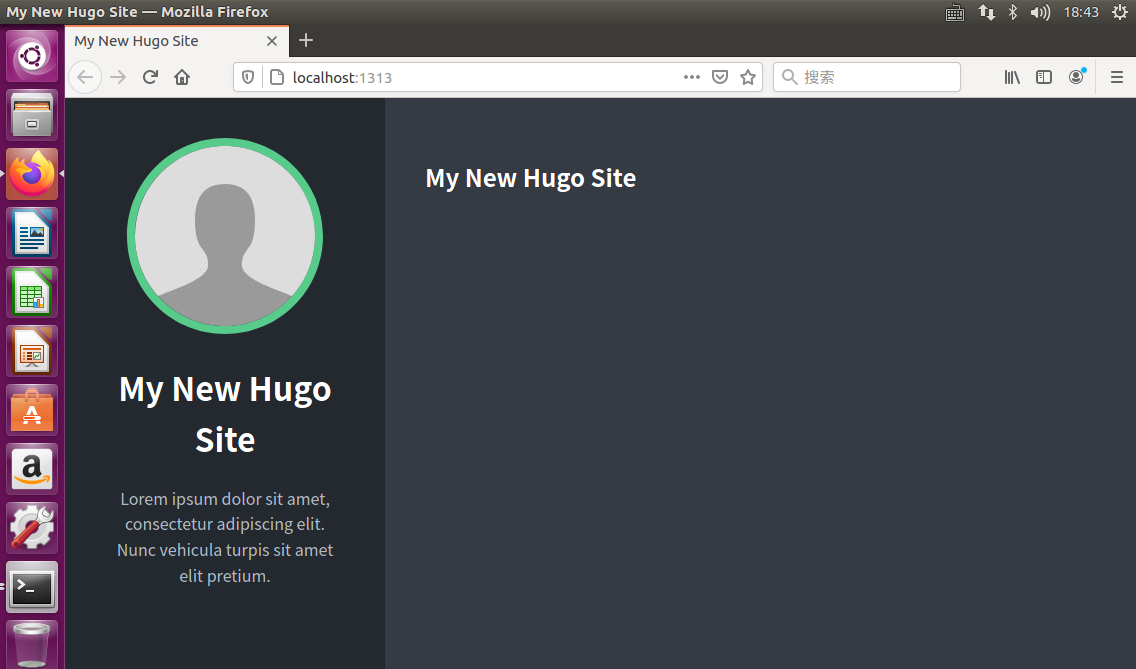
访问 Web Server is available at http://localhost:1313/ (bind address 127.0.0.1) 里的本地网址,即可打开博客网页,如下:
五、写一篇文章
1、生成md文件
在 myblog 目录下:
root@ubuntu:/home/wjy/myblog# hugo new post/blog.md
/home/wjy/myblog/content/post/blog.md created
生成的 md 文件在myblog/context/post目录下:
root@ubuntu:/home/wjy/myblog/content/post# ls
blog.md
2、编写
可以现在Windows下写好博客,比如我这篇,也是在Windows下编写的,编写完后,保存,用记事本打开,全选,复制,在Linux下编辑blog.md,打开文件命令:
root@ubuntu:/home/wjy/myblog/content/post# vim blog.md
进入编辑页面:
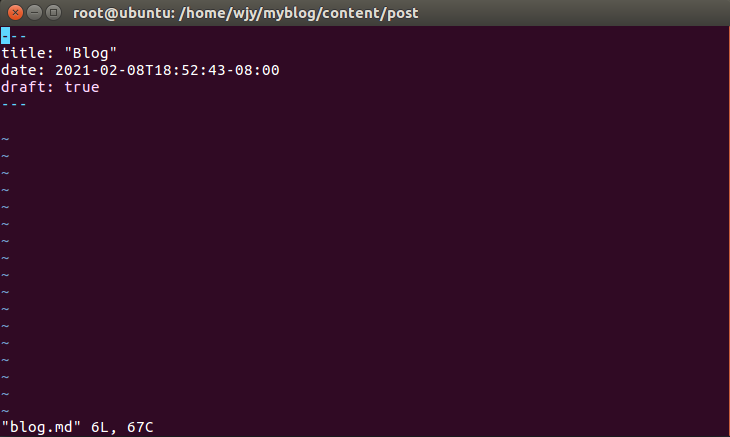
输入 i ,在 ~ 前,--- 后右键,粘贴,保存退出(键入 ESC : wq ,回车),这样,文章就写好了,可以重新运行看看文章。
六、将个人博客部署到远程服务器
1、登录GitHub官网
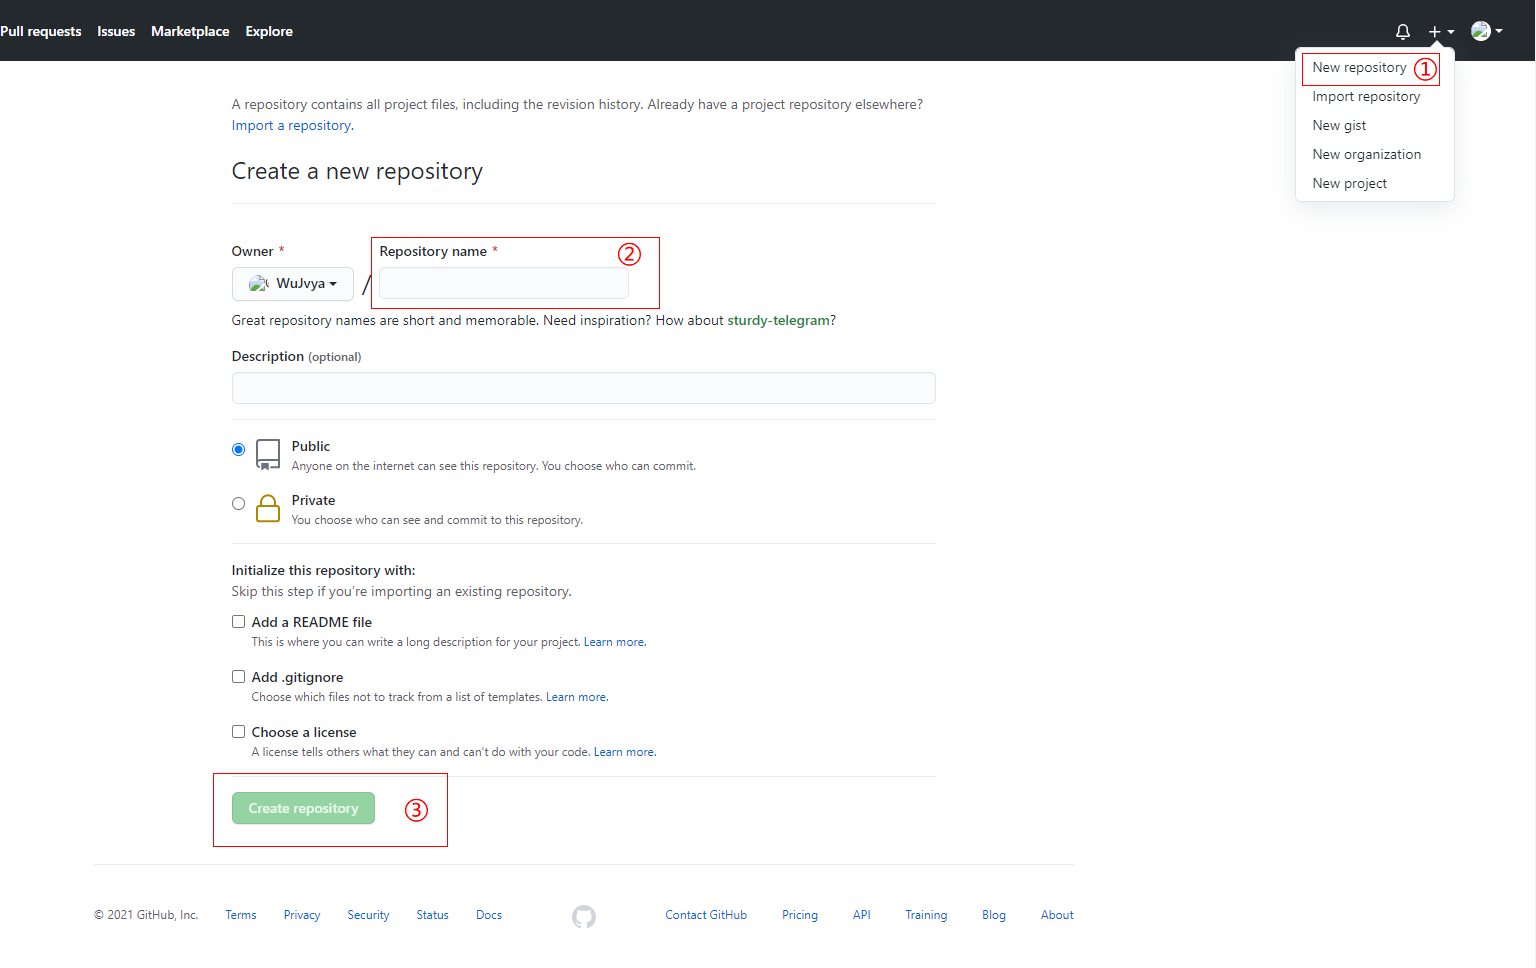
①新建一个仓库
②填写仓库地址,填写格式为:用户名小写.github.io ,例如我的仓库地址:wujvya.github.io ,那么我就可以通过 https://wujvya.github.io 来访问我的博客
③创建仓库
2、生成静态网页
命令:
root@ubuntu:/home/wjy/myblog# hugo --theme=m10c --baseUrl="https://wujvya.github.io" --buildDrafts
Start building sites …

                   | EN
-------------------+-----
  Pages            | 10
  Paginator pages  |  0
  Non-page files   |  0
  Static files     |  1
  Processed images |  0
  Aliases          |  2
  Sitemaps         |  1
  Cleaned          |  0

Total in 25 ms
其中:
--theme=m10c 指定主题
--baseUrl="https://wujvya.github.io" 指定仓库地址
会把博客编译成网页形式,在myblog/public目录里面
3、上传到GitHub
a、把 public 文件夹创建成 git 仓库:
root@ubuntu:/home/wjy/myblog/public# git init
初始化空的 Git 仓库于 /home/wjy/myblog/public/.git/
b、把所有的文件添加进去:
root@ubuntu:/home/wjy/myblog/public# git add *
c、提交:
root@ubuntu:/home/wjy/myblog/public# git commit -m "第一次提交"
[master (根提交) 2033233] 第一次提交
 15 files changed, 436 insertions(+)
 create mode 100644 404.html
 create mode 100644 avatar.jpg
 create mode 100644 categories/index.html
 create mode 100644 categories/index.xml
 create mode 100644 css/main.min.88e7083eff65effb7485b6e6f38d10afbec25093a6fac42d734ce9024d3defbd.css
 create mode 100644 index.html
 create mode 100644 index.xml
 create mode 100644 page/1/index.html
 create mode 100644 post/blog/index.html
 create mode 100644 post/index.html
 create mode 100644 post/index.xml
 create mode 100644 post/page/1/index.html
 create mode 100644 sitemap.xml
 create mode 100644 tags/index.html
 create mode 100644 tags/index.xml
d、本地仓库(public文件夹)与远程仓库关联:
root@ubuntu:/home/wjy/myblog/public# git remote add origin https://github.com/WuJvya/wujvya.github.io.git
注意:关联的地址为 打开你新建的仓库的全地址(浏览器地址栏的地址) 加上 .git
e、把博客推送到远程仓库(把代码放到远程仓库):
先输入下面的命令,用于保存账号和密码(第一次要输入账号和密码,之后就不用了)
root@ubuntu:/home/wjy/myblog/public# git config --global credential.helper store
root@ubuntu:/home/wjy/myblog/public# git push -u origin master
Username for 'https://github.com': 1813114396@qq.com
Password for 'https://1813114396@qq.com@github.com':
对象计数中: 26, 完成.
Delta compression using up to 2 threads.
压缩对象中: 100% (21/21), 完成.
写入对象中: 100% (26/26), 6.45 KiB | 0 bytes/s, 完成.
Total 26 (delta 9), reused 0 (delta 0)
remote: Resolving deltas: 100% (9/9), done.
To https://github.com/WuJvya/wujvya.github.io.git
 * [new branch]      master -> master
分支 master 设置为跟踪来自 origin 的远程分支 master。
输入完命令后,需要你输入GitHub的账号和密码,账号可以为用户名或者邮箱,完成后刷新远程仓库,就可以看到提交的文件。
好了,到这里,你的博客就搭建完成了。
七、新增文章
生成文章后,相当于执行六、将个人博客部署到远程服务器中的第2步及之后,除下第3.d步的所有步骤。
新建博客文章文件:
root@ubuntu:/home/wjy/myblog# hugo new post/blog2.md
/home/wjy/myblog/content/post/blog2.md created
生成静态网页:
root@ubuntu:/home/wjy/myblog# hugo --theme=m10c --baseUrl="https://wujvya.github.io" --buildDrafts
Start building sites …

                   | EN
-------------------+-----
  Pages            | 11
  Paginator pages  |  0
  Non-page files   |  0
  Static files     |  1
  Processed images |  0
  Aliases          |  2
  Sitemaps         |  1
  Cleaned          |  0

Total in 28 ms
添加文件:
root@ubuntu:/home/wjy/myblog/public# git add *
提交:
root@ubuntu:/home/wjy/myblog/public# git commit -m "第二次提交"
[master 6bc7870] 第二次提交
 6 files changed, 132 insertions(+), 7 deletions(-)
 create mode 100644 post/blog2/index.html
推送到远程仓库:
root@ubuntu:/home/wjy/myblog/public# git push -u origin master
Username for 'https://github.com': 1813114396@qq.com
Password for 'https://1813114396@qq.com@github.com':
对象计数中: 10, 完成.
Delta compression using up to 2 threads.
压缩对象中: 100% (9/9), 完成.
写入对象中: 100% (10/10), 1.10 KiB | 0 bytes/s, 完成.
Total 10 (delta 7), reused 0 (delta 0)
remote: Resolving deltas: 100% (7/7), completed with 5 local objects.
To https://github.com/WuJvya/wujvya.github.io.git
   2033233..6bc7870  master -> master
分支 master 设置为跟踪来自 origin 的远程分支 master。
八、疑难解答
本文图片有时候无法正常显示,可切换手机浏览(在写这篇文章时遇到过)。
若有疑问或发现不足,请留言或至本人邮箱:1813114396@qq.com
祝每位程序猿在以后的日子里蒸蒸日上!


 765
765


 被折叠的 条评论
为什么被折叠?
被折叠的 条评论
为什么被折叠?
 到【灌水乐园】发言


