


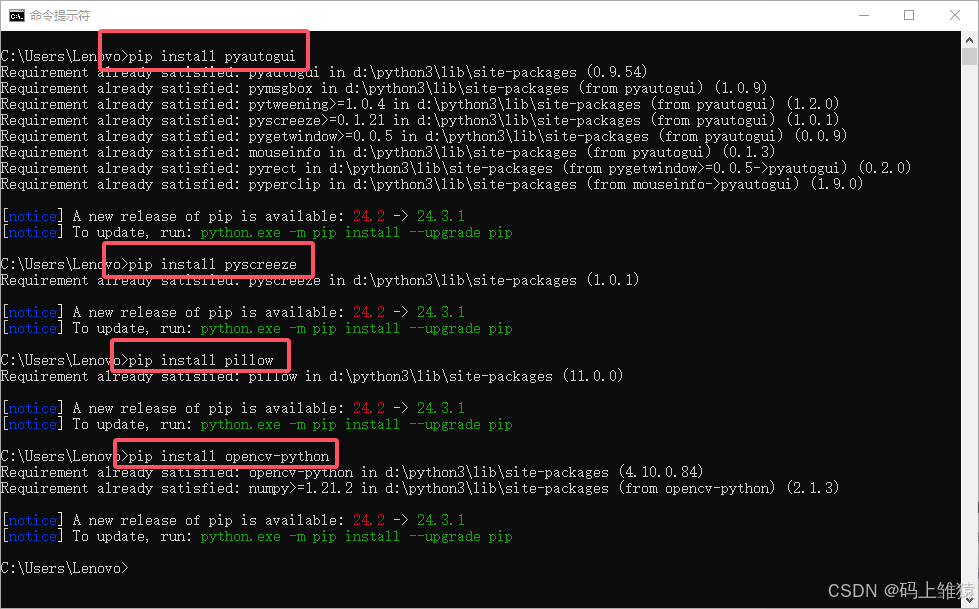
1.实现本文章效果,需先使用几个python模块包:
webbrowser(python自带标准库,无需安装)、time(python自带标准库,无需安装)、pyautogui、pyscreeze、pillow、opencv-python
使用pip命令安装即可(如果未安装过pip,可以参考我之前写的文章)
在命令行中依次执行pip install xxx即可,如下:
2.代码如下:
import pyautogui
import webbrowser
import time
# 使用默认浏览器打开指定网址
webbrowser.open('https://www.baidu.com/')
# 等待2s,给浏览器打开网站时间
time.sleep(2)
# 在浏览器打开的网站中找到与图片baidu_btn.png相似度为0.9的图像,并返回其坐标
# confidence参数不能省略,且最好要小于1,这样能更容易匹配
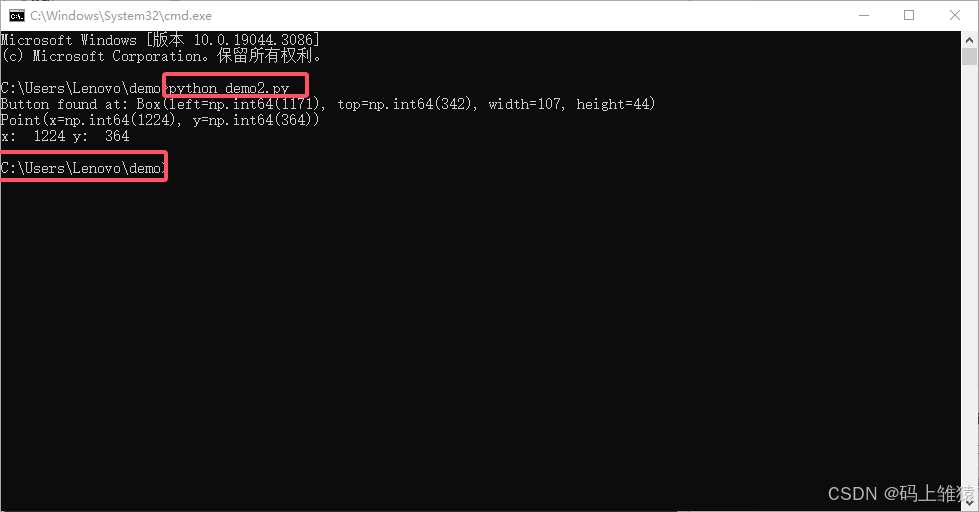
location = pyautogui.locateOnScreen('baidu_btn.png', confidence=0.9)
if location:
# 上方获取的坐标是 图片的左上角的坐标,如果想获取图片中心点坐标,编写该代码
center = pyautogui.center(location)
# 打印图片左上角的坐标
print(f"Button found at: {location}")
# 打印图片中心点坐标
print(center)
# 打印图片x、y轴坐标
print("x: ", center.x, "y: ", center.y)
# 模拟鼠标移动,耗时1s将鼠标移动到图片的中心点坐标上去
pyautogui.moveTo(center, duration=1)
# 模拟鼠标点击事件
pyautogui.click()
else:
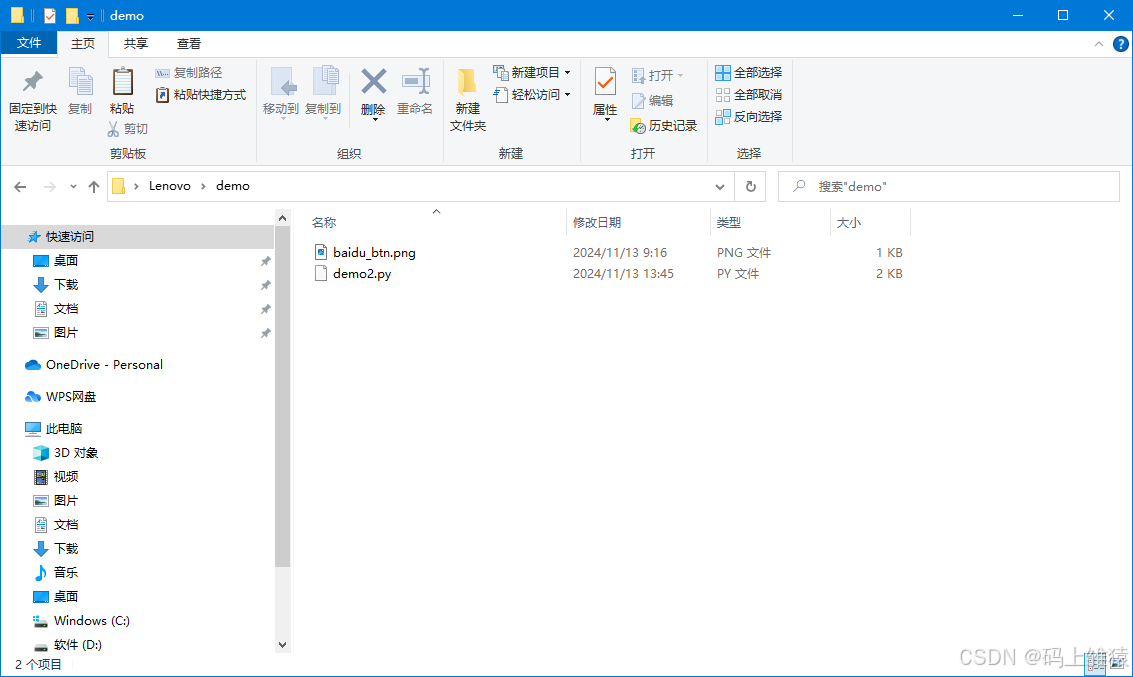
print("Button ont found!")3.上述代码中,baidu_btn.png图片为手动截图图片,上述代码所在文件为demo2.py,把图片跟文件放在一起即可,然后将cmd切换至其目录中,使用python demo2.py命令执行即可


 1865
1865

 被折叠的 条评论
为什么被折叠?
被折叠的 条评论
为什么被折叠?
 到【灌水乐园】发言


