


Spring的事件驱动模型基于
ApplicationEvent和ApplicationListener,通过事件驱动的方式来实现业务模块之间的交互,交互的方式也有同步和异步两种。事件的发布者仅负责发布事件无需关心事件的接收者,有可能存在一个,也有存在多个接收者。同样,接受者也不知道是谁在发布事件。 Spring的事件驱动模型主要由三部分组成,包括发送消息的生产者,消息,事件监听的消费者,这三者是绑定在一起的,有点类似于RabbitMQ的消息模型。
核心步骤:
- 创建事件类,需要继承ApplicationEvent
- 创建事件发布者,实现ApplicationEventPublisherAware接口,注入ApplicationEventPublisher
- 创建事件监听者
这里主要记录的是通过注解驱动的方式来实现
注解驱动
1. 创建事件类
public class UserRegisterEvent extends ApplicationEvent {

    public String userName;

    public UserRegisterEvent(Object source,String userName) {
        super(source);
        this.userName = userName;
    }

    public String getUserName(){
        return userName;
    }
}
2. 创建事件发布者
@Component
public class UserRegisterService implements ApplicationEventPublisherAware {

    private ApplicationEventPublisher applicationEventPublisher;

    @Override
    public void setApplicationEventPublisher(ApplicationEventPublisher applicationEventPublisher) {
        this.applicationEventPublisher = applicationEventPublisher;
    }

    public void UserRegister(String userName){
        System.out.println(String.format("用户%s注册成功",userName));

        //发布注册成功事件
        this.applicationEventPublisher.publishEvent(new UserRegisterEvent(this,userName));

    }
}
3. 创建事件监听者
@Component
public class RegisterListener {
@EventListener(UserRegisterEvent.class)
public void sendMail(UserRegisterEvent userRegisterEvent){
System.out.println(String.format("恭喜%s注册成功,发送邮件",userRegisterEvent.getUserName()));
}
@EventListener(UserRegisterEvent.class)
public void sendGift(UserRegisterEvent userRegisterEvent){
System.out.println(String.format("恭喜%s注册成功,发送奖品",userRegisterEvent.getUserName()));
}
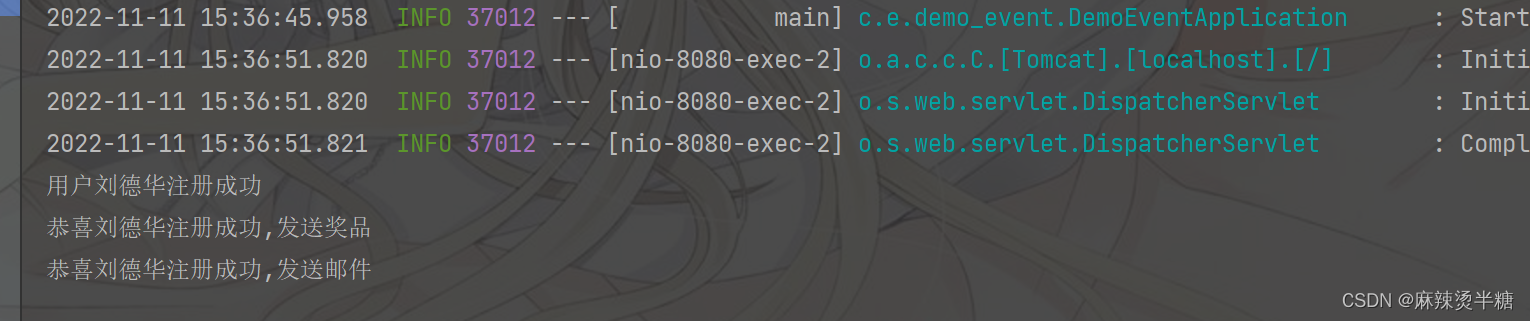
}测试结果:
@RestController
@RequestMapping("test")
@AllArgsConstructor
public class EventListenerController {
    private final UserRegisterService userRegisterService;

    @PostMapping("event")
    public String testEvent(){
        userRegisterService.UserRegister("刘德华");
        return "我爱罗";
    }
}
以上就是Spring基于注解来实现事件驱动的大致流程。。。
注:关于@EventListener的三个基本参数(value、classes、condition)
- value: classes别名
- classes: 可以指定监听的消息对象类型
- condition:指定条件下触发事件监听, 当表达式计算结果为true时才触发
另:ApplicationEventPublisher 还可以发布各种事件:
将一个string类消息发布:
@Component
public class UserRegisterService implements ApplicationEventPublisherAware {

    private ApplicationEventPublisher applicationEventPublisher;

    @Override
    public void setApplicationEventPublisher(ApplicationEventPublisher applicationEventPublisher) {
        this.applicationEventPublisher = applicationEventPublisher;
    }

    public void UserRegister(String userName){

        this.applicationEventPublisher.publishEvent(userName);

    }
@Component
public class RegisterListener {
@EventListener(String.class)
public void sendMail(String message){
System.out.println(String.format("恭喜%s注册成功,发送邮件",message));
}
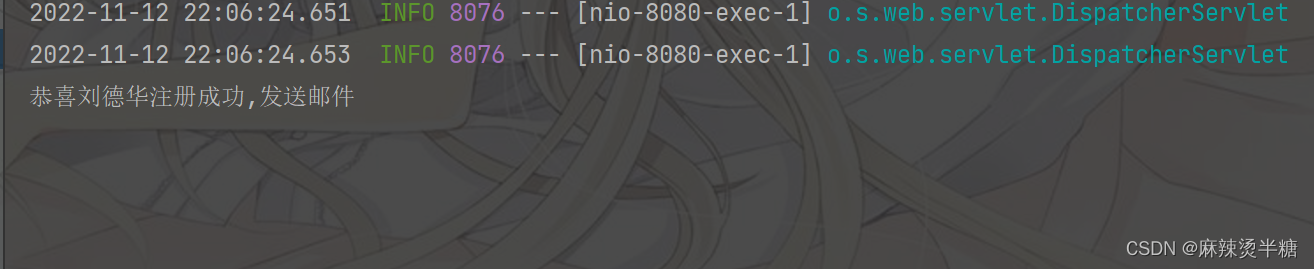
}测试:


 320
320


 被折叠的 条评论
为什么被折叠?
被折叠的 条评论
为什么被折叠?
 到【灌水乐园】发言


