


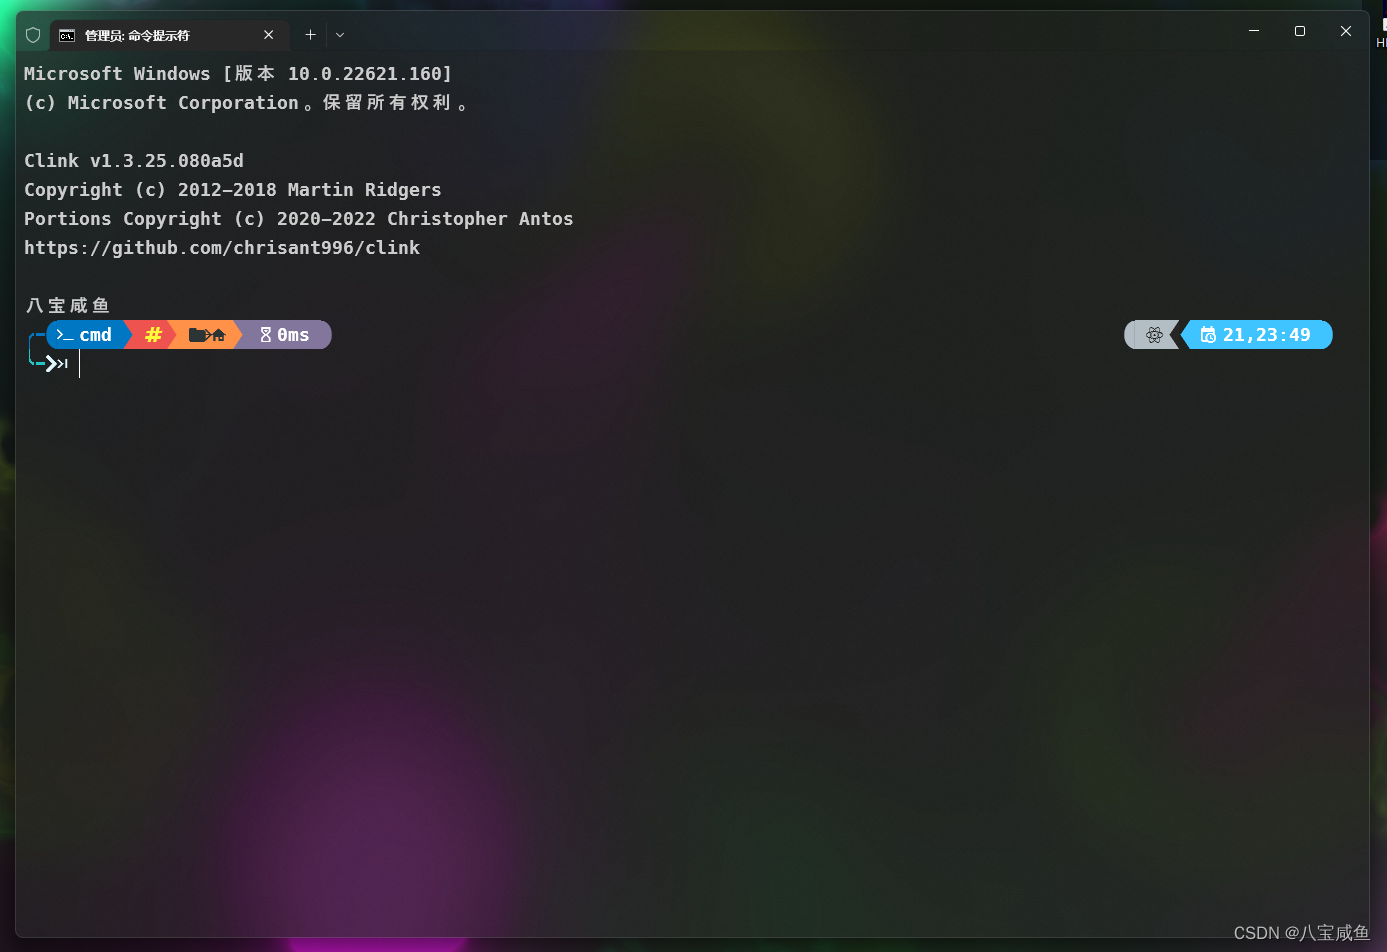
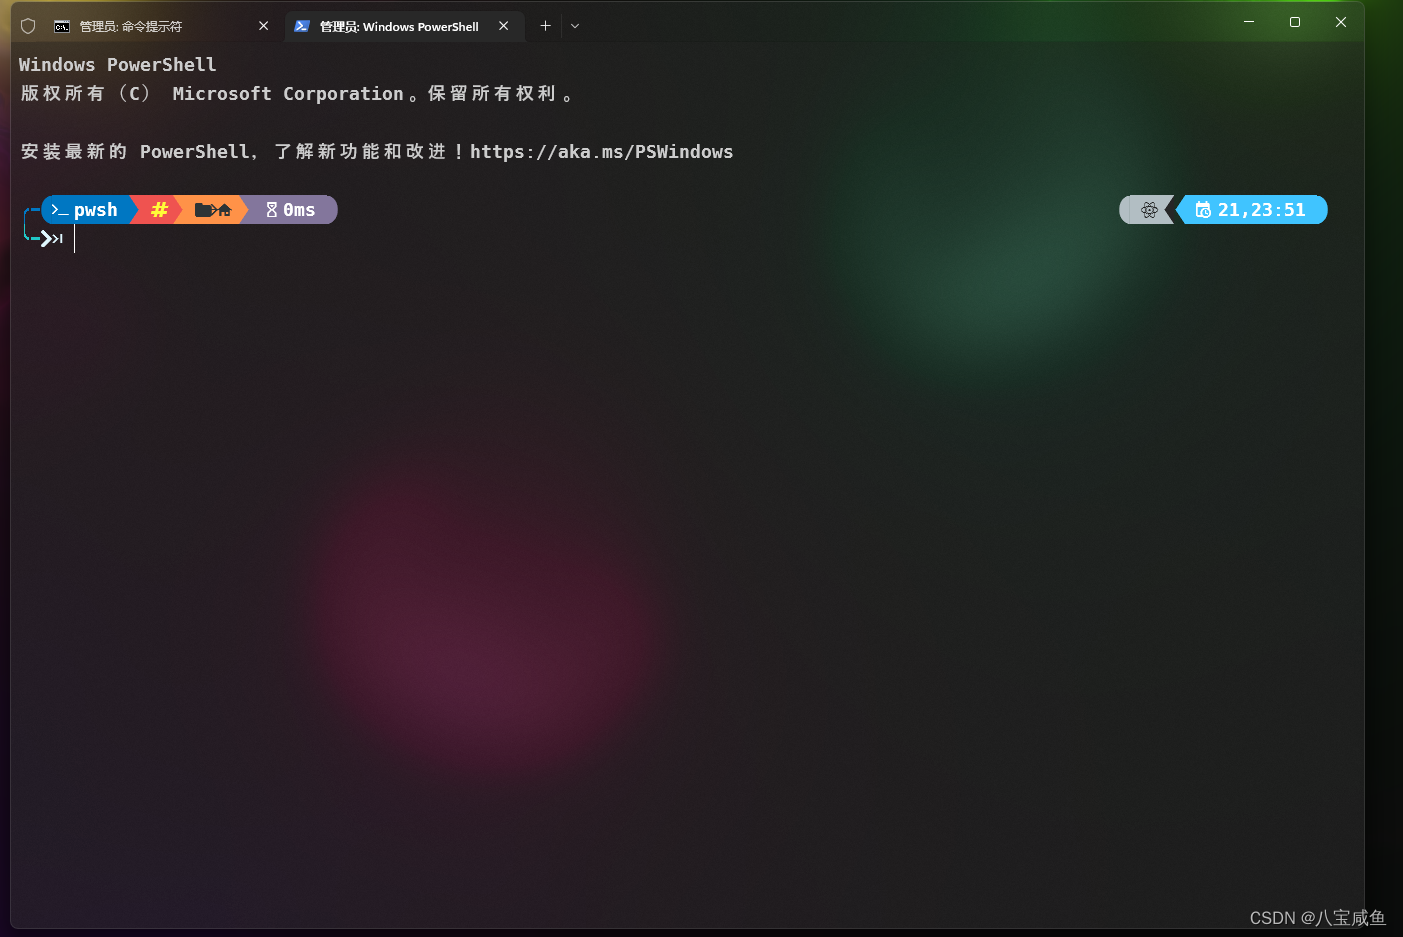
Terminal美化后PowerShell与CMD的效果图
CMD
PowerShell
Windows Terminal 美化目录
A.安装Terminal
Windows11默认安装,请使用Windows Search搜索Terminal,即可找到,可自行设置默认系统终端
-----------------------------------------------------------------------------------------------------------------------------
a:访问Microsoft Store 搜索 Windows Terminal
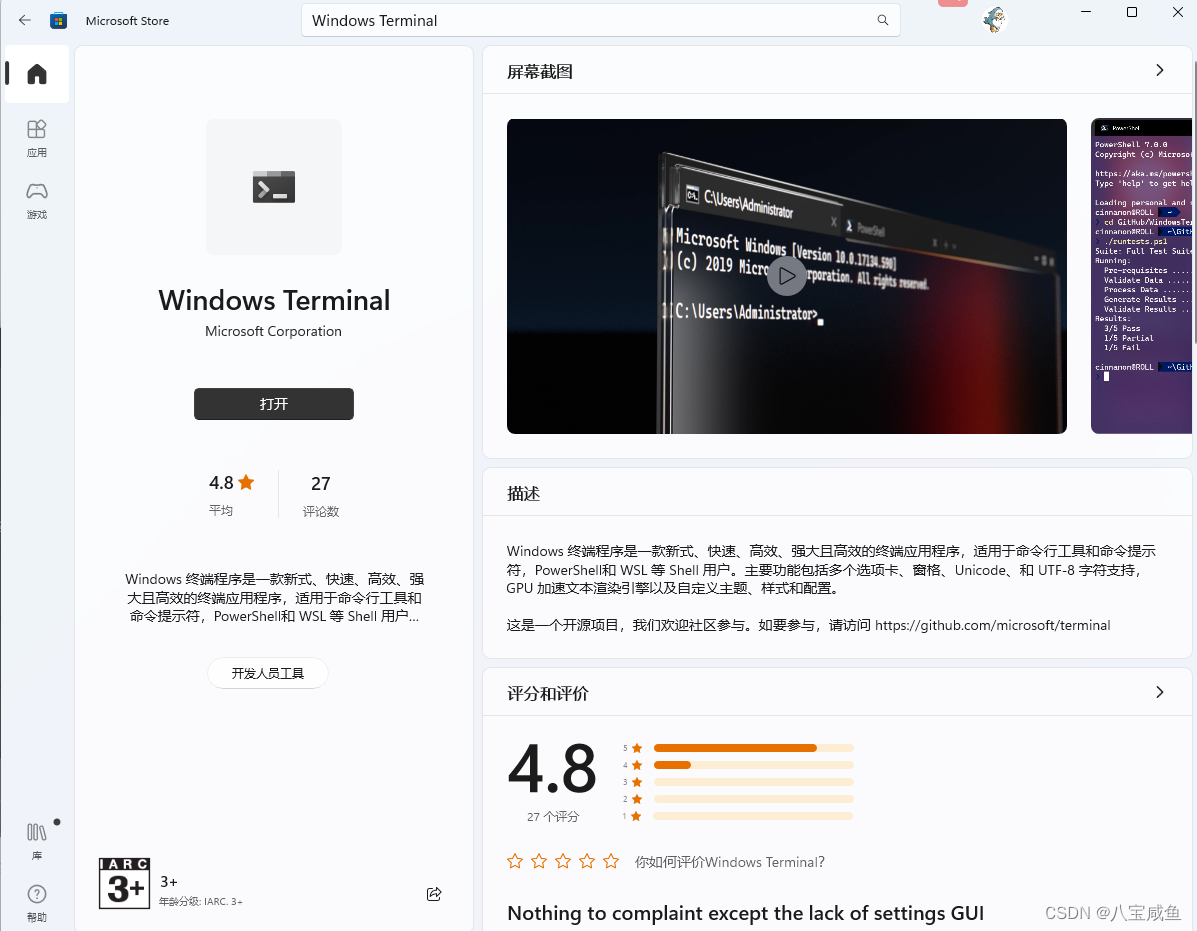
b:点击安装
B.安装oh-my-posh
a:选择任一安装方式
自行选择下方三种任意安装方式,不要重复安装
a1:winget(三选一,推荐winget)
winget install JanDeDobbeleer.OhMyPosh -s winget
a2:scoop(三选一,推荐winget)
scoop install https://github.com/JanDeDobbeleer/oh-my-posh/releases/latest/download/oh-my-posh.json
a3:manual(三选一,推荐winget)
Set-ExecutionPolicy Bypass -Scope Process -Force; Invoke-Expression ((New-Object System.Net.WebClient).DownloadString('https://ohmyposh.dev/install.ps1'))
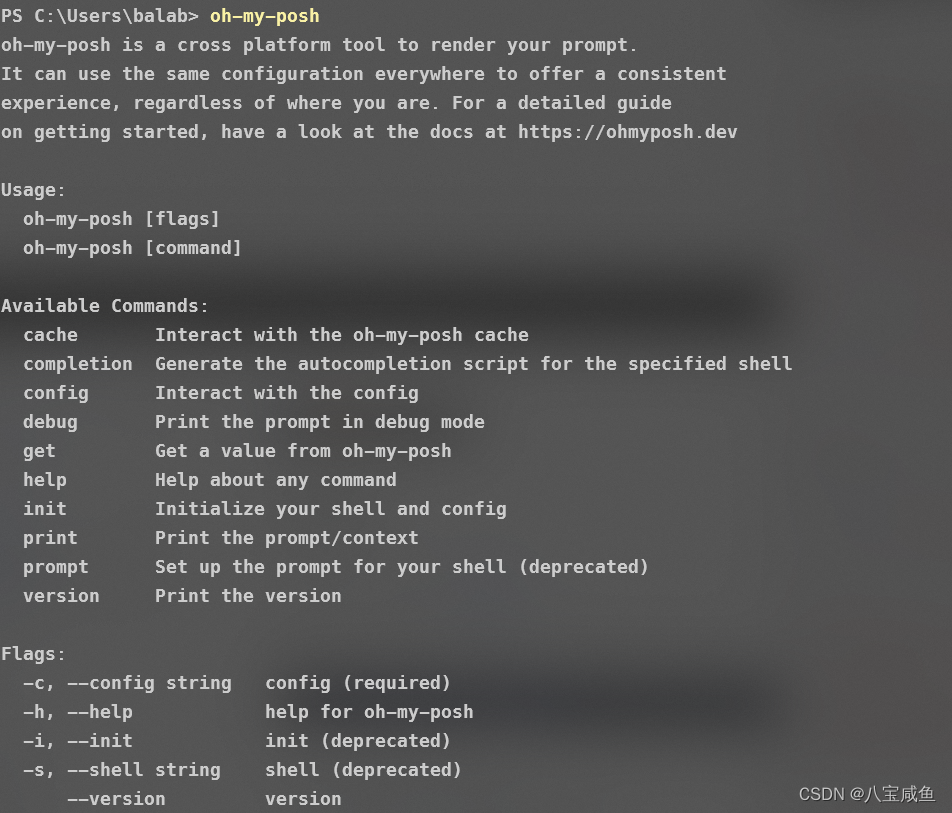
b:检查
重新打开Terminal,输入oh-my-posh
安装成功将会有以下内容
C.为PowerShell设置oh-my-posh
a:图形字体
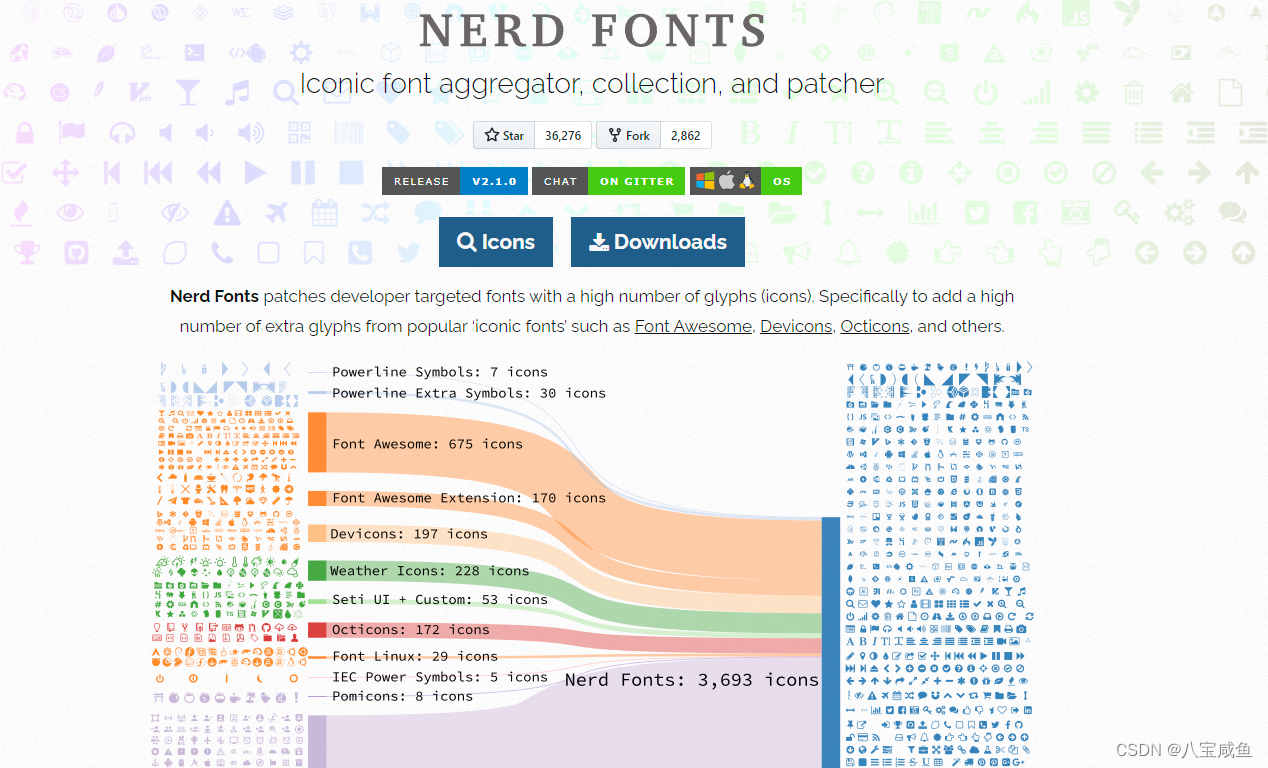
a1:寻找你喜欢的字体.
在NerdFonts首页点击Downloads,选择你喜欢的字体
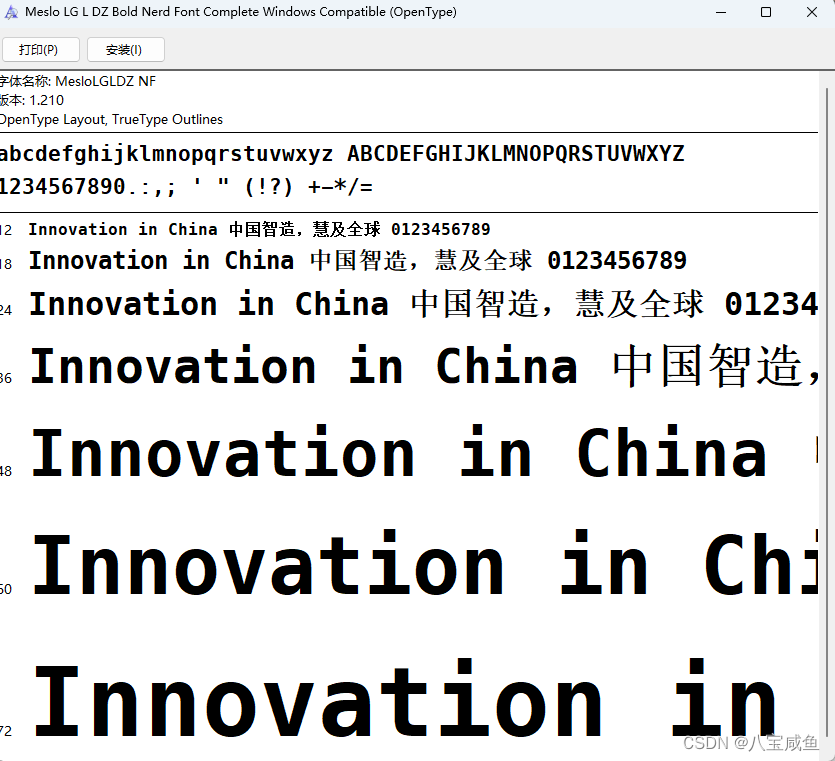
a2:安装字体
解压,右键字体文件,选择安装,或打开文件,在左上角选择安装.
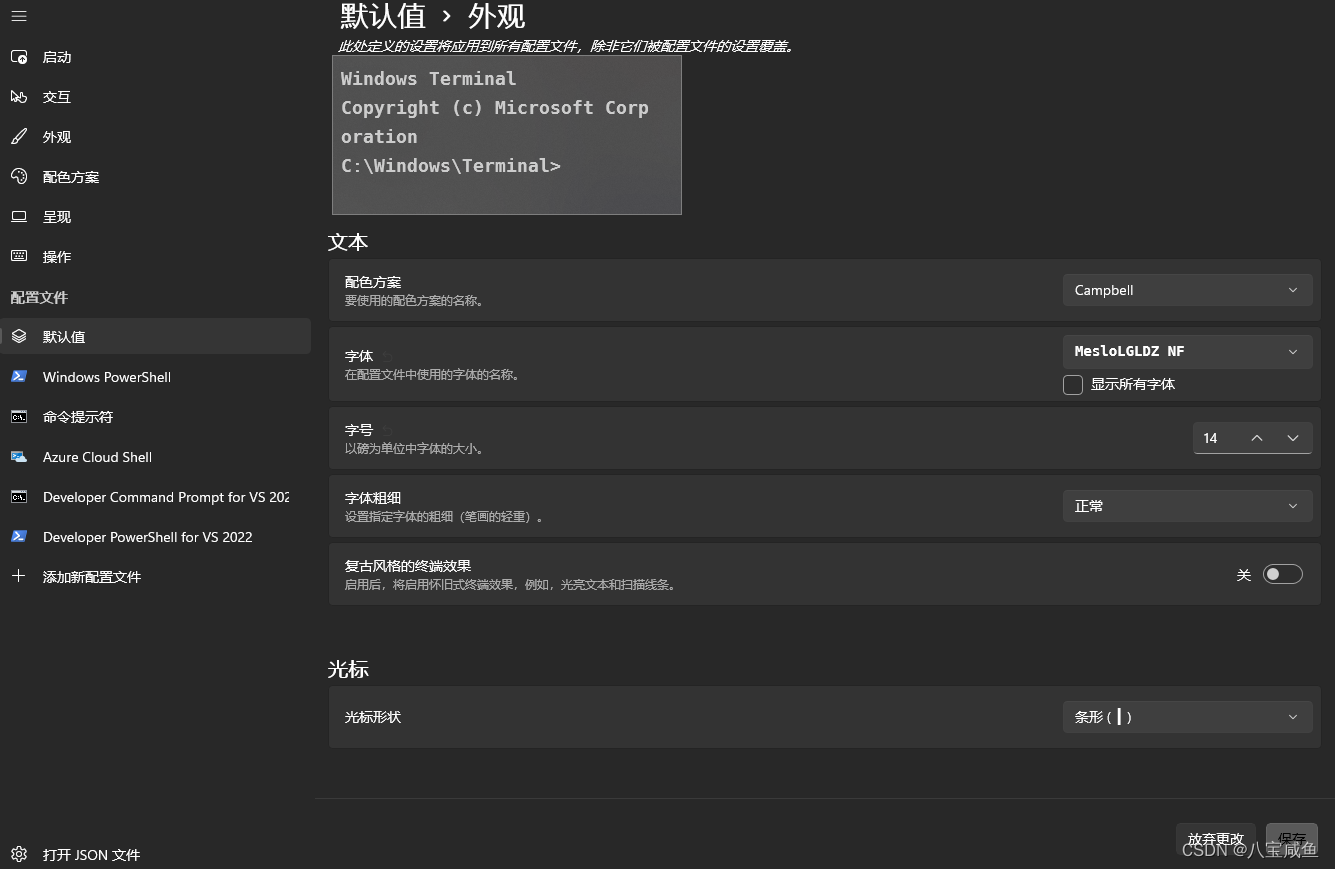
a3:设置字体为终端(全局)或PowerShell显示字体
全局:Terminal终端设置中选择,默认值->外观->字体
勾选显示所有字体
选择你安装的图形字体,重启终端
PowerShell:Windows PowerShell->外观->字体
方法如上
b:设置主题
在设置主题之前,可使用以下命令行,再次检查你前置步骤是否成功
oh-my-posh init pwsh | Invoke-Expression
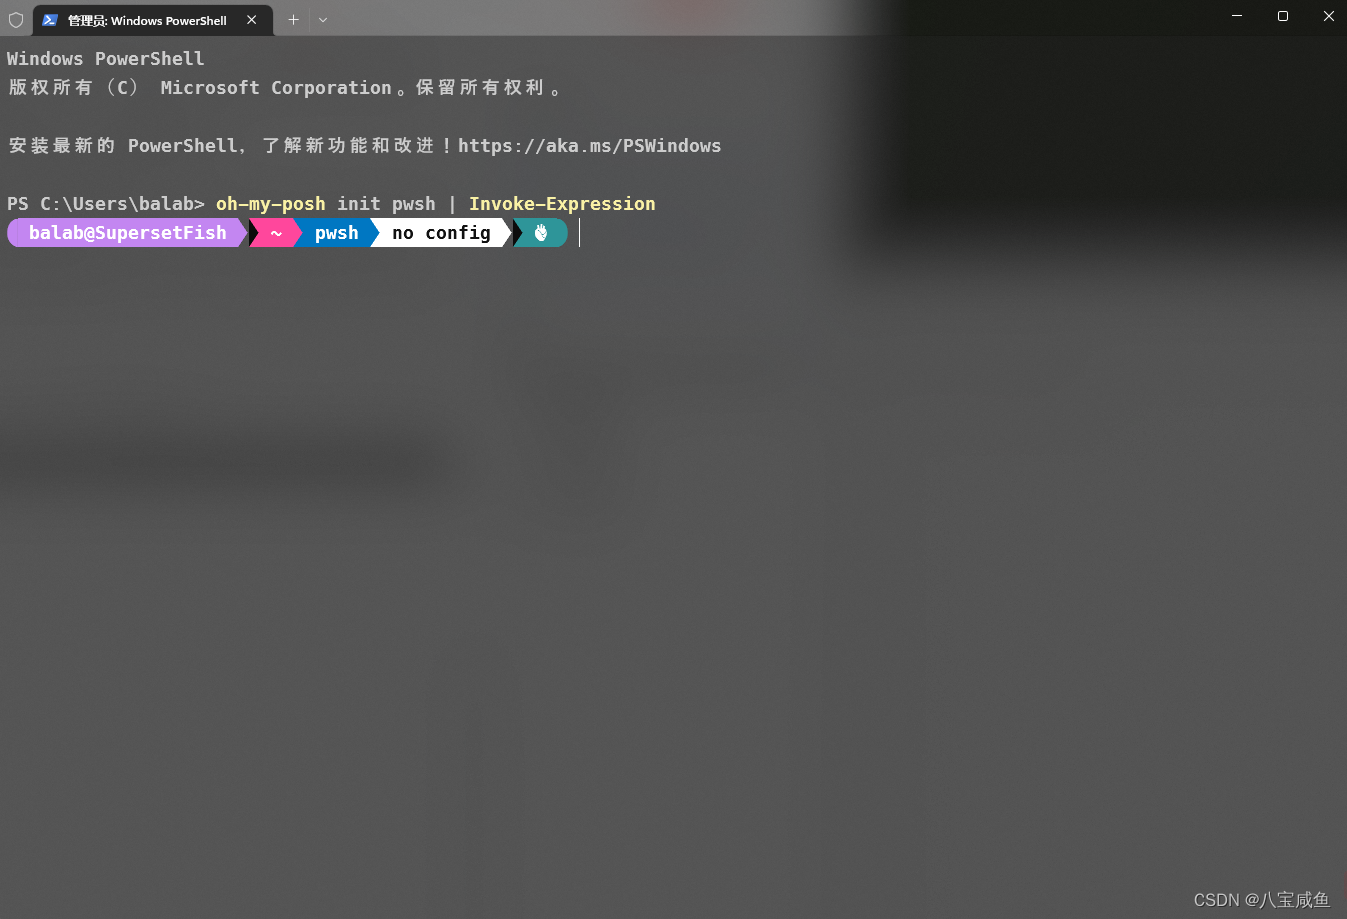
出现上图类似的效果,就代表成功
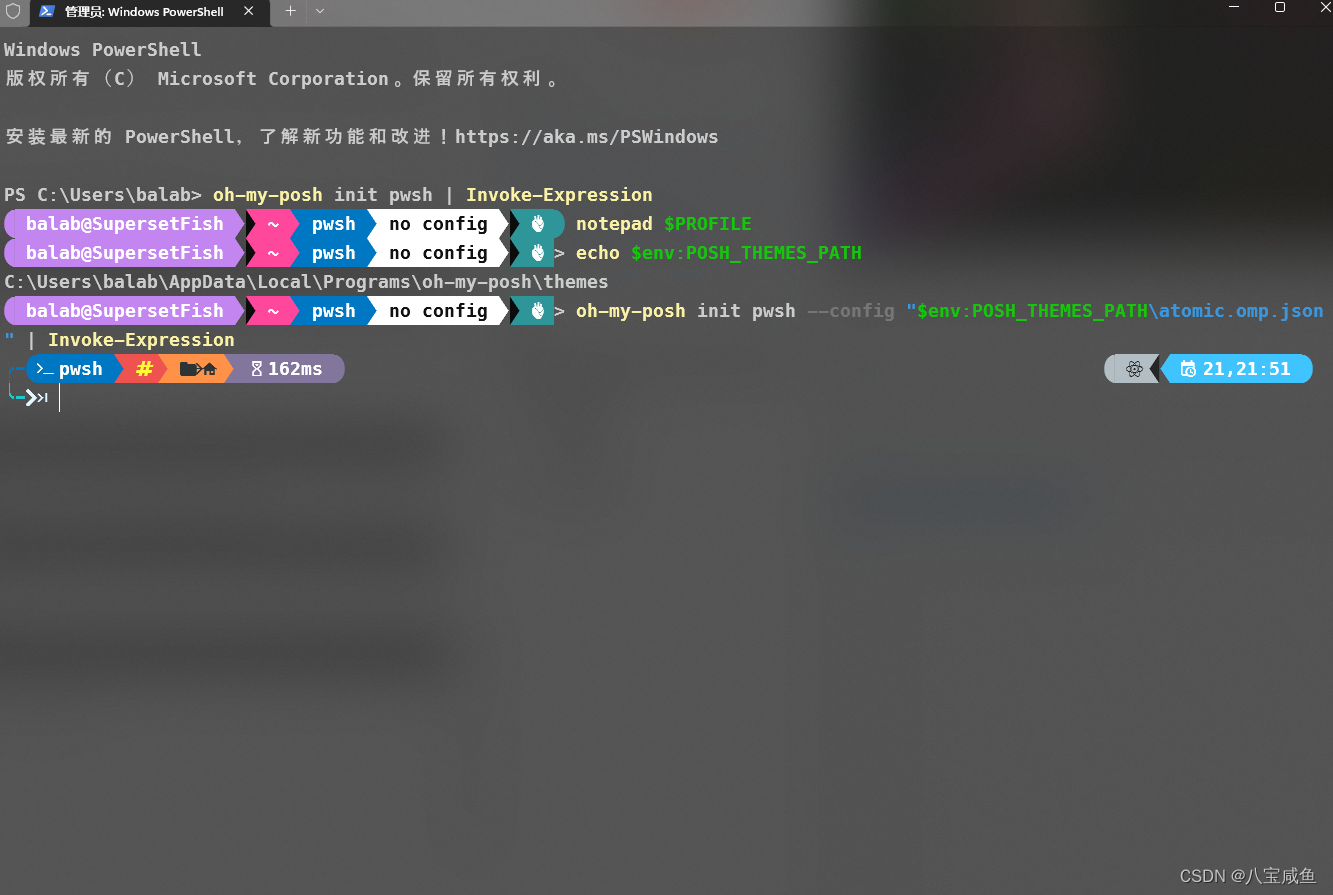
使用下面这行指令打开配置文件
notepad $PROFILE
如果装有Visual Studio Code,可使用以下指令打开配置文件(效果同上
code $PROFILE
再打开的配置文件之中,写入以下.
oh-my-posh init pwsh --config "$env:POSH_THEMES_PATH\atomic.omp.json" | Invoke-Expression
保存,打开Terminal中的PowerShell,检查效果
C:选择适合自己的风格
a:寻找主题
Oh-my-posh 自带多种主题
可使用以下命令检查
ls $env:POSH_THEMES_PATH
又或者用以下操作
echo $env:POSH_THEMES_PATH
复制路径,使用资源管理器访问.
访问主题页面可以更清晰明确的找寻对应喜好:https://ohmyposh.dev/docs/themes
b:替换主题
更换主题只需复制你希望的主题文件名,替换之前路径中的名字
例
oh-my-posh init pwsh --config "$env:POSH_THEMES_PATH\atomic.omp.json" | Invoke-Expression
#将atomic主题替换为zash主题
oh-my-posh init pwsh --config "$env:POSH_THEMES_PATH\zash.omp.json" | Invoke-Expression
D:为CMD设置oh-my-posh
a:安装Clink
https://github.com/chrisant996/clink/releases
下载setup.exe这一安装程序
一直下一步即可,如果想自己选择,建议勾选自动开启,这会在每一次开启CMD的时候,启动Clink.
b:检查Clink
在CMD命令行中输入 clink
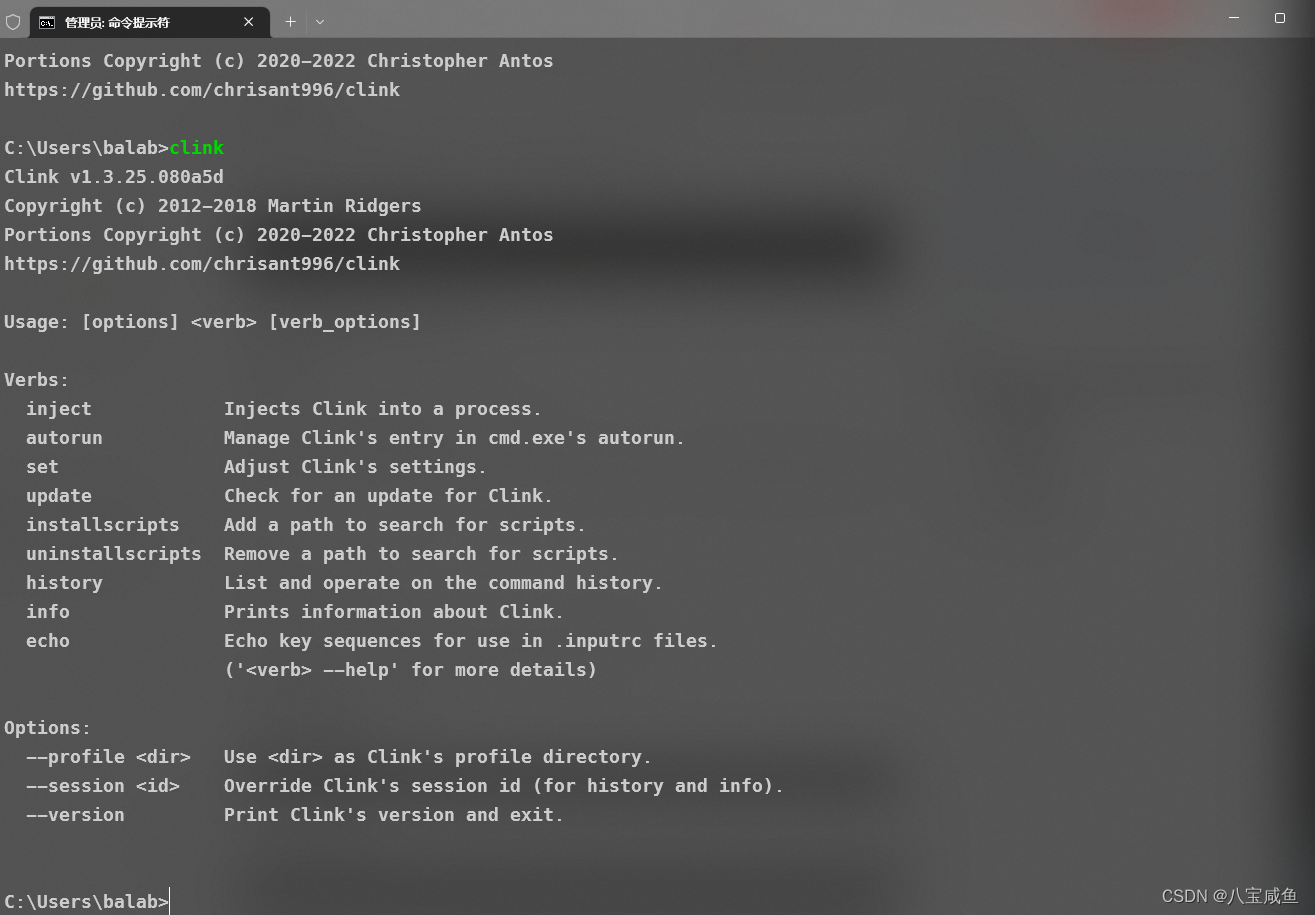
如果开启cmd之后,输入clink没有该效果,请输入以下指令
clink autorun install
c:集成oh-my-posh
c1:设置lua脚本目录
可设置多个目录,用分号(;)隔开
clink set clink.path [Lua脚本目录1;Lua脚本目录2]
例
我在默认安装目录内,新建了一个Completions文件夹

那么在CMD里面,就应该写成如下
clink set clink.path C:\Program Files (x86)\clink\completions
输入 clink set 检查一下看看有没有问题
成功设置的话,会在clink.path的后面看到目录

c2:编写Lua脚本
在设置好的脚本目录中,新建一个.lua后缀的文件
写入以下内容
load(io.popen('oh-my-posh.exe --config="主题绝对目录" --init --shell cmd'):read("*a"))()
例
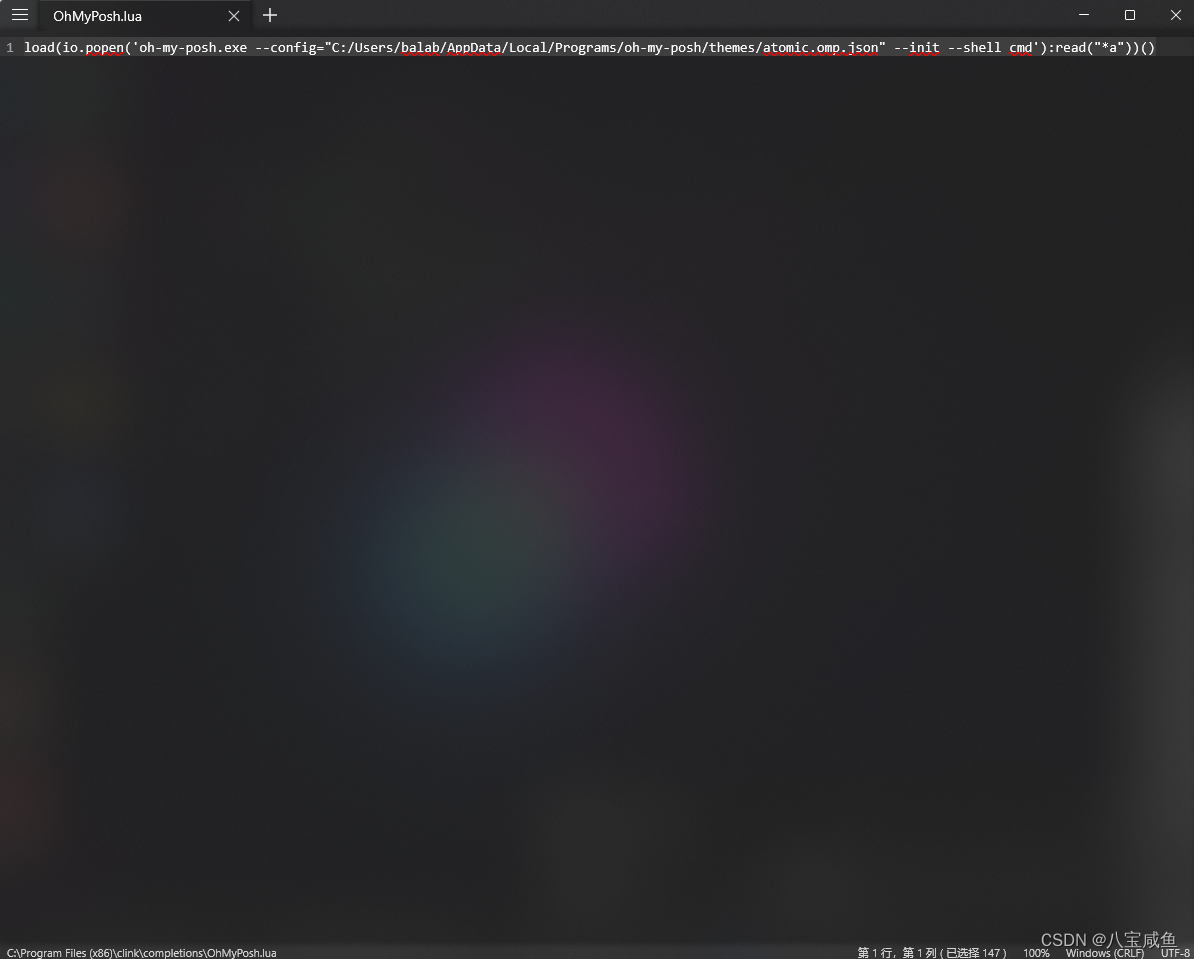
保存,再次打开CMD,即可看到oh-my-posh的效果了

额外:更新oh-my-posh
a:winget(三选一
winget upgrade JanDeDobbeleer.OhMyPosh -s winget
b:scoop(三选一
scoop update oh-my-posh
c:manual(三选一
Set-ExecutionPolicy Bypass -Scope Process -Force; Invoke-Expression ((New-Object System.Net.WebClient).DownloadString('https://ohmyposh.dev/install.ps1'))


 1675
1675


 被折叠的 条评论
为什么被折叠?
被折叠的 条评论
为什么被折叠?
 到【灌水乐园】发言


