


文章目录
这里是weihubeats,觉得文章不错可以关注公众号小奏技术,文章首发。拒绝营销号,拒绝标题党
Docker分层
Docker 容器由基本映像和附加层组成。一旦构建了各个层,它们将保持缓存状态,后续构建,就会使用缓存,构建更快
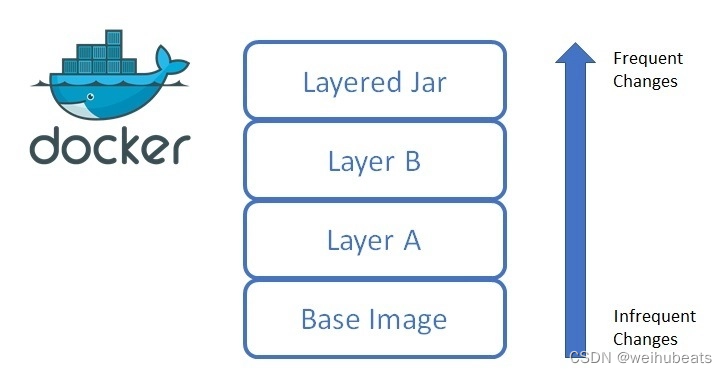
低层次的变化也会重建较高层次的变化。因此,我们在构建镜像的时候最好将不经常变化的图层保留在底部,而经常变化的图层应该放在顶部。这样就能提高构建docker效率和启动时间。
Spring Boot分层
Spring boot 在2.3之后也提供了应用分层,默认分层如下

这里可以看到应用层是独立一层,我们在修改应用代码的时候就只用构建应用层即可。spring-boot-loader、dependencies层就可以使用缓存,从而减少docker镜像的创建和启动时间。
分层打包
- 传统打包
<build>
		<plugins>
			<plugin>
				<groupId>org.apache.maven.plugins</groupId>
				<artifactId>maven-compiler-plugin</artifactId>
				<configuration>
					<source>11</source>
					<target>11</target>
				</configuration>
			</plugin>
			<plugin>
				<groupId>org.springframework.boot</groupId>
				<artifactId>spring-boot-maven-plugin</artifactId>
				<version>${spring-boot.version}</version>
				<executions>
					<execution>
						<goals>
							<goal>repackage</goal>
						</goals>
					</execution>
				</executions>
			</plugin>
		</plugins>
	</build>
这种方式是将整个Spring Boot打成一个jar,没有分层
在Spring Boot 2.3之后添加了分层配置我们在打包插件中开启分层打包
- 分层打包
<build>
		<plugins>
			<plugin>
				<groupId>org.apache.maven.plugins</groupId>
				<artifactId>maven-compiler-plugin</artifactId>
				<configuration>
					<source>11</source>
					<target>11</target>
				</configuration>
			</plugin>
			<plugin>
				<groupId>org.springframework.boot</groupId>
				<artifactId>spring-boot-maven-plugin</artifactId>
				<version>${spring-boot.version}</version>
				<configuration>
					<layers>
						<enabled>true</enabled>
					</layers>
				</configuration>
				<executions>
					<execution>
						<goals>
							<goal>repackage</goal>
						</goals>
					</execution>
				</executions>
			</plugin>
		</plugins>
	</build>
这样打出来的jar是分层的
实战
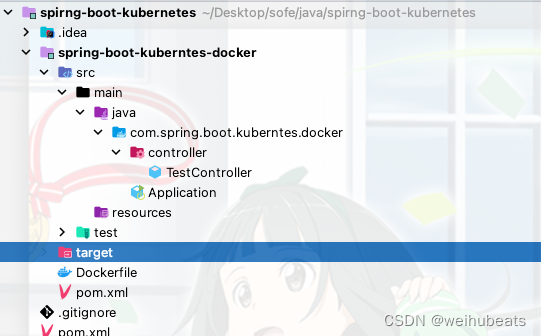
创建Spring Boot demo项目
项目结构
pom 依赖
<?xml version="1.0" encoding="UTF-8"?>
<project xmlns="http://maven.apache.org/POM/4.0.0"
		 xmlns:xsi="http://www.w3.org/2001/XMLSchema-instance"
		 xsi:schemaLocation="http://maven.apache.org/POM/4.0.0 http://maven.apache.org/xsd/maven-4.0.0.xsd">
	<parent>
		<artifactId>spirng-boot-kubernetes</artifactId>
		<groupId>com.zou</groupId>
		<version>1.0.0</version>
	</parent>
	<modelVersion>4.0.0</modelVersion>

	<artifactId>spring-boot-kuberntes-docker</artifactId>

	<properties>
		<maven.compiler.source>11</maven.compiler.source>
		<maven.compiler.target>11</maven.compiler.target>
	</properties>

	<dependencies>
		<dependency>
			<groupId>org.springframework.boot</groupId>
			<artifactId>spring-boot-starter-web</artifactId>
		</dependency>
	</dependencies>


	<build>
		<plugins>
			<plugin>
				<groupId>org.apache.maven.plugins</groupId>
				<artifactId>maven-compiler-plugin</artifactId>
				<configuration>
					<source>11</source>
					<target>11</target>
				</configuration>
			</plugin>
			<plugin>
				<groupId>org.springframework.boot</groupId>
				<artifactId>spring-boot-maven-plugin</artifactId>
				<version>${spring-boot.version}</version>
				<configuration>
					<layers>
						<enabled>true</enabled>
					</layers>
				</configuration>
				<executions>
					<execution>
						<goals>
							<goal>repackage</goal>
						</goals>
					</execution>
				</executions>
			</plugin>
		</plugins>
	</build>

</project>
测试代码
- Application
@SpringBootApplication
public class Application {

	public static void main(String[] args) {
		TimeZone.setDefault(TimeZone.getTimeZone("Asia/Shanghai"));
		SpringApplication.run(Application.class, args);
	}
}
- TestController
@RestController
@RequestMapping
public class TestController {

	@GetMapping("test")
	public String test() {
		return "hello docker image";
	}
}
编写Dockerfile
# 指定基础镜像,这是分阶段构建的前期阶段
FROM adoptopenjdk/openjdk11 as builder
# 执行工作目录
WORKDIR application
# 配置参数
ARG JAR_FILE=target/*.jar
# 将编译构建得到的jar文件复制到镜像空间中
COPY ${JAR_FILE} application.jar
# 通过工具spring-boot-jarmode-layertools从application.jar中提取拆分后的构建结果
RUN java -Djarmode=layertools -jar application.jar extract

# 正式构建镜像
FROM adoptopenjdk/openjdk11
WORKDIR application
# 前一阶段从jar中提取除了多个文件,这里分别执行COPY命令复制到镜像空间中,每次COPY都是一个layer
COPY --from=builder application/dependencies/ ./
COPY --from=builder application/spring-boot-loader/ ./
COPY --from=builder application/snapshot-dependencies/ ./
COPY --from=builder application/application/ ./
ENTRYPOINT ["java", "org.springframework.boot.loader.JarLauncher"]
打包
我们在项目根目录执行打包命令
mvn clean package -U -DskipTests
如果我们解压我们的jar就会发现多了layers.idx文件,打开文件我们会发现有如下内容
dependencies
spring-boot-loader
snapshot-dependencies
application
构建docker 镜像
我们在Dockerfile根目录执行如下命令
docker build -t dockerlayerdemo:0.0.5 .
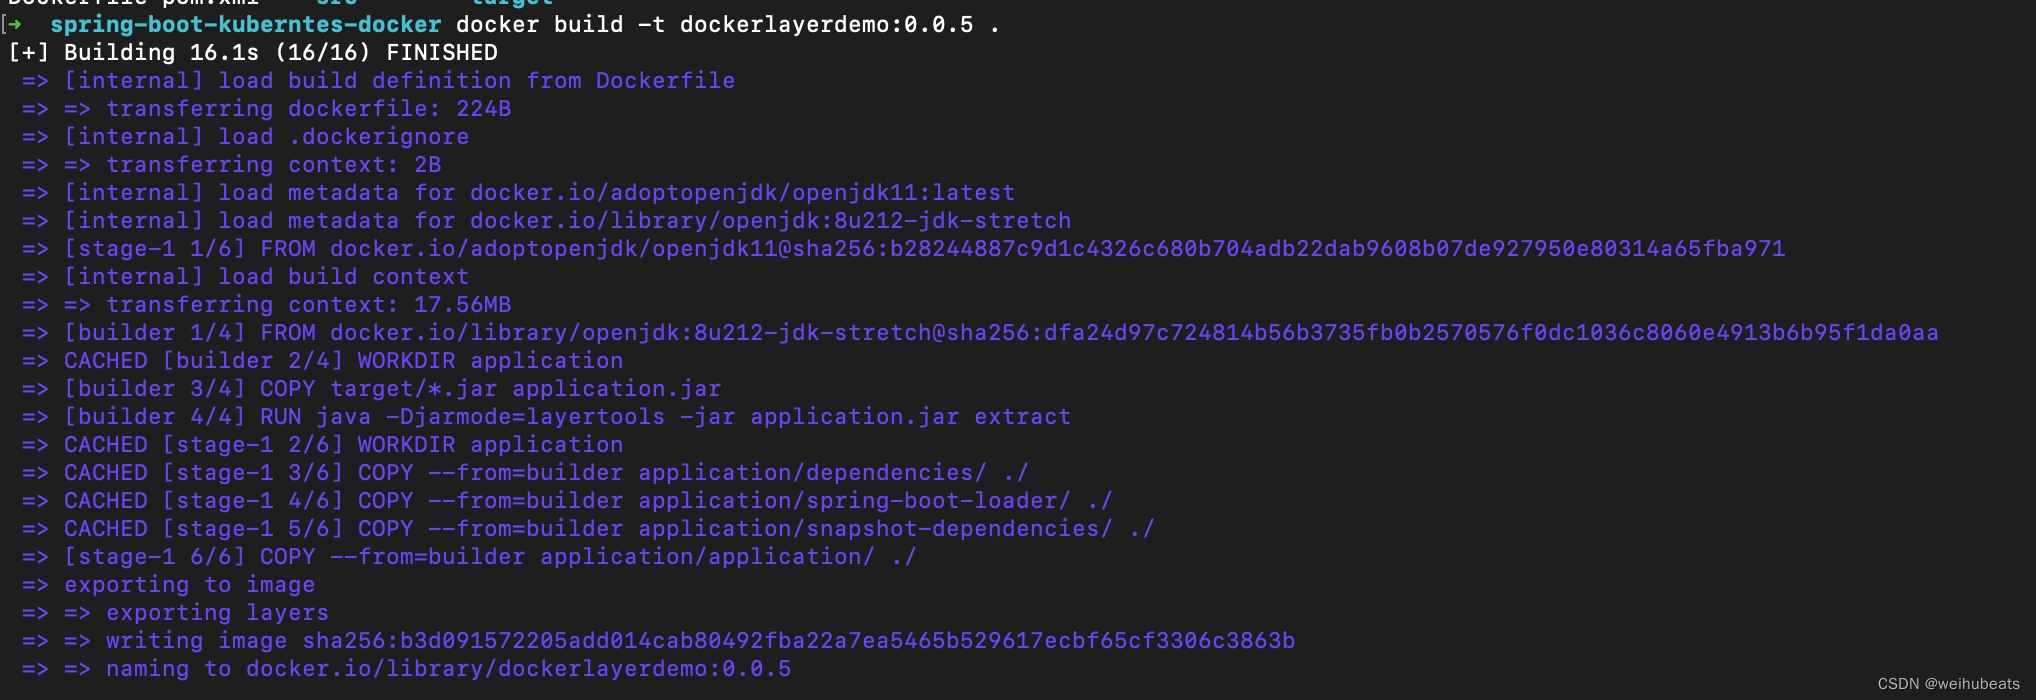
第一次构建可能会有点慢,如果我们后续改了文件重新打包成镜像会快很多,因为有缓存,我们打包又是分了层,这种分层方式比打整个jar包的方式大概能快1倍的速度左右,具体性能差异还是要自己多测试
运行docker镜像
执行如下命令
docker run -d -p 8080:8080 dockerlayerdemo:0.0.5
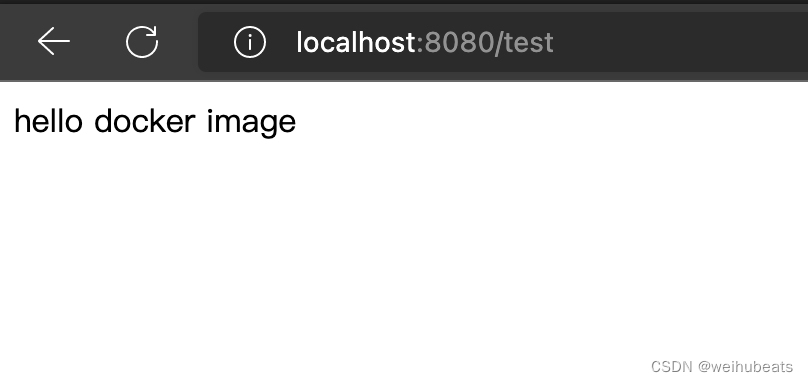
启动完成后我们访问测试接口
localhost:8080/test
可以看到可以正常访问
自定义分层
如果我们仔细看上面的会发现依赖不会在构建的时候共享,所以我们需要自定义配置调整下
在Spring Boot中我们可以通过配置文件来调优自定义分层
我们建立一个layers.xml
<layers xmlns="http://www.springframework.org/schema/boot/layers"
    xmlns:xsi="http://www.w3.org/2001/XMLSchema-instance"
    xsi:schemaLocation="http://www.springframework.org/schema/boot/layers
                     https://www.springframework.org/schema/boot/layers/layers-2.3.xsd">
    <application>
        <into layer="spring-boot-loader">
            <include>org/springframework/boot/loader/**</include>
        </into>
        <into layer="application" />
    </application>
    <dependencies>
        <into layer="snapshot-dependencies">
            <include>*:*:*SNAPSHOT</include>
        </into>
        <into layer="dependencies" />
    </dependencies>
    <layerOrder>
        <layer>dependencies</layer>
        <layer>spring-boot-loader</layer>
        <layer>snapshot-dependencies</layer>
        <layer>application</layer>
    </layerOrder>
</layers>
然后再maven中指定配置文件
<plugin>
    <groupId>org.springframework.boot</groupId>
    <artifactId>spring-boot-maven-plugin</artifactId>
    <configuration>
        <layers>
            <enabled>true</enabled>
            <configuration>${project.basedir}/src/layers.xml</configuration>
        </layers>
    </configuration>
</plugin>
这样我们可以自定义分层了
总结
总的来说要构建高效的Docker镜像并不是那么简单,也是有很多学问要研究的,后续有机会继续深入研究下


 被折叠的 条评论
为什么被折叠?
被折叠的 条评论
为什么被折叠?
 到【灌水乐园】发言


