


序言
好快啊,五一假期就要结束了。
XpStart也已经开始做前端了。
不过,这几天给我的感觉是啥都做了,但又啥也没做…
我最先弄的是Quartz,目前只是把Quartz的配置做好了,定时任务也能够跑。但是要做定时任务的管理,比如页面上创建、暂停等操作,还是有些东西没做的。我想的是做到定时任务的管理时才去搞。
然后研究了一下”代码生成“。其实就是使用Velocity、freemarker等模板引擎实现的,只需要学学模板引擎的语法就好了。我选择使用的是Velocity模板引擎,因为我看它的网上资料要多一些。最开始我是打算从实体类、mapper、service到controller等等都自己写模板的,但是当我在测试写实体类的时候发现,我不是再重复造轮子吗,plus本来就已经有了呀,我只需要把它的模板改造成我想要的样子,然后后端代码直接就用plus生成不久好了吗。于是我将之前的plus工具类改造了一下。
最后就是vue了。昨天把vue2的部分看完了,晚上就把脚手架弄好了,就是把axios、element ui这些弄了进来。之所以没有使用vue3,是因为本来我就没有系统学过vue,现在刚刚学完2,在没有实战的情况下用3是不明智的。
今天一早起来就在写登录页面。五一的最后一个任务就是把登录做了。
XpStart–2022.5.4
Quartz
在SpringBoot中使用Quartz真的很方便了,在配置文件中都能搞定。可以配置哪些参考SpringBoot文档:https://docs.spring.io/spring-boot/docs/current/reference/html/application-properties.html#appendix.application-properties
查看关于Quartz的springboot配置即可
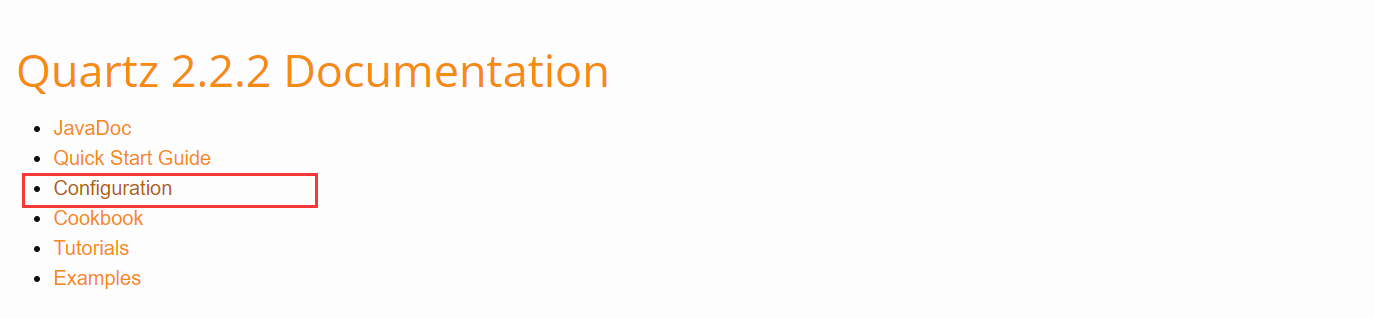
以及quartz配置介绍:
选择你想看的版本,点击进入,选择Configurtion即可查看所有配置及介绍
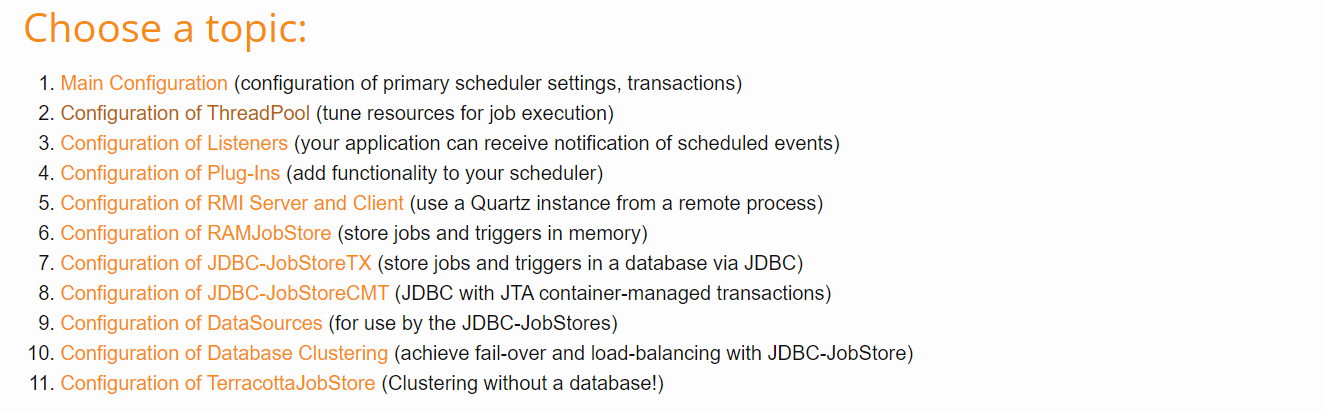
下面是我自己的配置,当然现阶段可能配置不全面:
spring:
  quartz:  # 定时任务相关
    job-store-type: jdbc  # 保存到数据库
    jdbc:
      initialize-schema: always  # 第一次运行程序,设置为always。后面就设置为never。always会帮我们创建quartz的表,但是每次启动都会先删表再创表,导致程序启动很慢
    auto-startup: true  # 自动启动
    overwrite-existing-jobs: true  # 新配置的job会覆盖存在的job
    scheduler-name: xpstart  # 调度器名称
    startup-delay: 2  # 应用初始化完成后,调度器的启动延迟。如果在整个应用程序启动之前没有运行任何作业,则设置此属性是有意义的。
  task:
    execution:
      pool:
        allow-core-thread-timeout: true  # 允许核心线程超时,可以实现池的动态增长和收缩。
        core-size: 8  # 核心线程数
        max-size: 10  # 最大线程数
        queue-capacity: 3  # 等待队列的容量
        keep-alive: 60s  # 线程在终止之前可保持空闲的时间限制
代码生成
因为还是基于plus生成后端代码,所以贴一下小改造后的工具类吧:
不知道如何使用plus代码生成的同学,可以看看我的这篇博客:
Mybatis-plus最新代码生成器(3.5.1+)的使用
import com.baomidou.mybatisplus.core.mapper.BaseMapper;
import com.baomidou.mybatisplus.generator.FastAutoGenerator;
import com.baomidou.mybatisplus.generator.config.OutputFile;
import com.baomidou.mybatisplus.generator.config.TemplateConfig;
import com.baomidou.mybatisplus.generator.engine.FreemarkerTemplateEngine;
import com.baomidou.mybatisplus.generator.engine.VelocityTemplateEngine;
import com.monkeylessey.domain.BaseEntity;
import org.apache.commons.lang3.StringUtils;

import java.util.ArrayList;
import java.util.Collections;
import java.util.List;
import java.util.function.Consumer;

/**
 * 代码生成器
 * @author 29443
 * @date 2022/4/7
 */
public class GenUtil {

    /**
     * 代码生成方法
     * @param genTables 要生成代码的表
     * @param forWhichModule 为哪个模块生成代码
     */
    public static void plusGener(List<String> genTables, String forWhichModule) {
        String outDir = "";
        String mapperDir = "";
        if (StringUtils.isNotBlank(forWhichModule)) {
            // 多模块
            outDir = System.getProperty("user.dir") + "\\" + forWhichModule + "\\src\\main\\java";
            mapperDir = System.getProperty("user.dir") + "\\" + forWhichModule + "\\src\\main\\resources\\mapper";
        }else {
            // 单模块
            outDir = System.getProperty("user.dir") + "\\src\\main\\java";
            mapperDir = System.getProperty("user.dir") + "\\src\\main\\resources\\mapper";
        }
        System.out.println(System.getProperty("user.dir"));
        String finalOutDir = outDir;
        String finalMapperDir = mapperDir;
        FastAutoGenerator.create("jdbc:mysql://127.0.0.1:3306/start","root","111111")
                .globalConfig(builder -> {
                    builder.author("向培")               //作者
                            .outputDir(finalOutDir)    //输出路径(写到java目录)
                            .enableSwagger()           //开启swagger
                            .commentDate("yyyy-MM-dd")
                            .fileOverride();            //开启覆盖之前生成的文件

                })
                .packageConfig(builder -> {
                    builder.parent("com.monkeylessey")
                            //.moduleName("onceCode")
                            .entity("domain.entity")
                            .service("service")
                            .serviceImpl("service.impl")
                            .controller("controller")
                            .mapper("mapper")
                            .xml("mapper")
                            .pathInfo(Collections.singletonMap(OutputFile.xml, finalMapperDir));
                })
                .strategyConfig(builder -> {
                    builder.addInclude(genTables)
                            //.addTablePrefix("sys_")
                            .serviceBuilder()
                            .formatServiceFileName("%sService")
                            .formatServiceImplFileName("%sServiceImpl")
                            .entityBuilder()
                        	// 需要说明的是,父类是需要自己创建的,下面的父类字段也是你自己创建才行。plus不会说发现父类并没有id而创建id字段
                            .superClass(BaseEntity.class)
                        	// 指定哪些字段在父表中,实体类将不会生成这些字段了
                            .addSuperEntityColumns("id", "gmt_create", "gmt_update", "is_deleted",
                                    "create_by",
                                    "update_by")
                            .enableLombok()
                            //.logicDeleteColumnName("is_deleted")
                            .enableTableFieldAnnotation()
                            .controllerBuilder()
                            .formatFileName("%sController")
                            .enableRestStyle()
                            .mapperBuilder()
                            .enableBaseResultMap()  //生成通用的resultMap
                            .superClass(BaseMapper.class)
                            .formatMapperFileName("%sMapper")
                            .enableMapperAnnotation()
                            .formatXmlFileName("%sMapper");
                })
                .templateConfig(new Consumer<TemplateConfig.Builder>() {
                    // 使用自定义entity模板
                    @Override
                    public void accept(TemplateConfig.Builder builder) {
                        builder.entity("templates/entity.java");
                    }
                })
                // 默认的是Velocity引擎模板
                .templateEngine(new VelocityTemplateEngine())
                .execute();
    }
}
Vue脚手架
- 引入axios,配置统一的请求响应拦截器。axios文档:拦截器
这里是我对axios的二次封装:
import axios from "axios";
import router from "../router";
import { Message } from 'element-ui';

const instance = axios.create({
    baseURL: 'http://localhost:9898',
    timeout: 5000,
    // 不携带cookie
    withCredentials: false,
    Headers: {
      "Content-Type": "application/json; charset=utf-8"
    }
  });

// 添加请求拦截器
instance.interceptors.request.use(function (config) {
    // 带上token
    config.headers['Authorization'] = localStorage.getItem("token");
    return config;
  }, function (error) {
      Message.error("请求存在问题,请检查")
    return Promise.reject(error);
  });

// 添加响应拦截器
instance.interceptors.response.use(function (response) {
  console.log(response)
    let res = response.data;
    // 处理自定义状态码
    if(res.code === 200) {
        return response;
    }
    else {
      Message.error(res.msg ? "系统异常" : res.msg);
      return Promise.reject(res.data.msg);
    }

  }, function (error) {
    // 处理http状态码
    console.log(error)
    if(error.response.data) {
      error.message = error.response.data.msg;
    }
    if(error.response.status === 401) {
      error.message = "请先登录";
      router.push("/");
    }
    if(error.response.status === 403) {
      error.message = "权限不足";
    }
    Message.error(error.message);
    return Promise.reject(error);
  });

export default instance;
-
引入Element-UI,按需引入,减小体积
修改
babel.config.jsmodule.exports = { presets: [ '@vue/cli-plugin-babel/preset', ["@babel/preset-env", { "modules": false }] ], plugins: [ [ "component", { "libraryName": "element-ui", "styleLibraryName": "theme-chalk" } ] ] }main.js中,按需引入:import { Button, Select, Row, Link, Message } from 'element-ui'; Vue.component(Button.name, Button); Vue.component(Select.name, Select); Vue.component(Row.name, Row); Vue.component(Link.name, Link); Vue.component(Message.name, Message);
下面这个是我全手写的登录页面,我会在浏览器打开W3C的html和css教程,需要什么我就去看。花了三个小时吧,虽然有点久,但是成就感十足。配色和样式太难了!
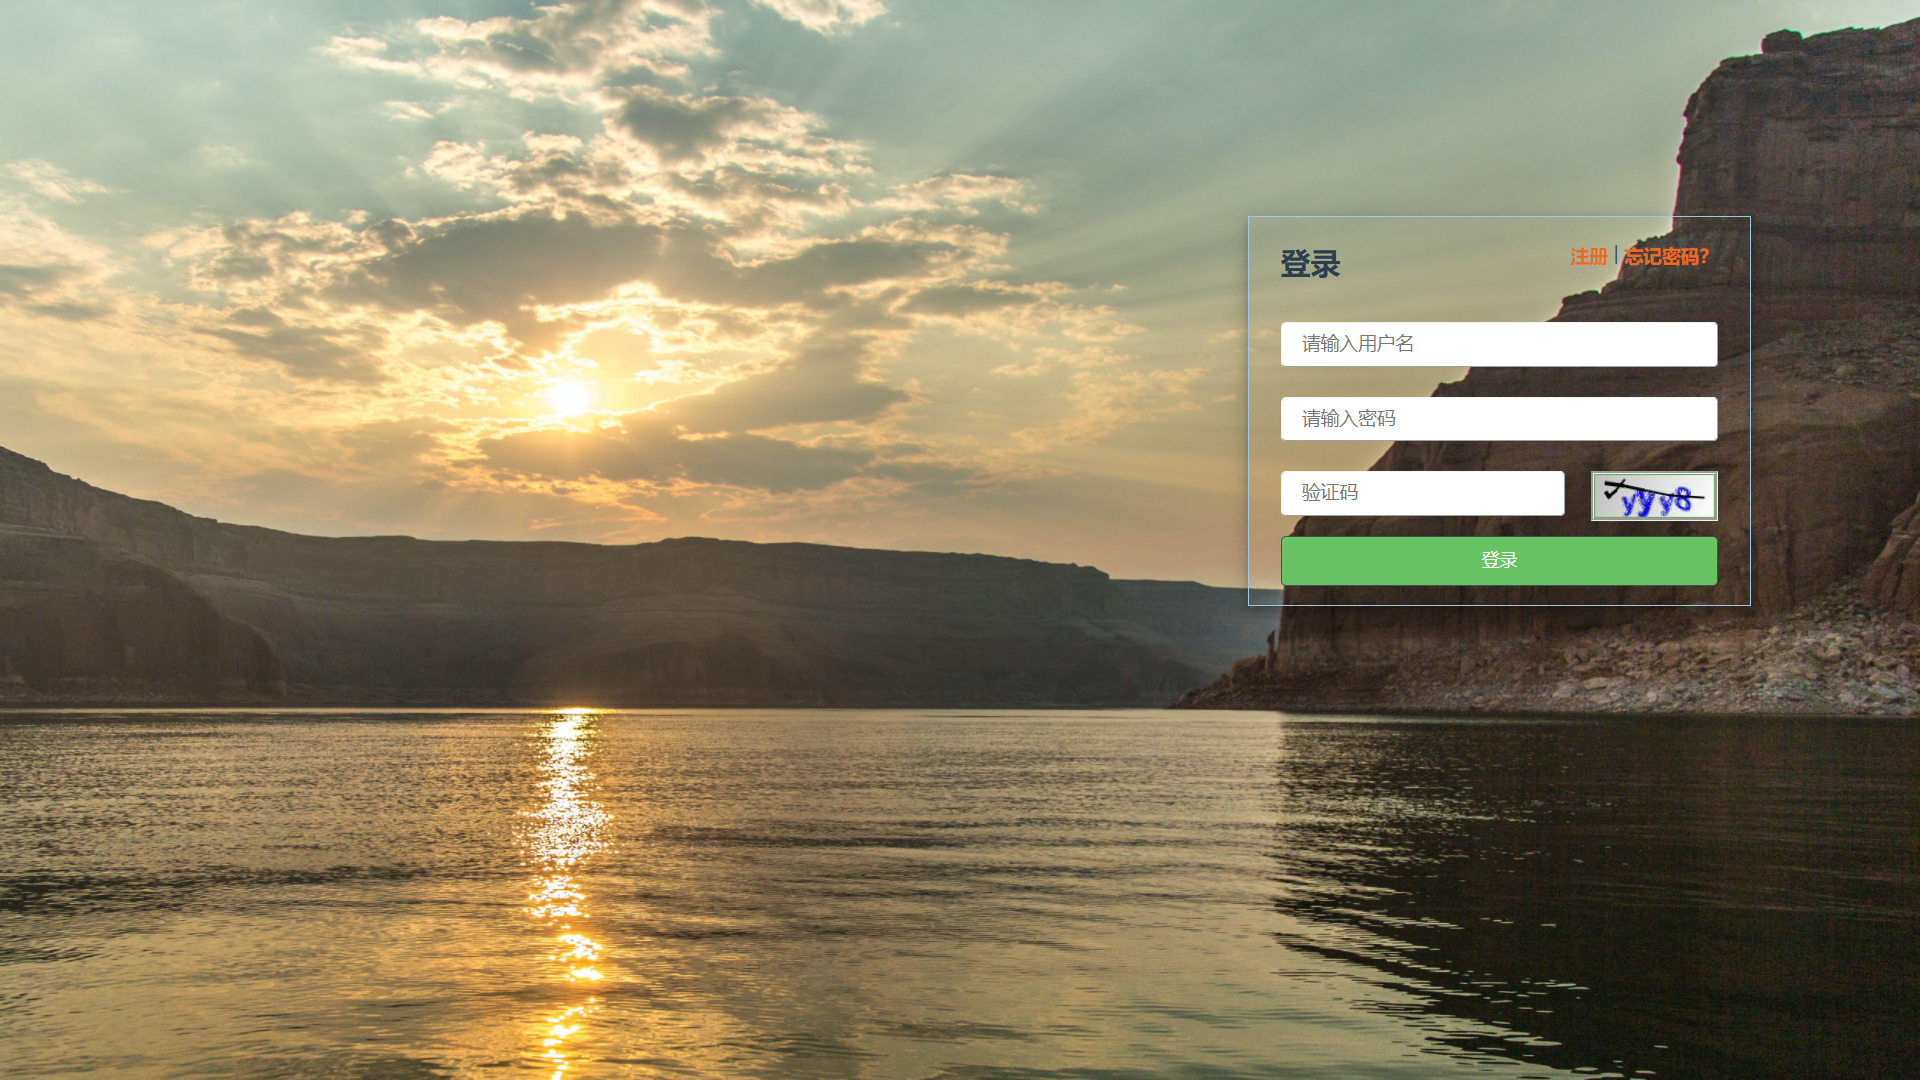
而且输入校验也还没做,但也不是什么大问题了。


 9659
9659


 被折叠的 条评论
为什么被折叠?
被折叠的 条评论
为什么被折叠?
 到【灌水乐园】发言


