


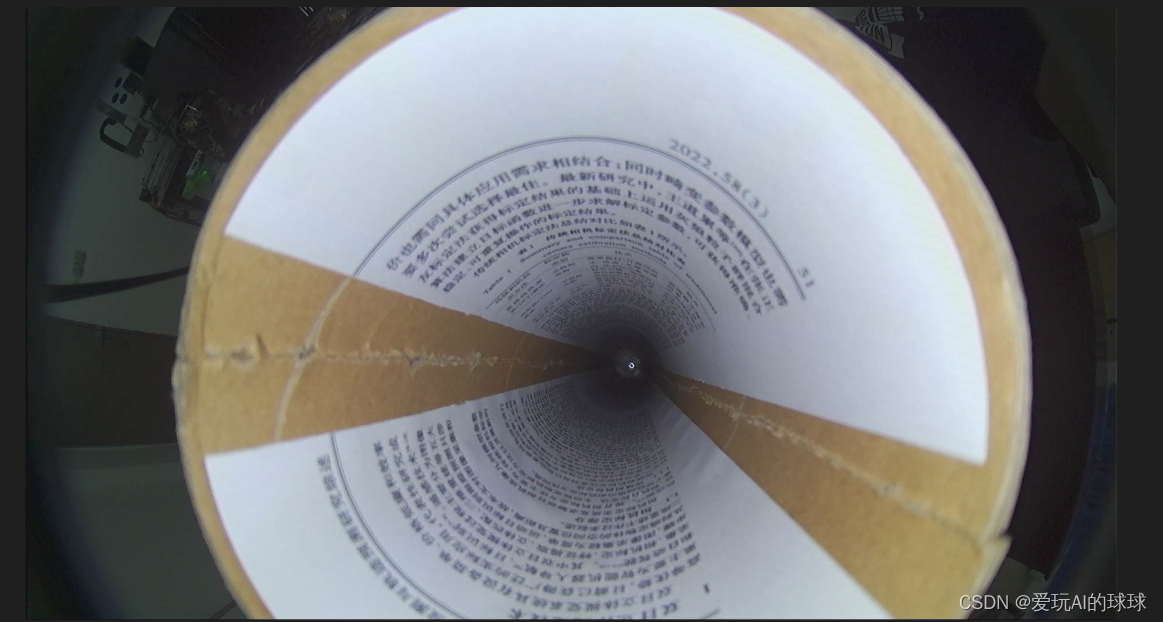
图像偏移矫正
# 导入opencv,nummp包
import cv2
import numpy as np
#读图
img=cv2.imread('qipan.jpg')
#图片太大,不方便展示,缩小了一半
resize = cv2.resize(img,dsize=None,fx=0.5,fy=0.5,interpolation=cv2.INTER_LINEAR)
# 获取图片的长宽并打印
rows,cols,channel=resize.shape
print(int(cols/2),int(rows/2))
resize1 = resize.copy()
#灰度化
gray = cv2.cvtColor(resize, cv2.COLOR_BGR2GRAY)
#显示灰度图
# cv2.imshow('gray',gray)
#阈值分割
ret, th = cv2.threshold(gray, 81, 255, cv2.THRESH_BINARY)
#显示阈值分割图
cv2.imshow('th',th)
##########滤波选择########
# 均值滤波
img_mean = cv2.blur(th, (5,5))
cv2.imshow('img_mean',img_mean)
# 高斯滤波
img_Guassian = cv2.GaussianBlur(th,(5,5),0)
cv2.imshow('img_Guassian',img_Guassian)
# 中值滤波 效果好
img_median = cv2.medianBlur(th, 3)
cv2.imshow('img_median',img_median)
# 双边滤波
img_bilater = cv2.bilateralFilter(th,9,75,75)
##########中值滤波效果最好########
#形态学变换,膨胀15
#卷积核(15,15)
kernel = cv2.getStructuringElement(cv2.MORPH_RECT, (15, 15))
#膨胀
dst = cv2.dilate(img_median, kernel)
#显示
cv2.imshow("dilate", dst)
#边缘查找,用canny
canny = cv2.Canny(dst, 50, 150)
cv2.imshow('canny',canny)
#####根据轮廓边缘来找中心点######
#获取轮廓的点集
contours, hierarchy = cv2.findContours(canny, cv2.RETR_TREE, cv2.CHAIN_APPROX_SIMPLE)
#取最大的边缘轮廓点集
contours = max(contours, key=cv2.contourArea)
#求取轮廓的矩
M = cv2.moments(contours)
# print (M)
#画出轮廓
cv2.drawContours(resize, contours, -1, (0, 0, 255), 3)
bounding_boxes = [cv2.boundingRect(cnt) for cnt in contours]
#在图片上画出矩形边框
for bbox in bounding_boxes:
[x, y, w, h] = bbox
cv2.rectangle(resize, (x, y), (x + w, y + h), (0, 255, 0), 2)
#通过矩M来计算轮廓的中心坐标,并打印
cx = int(M['m10']/M['m00'])
cy = int(M['m01']/M['m00'])
print(f"({cx},{cy})")
#画圆,方便查看两个中心在哪里
cv2.circle(resize, ( int(cols/2),int(rows/2)), 10, (0, 0, 255), 0)
cv2.circle(resize, (cx, cy), 10, (0, 0, 255), 0)
cv2.imshow("resize", resize)
#图片偏移,讲一个中心点移到另一个中心点
M=np.float32([[1,0,(int(cols/2)-cx)],[0,1,(int(rows/2)-cy)]])
dst1=cv2.warpAffine(resize1,M,(int(cols),int(rows)))
#显示结果
cv2.imshow("dst1", dst1)
#保存图片
# dsr = cv2.resize(dst1,dsize=None,fx=2,fy=2,interpolation=cv2.INTER_LINEAR)
# cv2.imwrite("dst.jpg", dsr)
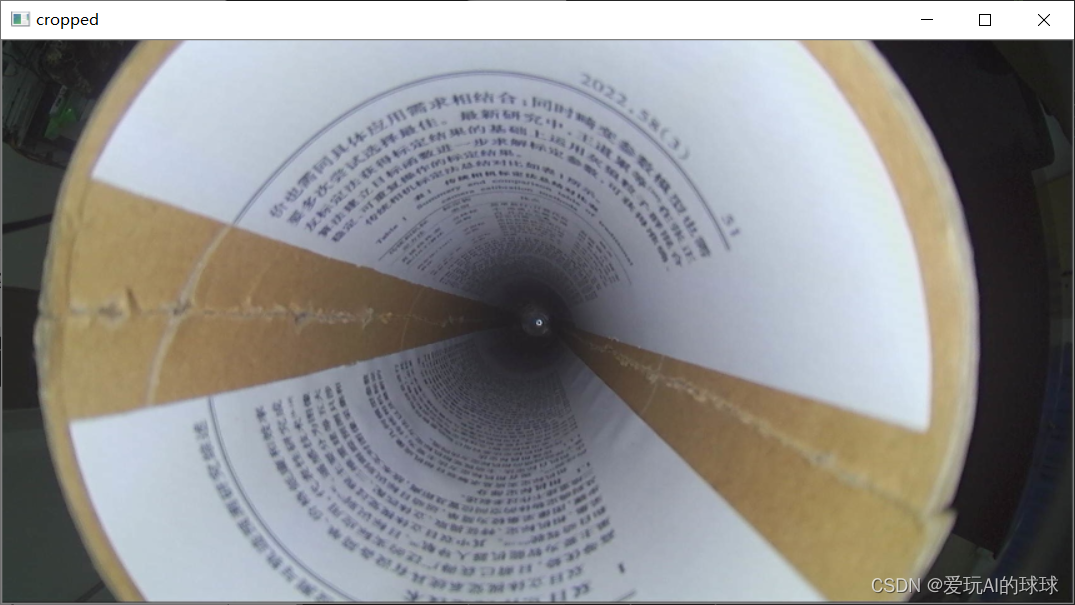
#矫正图片
start_row,start_col=int(rows-((rows-cy)*2)),int(cols-((cols-cx)*2))
end_row,end_col=int(rows),int(cols)
cropped=resize1[start_row:end_row,start_col:end_col]
cv2.imshow("cropped", cropped)
cv2.waitKey(0)
cv2.destroyAllWindows()


 1088
1088


 被折叠的 条评论
为什么被折叠?
被折叠的 条评论
为什么被折叠?
 到【灌水乐园】发言


