


Swagger
导入依赖
Springfox Swagger2
Springfox Swagger UI
swaggerUI默认地址
url:port/swagger-ui.html
3.0只需要导入
<dependency>
	<groupId>io.springfox</groupId>
	<artifactId>springfox-boot-starter</artifactId>
	<version>3.0.0</version>
</dependency>
swaggerUI默认地址
http://localhost:8080/swagger-ui/index.html
配置Swagger
@Configuration
开启swagger2
@EnableSwagger2
配置Swagger的docket的bean实例
@Bean
    Docket docket(){
        return new Docket(DocumentationType.SWAGGER_2);
    }
配置Swagger信息apiInfo
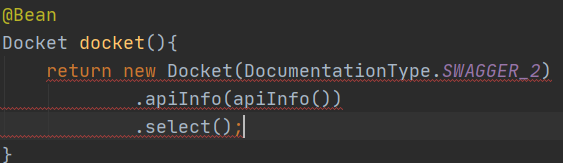
@Bean
    Docket docket(){
        return new Docket(DocumentationType.SWAGGER_2)
                .apiInfo(apiInfo());
    }

    private ApiInfo apiInfo(){
        Contact contact = new Contact("姓名", "跳转地址", "邮箱");
        return new ApiInfo("Api Documentation",
                "Api Documentation",
                "1.0",
                "跳转地址",
                contact,
                "Apache 2.0",
                "http://www.apache.org/licenses/LICENSE-2.0",
                new ArrayList());
    }
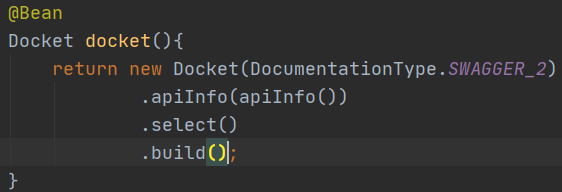
Swagger配置扫描接口select
select方法后必须跟build
RequestHandlerSelectors配置要扫描的接口方式
basePackage指定要扫描的包(常用)
withClassAnnotation扫描类上的注解
withMethodAnnotation扫描方法上的注解

paths过滤路径
enable是否启用swagger,默认为true
禁用swagger
@Value("${swagger.enable}")
在配置文件里添加一个swagger.enable属性,根据不同的application-xx.yml进行动态插入true或false即可。
配置API文档分组
groupName
API
给实体类加注释
contoller类中返回实体类
@ApiModel(“实体类注释”)
@ApiModelProperty(“成员变量注释”)
给接口加注释
@ApiOperation 控制器方法上加注释
@ApiParam 方法参数上加注释


 99
99


 被折叠的 条评论
为什么被折叠?
被折叠的 条评论
为什么被折叠?
 到【灌水乐园】发言


