


1、swagger2 介绍
什么是swagger2?
编写和维护接口文档是每个程序员的职责,根据Swagger2可以快速帮助我们编写最新的API接口文档,再也不用担心开会前仍忙于整理各种资料了,间接提升了团队开发的沟通效率。
swagger通过注解表明该接口会生成文档,包括接口名、请求方法、参数、返回信息的等等。
swagger2常用注解
| 注解 | 描述 |
|---|---|
| @Api | 修饰整个类,描述Controller的作用 |
| @ApiOperation | 描述一个类的一个方法,或者说一个接口 |
| @ApiParam | 单个参数描述 |
| @ApiModel | 用对象来接收参数 |
| @ApiModelProperty | 用对象接收参数时,描述对象的一个字段 |
| @ApiImplicitParam | 一个请求参数 |
| @ApiImplicitParams | 多个请求参数 |
2、swagger2 集成
2.1 项目整合swagger2
在项目的pom.xml文件中引入依赖
<!--swagger-->
<dependency>
	<groupId>io.springfox</groupId>
	<artifactId>springfox-swagger2</artifactId>
	<version>2.7.0</version>
</dependency>
<dependency>
	<groupId>io.springfox</groupId>
	<artifactId>springfox-swagger-ui</artifactId>
	<version>2.7.0</version>
</dependency>
2.2 添加swagger2配置类
在项目中添加配置类:
com.atguigu.yygh.common.config.Swagger2Config类
/**
 * Swagger2配置信息
 */
@Configuration
@EnableSwagger2
public class Swagger2Config {
    @Bean
    public Docket webApiConfig(){
        return new Docket(DocumentationType.SWAGGER_2)
                .groupName("webApi")
                .apiInfo(webApiInfo())
                .select()
                //只显示api路径下的页面
                .paths(Predicates.and(PathSelectors.regex("/api/.*")))
                .build();
    }

    @Bean
    public Docket adminApiConfig(){
        return new Docket(DocumentationType.SWAGGER_2)
                .groupName("adminApi")
                .apiInfo(adminApiInfo())
                .select()
                //只显示admin路径下的页面
                .paths(Predicates.and(PathSelectors.regex("/admin/.*")))
                .build();
    }

    private ApiInfo webApiInfo(){
        return new ApiInfoBuilder()
                .title("网站-API文档")
                .description("本文档描述了网站微服务接口定义")
                .version("1.0")
                .contact(new Contact("atguigu", "http://atguigu.com", "493211102@qq.com"))
                .build();
    }

    private ApiInfo adminApiInfo(){
        return new ApiInfoBuilder()
                .title("后台管理系统-API文档")
                .description("本文档描述了后台管理系统微服务接口定义")
                .version("1.0")
                .contact(new Contact("atguigu", "http://atguigu.com", "49321112@qq.com"))
                .build();
    }
}
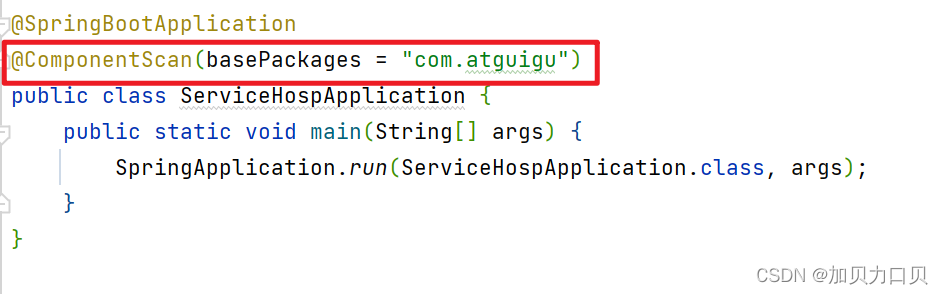
注意:如果启动类和配置类不在一个模块下,那么就需要在启动类上添加一个注解
//basePackages属性填写要扫描的路径
@ComponentScan(basePackages = "com.atguigu")
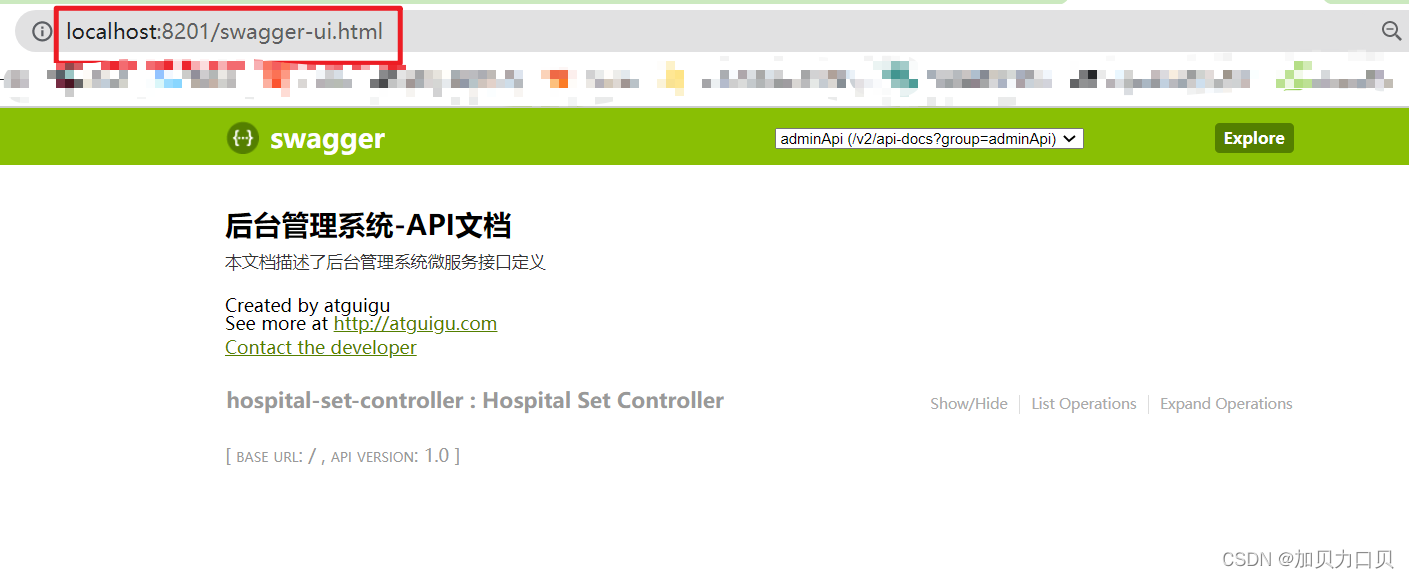
2.3 使用swagger2测试
启动项目在浏览器中访问swagger2固定路径
链接: http://localhost:8201/swagger-ui.html
其中localhost:8201要换成自己服务的域名+端口号


 1190
1190


 被折叠的 条评论
为什么被折叠?
被折叠的 条评论
为什么被折叠?
 到【灌水乐园】发言


