


先看下效果图吧,一眼望去比较直观,也能知道是不是自己想要的效果
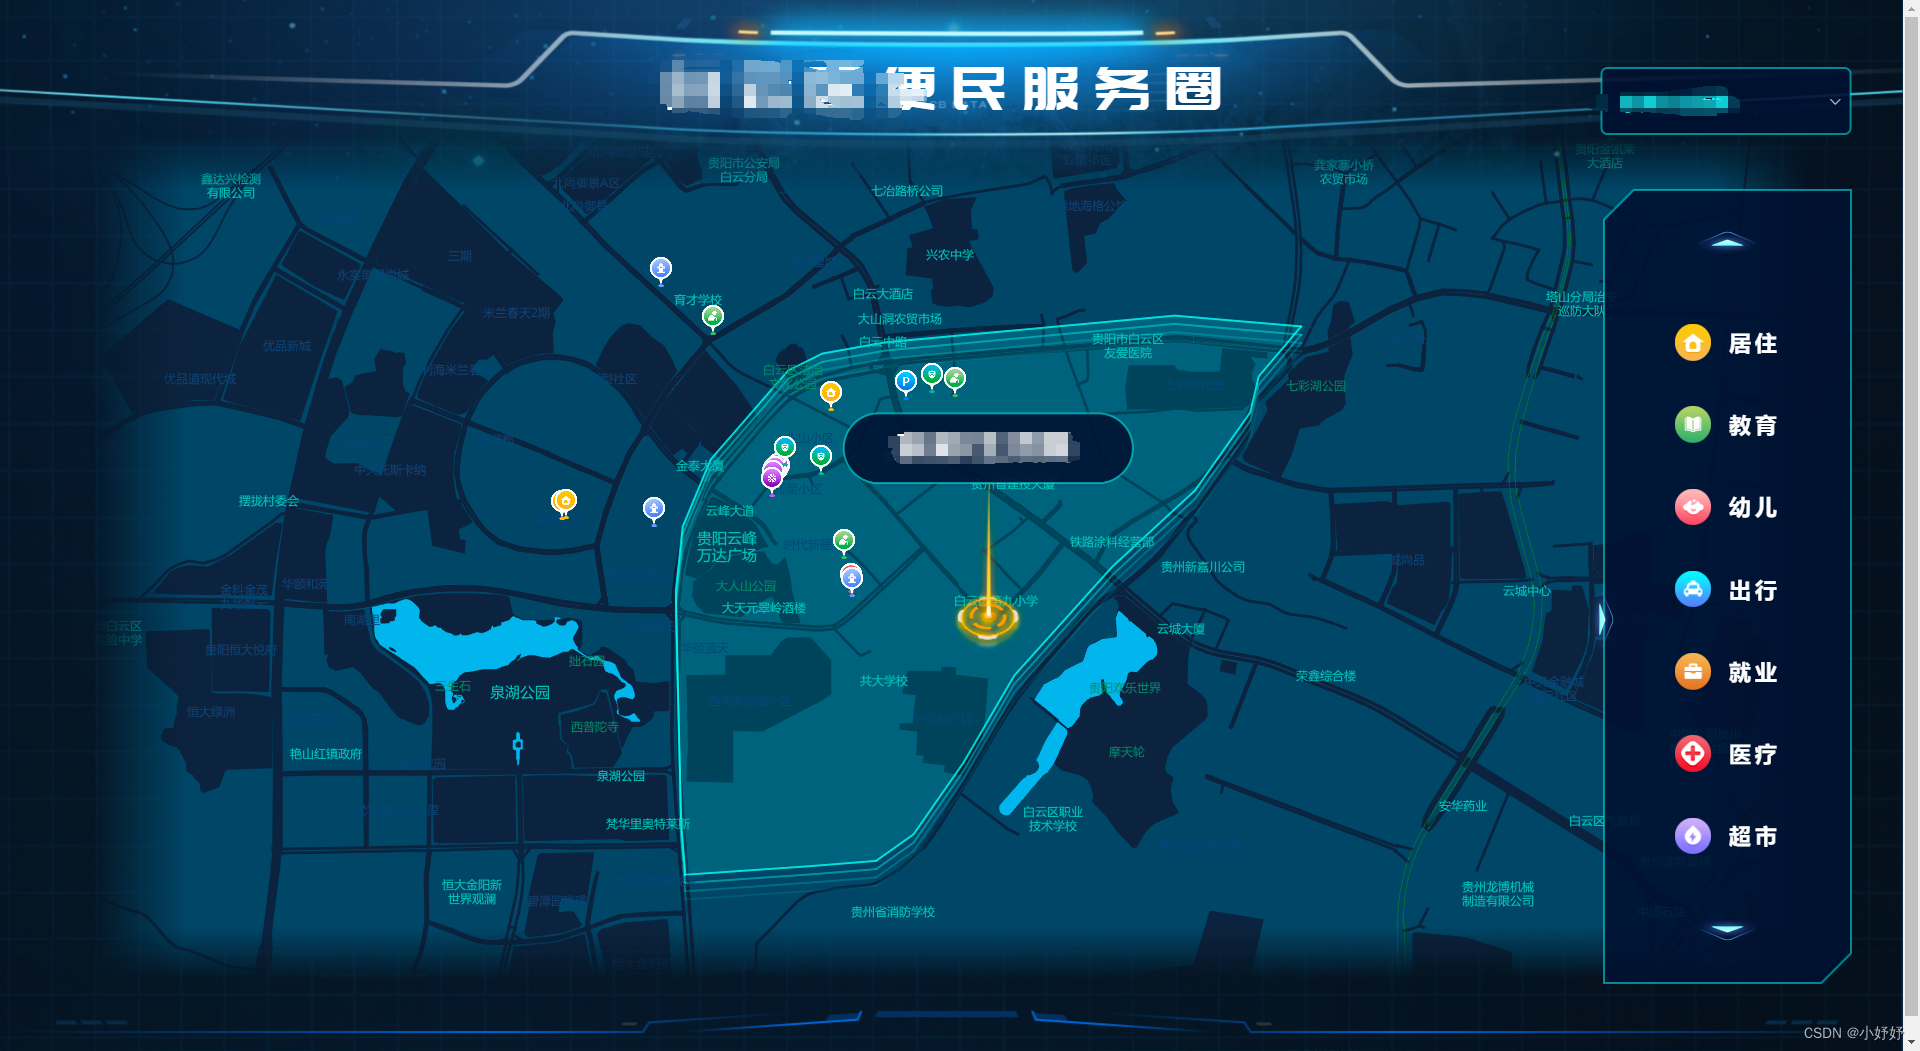
接下来就是开始开发的过程啦~~~
首先是 HTML(其实就是一个 div 搞定),具体的样式根据自己的情况画吧
<div class="map" id="map" ref="map"></div>
接下来是js 的相关操作啦~
1、安装依赖
npm install vue-baidu-map --save
2、在main.js文件中全局引入百度地图
也可以用 script 引入
<script type="text/javascript" src="http://api.map.baidu.com/api?type=webgl&v=3.0&ak=你的ak"></script>
// 2.0版本
import BaiduMap from 'vue-baidu-map'
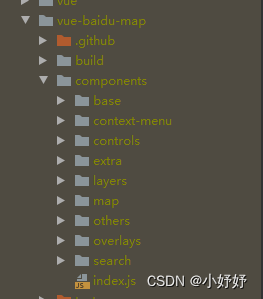
// 3.0 版本需要把node-modules下 vue-bai-map 的组件放到自定义的文件中再引入(如下图)
import BaiduMap from '@/components/baidu-map/components'
Vue.use(BaiduMap, { ak: '你已经申请的ak' });

3、创建地图实例(自定义样式需要使用到个性化地图:https://lbsyun.baidu.com/index.php?title=jspopularGL/guide/custom)
 import mapStyle from './map_style'   // 引入自定义样式文件

  mounted() {
      this.map = new BMapGL.Map('map', {
        enableRotate: false
      });
      this.map.setMapStyleV2({ styleJson: mapStyle });  // 设置自定义样式
      this.map.enableScrollWheelZoom(true);     //开启鼠标滚轮缩放
      var point = new BMapGL.Point(116.404, 39.915);  // 设置中心点坐标
	  var marker = new BMapGL.Marker(point);        // 创建标注
	  this.map.addOverlay(marker);                     // 将标注添加到地图中
    },
methods:{
// 拿到后端返回的所有经纬度后存起来,后续做点的创建标记
 	calcLifeCircleLocation() {
        this.border1 = []
        let top = 0, bottom = 9999, left = 9999, right = 0
        this.polygonList.forEach((point) => {
          let longitude = Number(point.longitude);
          let latitude = Number(point.latitude);
          if (longitude < left) {
            left = longitude
          }
          if (longitude > right) {
            right = longitude
          }
          if (latitude > top) {
            top = latitude
          }
          if (latitude < bottom) {
            bottom = latitude
          }

          let northLat = this.northMove(latitude)
          this.border1.push(new BMapGL.Point(longitude, latitude));
        })
        // 计算生活圈中心点
        this.lifeCircleCenter.lon = (right - left) / 2 + left;
        this.lifeCircleCenter.lat = (top - bottom) / 2 + bottom;
      },
	 // 在地图上标记所有的经纬度的点
      drawPoint() {
        let map = this.map, arrayList = this.arrayList, _this = this
        arrayList.forEach((item, index) => {
          let itemObj = item
          const bPoint = new BMapGL.Point(item.longitude, item.latitude); // 创建点
          var myIcon = new BMapGL.Icon(this.findFacilityIcon(item.facilitiesId), new BMapGL.Size(24, 31), { anchor: new BMapGL.Size(12, 31) });  // 设置点图片
          var iconImg = new BMapGL.Marker(bPoint, { icon: myIcon });
          // 将标注添加到地图中
          map.addOverlay(iconImg); // 在地图上显示icon图片

          var html = ''
          for (let i = 0; i < itemObj.extendList.length; i++) {
            html += `<p style="white-space: normal;">${ itemObj.extendList[i].propertyName }:${ itemObj.extendList[i].propertyValue }</p>`;
          }
          var content = ` <div class="introduce" id="label-item${ index }">
              <p class="label" style="white-space: normal;">${ itemObj.name }</p>
              <div class="cont-extend" id="cont-extend">`
            + html + `<br/>` +
            ` </div>
               <div class="btn">
                <button >关闭</button>
              </div>
            </div>`;
          var label = new BMapGL.Label(content, {       // 创建文本标注
            position: bPoint,                          // 设置标注的地理位置
            offset: new BMapGL.Size(10, 20)           // 设置标注的偏移量
          })

          var style = {
            backgroundColor: 'transparent',
            width: '360px',
            backgroundRepeat: 'no-repeat',
            backgroundSize: '100% 100%',
            padding: '19px 23px',
            border: 0,
            display: 'none'
          }
          map.addOverlay(label);   // 设置标注框样式,有的样式主要配合css才能实现(例如背景图片)
          label.setStyle(style);

          iconImg.addEventListener('click', function () {    // 创建点击事件
            if (_this.prevLabel) {
              _this.prevLabel.setStyle({
                display: 'none'
              })
            }
            label.setStyle({
              display: 'block'
            })
            let btnClick = document.querySelector(`#label-item${ index } .btn button`)
            // let imgClick = document.querySelector(`#label-item${ index } img`)
            btnClick.onclick = () => {
              label.setStyle({
                display: 'none'
              })
            }
            _this.prevLabel = label   // 记录上一个标注点、在点击当前标注框的时候关闭上一个
          })
        })
      },
}

注: 在切换选择器数据时需要清楚地图上的点再重新标记
this.map.clearOverlays();
// 彩蛋:切换tab时滚到对应的tab-item位置上的效果
        document.querySelector('#points-item' + this.typeIndex).scrollIntoView({ block: 'center' });
 /*// 去除百度地图水印*/
 .anchorBL {
   /*//在全局样式css中添加*/
   display: none;
 }
 .BMap_cpyCtrl span {
    display: none;
  }
好了,大致就这样,有问题需要帮助的请留言~~


 1434
1434


 被折叠的 条评论
为什么被折叠?
被折叠的 条评论
为什么被折叠?
 到【灌水乐园】发言


