


作用域
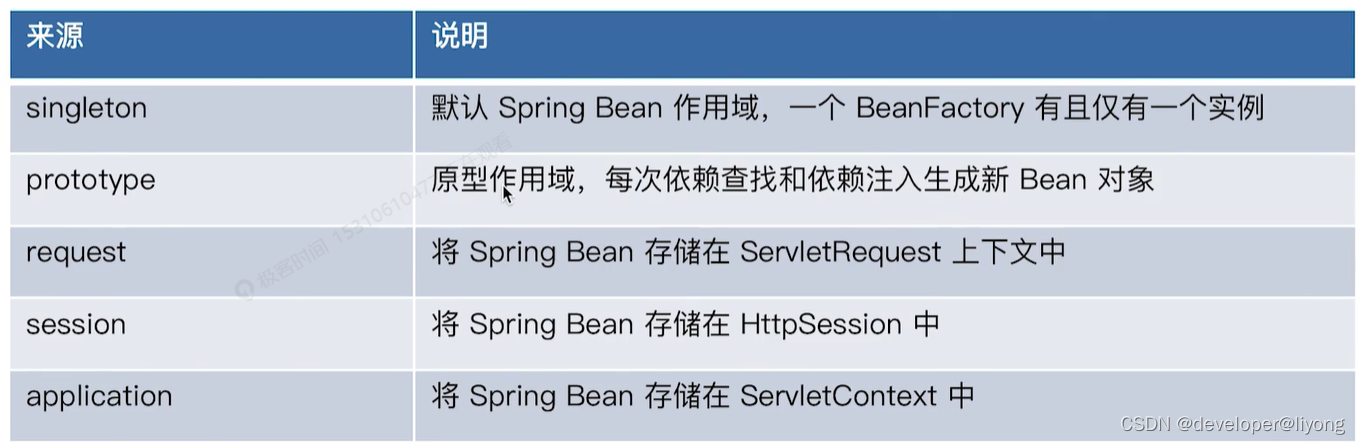
作用域案例
public class BeanScopeDemo {
    @Autowired
    @Qualifier("singletonPerson")
    Person person;

    @Autowired
    @Qualifier("prototypePerson")
    Person person1;

    @Autowired
    @Qualifier("prototypePerson")
    Person person2;

    @Autowired
    Set<Person> personSet;
    /**
     * 创建bean
     * @return
     */
    public static Person createPerson(){
        Person person = new Person();
        person.setId(System.currentTimeMillis());
        person.setName(System.currentTimeMillis()+"");
        return person;
    }

    /**
     * 查找
     * @param context
     */
    public static void scopeBeanLookUp(AnnotationConfigApplicationContext context){
        for (int i = 0; i < 3; i++) {
            Person prototypePerson = context.getBean("prototypePerson", Person.class);
            System.out.println("prototypePerson" + prototypePerson);
            Person singletonPerson = context.getBean("singletonPerson", Person.class);
            System.out.println("singletonPerson" + singletonPerson);
        }
    }
    private static void scopedBeansByInjection(AnnotationConfigApplicationContext context) {
        BeanScopeDemo bean = context.getBean(BeanScopeDemo.class);
        System.out.println(bean.person);
        System.out.println(bean.person1);
        System.out.println(bean.person2);
        System.out.println(bean.personSet);
    }
    public static void main(String[] args) {
        AnnotationConfigApplicationContext context = new AnnotationConfigApplicationContext();
        context.register(BeanScopeDemo.class);
        context.refresh();
        scopeBeanLookUp(context);
        scopedBeansByInjection(context);
        context.close();
    }

    /**
     * 默认scope 就是singleton
     * @return
     */
    @Bean
    public static Person singletonPerson(){
        return createPerson();
    }
    @Bean
    @Scope(ConfigurableBeanFactory.SCOPE_PROTOTYPE)
    public static Person prototypePerson(){
        return createPerson();
    }
}
运行结果:
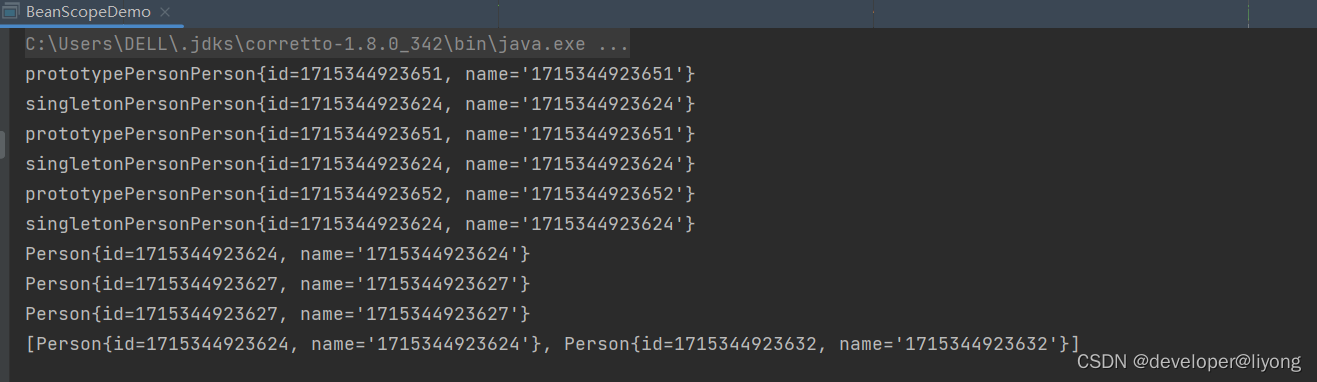
结论:
1 singleton Bean 无论依赖查找还是依赖注入,均为同一个对象
2 prototype Bean 无论依赖查找还是依赖注入,均为新生成的对象
3 如果为集合类型,则单例和原型对象各一个
单例模式和原型模式生命周期的不同
public class Person implements BeanNameAware {
    private Long id;
    private String name;
    /**
     * 不需要序列化
     */
    private transient String beanName;
    @Override
    public String toString() {
        return "Person{" +
                "id=" + id +
                ", name='" + name + '\'' +
                '}';
    }

    public Long getId() {
        return id;
    }

    public void setId(Long id) {
        this.id = id;
    }

    public String getName() {
        return name;
    }

    public void setName(String name) {
        this.name = name;
    }
    @PostConstruct
    public void init() {
        System.out.println(this.beanName + " : init execute");
    }
    @PreDestroy
    public void destroy() {
        System.out.println(this.beanName + " : destroy execute");
    }

    @Override
    public void setBeanName(String name) {
        this.beanName = name;
    }
}
改造Person以后我们继续调用上面的方法:
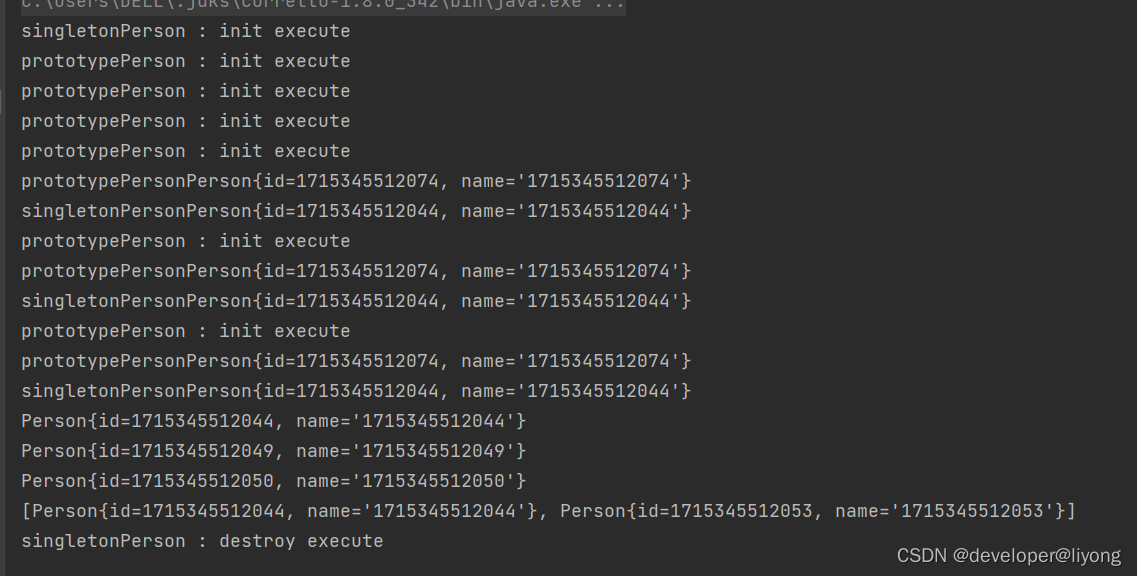
我们可以得到下面的结论:
1 原型和单例模式都是会执行postconstruct
2 原型模式的生命周期不能被spring完全管理,不会执行销毁方法
如果我们需要销毁,采用下面这种方式来操作
public class BeanScopeDemo implements DisposableBean {
    @Autowired
    @Qualifier("singletonPerson")
    Person person;

    @Autowired
    @Qualifier("prototypePerson")
    Person person1;

    @Autowired
    @Qualifier("prototypePerson")
    Person person2;

    @Autowired
    Map<String, Person> personMap;
    @Autowired
    ConfigurableListableBeanFactory beanFactory;

    /**
     * 创建bean
     *
     * @return
     */
    public static Person createPerson() {
        Person person = new Person();
        person.setId(System.currentTimeMillis());
        person.setName(System.currentTimeMillis() + "");
        return person;
    }

    /**
     * 查找
     *
     * @param context
     */
    public static void scopeBeanLookUp(AnnotationConfigApplicationContext context) {
        for (int i = 0; i < 3; i++) {
            Person prototypePerson = context.getBean("prototypePerson", Person.class);
            System.out.println("prototypePerson" + prototypePerson);
            Person singletonPerson = context.getBean("singletonPerson", Person.class);
            System.out.println("singletonPerson" + singletonPerson);
        }
    }

    private static void scopedBeansByInjection(AnnotationConfigApplicationContext context) {
        BeanScopeDemo bean = context.getBean(BeanScopeDemo.class);
        System.out.println(bean.person);
        System.out.println(bean.person1);
        System.out.println(bean.person2);
        System.out.println(bean.personMap);
    }

    public static void main(String[] args) {
        AnnotationConfigApplicationContext context = new AnnotationConfigApplicationContext();
        context.register(BeanScopeDemo.class);
        context.refresh();
        scopeBeanLookUp(context);
        scopedBeansByInjection(context);
        context.close();
    }

    /**
     * 默认scope 就是singleton
     *
     * @return
     */
    @Bean
    public static Person singletonPerson() {
        return createPerson();
    }

    @Bean
    @Scope(ConfigurableBeanFactory.SCOPE_PROTOTYPE)
    public static Person prototypePerson() {
        return createPerson();
    }

    @Autowired
    ConfigurableListableBeanFactory beanFactory;
    @Override
    public void destroy() throws Exception {
        this.person1.destroy();
        this.person2.destroy();
        for (Map.Entry<String, Person> entry : this.personMap.entrySet()) {
            String key = entry.getKey();
            BeanDefinition bd = beanFactory.getBeanDefinition(key);
            if (bd.isPrototype()) {
                entry.getValue().destroy();
            }

        }
    }
}
运行结果:
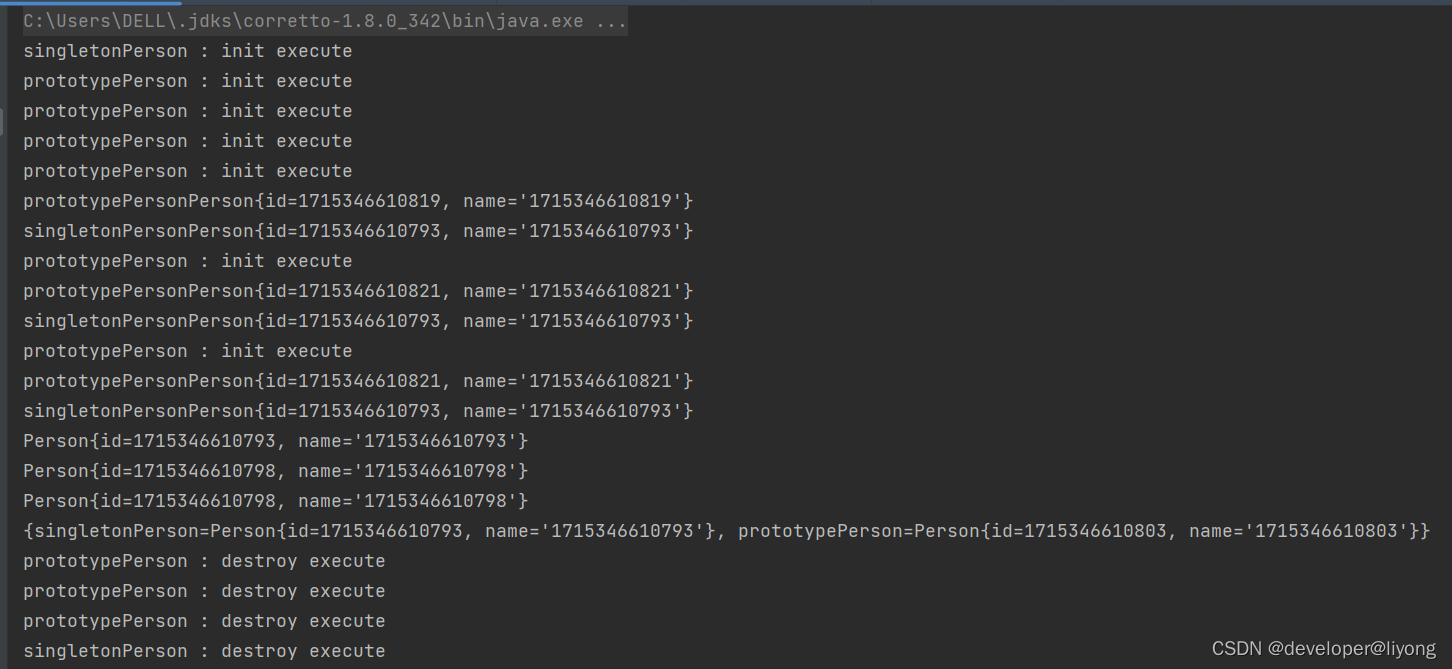
可以看到原型模式的对象也被销毁了。
自定义Scope
1 首先自定义Scope
public class ThreadLocalScope implements Scope {
    public static final String SCOPE_NAME = "thread_local";
    private NamedThreadLocal<Map<String, Object>> threadLocal = new NamedThreadLocal<Map<String, Object>>("thread-local-scope") {
       public Map<String, Object> initialValue() {
           return new HashMap<>();
       }
    };
    private Map<String, Object> getContext() {
        return threadLocal.get();
    }
    @Override
    public Object get(String name, ObjectFactory<?> objectFactory) {
        Map<String, Object> context = getContext();
        Object object = context.get(name);
        if (object == null) {
            object = objectFactory.getObject();
            context.put(name, object);
        }
        return object;
    }
    @Override
    public Object remove(String name) {
        return getContext().remove(name);
    }
    @Override
    public void registerDestructionCallback(String name, Runnable callback) {
        remove(name);
    }
    @Override
    public Object resolveContextualObject(String key) {
        return getContext().get(key);
    }
    @Override
    public String getConversationId() {
        return Thread.currentThread().getName();
    }
}
2 查找方式
public class ThreadLocalScopeDemo {
    /**
     * 默认scope 就是singleton
     *
     * @return
     */
    @Bean
    @Scope(ThreadLocalScope.SCOPE_NAME)
    public static Person singletonPerson() {
        return createPerson();
    }
    /**
     * 创建bean
     *
     * @return
     */
    public static Person createPerson() {
        Person person = new Person();
        person.setId(System.currentTimeMillis());
        person.setName(System.currentTimeMillis() + "");
        return person;
    }
    public static void main(String[] args) {
        AnnotationConfigApplicationContext context = new AnnotationConfigApplicationContext();
        context.register(ThreadLocalScopeDemo.class);
        // 注册工厂 也就是 ThreadLocalScope.SCOPE_NAME 这个注入会走这里
        context.addBeanFactoryPostProcessor(beanFactory -> {
            beanFactory.registerScope(ThreadLocalScope.SCOPE_NAME, new ThreadLocalScope());
        });
        context.refresh();
        scopeBeansLookUp(context);
        context.close();
    }
    private static void scopeBeansLookUp(ApplicationContext context) {
    	// 这里开启三个现场去查找
        for (int i = 0; i < 3; i ++) {
            Thread thread = new Thread(() -> {
                Person person = context.getBean( Person.class);
                System.out.println(Thread.currentThread().getId()+ " : " + person);
            });
            thread.start();
            try {
                thread.join();
            } catch (InterruptedException e) {
                throw new RuntimeException(e);
            }
        }
    }
}
结果:
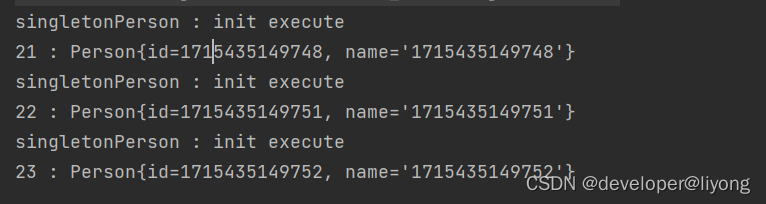
也就几说我们可以减少对象的创建因为我们在Threadlocal里面存储了,所以线程内部是可以复用的,不存在线程安全问题。
比如SimpleDateFormat是非线程安全的,所以可以采用这种方式来实现。
拓展提示:SpingCloud中的@RefreshScope
参考资料:小马哥核心编程思想


 462
462

 被折叠的 条评论
为什么被折叠?
被折叠的 条评论
为什么被折叠?
 到【灌水乐园】发言


