


1. 我的环境
cuda11.0,pytorch1.71。
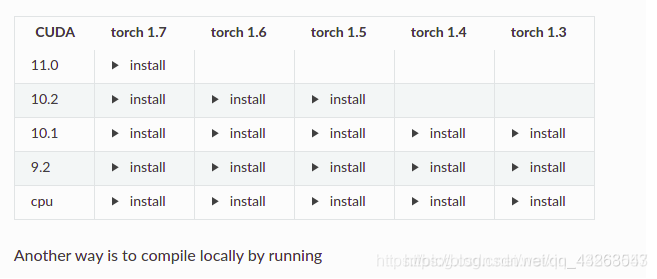
2. 安装mmcv
在下面这行地址:
https://mmcv.readthedocs.io/en/latest/#installation
 我的pytroch版本虽然是1.71但是1.71和1.70差距不大,后面尝试了可以正常使用mmdetection。
pip install mmcv-full -f https://download.openmmlab.com/mmcv/dist/cu110/torch1.7.0/index.html
注:我的pytorch是1.71,我尝试修改修改安装命令中的torch1.7.0为torch
1.7.1但是发现不能安装,所以这里依然用上面那条命令。
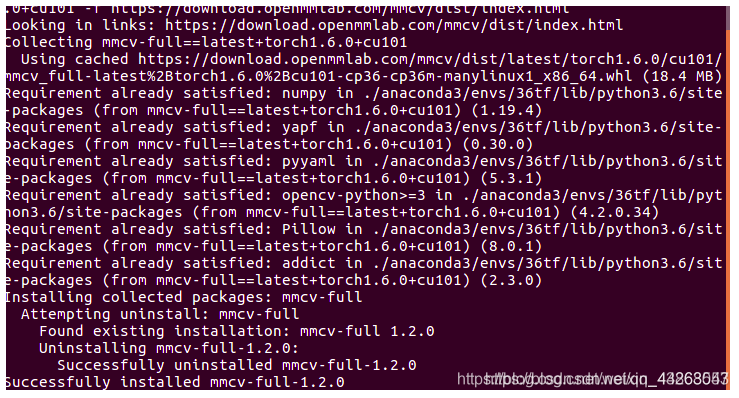
出现上图这个说明成功了
3. 安装mmdetection2
git clone https://github.com/open-mmlab/mmdetection.git
cd mmdetection
pip install -r requirements/build.txt
pip install -v -e .
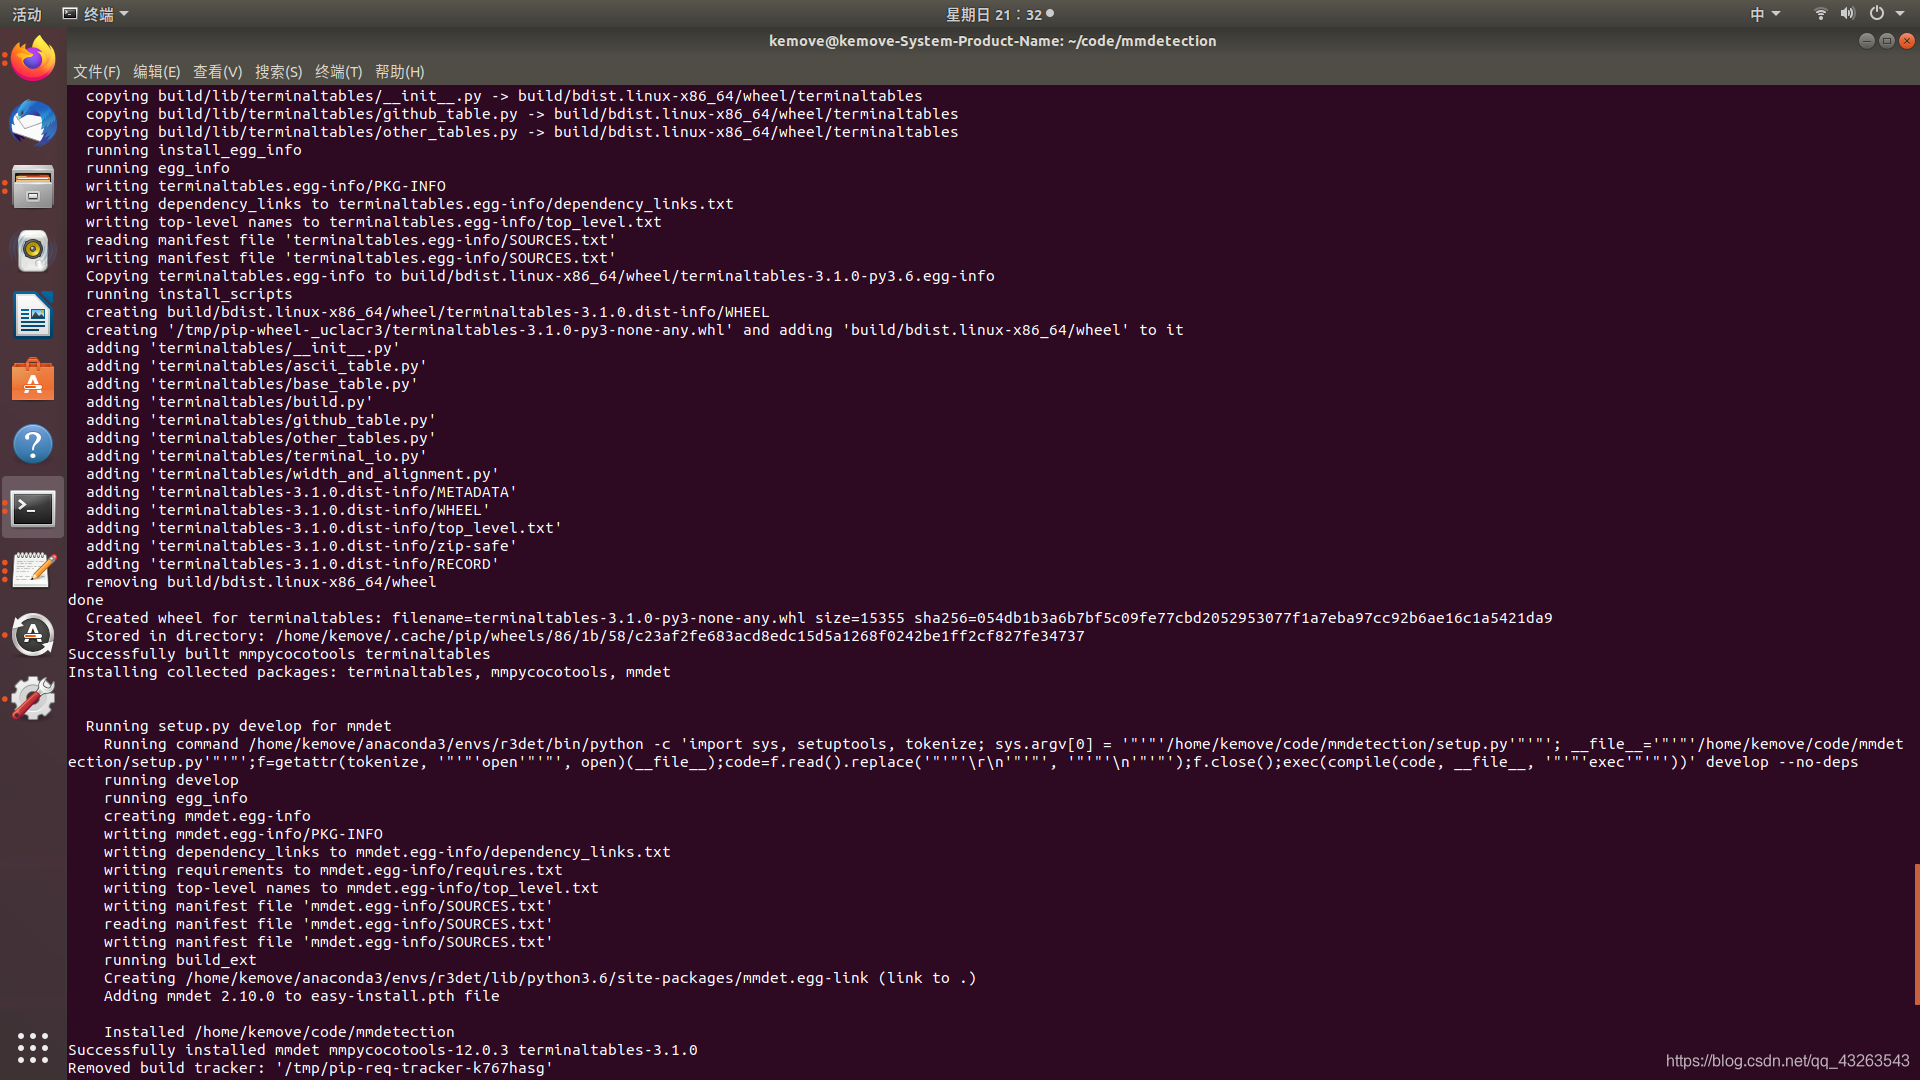 出现上图的就说明安装成功了,下面测试效果(下图表示测试成功)
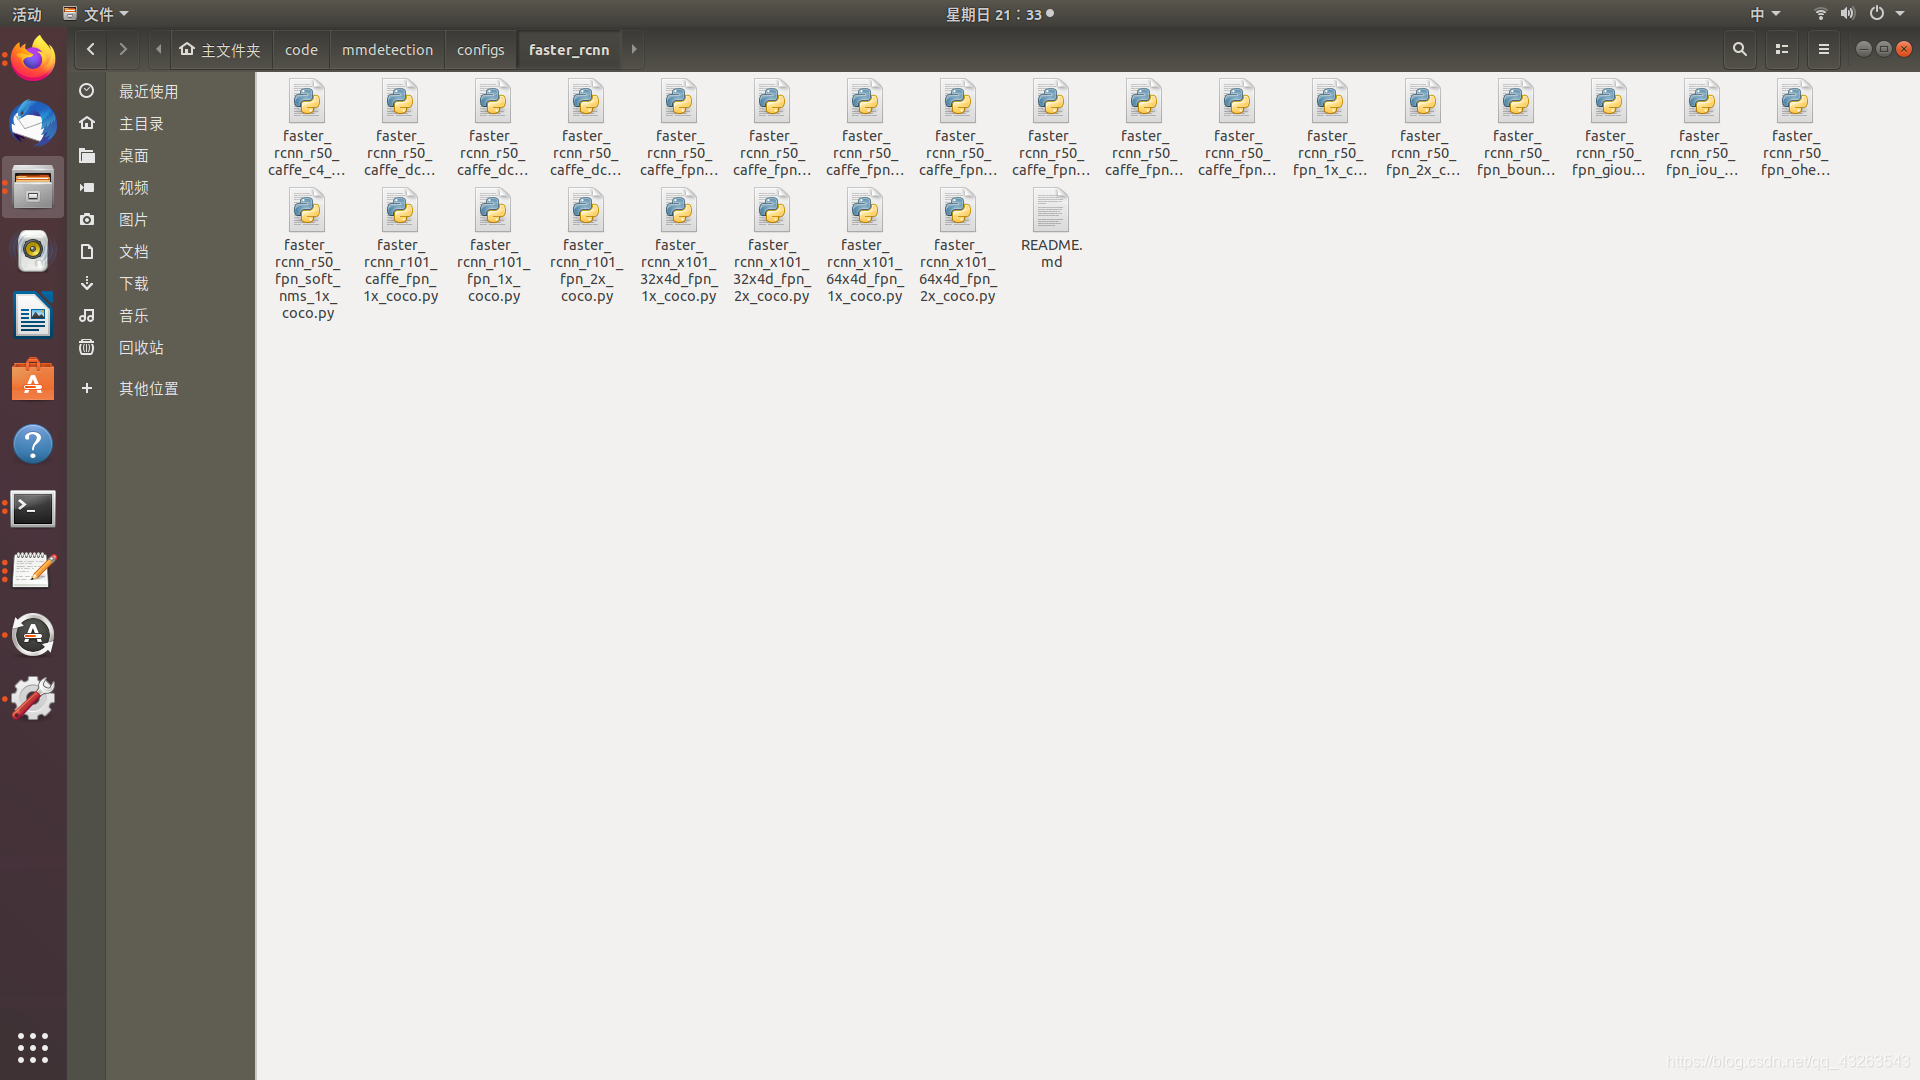 在readme.md中下载 该预训练模型文件:
http://download.openmmlab.com/mmdetection/v2.0/faster_rcnn/faster_rcnn_r50_fpn_1x_coco/faster_rcnn_r50_fpn_1x_coco_20200130-047c8118.pth
在mmdetection文件目录中创建checkpoints文件夹,将下载的pth文件放入其中。
执行下面这条命令。
python demo/image_demo.py demo/demo.jpg configs/faster_rcnn/faster_rcnn_r50_fpn_1x_coco.py checkpoints/faster_rcnn_r50_fpn_1x_coco_20200130-047c8118.pth
出现下面该图就算成功了。


 800
800


 被折叠的 条评论
为什么被折叠?
被折叠的 条评论
为什么被折叠?
 到【灌水乐园】发言


