


一、硬件准备
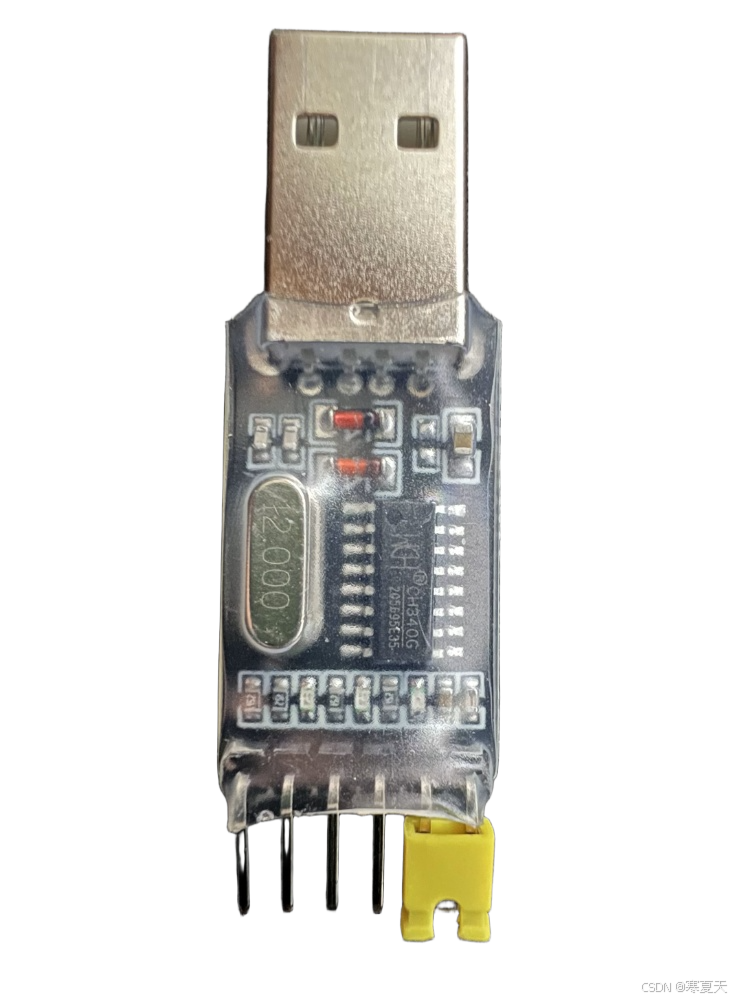
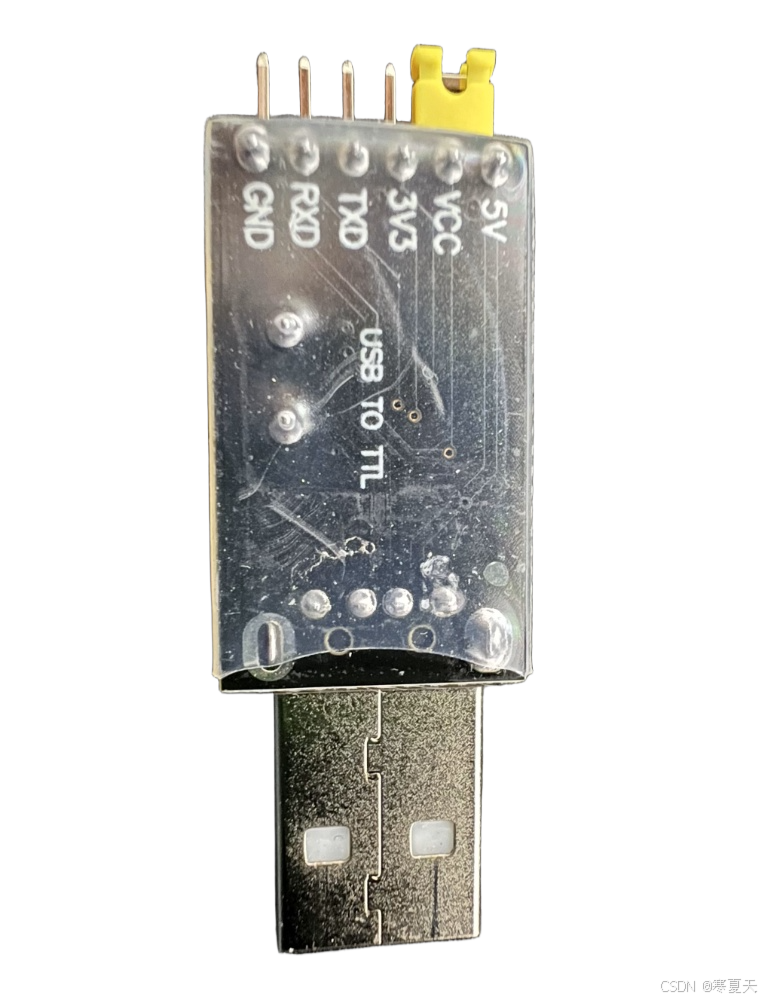
- USB转TTL
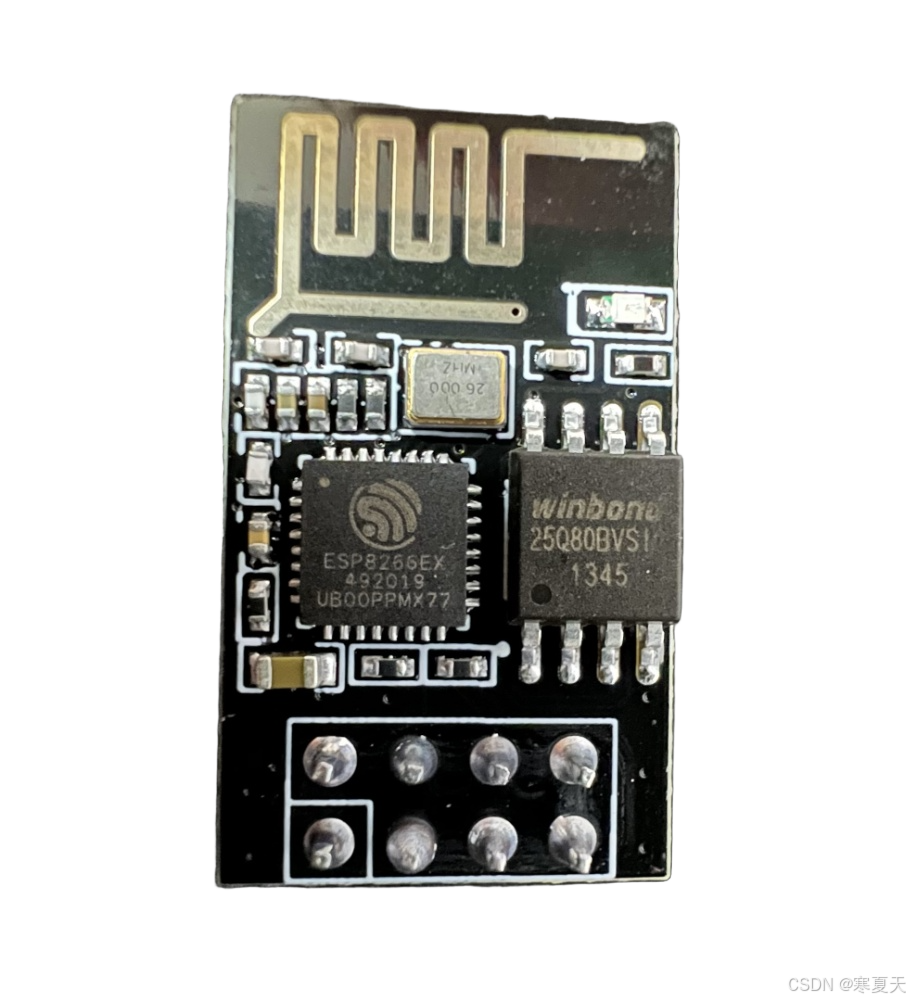
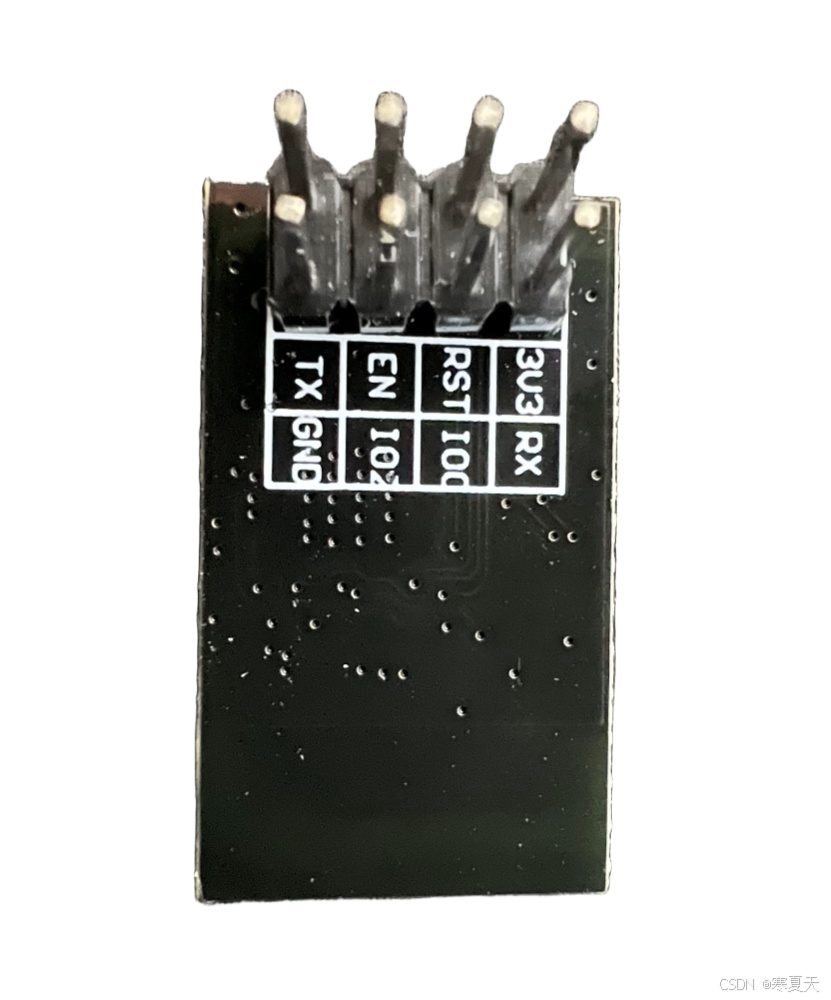
- ESP01S模块
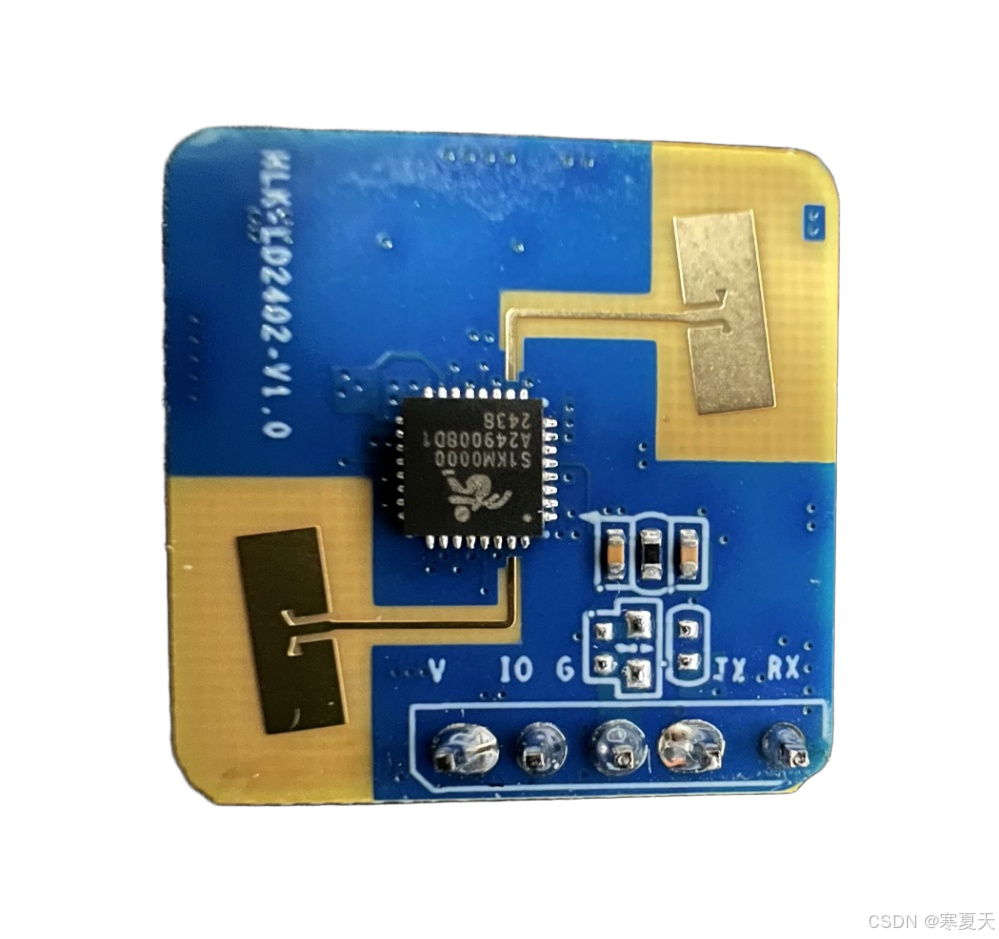
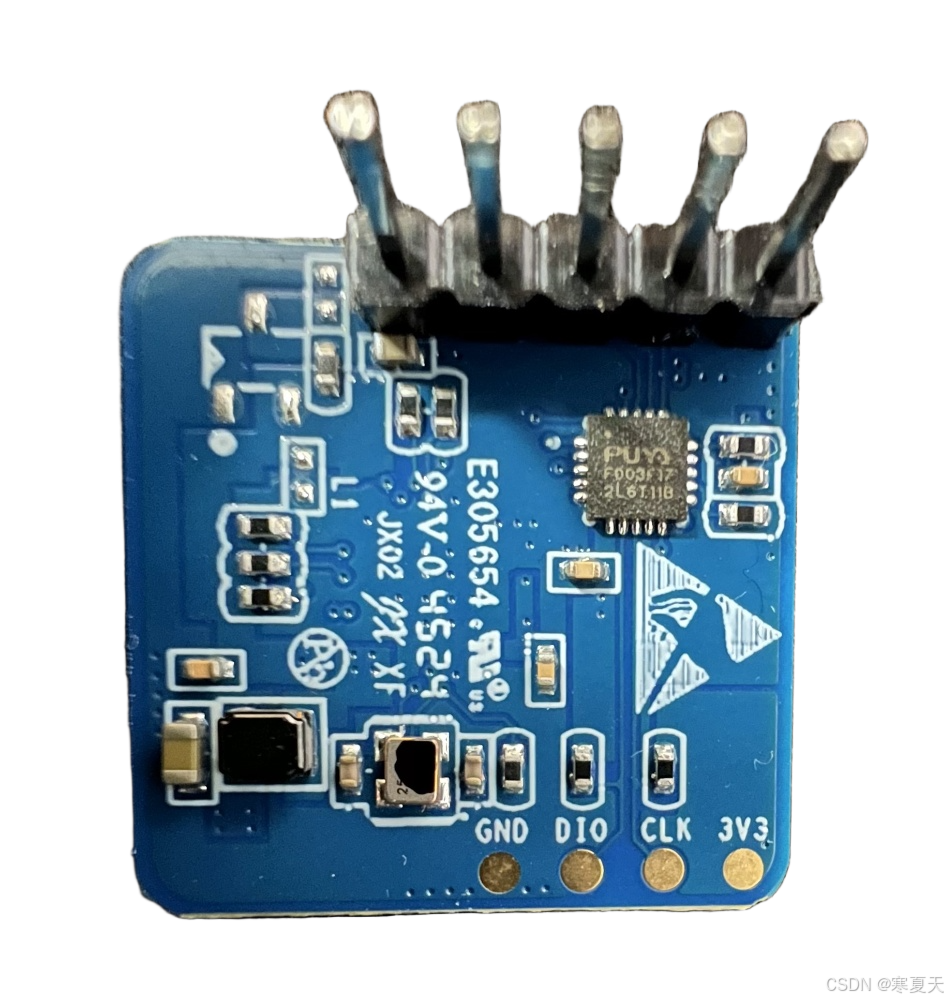
- HLK-LD2402
实物图:
二、使用ESPHome对ESP01S模块进行固件烧写
USB转TTL与ESP01S烧写模式连接:
| USB转TTL | ESP01S |
|---|---|
| 3V3 | 3V3 |
| TXD | RX(IO3) |
| RXD | TX(IO1) |
| GND | GND |
| GND | IO0 |
ESPHome代码:
实现功能:有人时板载led灯亮,无人时板载led灯灭
esphome:
  name: esp01s-ld2402
  friendly_name: ESP01S_LD2402

esp8266:
  board: esp01_1m

# Enable logging
logger:
  level: DEBUG

sensor:
  - platform: wifi_signal
    name: "wifi强度"
    update_interval: 30s

binary_sensor:
  - platform: gpio
    name: "人体存在传感器"
    pin: GPIO3
    device_class: motion
    filters:
      - delayed_on: 10ms
      - delayed_off: 10ms
    on_press:
      then:
        - output.turn_on: bin_led
    on_release:
      then:
        - output.turn_off: bin_led

output:
  - platform: gpio
    id: bin_led
    pin: GPIO2
    inverted: True

# Enable Home Assistant API
api:
  encryption:
    key: "xxxxxxxxxxxx"

ota:
  - platform: esphome
    password: "xxxxxxxxxxxx"

# web控制
web_server:
  port: 80

wifi:
  ssid: "xxxxxxxxxxxx"
  password: "xxxxxxxxxxxx"
  manual_ip:
    static_ip: 192.168.2.98
    gateway: 192.168.2.1
    subnet: 255.255.255.0

  # Enable fallback hotspot (captive portal) in case wifi connection fails
  ap:
    ssid: "Esp01S-Ld2402 Fallback Hotspot"
    password: "xxxxxxxxxxxx"

captive_portal:
三、ESP01S与LD2402工作模式接线
| ESP01S | LD2402 | 电源 |
|---|---|---|
| 3V3 | V | 3.3V |
| RX | IO | |
| GND | G | GND |
注意:ESP01S冷启动时IO0、IO1、IO2不能是低电平,低电平则无法启动


 3451
3451

 被折叠的 条评论
为什么被折叠?
被折叠的 条评论
为什么被折叠?
 到【灌水乐园】发言


