


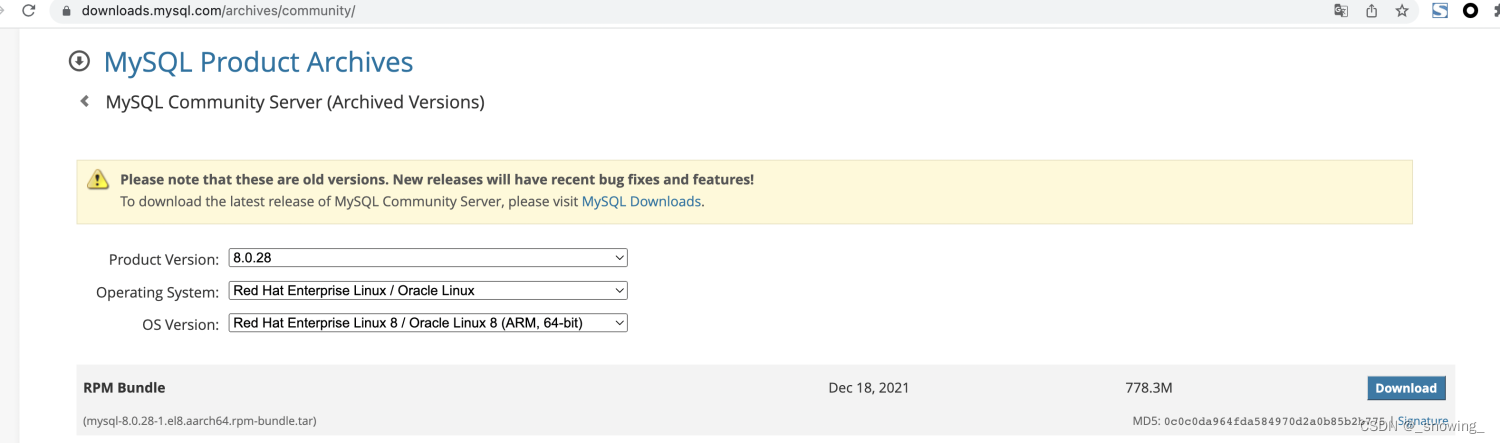
mysql下载
下载地址:[https://downloads.mysql.com/archives/get/p/23/file/mysql-8.0.28-1.el8.aarch64.rpm-bundle.tar]
mysql安装
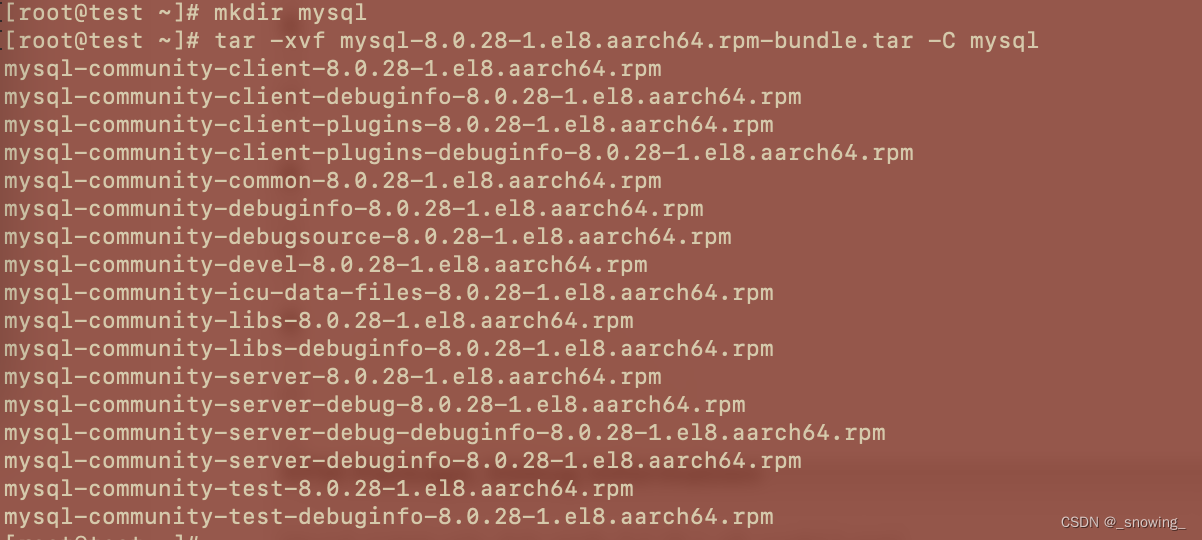
解压tar包
mkdir mysql && tar -xvf mysql-8.0.28-1.el8.aarch64.rpm-bundle.tar -C mysql
使用rpm命令进行安装
rpm -ivh mysql/*.rpm --nodeps --force

mysql配置
- 初始化mysql
mysqld --initialize
出现错误信息:
mysqld: error while loading shared libraries: libssl.so.1.1: cannot open shared object file: No such file or directory

此时需要下载compat-openssl11:https://pkgs.org/search/?q=compat-openssl11

下载地址:http://mirror.stream.centos.org/9-stream/AppStream/aarch64/os/Packages/compat-openssl11-1.1.1k-4.el9.aarch64.rpm

- 安装openssl
rpm -ivh compat-openssl11-1.1.1k-4.el9.aarch64.rpm --nodeps --force

此时回到步骤1进行初始化
mysqld --initialize
chown mysql:mysql /var/lib/mysql -R
systemctl start mysqld.service
systemctl enable mysqld

密码设置
- 查看初始密码
** cat /var/log/mysqld.log | grep password**
此处密码为:/i-_Evv<s9fR

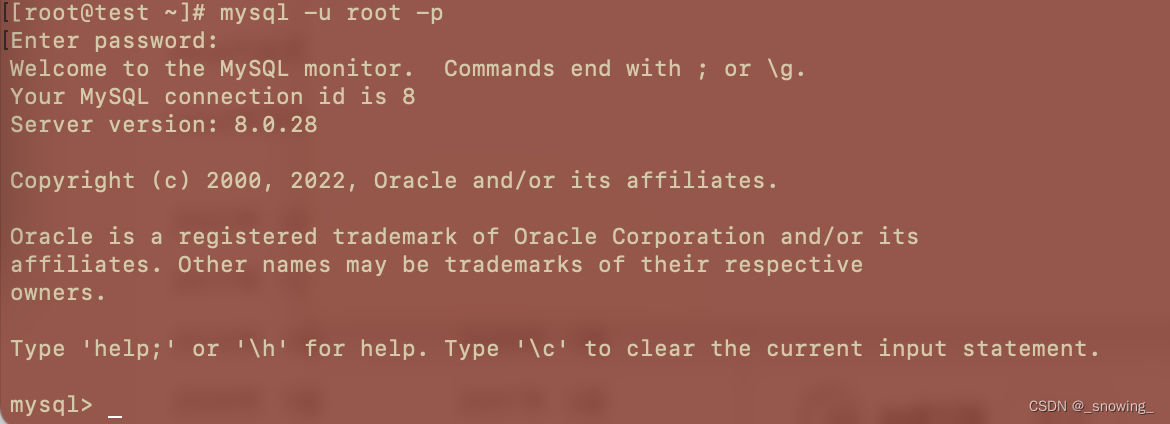
- 登录并更改密码
mysql -u root -p
将当前用户密码改为root
alter user user() identified by ‘root’;
flush privileges;

- 如果认证插件不为caching_sha2_password则更改认证插件为caching_sha2_password,如果已经是则进行下一步操作
use mysql
select * from user \G
update user set plugin=‘caching_sha2_password’ where user=‘root’;
flush privileges;
- 退出并重启msyql
\q
systemctl restart mysqld.service
重新登录验证是否正常。
开启远程登录
如果在宿主机中能用mysql命令连接到虚拟机中的mysql,而idea却连不上;或者二者均连不上,请先关闭防火墙,然后将/etc/my.cnf中[mysqld]bind-address=127.0.0.1更改为bind-address=0.0.0.0,如果没有该参数,也可以直接设为bind-address=0.0.0.0


 3679
3679


 被折叠的 条评论
为什么被折叠?
被折叠的 条评论
为什么被折叠?
 到【灌水乐园】发言


