


win及linux下anaconda环境管理
1.win系统:
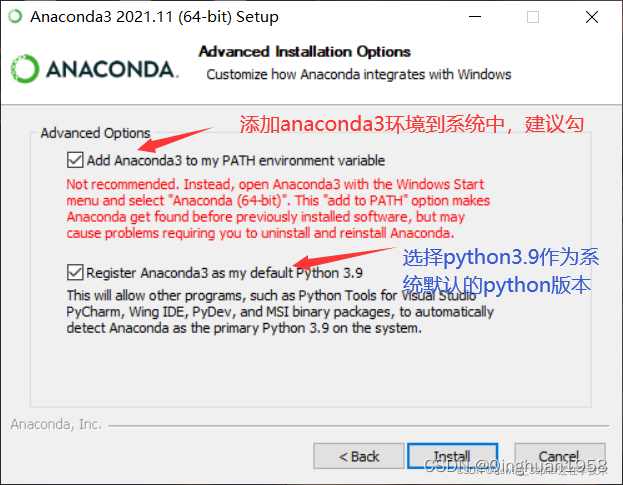
1、anaconda安装
登录Anaconda的官网:https://www.anaconda.com/distribution/,最新版本
验证安装成功:进入cmd中执行conda -V,如果输出版本,说明成功
2、anaconda配置镜像源
显示镜像源
conda config --get channels
添加镜像源
conda config --add channels https://mirrors.tuna.tsinghua.edu.cn/anaconda/pkgs/free/
conda config --add channels https://mirrors.tuna.tsinghua.edu.cn/anaconda/pkgs/main/
conda config --add channels https://mirrors.tuna.tsinghua.edu.cn/anaconda/cloud/conda-forge/
conda config --add channels https://mirrors.tuna.tsinghua.edu.cn/anaconda/cloud/bioconda/
国内镜像
清华:https://pypi.tuna.tsinghua.edu.cn/simple
阿里云:http://mirrors.aliyun.com/pypi/simple/
中国科技大学 https://pypi.mirrors.ustc.edu.cn/simple/
华中理工大学:http://pypi.hustunique.com/
山东理工大学:http://pypi.sdutlinux.org/
豆瓣:http://pypi.douban.com/simple/
3、anaconda_dos创建虚拟环境(anaconda prompt窗口进行命令行操作)
a.创建环境
使用python==3.6.15,取名为pytorch.
conda create -n pytorch python==3.6.15
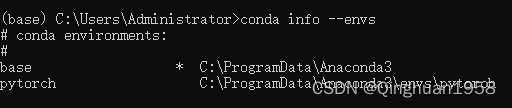
b.查看环境
conda info --envs
c.切换环境
激活环境:从base环境切换到pytorch环境中
conda activate pytorch
从pytorch环境切换到base环境中
conda activate base
d.删除环境
删除不需要的环境
conda remove -n pytorch --all
e.anaconda配置镜像源
显示镜像源
conda config --get channels
删除镜像源
conda config --remove-key channels 删除所有的镜像源,恢复到默认
conda config --remove channels [urls] 删除指定的镜像源
4、其他三方库安装及使用
1.python镜像源配置
2.更改镜像源,升级 pip 至最新版本(>= 10.0.0),执行配置设置:
pip install pip -U -i https://pypi.tuna.tsinghua.edu.cn/simple # 升级pip
pip config set global.index-url https://pypi.tuna.tsinghua.edu.cn/simple  # 配置
2.安装
pip --default-timeout=100 install -U pip # 延长超时时间
pip install  xxxx
Python环境克隆与移植
a.生成txt
pip freeze > requirements.txt
打开txt查看
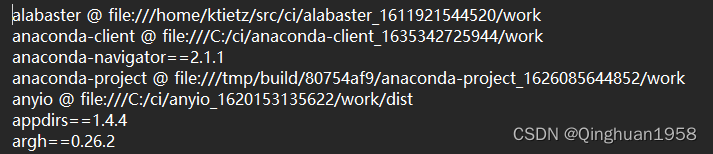
自pip版本19.1后,pip支持生成@file:///URL形式的环境路径
限制:仅支持在本地文件系统中使用,不能拷贝给他人使用
解决:
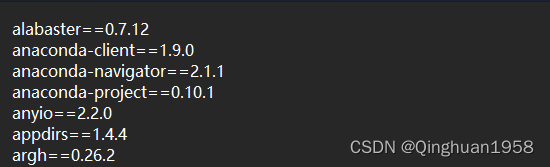
pip list --format=freeze > requirements.txt
再打开txt:
此时文件中有原始环境的包,如pip,setuptools,wheel等,将其手动删除即可,这些包会影响虚拟环境。
b.导入
方式一:
pip install -r requirements.txt
#1 pip install -r 路径/requirements.txt
#2 根目录下地址栏cmd,终端直接键入pip install -r requirements.txt**
方式二:使用镜像
pip install -i https://pypi.tuna.tsinghua.edu.cn/simple -r requirements.txt
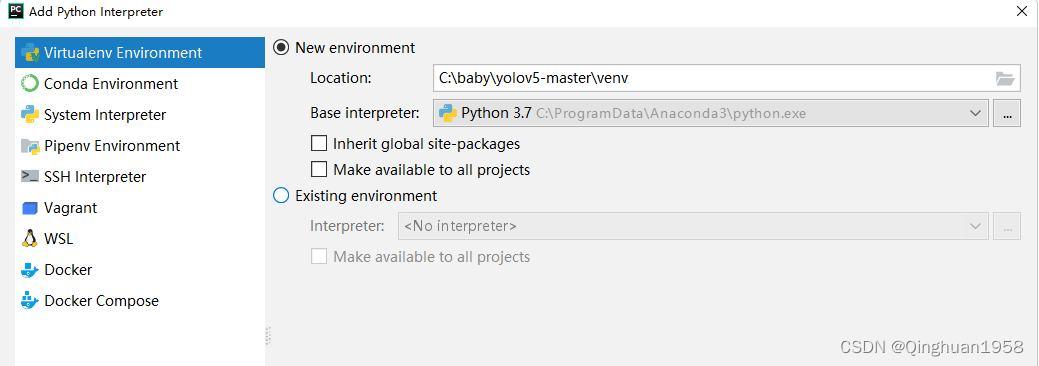
安装完成后,pycharm界面设置工程所需环境:
setting–>project interpreter–>showall–>“+”–>existing enviroment,选择相应的路径下环境的python.exe文件加入:
2、linux系统
1、miniconda3安装
官网下载:https://docs.conda.io/en/latest/miniconda.html
推荐清华镜像源下载:https://mirrors.tuna.tsinghua.edu.cn/anaconda/miniconda/

例如下载包后,命令安装:
bash Miniconda3-py38_4.8.3-Linux-x86_64.sh
或者
下载软件:wget后面的地址就是上一步复制的下载链接
wget https://mirrors.tuna.tsinghua.edu.cn/anaconda/miniconda/Miniconda3-py38_4.8.3-Linux-x86_64.sh --no-check-certificate
安装软件:安装过程中根据提示输入enter或yes
bash Miniconda3-py38_4.8.3-Linux-x86_64.sh
验证安装:重启终端(必须),运行下方命令,显示版本号则安装成功
conda -V
2、环境管理
打开终端,环境配置与win下相同。


 1万+
1万+


 被折叠的 条评论
为什么被折叠?
被折叠的 条评论
为什么被折叠?
 到【灌水乐园】发言


