


1.关于Socket
1.1Socket概念
1.java中socket类用来处理用户的请求和响应;
2.是客户端和服务端的一个特殊对象,对于客户端,getInputStream()方法得到来自服务器的一个输入流,getInputStream()方法香服务端提供一个输出流;
3.操作方式主要有两种,有链接(TCP)和无连接(UDP)。
1.2ServcerSocket
1.2.1理解
作为服务端,等待客户端来通信连接,就好像两个人走散了的话,其中一方一般待在特定的地点等待另一方到来。否则,如果双方都跑出去互相找,或者都待在一个地方等对方,是永远不会重聚的
1.2.2功能
1.绑定IP地址:用于被客户端发现
127.0.0.1本机地址 0.0.0.0 代表任意的接口,网络广播地址
2.绑定端口:一个服务器IP可能对应多个服务,用端口标识具体的服务
IP+Port=一个特定的服务
有人说,我在浏览器里面输入“www.baidu.com”的时候(域名会被解析成一个IP地址),只给了地址,没给端口号,它不是也找到这个提供HTTP服务的程序了吗?没错,但是,由于HTTP服务在当今太出名了,干脆,一般情况下,你就可以把端口号省略。浏览器就默认你要访问的是HTTP服务,自动去找HTTP服务所用的80端口。
所以,省略的端口号实际是给用户的一种方便,浏览器在实现这个机制的时候,会自己给加上一个端口号,默认80。
1.2Socket使用
1.2.1 TCP通信一
服务器:
import java.io.IOException;
import java.net.*;
import java.io.PrintWriter;
public class HelloServer {
public static void main(String[] args) throws IOException {
ServerSocket serverSocket = null;
PrintWriter out = null;
try {
//实例化服务端socket连接,端口:9999
serverSocket = new ServerSocket(9999);
} catch (IOException e) {
System.out.println("无法监听端口:9999");
System.exit(1);
}
Socket clientsocket = null;
try {
//accept用来监听接收客户端的连接
clientsocket = serverSocket.accept();
} catch (IOException e) {
System.out.println("accept failed");
System.exit(1);
}
//通过客户端的socket对象实例化PrintWriter,使其具备向客户端打印信息的能力
out = new PrintWriter(clientsocket.getOutputStream(),true);
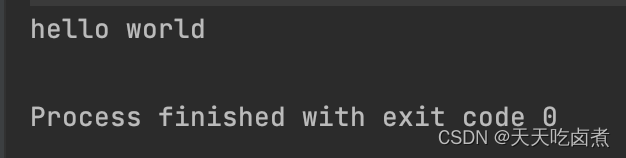
out.println("hello world");
//关闭客户端
clientsocket.close();
//关闭服务端
serverSocket.close();
}
}
客户端:
public class HelloClient {
public static void main(String[] args) throws IOException {
Socket hellosocket = null;
BufferedReader in = null;
try {
//监听本机的9999端口的消息
hellosocket = new Socket("localhost",9999);
//读取服务器输入过来的数据
in = new BufferedReader(new InputStreamReader(hellosocket.getInputStream()));
} catch (IOException e) {
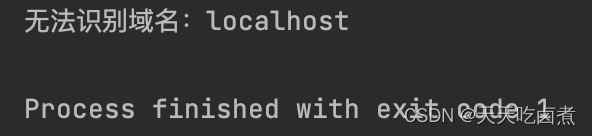
System.out.println("无法识别域名:localhost");
System.exit(1);
}
//打印服务器输入的消息
System.out.println(in.readLine());
in.close();
hellosocket.close();
}
}
结果输出:
1.服务器未启动
2.服务器启动:
(1)实例化服务器socket连接,端口9999,客户端端口监听本地的9999;
(2)服务器通过accept监听客户端;
(3)服务器向客户端输出打印”hello world“;
(4)客户端监听到后,打印来自服务器的消息
1.2.2 TCP通信二
服务端:
public class EchoServer {
public static void main(String[] args) throws IOException {
ServerSocket serverSocket = null;
PrintWriter out = null;
BufferedReader in = null;
try {
serverSocket = new ServerSocket(1111);
} catch (IOException e) {
System.out.println("无法监听端口:1111");
System.exit(1);
}
Socket incoming = null;
while(true){
incoming = serverSocket.accept();
out = new PrintWriter(incoming.getOutputStream());
in = new BufferedReader(new InputStreamReader(incoming.getInputStream()));
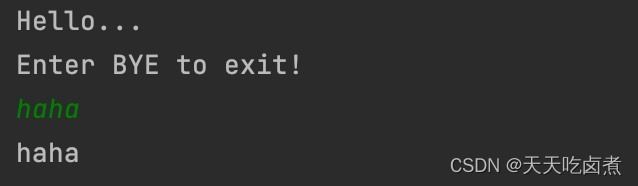
out.println("Hello...");
out.println("Enter BYE to exit!");
out.flush();
while (true){
String str = in.readLine();
if (str == null) {
break;
}else{
out.println(str);
out.flush();
if (str.trim().equalsIgnoreCase("BYE") ) {
break;
}
}
out.close();
in.close();
incoming.close();
serverSocket.close();
}
}
}
}
客户端:
public class HelloClient {
    public static void main(String[] args) throws IOException {
        Socket hellosocket = null;
        BufferedReader in = null;
        try {
            hellosocket = new Socket("localhost",9999);
            in = new BufferedReader(new InputStreamReader(hellosocket.getInputStream()));
        } catch (IOException e) {
            System.out.println("无法识别域名:localhost");
            System.exit(1);
        }
        System.out.println(in.readLine());
        in.close();
        hellosocket.close();
    }
}
结果输出:
客户端输入数据后,服务端反显客户端的输入
1.2.3UDP的使用
DatagramSocket:发送和接收数据报。在客户端创建自寻址套接字与服务器端进行通信连接,并发送和接收自寻址套接字
DatagramPacket:数据报的内容。地址信息和自寻址包以字节数组的方式同时压缩进入这个类创建的对象中
服务器接收方:
public class UdpReceive {
public static void main(String[] args) {
DatagramSocket ds = null;
DatagramPacket dp = null;
byte[]buf = new byte[1024];
try { ds = new DatagramSocket(9000); } catch (SocketException e) { e.printStackTrace(); }
dp = new DatagramPacket(buf,1024);
try { ds.receive(dp); } catch (IOException e) { e.printStackTrace(); }
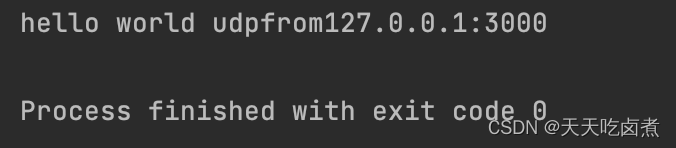
String str = new String(dp.getData(),0,dp.getLength())+"from"+dp.getAddress().getHostAddress()+":"+dp.getPort();
System.out.println(str);
ds.close();
}
}
客户端发送方:
public class UdpSend {
    public static void main(String[] args) {
        DatagramSocket ds = null;
        DatagramPacket dp = null;
        try { ds = new DatagramSocket(3000); } catch (SocketException e) { e.printStackTrace(); }
        String str = "hello world udp";
        try { dp = new DatagramPacket(str.getBytes(),str.length(), InetAddress.getByName("localhost"),9000); } catch (UnknownHostException e) { e.printStackTrace(); }
        try { ds.send(dp); } catch (IOException e) { e.printStackTrace(); }
        ds.close();
    }
}
结果输出:
UDP数据发送类似寻呼信号,发送者发送了数据就不再处理,所以是不安全的。
所以要先启动接收程序。

1.3TCP和UDP的区别
1.3.1区别点
| TCP | UDP | |
|---|---|---|
| 连接/无连接 | 面向连接 | 面向无连接 |
| 可靠性 | 可靠 | 不可靠 |
| 面相内容 | 字节流 | 报文 |
| 传输速度 | 慢 | 快 |
| 拥塞控制 | 有 | 无 |
| 连接数 | 一对一 | 一对一、一对多、多对一、多对多 |
| 双工 | 全双工:允许客户端和服务端任何时候发送数据,设有发送和接收缓存 | 半双工:客户端可以随意发送,服务端等待客户端发送 |
通俗理解:
(1)TCP就是快递员送到你楼下,先打电话确认你在不在家,你回复在家后,再敲门确认你是否确实在家,当面交给你以后,你还要签收,才算完成一次投递;
UDP就是快递员把信丢进了你的信箱,然后就走了。
(2)tcp是家教,确保你的每一句话都听得见听得懂。
udp是大课老师,你爱听不听他讲他的。
1.3.2使用场景
(1)TCP适用准确性要求比较高的场景:邮件,文件传输,万维网,远程终端接入
(2)UDP适用准确性相对较低的场景:视频直播,语音电话,广播
1.3.3协议
(1)TCP:FTP,SSH,Telnet,POP3,HTTP,SMTP
(2) UDP:DNS,RIP


 1406
1406


 被折叠的 条评论
为什么被折叠?
被折叠的 条评论
为什么被折叠?
 到【灌水乐园】发言


