


实验记录:
主要参考添加链接描述
- 在上一基础上通过摄像机捕捉图片进行人脸对比
主要思路跟上一个基本一样,区别就是这个图片是通过我们实时获取到的;
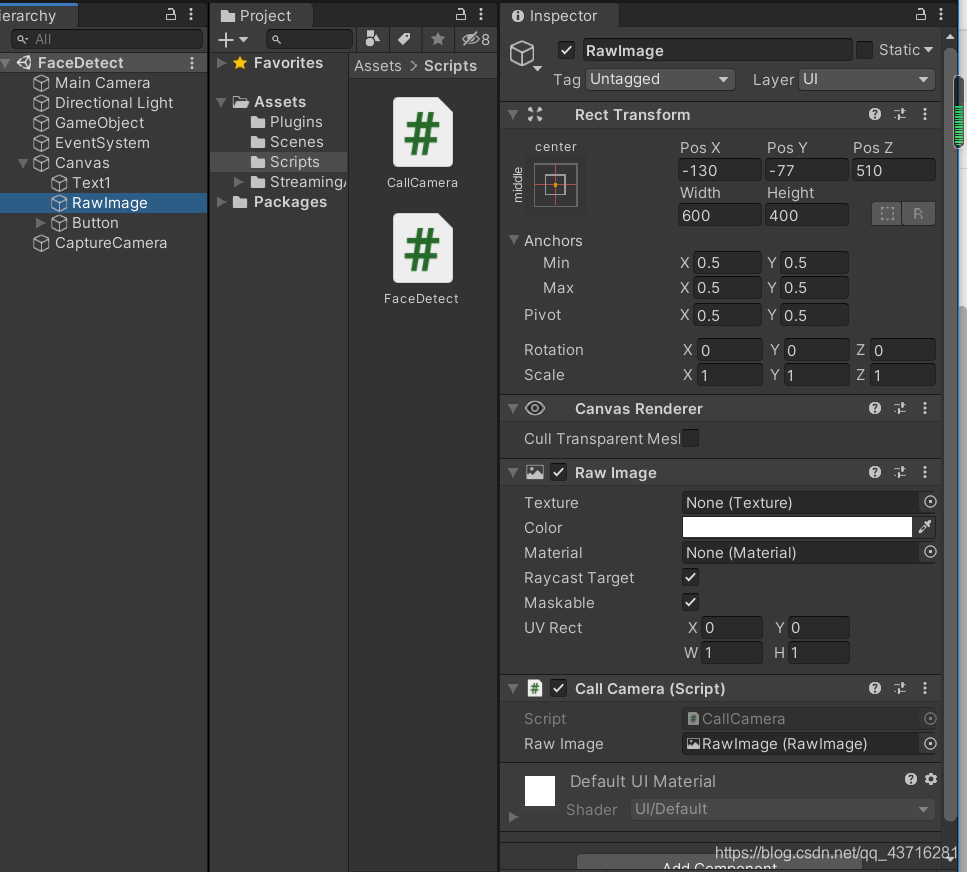
- 在之前的unity之中,首先新建个C#脚本取名CallCamera,主要功能是用来调用外接摄像头;我的电脑推荐使用默认分辨率1920x1080,刷新率20,然后在工程中新建一个rawImage,将获取到的画面显示出来;
C#脚本:
using System.Collections;
using System.Collections.Generic;
using UnityEngine;
using UnityEngine.UI;

public class CallCamera : MonoBehaviour
{

    [HideInInspector]
    public WebCamTexture webTex;
    [HideInInspector]
    public string deviceName;
    //显示摄像头画面
    public RawImage rawImage;

    // Use this for initialization
    void Start()
    {
        StartCoroutine(IECallCamera());
    }

    IEnumerator IECallCamera()
    {
        yield return Application.RequestUserAuthorization(UserAuthorization.WebCam);
        if (Application.HasUserAuthorization(UserAuthorization.WebCam))
        {
            WebCamDevice[] devices = WebCamTexture.devices;
            deviceName = devices[0].name;
            //设置摄像机摄像的区域
            webTex = new WebCamTexture(deviceName, 1920, 1080, 20);
            webTex.Play();//开始摄像
            rawImage.texture = webTex;

        }
    }
}
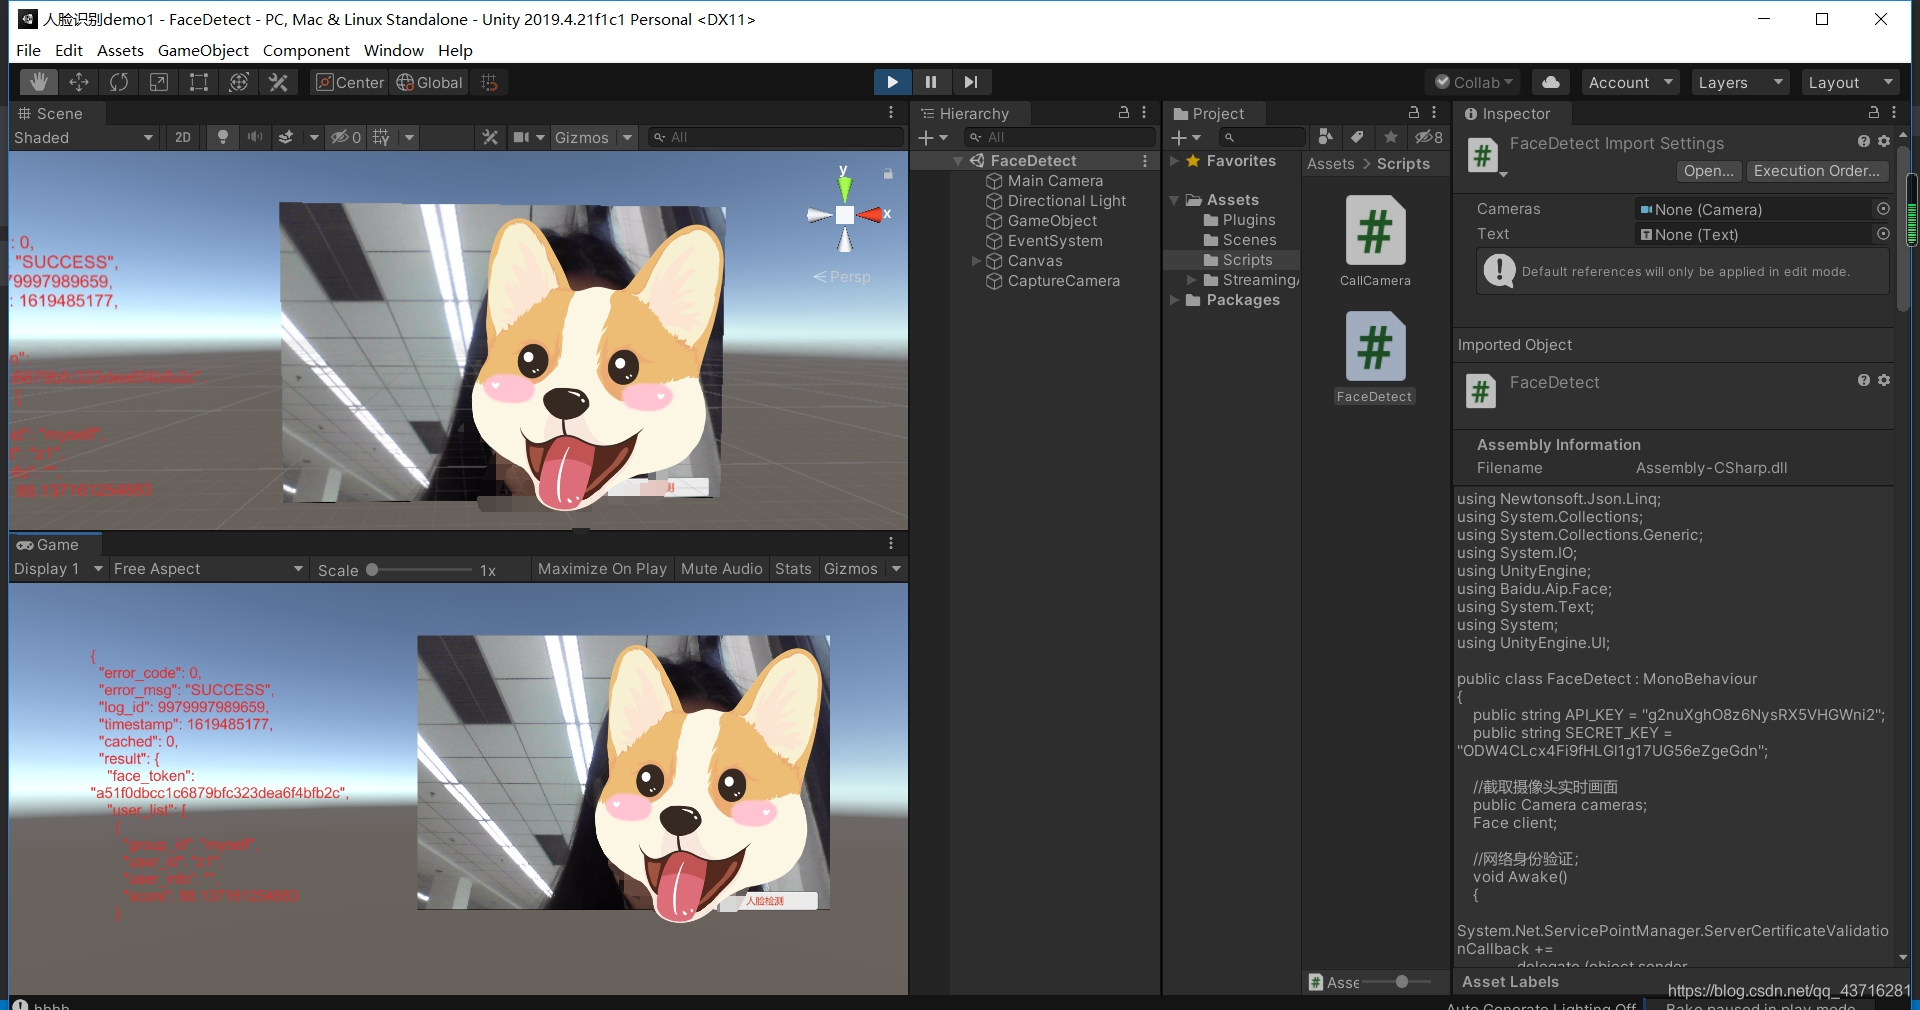
- 打开FaceDetect脚本,将我们之前在start()里面的StartCoroutine(IEGetStringBase64());注销掉,因为后面不需要再上传了;
- 在第二部我们是实现了将摄像机录取照片,但是我们是要将摄像机的照片截取然后跟百读里面上创的照片进行对比;所以要实现将相机里面图片进行截图;
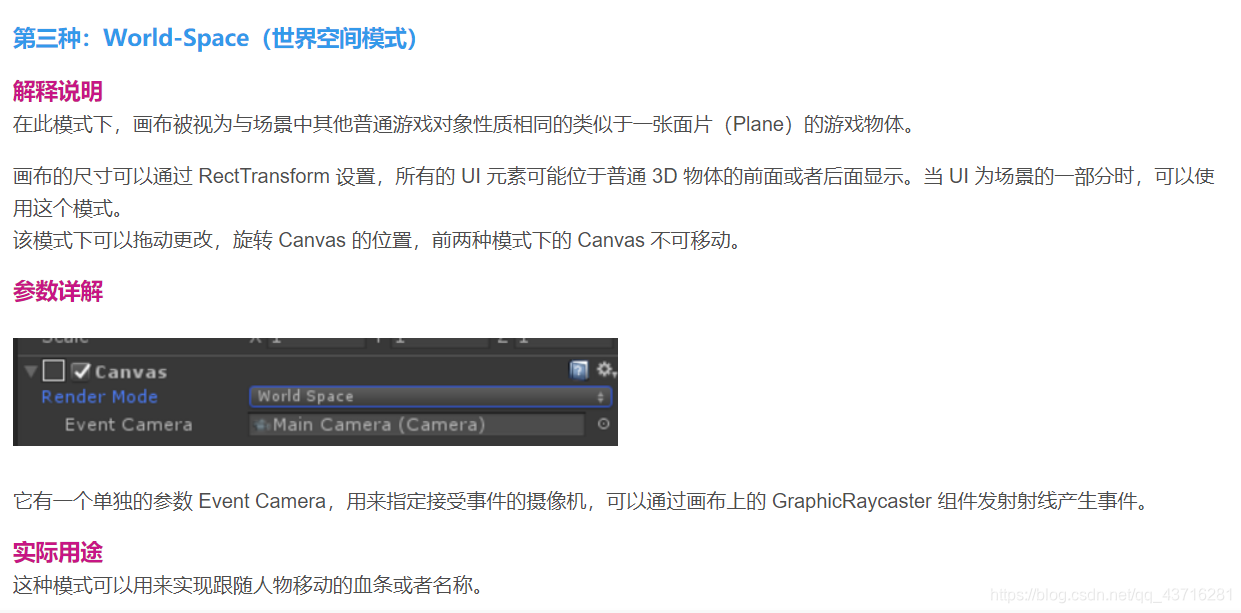
此时我们将Rawimage 上的Canvas的模式改为WorldSpace模式(改为world image原因如下,为了能够像图片一样移动rawimage以及其他ui),将上面的CallCamera脚本添加到rawimage
然后在场景中复制MainCamera得到一个新的camera,取名CaptureCamre,专门用来截图 - 然后打开FaceDetect脚本来添加代码
首先定义一个camera,把刚才场景中新建的captureCamera挂上去;
  //截取摄像头实时画面
    public Camera cameras;
- 在StreamingAssets文件夹下新建个CameraFaceDetect文件夹用来保存摄像头画面的截图
- 然后在代码中实现点击按钮截屏保存到本地,新建个Button,在FaceDetect里面加上
    public void cin_out()
    {
        //Debug.Log("hhhh我累了妈的");
        text.text = null;
        CaptureScreen();//在后文贴出函数;
        //Debug.Log("hhhh");
    }
然后给Button添加事件cin_out(),具体添加方法如下:

先将GameObject对象绑定上去,然后找FaceDetect里面的cin_out();实现点击事件;即点击的时候能够截图并且实现人脸对比
- 实现照片对比
    //截图
    public void CaptureScreen()
    {
        Texture2D screenShot;
        RenderTexture rt = new RenderTexture(1920, 1080, 1);
        cameras.targetTexture = rt;
        cameras.Render();
        RenderTexture.active = rt;
        screenShot = new Texture2D(1920, 1080, TextureFormat.RGB24, false);
        screenShot.ReadPixels(new Rect(0, 0, 1920, 1080), 0, 0);
        screenShot.Apply();
        string fileName = Application.streamingAssetsPath + "/CameraFaceDetect/" + "CameraFace.jpg";
        //保存到本地
        byte[] jpgData = screenShot.EncodeToJPG();
        System.IO.File.WriteAllBytes(fileName, jpgData);
        //人脸对比
        CameraFaceSearch(fileName);
    }

    //实时摄像头人脸画面对比
    public void CameraFaceSearch(string fileName)
    {
        FileInfo file = new FileInfo(fileName);
        var stream = file.OpenRead();
        byte[] buffer = new byte[file.Length];
        //读取图片字节流
        stream.Read(buffer, 0, Convert.ToInt32(file.Length));
        var image = Convert.ToBase64String(buffer);

        var imageType = "BASE64";
        //之前注册的组
        var groupIdList = "myself";

        var result = client.Search(image, imageType, groupIdList);
        text.text = result.ToString();
        Debug.Log(result);
    }
里面是要跟之前就在百度智能云上创的“myself”组进行对比,可以打开百度智能云提前将图片传入人脸可库


7. 到这里就好了 运行点击启动人脸检测按钮 搞定!


 12万+
12万+


 被折叠的 条评论
为什么被折叠?
被折叠的 条评论
为什么被折叠?
 到【灌水乐园】发言


