


Spring 更简单的存储对象Bean
Spring 中想要更简单的存储和读取对象的核心是使用注解
之前我们存储 Bean 时,需要在 spring.xml中添加一行bean 注册内容才行
但是现在只需要一个注解就可以替代之前要写一行配置的麻烦,但是首先还是要配置扫描路径,但是这里需要注意,包的位置要写清楚,否则也扫描不到,名称无所谓,也不用写的非常具体,我就用com.abc
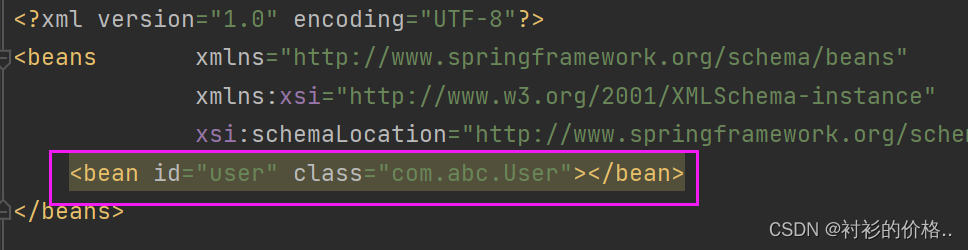
<?xml version="1.0" encoding="UTF-8"?>
<beans xmlns="http://www.springframework.org/schema/beans"
 xmlns:xsi="http://www.w3.org/2001/XMLSchema-instance"
 xmlns:content="http://www.springframework.org/schema/context"
 xsi:schemaLocation="http://www.springframework.org/schema/beans htt
p://www.springframework.org/schema/beans/spring-beans.xsd http://www.spring
framework.org/schema/context https://www.springframework.org/schema/contex
t/spring-context.xsd">
 <content:component-scan base-package="com.abc"></content:compon
ent-scan>
</beans>
一,存储Bean(2种方法)
1.类注解
@Controller(控制器存储)、@Service(服务存储)、@Repository(仓库存储)、@Component(组件存储)、@Configuration(配置存储)
这5个的使用方法相同,就只举一个例子
使用@Controller 存储 bean 的代码如下所示:
@Controller // 将对象存储到 Spring 中
public class UserController {
 public void sayHi() {
 System.out.println("Hi!");
 }
}
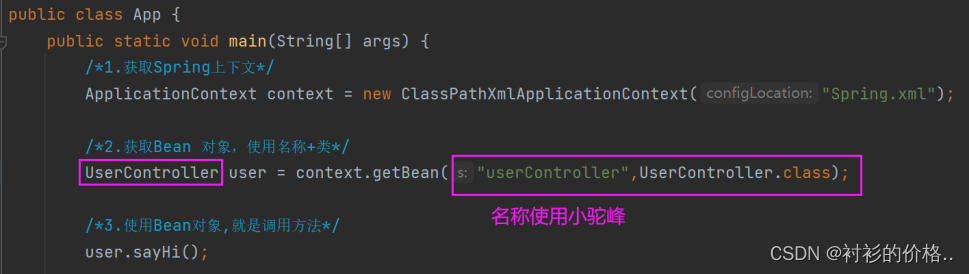
先使用之前读取对象的方式来读取上面的 UserController 对象,如下代码所示:
public class Application {
 public static void main(String[] args) {
 // 1.得到 spring 上下⽂
 ApplicationContext context = new ClassPathXmlApplicationContext("spring-config.xml");
 // 2.得到 bean
 UserController userController = context.getBean("userController",UserController.class);
 // 3.调⽤ bean ⽅法
 userController.sayHi();
 }
}
2.方法注解
@Bean
通常方法注解要配合类注解一起使用,才能将对象正常的存储到Spring容器中
@Component
public class Users {
 @Bean
 public User user1() {
 User user = new User();
 user.setId(1);
 user.setName("Java");
 return user;
    }
 }
二. Bean 命名规则
1.bean 使用的都是标准的大驼峰命名,而读取的时候首字母小写就可以获取到 bean 了
2.类名首字母和第二个字母都大写时,使用原类名读取


 502
502


 被折叠的 条评论
为什么被折叠?
被折叠的 条评论
为什么被折叠?
 到【灌水乐园】发言


