


Install Oracle JDK 11
Downloading Oracle JDK 11:
Oracle JDK 11 is not available in the official package repository of Ubuntu. But you can easily download it from the official website of Oracle and install it on Ubuntu.
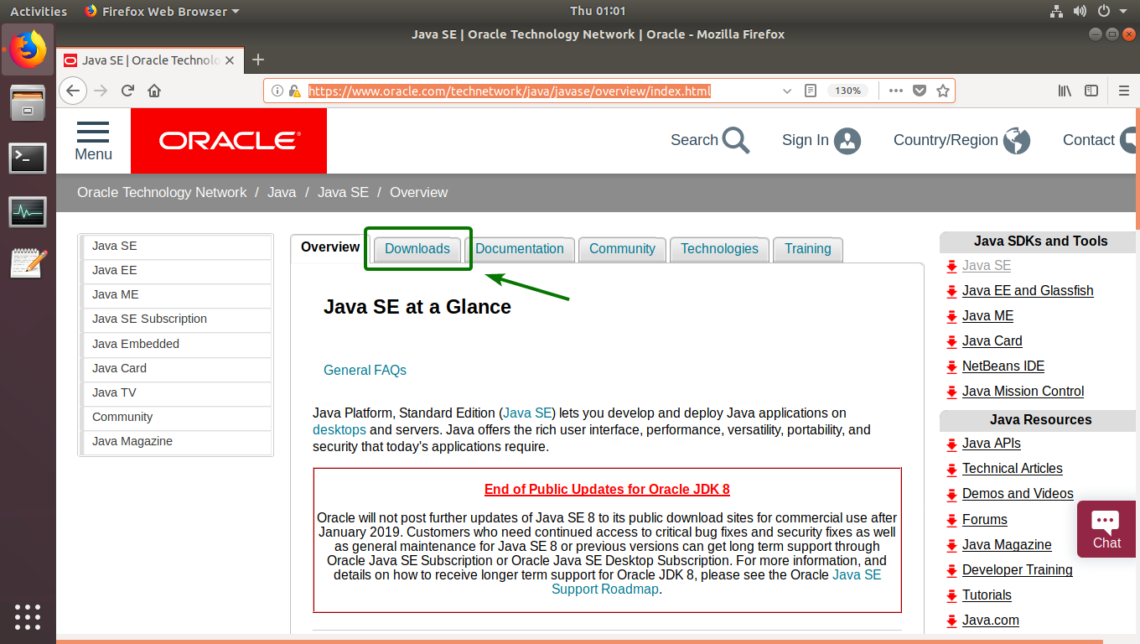
First, visit the official page of Java SE at https://www.oracle.com/technetwork/java/javase/overview/index.html
Once the page loads, click on Downlaods as marked in the screenshot below.
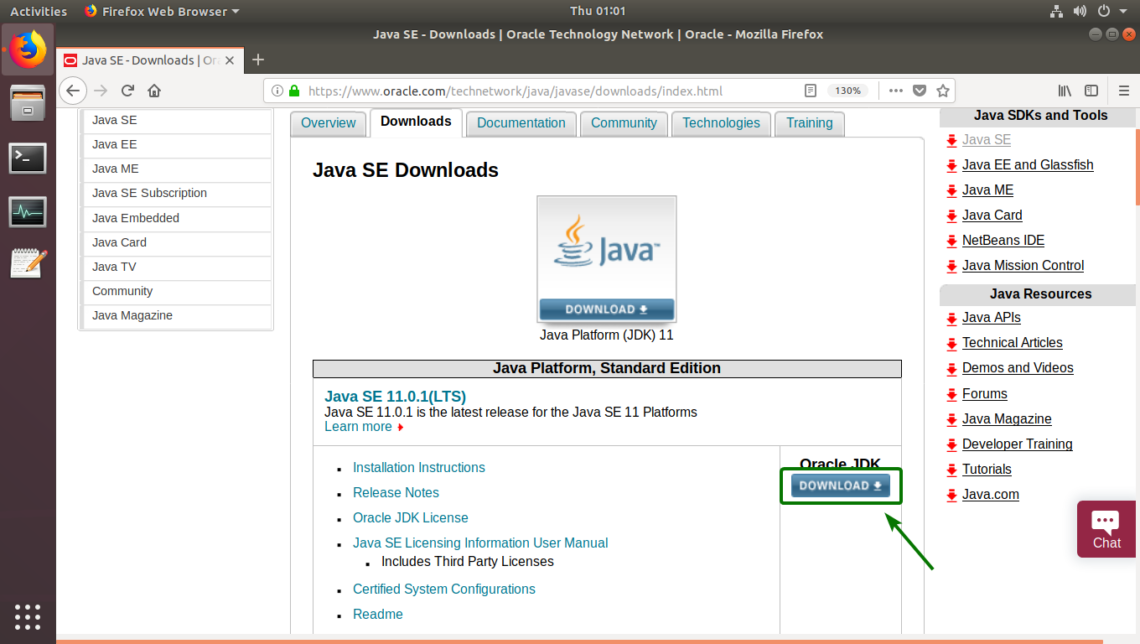
Now, from the Java SE 11.x (LTS) section, click on DOWNLOAD as marked in the screenshot below. At the time of this writing, the latest version of JDK 11 is 11.0.1.
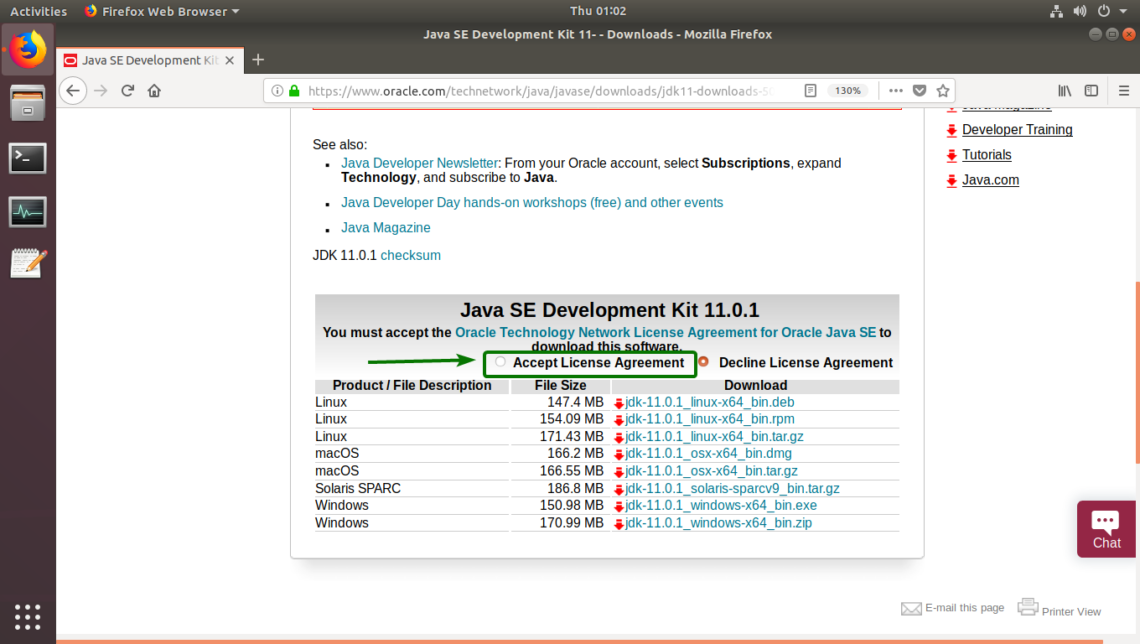
Now, scroll down a little bit and click on Accept License Agreement as marked in the screenshot below.
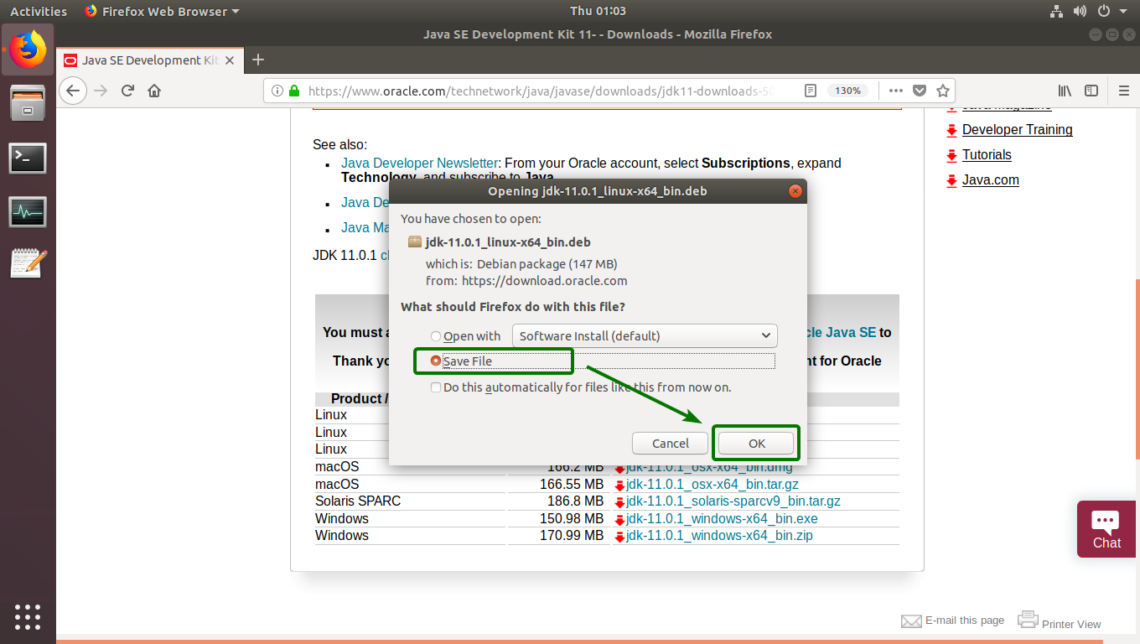
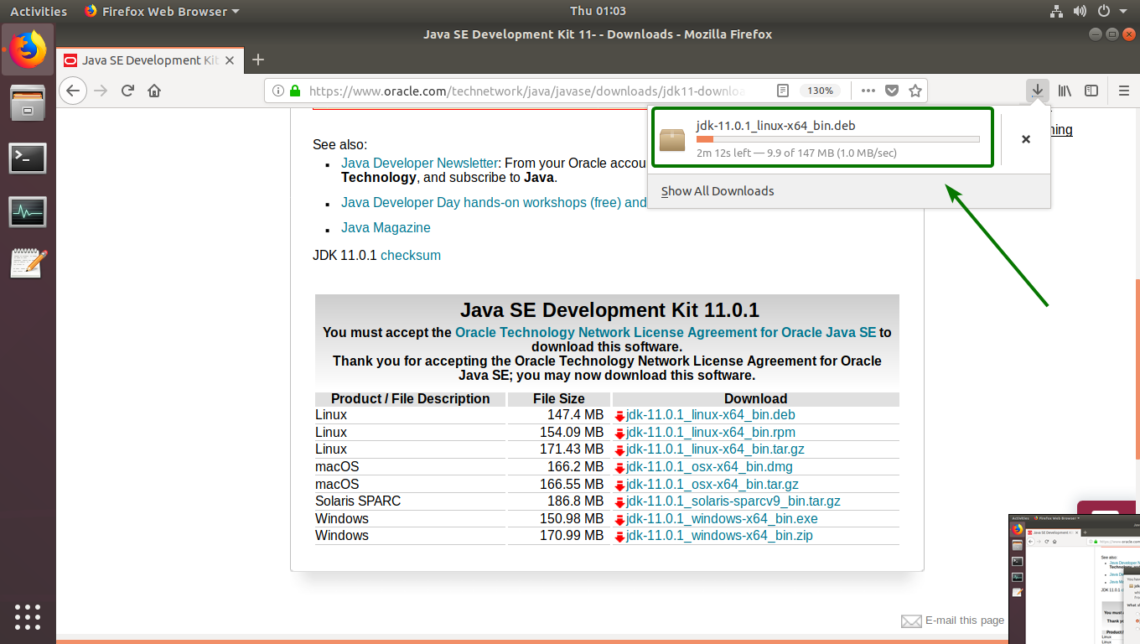
Now that you’ve accepted the Oracle Technology Network License Agreement for Oracle Java Standard Edition, you are ready to download Oracle JDK 11. To download Oracle JDK 11 for Ubuntu, click on the DEB file link as marked in the screenshot below.

Your browser should prompt you to save the Oracle JDK 11 DEB package file. Select Save File and click on OK.
Your download should start. It may take a while to finish.
Installing Oracle JDK 11:
Once the download is complete, navigate to the directory where your browser saved the DEB package file. Usually, it is the ~/Downloads directory in your login users HOME directory.
$ cd ~/Downloads

As you can see, jdk-11.0.1_linux-x64_bin.deb package file is there.
NOTE: The package file name may be different by the time you read this article. Make sure you replace the package file name with yours from now.

Now, install Oracle JDK 11 with the following command:
$ sudo dpkg -i jdk-11.0.1_linux-x64_bin.deb

Now, type in your login user’s password and press <Enter>.

Oracle JDK 11 should be installed.

Adding Oracle JDK 11 to the PATH:
The Oracle JDK 11 DEB package file installs Oracle JDK 11 in /usr/lib/jvm directory. It is not in the PATH by default. So, we have to manually add it to the PATH of Ubuntu.
First, find out the directory name where the Oracle JDK 11 is installed with the following command:
$ ls /usr/lib/jvm/
As you can see, the directory name is jdk-11.0.1/ in my case. It may be different for you. Make sure to replace it with your from now on.

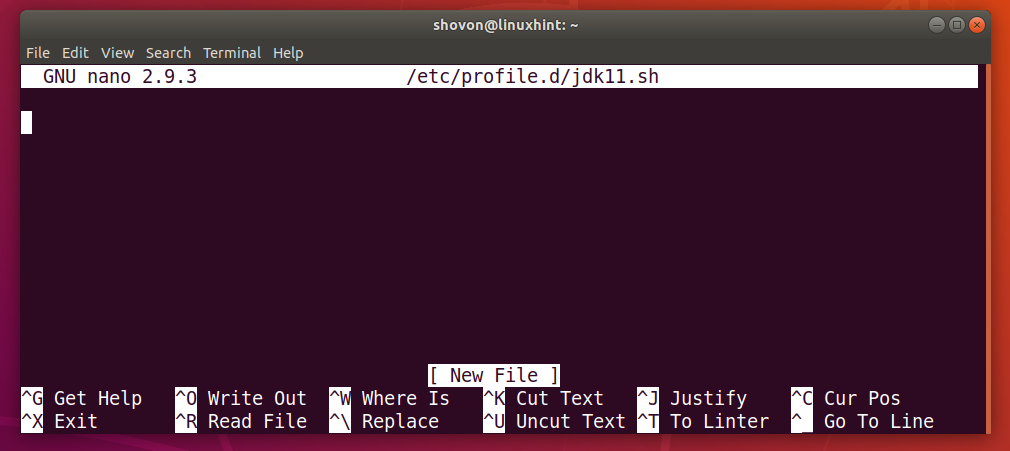
Now, create a new file /etc/profile.d/jdk11.sh with the following command:
$ sudo nano /etc/profile.d/jdk11.sh

An empty file should be opened.
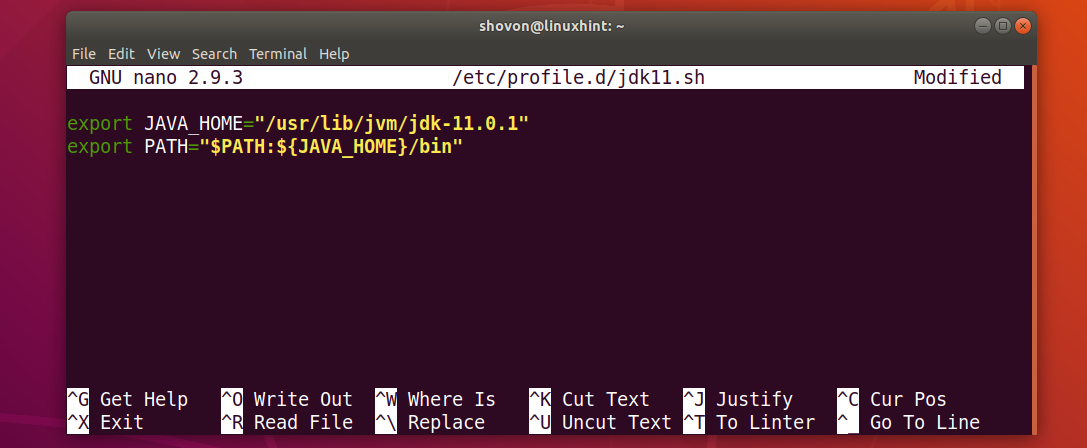
Now, add the following lines to the file.
export JAVA_HOME="/usr/lib/jvm/jdk-11.0.1"
export PATH="$PATH:${JAVA_HOME}/bin"
NOTE: Make sure you change jdk-11.0.1 to the directory name you have.
Finally, the file looks as follows. Now, press <Ctrl> + x and then press y followed by <Enter> to save the file.
Now, restart your computer with the following command:
$ sudo reboot

Once your computer boots, open a Terminal and run the following commands to verify whether JAVA_HOME variable is correctly set and Oracle JDK 11 is on the PATH.
$ echo $JAVA_HOME
$ echo $PATH
As you can see, JAVA_HOME and PATH variables are correctly set.

Now, run the following command to check whether JDK 11 is working.
$ javac -version
As you can see, I can run the javac binary without any problem. So, JDK 11 is working.

Compiling a Java Program with Oracle JDK 11:
Now, I am going to write a simple java program to test whether we can compile and run it with Oracle JDK 11.
Now, create a file Hello.java and type in the following lines in it.
public class Hello {
public static void main(String[] args) {
System.out.println("Welcome to LinuxHint!");
}
}

Now, to compile Hello.java source file, open a Terminal and navigate to the directory where your Hello.java source file is saved and run the following command:
$ javac Hello.java

A new file Hello.class should be generated as you can see in the screenshot below. It is called a Java class file. Java class file contains Java bytecodes that the JVM (Java Virtual Machine) can run.

Now, run Hello.class Java class file as follows:
$ java Hello
NOTE: Type in only the filename without .class extension. Otherwise, it won’t work.

The correct output is displayed as you can see in the screenshot below.

So, that’s how you install Oracle JDK 11 on Ubuntu. Thanks for reading this article.


 145
145


 被折叠的 条评论
为什么被折叠?
被折叠的 条评论
为什么被折叠?
 到【灌水乐园】发言


