


Windows中Python与OpenCV C++之间Mat传递
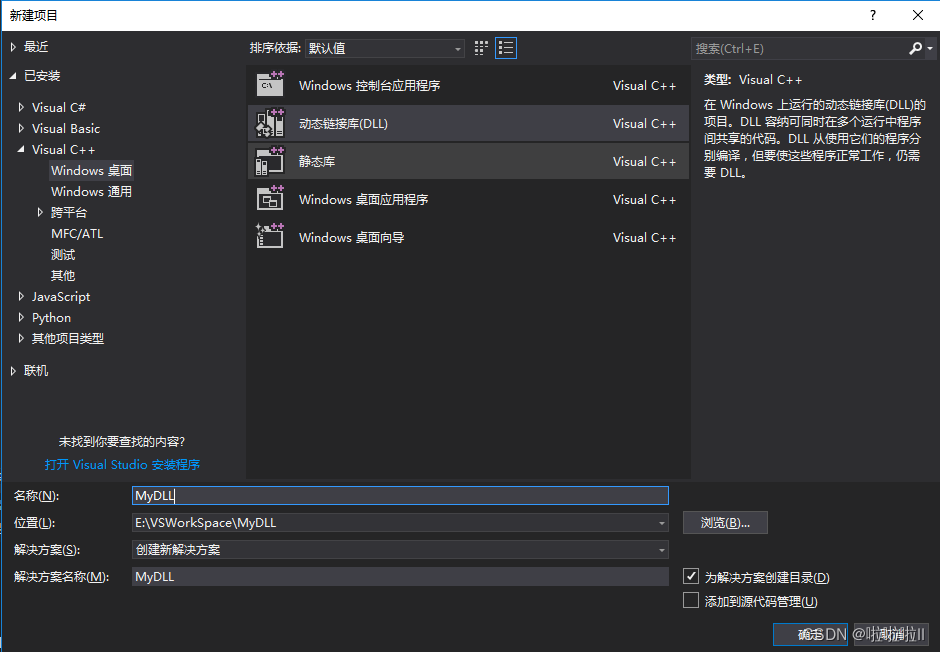
VS2022中创建DLL项目
创建DLL项目
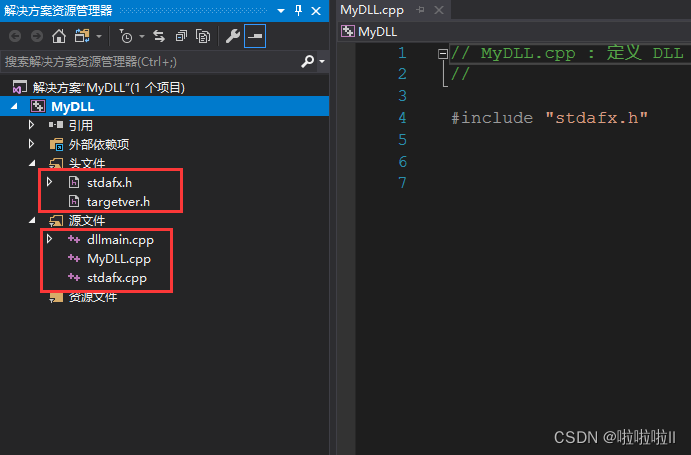
删除自动创建的文件
将stdafx.h、targetver.h、dllmain.cpp、MyDLL.cpp、stdafxc.pp删除。
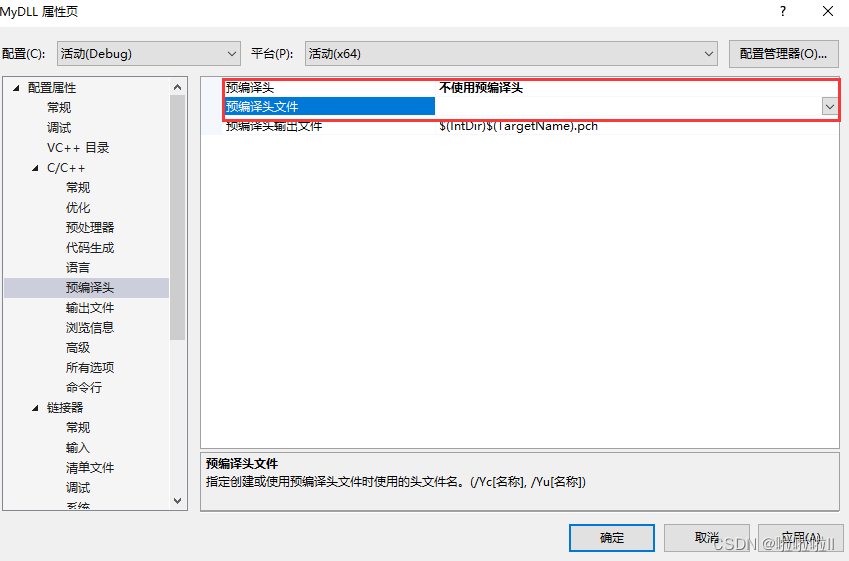
删除后,记得要在C/C++》预编译头 中取消使用预编译头
编写调用OpenCV的C代码
#include <opencv2/imgproc/imgproc.hpp>
#include <opencv2/opencv.hpp>
#include   <stdlib.h>
#define DLLEXPORT extern "C" __declspec(dllexport)

using namespace cv;

DLLEXPORT  uchar* cpp_canny(int height, int width, uchar* data) {
	cv::Mat src(height, width, CV_8UC1, data);
	cv::Mat dst;
	Canny(src, dst, 100, 200);

	uchar* buffer = (uchar*)malloc(sizeof(uchar)*height*width);
	memcpy(buffer, dst.data, height*width);
	return buffer;

}
DLLEXPORT void release(uchar* data) {
	free(data);
}
上代码简单调用了OpenCV的Canny函数,使用指针传递数据。值得注意的是,自定义的宏DLLEXPORT用于指定暴露的函数,只有加了这个宏的函数在外面才能调用。
注意: 由于cpp_canny函数中申请了内存空间,需要释放,因此加了函数release,用于在python端释放内存。
编写Python代码
import ctypes
import numpy as np
import cv2 as cv
from numpy.ctypeslib import ndpointer, as_array

src= cv.imread("test.jpg", cv.IMREAD_GRAYSCALE)
src = cv.equalizeHist(src)
height = src.shape[0]
width = src.shape[1]

# 获取numpy对象的数据指针
frame_data = np.asarray(img, dtype=np.uint8)
# 这里要将numpy数组中的元素类型转换成ctypes类型
frame_data = frame_data.ctypes.data_as(ctypes.c_char_p)
dllfile.C++函数名称.restype = ctypes.POINTER(ctypes.c_uint8)
result = dllfile.C++函数名称(frame_data, height, width)
# 返回的result是一个指针,直接用as_array就可以将它变成numpy数组,shape可以定义数组维度。
numpy_array= as_array(result , shape=(height, width))
执行
将VS2017生成的.dll文件拷贝到python代码根目录。


 3844
3844


 被折叠的 条评论
为什么被折叠?
被折叠的 条评论
为什么被折叠?
 到【灌水乐园】发言


