


title: springcloud学习(八)-Stream(服务间消息传递)
date: 2021-1-30
tags:
- 微服务
- springcloud学习(八)-Stream(服务间消息传递)
- springcloud
- spring
- springboot
categories: - 微服务
- springcloud
- springcloud学习(八)-Stream(服务间消息传递)

一、Stream 的介绍
Stream 就是在消息队列的基础上,对其进行封装,可以是我们更方便的去使用。
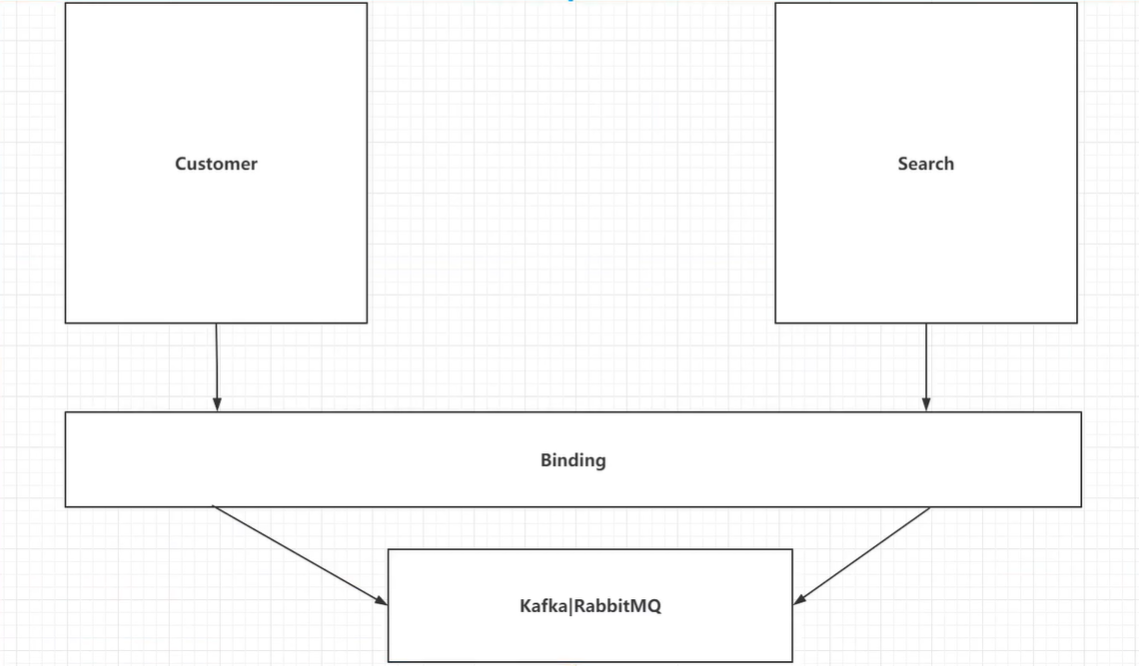
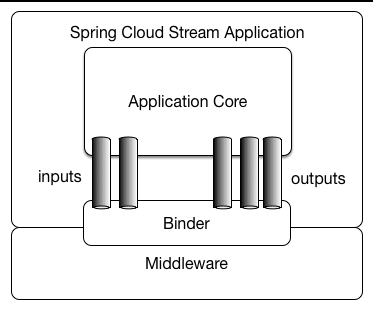
Spring Cloud Stream应用由第三方的中间件组成。应用间的通信通过输入通道(input channel)和输出通道(output channel)完成。这些通道是有Spring Cloud Stream 注入的。而通道与外部的代理(可以理解为上文所说的数据中心)的连接又是通过Binder实现的。
二、Stream 的快速入门
2.1 编辑消费者
2.1.1 导入相关依赖
<dependency>
    <groupId>org.springframework.cloud</groupId>
    <artifactId>spring-cloud-starter-stream-rabbit</artifactId>
</dependency>
2.1.2 编写配置文件
spring:
  rabbitmq:
    host: 192.168.31.138
    port: 5672
    username: test
    password: test
    virtual-host: /test
2.1.3 声明 channel(通道)
通过 @Input() 注解来指定所要声明的通道。
public interface StreamClient {
    @Input("myMessage")
    SubscribableChannel input();
}
被 @Input 和@Output 注解的方法。其中 @Input 注解的方法返回的是 SubscribableChannel ,@Output 注解的方法返回的是 MessageChannel 。
声明通道(channel)的方法就是使用 @Input 和 @Output 注解方法。你想要多少通道就注解多少方法。
默认情况下,通道的名称就是注解的方法的名称,如果需要自己指定,只需要给这两个注解传递 String 类型的参数即可。
使用@Input或者@Output注解声明了通道(channel)的接口。Spring Cloud Stream会自动实现这些接口。
2.1.4 创建和绑定 channel(通道)
使用 @EnableBinding 就能创建和绑定通道(channel)。
@SpringBootApplication
@EnableEurekaClient
@EnableBinding(StreamClient.class)
public class SearchApplication {
    public static void main(String[] args) {
        SpringApplication.run(SearchApplication.class,args);
    }
}
@EnableBinding 注解接收的参数就是使用 @Input 或者 @Output 注解声明了通道(channel)的接口。
2.1.5 消费消息
@StreamListener 接收的参数是要处理的通道(channel)的名,所注解的方法就是处理从通道获取到的数据的方法。方法的参数就是获取到的数据。
@Component
public class StreamReceiver {
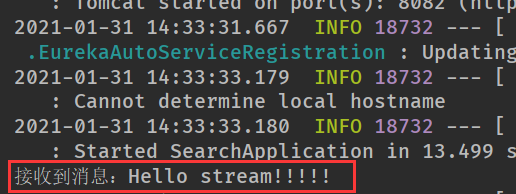
@StreamListener("myMessage")
public void msg(Object msg){
System.out.println("接收到消息:"+msg);
}
}
2.2 编辑生产者
2.2.1 导入相关依赖
<dependency>
    <groupId>org.springframework.cloud</groupId>
    <artifactId>spring-cloud-starter-stream-rabbit</artifactId>
</dependency>
2.2.2 编写配置文件
spring:
  rabbitmq:
    host: 192.168.31.138
    port: 5672
    username: test
    password: test
    virtual-host: /test
2.2.3 声明 channel(通道)
public interface StreamClient {
    @Output("myMessage")
    MessageChannel output();
}
2.2.4 创建和绑定
@SpringBootApplication
.......
@EnableBinding(StreamClient.class)
public class CustomerApplication {
    public static void main(String[] args) {
        SpringApplication.run(CustomerApplication.class,args);
    }

	........

}
2.2.5 生产消息
@RestController
public class MessageController {
@Autowired
private StreamClient streamClient;
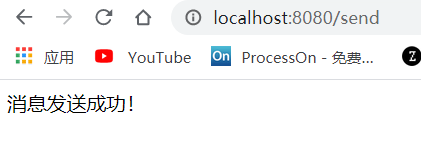
@GetMapping("/send")
public String send(){
streamClient.output().send(MessageBuilder.withPayload("Hello stream!!!!!").build());
return "消息发送成功!";
}
}
2.3 测试
三、Stream 重复消费消息
避免一个消息被多个消费者消费,只需要将多个消费者指定为一个消费者组即可。
**消费组:**直观的理解就是一群消费者一起处理消息(每个发送到消费组的数据,仅由消费组中的一个消费者处理)。
spring:
  cloud:
    stream:
      bindings:
        myMessage: #指定channel
          group: customer #指定消费者组
四、Stream 消费者的手动 ACK
4.1 编写配置文件
spring:
  cloud:
    stream:
      rabbit:
        bindings:
          myMessage: #指定 channel name
            consumer:
              acknowledgeMode: MANUAL # 指定规则默认 AUTO
4.2 修改消费消息的方法
消息是带有 Header 的,类似 Http 的 headler,我们可以通过 @Header 来获取指定的 Header。
@Component
public class StreamReceiver {

    @StreamListener("myMessage")
    public void msg(Object msg,
                    @Header(name = AmqpHeaders.CHANNEL) Channel channel,
                    @Header(name = AmqpHeaders.DELIVERY_TAG) Long deliveryTag) throws IOException {
        System.out.println("接收到消息:"+msg);
        channel.basicAck(deliveryTag,false);
    }
}


 8191
8191


 被折叠的 条评论
为什么被折叠?
被折叠的 条评论
为什么被折叠?
 到【灌水乐园】发言


