首先,简单使用
子组件
<template>
	<view class="">
		<slot>发布</slot>
	</view>
</template>
父组件
<template>
	<view class="release" :style="{'margin-top':statusBarHeight+'rpx'}">
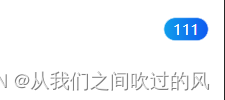
		<Queation>111</Queation>
		<!-- 如果子组件标签内什么都不写,则会显示默认的“发布”两个字-->
	</view>
</template>

<script>
	import Queation from '@/components/common/question.vue'
	export default {
		data() {
			return {
			}
		},
		components:{
			Queation
		},
	}
</script>
结果:

具名插槽:需要多个插槽时,可以利用 元素的一个特殊的特性:name 来定义具名插槽
子组件
<template>
	<view>
		<slot name="button">发布</slot>
		<br/>
		<slot name="content"></slot>
	</view>
</template>
父组件:必须在 元素上使用 v-slot 指令,并以 v-slot 的参数的形式提供其名称
<template>
	<view >
		<Queation>
			<template v-slot:button>
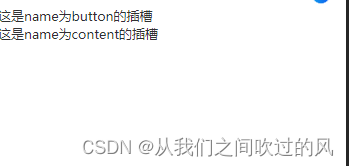
				这是name为button的插槽
			</template>
			<template v-slot:content>
				这是name为content的插槽
			</template>
		</Queation>
	</view>
</template>

<script>
	import Queation from '@/components/common/question.vue'
	export default {
		data() {
			return {
			}
		},
		components:{
			Queation
		},
	}
</script>
结果:

具名插槽的缩写: 跟 v-on 和 v-bind 一样,v-slot 也有缩写,即把参数之前的所有内容 (v-slot:) 替换为字符 #。例如 v-slot:header 可以被重写为 #header :
<template>
	<view>
		<Queation>
			<template #button>
				这是name为button的插槽
			</template>
			<template #content>
				这是name为content的插槽
			</template>
		</Queation>

	</view>
</template>


 1684
1684


 被折叠的 条评论
为什么被折叠?


