


需求:1.在vue2中封装使用svg
2.在vue3中封装使用svg
3.在vue3中使用自定义插件封装多个组件
注意!!!地址一定要对应好,不然容易报错
1.获取svg图标操作(公共操作)
在阿里巴巴矢量图标库找自己需要的svg图标
地址:阿里巴巴矢量图标库
随便找个图标点击下载
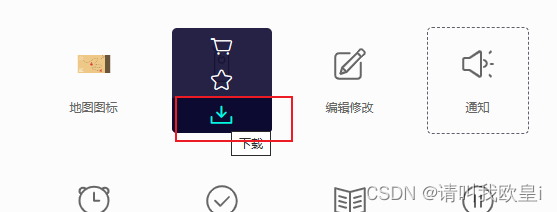
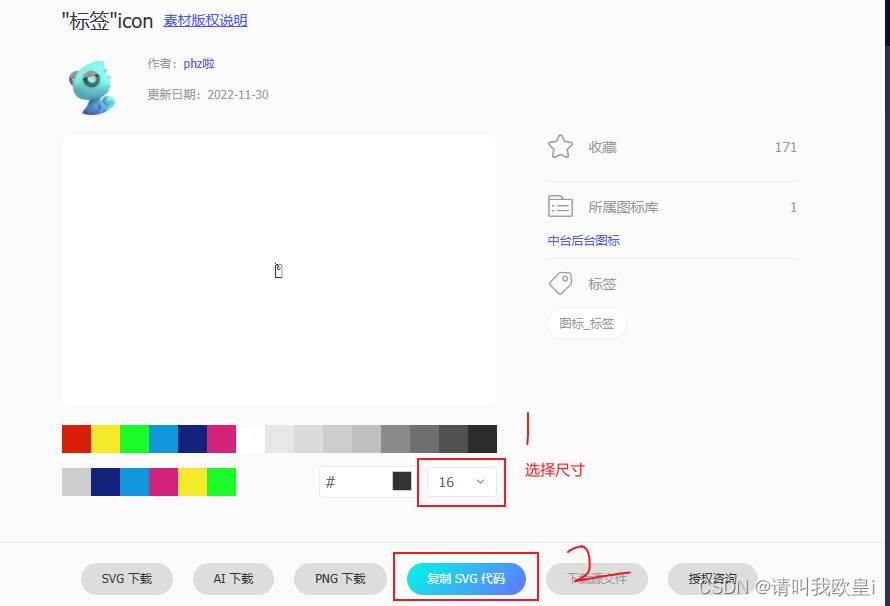
选择好尺寸后就可以点击复制svg代码了
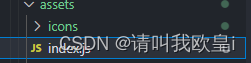
在assets下创建icons文件夹,并且新建svg文件,文件名任意

把复制好的svg代码贴到svg文件中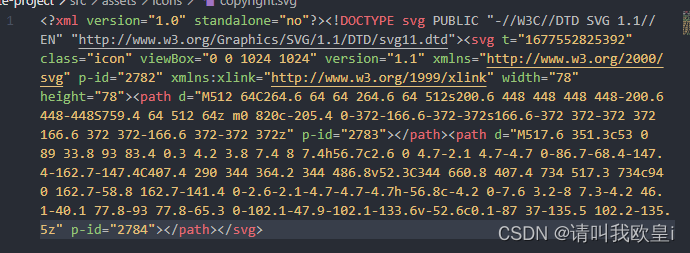
2.在vue2中封装使用SVG
2.1下载svg插件,我直接下载的最新版6.0.11版本
npm install svg-sprite-loader2.2在component文件夹下==》新建SvgIcon文件夹==》并且新建index.vue

<template>
  <svg :style="{ width, height }" aria-hidden="true">
    <use :xlink:href="iconName" :fill="color" />
  </svg>
</template>

<script>
export default {
  name: "SvgIcon",
  props: {
    iconClass: {
      type: String,
      required: true,
    },
    className: {
      type: String,
    },
    //   图标的颜色
    color: {
      type: String,
      default: "",
    },
    //   接收父组件传递过来图标的宽高
    width: {
      type: String,
      default: "16px",
    },
    height: {
      type: String,
      default: "16px",
    },
  },
  computed: {
    iconName() {
      return `#icon-${this.iconClass}`;
    },
  },
};
</script>

<style scoped></style>
2.3在assets文件夹下新建index.js
import Vue from 'vue'
import SvgIcon from '../components/SvgIcon'// svg封装地址

// register globally
Vue.component('svg-icon', SvgIcon)
//./icons的地址就是存放svg图标的文件地址

const req = require.context('./icons', false, /\.svg$/)
const requireAll = requireContext => requireContext.keys().map(requireContext)
requireAll(req)
2.4 在vue.config.js文件中导入
之前跟着网上导入后resolve报错,如果有报错就和我一样添加path就行
!!!注意!!这里的resolve地址就是存放svg的文件地址
const { defineConfig } = require('@vue/cli-service')
const path = require('path');
module.exports = defineConfig({
  transpileDependencies: true,
  chainWebpack (config) {
    config.module
      .rule('svg')
      .exclude.add(path.resolve('src/aseets/icons'))
      .end()
    config.module
      .rule('icons')
      .test(/\.svg$/)
      .include.add(path.resolve('src/aseets/icons'))
      .end()
      .use('svg-sprite-loader')
      .loader('svg-sprite-loader')
      .options({
        symbolId: 'icon-[name]'
      })
      .end()
  }

})
2.5在main.js中导入icons注册的index.js文件
import "./assets/index";2.6 页面使用
注意这个loading一定要和svg文件名(你自己取的名字)一致
<svg-icon icon-class="loading" width="30px" height="30px" color="red"/>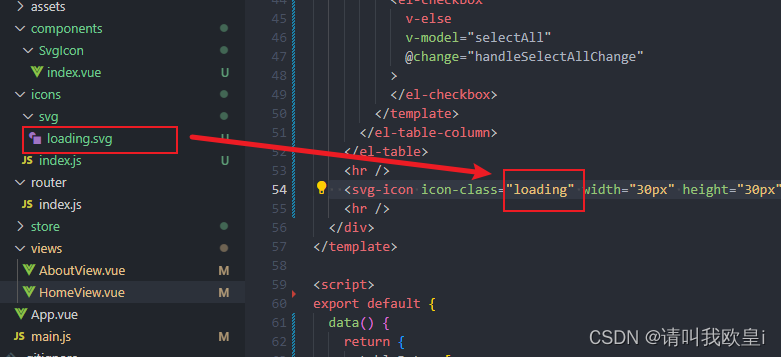
2.7 效果

2.8 问题:为什么颜色写了不起作用
打开svg文件,找到fill=“”,之后删除就可以了,如果人家svg自带颜色你写的时候不生效就去删了就行

3.在vue3中封装使用SVG
!!!注意:如果配置好之后报错Cannot find package ‘fast-glob’
只需要执行命令: npm i fast-glob 进行下载就可以了
3.1下载svg插件
npm install vite-plugin-svg-icons3.2 在vite.config.ts中导入使用
// 配置svg依赖插件
import { createSvgIconsPlugin } from 'vite-plugin-svg-icons';

export default defineConfig({
  plugins: [
    vue(),
    createSvgIconsPlugin({
      iconDirs: [path.resolve(process.cwd(), 'src/assets/icons')],//svg的文件存放路径
      symbolId: 'icon-[dir]-[name]',
    }),
  ],
  },
});
3.3在main.ts中引入svg插件
// svg插件需要的配置代码
import 'virtual:svg-icons-register'
3.4 在component文件夹下创建SvgIcon文件
并添加index.vue
在这里我写了俩种前缀方法,可自行选择一种
<template>
  <!-- svg:图标外层容器节点,内部需要与use标签结合使用 -->
  <svg :style="{ width, height }">
    <!-- xlink:href :决定使用哪个图标 -->
    <!-- 第一种前缀方法 -->
    <!-- <use :xlink:href="prefix+name" :fill="color"></use> -->
    <!-- 第二种前缀方法 -->
    <use :xlink:href="icon" :fill="color"></use>
  </svg>
</template>

<script setup lang="ts">
import { computed } from 'vue';
const props = defineProps({
  // xlink:href属性值的前缀-------第一种方法
  prefix: {
    type: String,
    default: '#icon-',
  },
  // 提供使用属性的明智
  name: String,
  //   图标的颜色
  color: {
    type: String,
    default: '',
  },
  //   接收父组件传递过来图标的宽高
  width: {
    type: String,
    default: '16px',
  },
  height: {
    type: String,
    default: '16px',
  },
});
 // xlink:href属性值的前缀------第二种方法
let icon = computed(() => {
  return `#icon-${props.name}`;
});
</script>

<style scoped></style>
3.5 在main.ts中导入注册
这里我修改了一个,使用的是@/引入方式,如果报错的话就用../就行
import SvgIcon from "@/components/SvgIcon/index.vue"
// 将应用挂载到挂载点上
app.component('SvgIcon',SvgIcon);
3.6 页面使用
在你需要svg的页面中直接使用就可以了
注意:这个name=“edit”的edit是icons文件下创建的叫edit.svg的文件名
<SvgIcon name="edit" color="pink" width="30px" height="30px"></SvgIcon>3.7 效果

4.使用自定义插件封装多个组件
4.1 在component文件夹下创建index.ts文件
其中:import SvgIcon from './SvgIcon/index.vue';
import Pagination from './Pagination/index.vue';这俩个就是之前封装好的svg组件内容还有个分页封装的内容
// 对外暴露插件对象
import SvgIcon from './SvgIcon/index.vue';
import Pagination from './Pagination/index.vue';
const allGlobalComponents: any = { SvgIcon, Pagination };

export default {
  // 必须交install方法
  install(app: any) {
    // 有几个组件就注册几次
    Object.keys(allGlobalComponents).forEach((key) => {
      console.log(key);
      app.component(key, allGlobalComponents[key]);
    });
  },
};
4.2 在main.ts中导入并使用
import globalComponent from '@/components'
app.use(globalComponent);
4.3 使用
无需导入,在页面可直接使用
 <SvgIcon name="edit" color="pink" width="60px" height="60px"></SvgIcon>
   <pagination></pagination>
4.3 效果

5.源码地址
node 的版本要大于16以上就可以了,vue3用的是pnpm安装的,vue2用的是npm,源码这边我就写了vue2和vue3的封装,vue3自定义插件封装可以根据上面代码进行更改~
vue2-vue3-svg: vue2和vue3的svg封装代码 (gitee.com)
文章到此结束希望对你有所帮助~


 1478
1478


 被折叠的 条评论
为什么被折叠?
被折叠的 条评论
为什么被折叠?
 到【灌水乐园】发言


