


SpringBoot基础注解使用示例
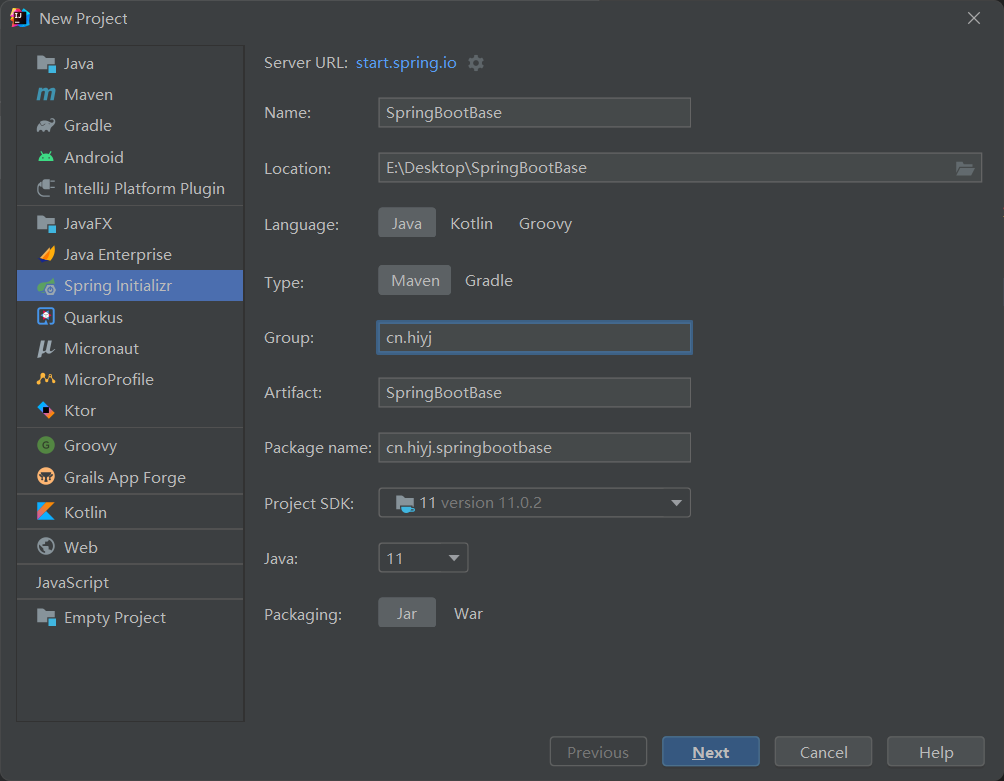
IDEA创建maven项目
-
- 创建Spring Initializr项目,并定义项目名、包名,无脑下一步
-
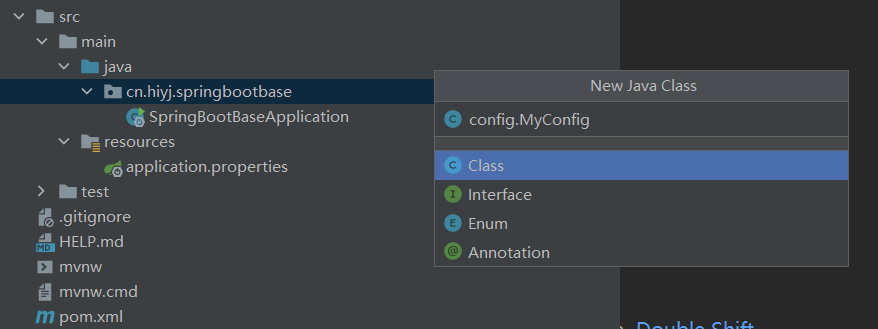
- 创建加载完成后,项目文件夹结构示例(需要处理依赖,可能加载较慢)

基础注解及示例
-
@Autowired自动注入-
- 右键
cn.hiyj.springbootbase新建类,类名config.MyConfig

- 右键
-
- 添加相关定义
package cn.hiyj.springbootbase.config; @SpringBootConfiguration // 添加配置类注解,将此类交给Spring容器进行管理,表示将此类标记为Spring容器中的一个Bean public class MyConfig { private int pid = 110; private String password = "5201314"; public int getPid() { return pid; } public void setPid(int pid) { this.pid = pid; } public String getPassword() { return password; } public void setPassword(String password) { this.password = password; } @Override public String toString() { return "{" + "pid=" + pid + ", password='" + password + '\'' + '}'; } } -
- 添加测试代码,测试是否能自动注入
-
1.添加测试类
config.TestMyConfig -
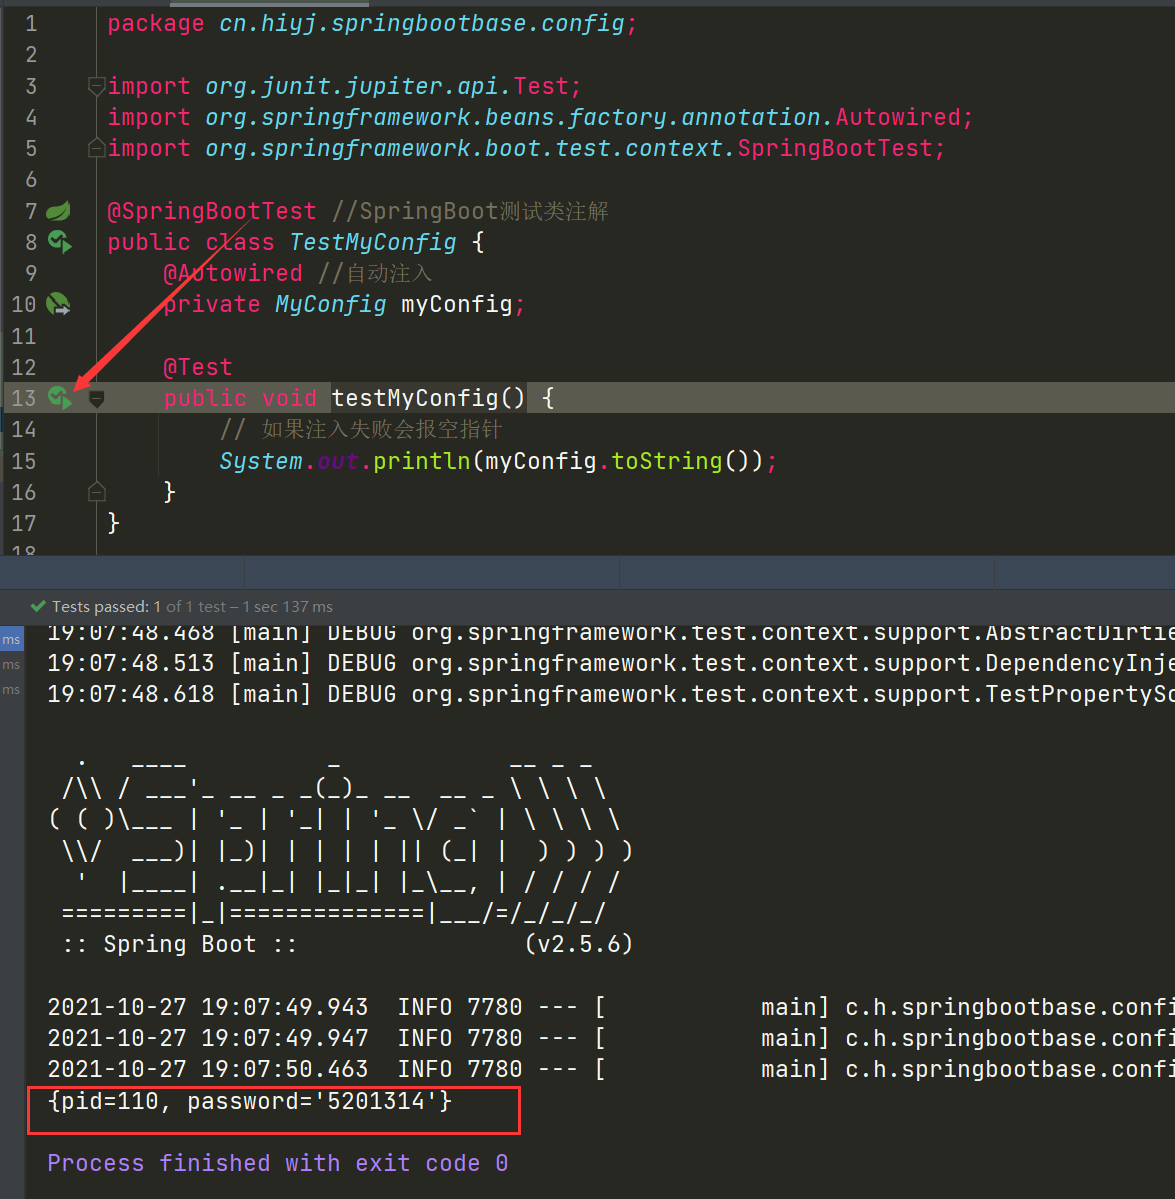
- 添加相关测试代码
package cn.hiyj.springbootbase.config;

import org.junit.jupiter.api.Test;
import org.springframework.beans.factory.annotation.Autowired;
import org.springframework.boot.test.context.SpringBootTest;

@SpringBootTest //SpringBoot测试类注解
public class TestMyConfig {
    @Autowired //自动注入
    private MyConfig myConfig;

    @Test
    public void testMyConfig() {
        // 如果注入失败会报空指针
        System.out.println(myConfig.toString());
    }
}
[外链图片转存失败,源站可能有防盗链机制,建议将图片保存下来直接上传(img-gp1ZruC1-1635344019652)(https://gitee.com/windsnowli/SpringBootBaseExample/blob/master/doc/autowired-project-status-TestMyConfig.png)]
-
- 运行
testMyConfig()进行测试
- 运行
-
-
@Component标注Spring管理的Bean,使用@Component注解在一个类上,表示将此类标记为Spring容器中的一个Bean-
- 例如有一个类,无法给与他很合适的分类,但是需要使用Spring容器进行管理,则可以使用该注解,例如类
cn.hiyj.springbootbase.service.MyConfigService;
package cn.hiyj.springbootbase.service;

import cn.hiyj.springbootbase.config.MyConfig;
import org.springframework.beans.factory.annotation.Autowired;
import org.springframework.stereotype.Component;

@Component("myConfigService")
public class MyConfigService {
    @Autowired
    private MyConfig myConfig;

    public void printMyConfig() {
        System.out.println(myConfig.toString());
    }
}
- 例如有一个类,无法给与他很合适的分类,但是需要使用Spring容器进行管理,则可以使用该注解,例如类
-
- 该类通过
@Component("myConfigService")添加为Spring容器管理的Bean,@Component(value),当使用该注解时,SpringIOC会将这个类自动扫描成一个bean实例 不写的时候,默认是类名,且首字母小写
- 该类通过
-
- 编写测试类
cn.hiyj.springbootbase.service.TestMyConfigService测试自动注入该类,
package cn.hiyj.springbootbase.service;

import org.junit.jupiter.api.Test;
import org.springframework.beans.factory.annotation.Autowired;
import org.springframework.boot.test.context.SpringBootTest;

@SpringBootTest
public class TestMyConfigService {
    @Autowired
    private MyConfigService myConfigService;

    @Test
    public void testPrintMyConfigService() {
        myConfigService.printMyConfig();
    }
}
- 编写测试类
-
- 运行
testPrintMyConfigService()进行测试

- 运行
-
-
@Repository用在持久层的接口上,这个注解是将接口的一个实现类交给spring管理。-
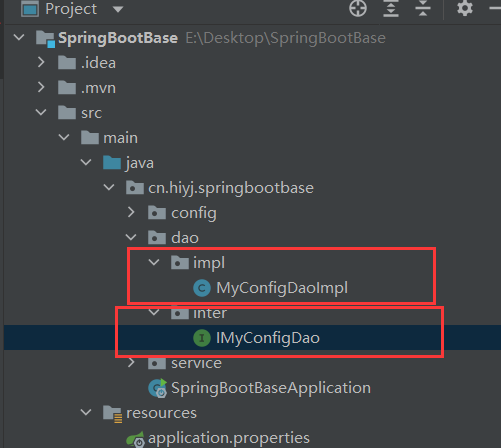
- 创建接口
cn.hiyj.springbootbase.dao.inter.IMyConfigDao与其实现cn.hiyj.springbootbase.dao.impl.MyConfigDaoImpl
- 创建接口
-
- 添加代码
-
cn.hiyj.springbootbase.dao.inter.IMyConfigDao
package cn.hiyj.springbootbase.dao.inter; import org.springframework.stereotype.Repository; @Repository(value="myConfigDao") public interface IMyConfigDao { void printMyConfig(); } -
cn.hiyj.springbootbase.dao.impl.MyConfigDaoImpl
package cn.hiyj.springbootbase.dao.impl;

import cn.hiyj.springbootbase.config.MyConfig;
import cn.hiyj.springbootbase.dao.inter.IMyConfigDao;
import org.springframework.beans.factory.annotation.Autowired;
import org.springframework.stereotype.Repository;

@Repository
public class MyConfigDaoImpl implements IMyConfigDao {

    @Autowired
    private MyConfig myConfig;

    @Override
    public void printMyConfig() {
        System.out.println(myConfig.toString());
    }
}
-
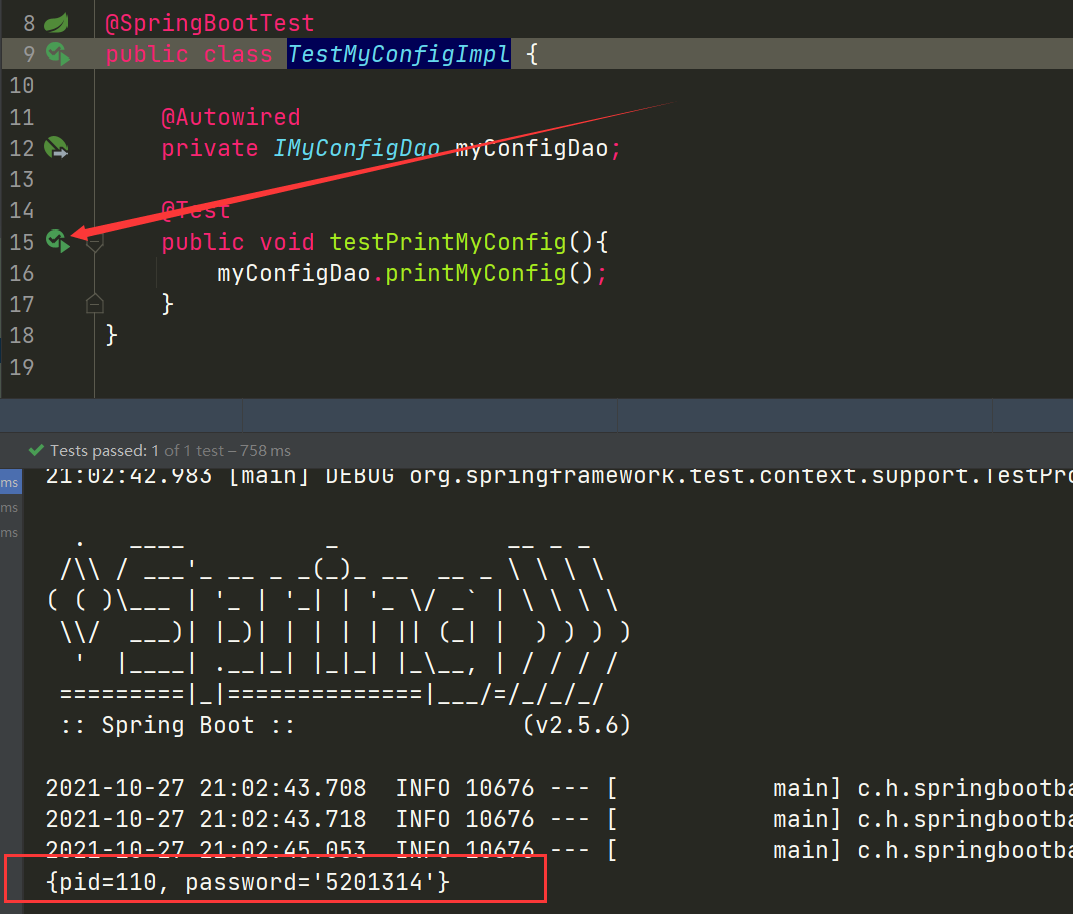
- 编写测试类,并运行测试
package cn.hiyj.springbootbase.dao;

import cn.hiyj.springbootbase.dao.inter.IMyConfigDao;
import org.junit.jupiter.api.Test;
import org.springframework.beans.factory.annotation.Autowired;
import org.springframework.boot.test.context.SpringBootTest;

@SpringBootTest
public class TestMyConfigImpl {

    @Autowired
    private IMyConfigDao myConfigDao;

    @Test
    public void testPrintMyConfig(){
        myConfigDao.printMyConfig();
    }
}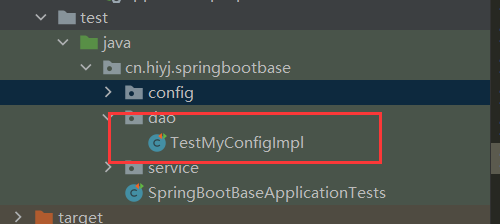
-
-
@Service一般注解在service层的类上用法与
@Repository类似 -
@Controller与@RequestMapping-
@Controller标记一个类是Controller,SpringBoot会扫描类中@RequestMapping注解映射的方法,@Controller只是定义了一个控制器类,而使用@RequestMapping注解的方法才是真正处理请求的处理器
-
- 定义控制类
cn.hiyj.springbootbase.controller.MyController
package cn.hiyj.springbootbase.controller;

import org.springframework.stereotype.Controller;
import org.springframework.web.bind.annotation.RequestMapping;
import org.springframework.web.bind.annotation.RequestParam;
import org.springframework.web.bind.annotation.ResponseBody;

@Controller
@RequestMapping(value = "/say") // 需要添加依赖,IDEA可推荐,选择添加就行
public class MyController {

    @ResponseBody //注明此方法返回的是字符串,不是视图,添加到类上则本类全部返回数据,不是视图
    @RequestMapping("hello") // 相对于类的路径
    public String sayHello(@RequestParam/*请求参数注入*/ String name) {
        return "Hello!" + name;
    }
}
- 定义控制类
-
- 运行整个项目
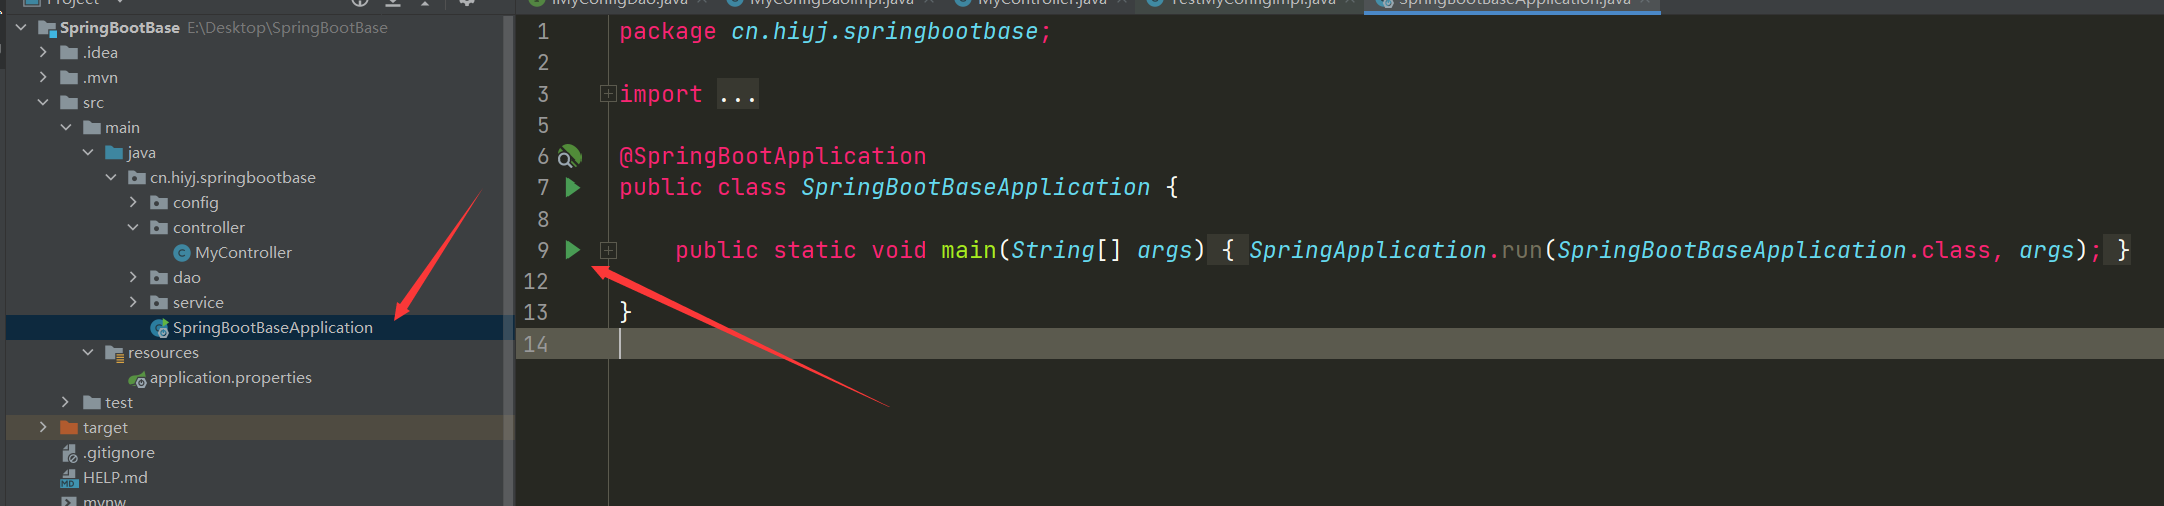
-
-
浏览器测试
http://127.0.0.1:/say/hello/'name?=123,默认8080端口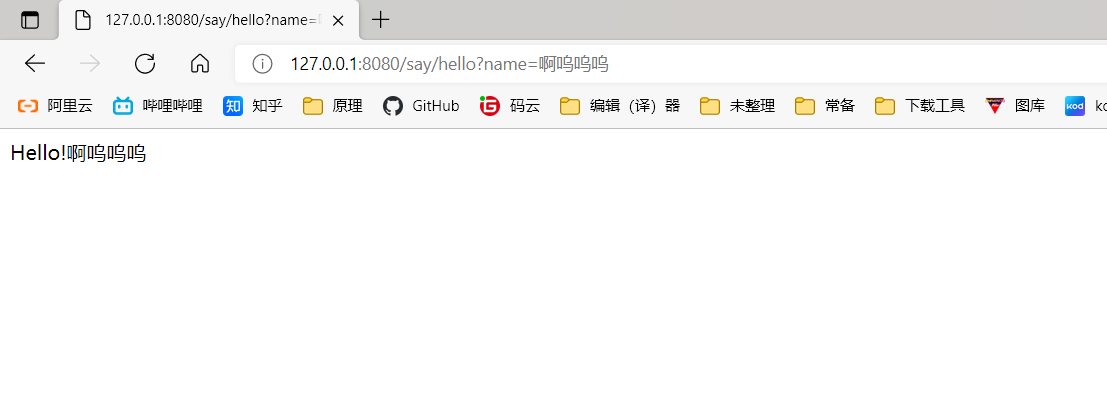
-
-
-
全局异常处理
@ControllerAdvice-
- 创建类
cn.hiyj.springbootbase.exception.MyGlobalExceptionHandler
@ControllerAdvice
@ResponseBody // 也可以取消这个返回视图
public class MyGlobalExceptionHandler {
    @ExceptionHandler(Exception.class) // 对应的异常类
    // 出现异常后执行的函数
    public ModelAndView customException(Exception e) {
        ModelAndView mv = new ModelAndView();
        mv.addObject("message", e.getMessage());
        mv.setViewName("myerror");
        return mv;
    }
}
- 创建类
-
- 控制层
MyController增加测试异常
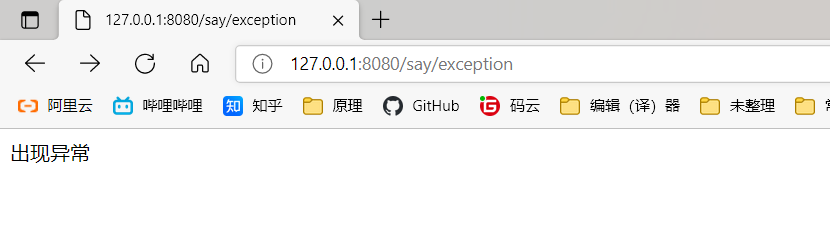
package cn.hiyj.springbootbase.controller; import org.springframework.stereotype.Controller; import org.springframework.web.bind.annotation.RequestMapping; import org.springframework.web.bind.annotation.RequestParam; import org.springframework.web.bind.annotation.ResponseBody; @Controller @RequestMapping(value = "/say") // 需要添加依赖,IDEA可推荐,选择添加就行 public class MyController { // *** 另一个函数此处省略 @ResponseBody @RequestMapping(value = "exception") public String exception() throws Exception { throw new Exception("出现异常"); } } - 控制层
-
- 启动项目主类
-
- 浏览器测试
-
-
@RestControllerAdvice与@ControllerAdvice类似
扩展
- Lombok
-
- maven依赖:
<dependency> <groupId>org.projectlombok</groupId> <artifactId>lombok</artifactId> <version>1.16.6</version> </dependency> -
- @Data:注解在类上;提供类所有属性的 getting 和 setting 方法,此外还提供了equals、canEqual、hashCode、toString 方法
-
- @Setter:注解在属性上;为属性提供 setting 方法
-
- @Getter:注解在属性上;为属性提供 getting 方法
-


 720
720


 被折叠的 条评论
为什么被折叠?
被折叠的 条评论
为什么被折叠?
 到【灌水乐园】发言


