


Eureka 集群 及 自我保护机制
本章知识:
1、Eureka 集群搭建
2、Eureka 自我保护机制
这篇博客的前提是会基本的Java编程,及SpringCloud的基本知识,可查看我的上篇博客:SpringCloud 入门使用
Eureka集群搭建
高可用集群配置
当注册中心扛不住高并发的时候,这时候 要用集群来扛;
普通操作如下:
我们再新建两个module : microservice-eureka-server-2002 和 microservice-eureka-server-2003
步骤:
- 加入 pom.xml 依赖
<dependencies>
    <dependency>
        <groupId>org.springframework.cloud</groupId>
        <artifactId>spring-cloud-starter-eureka-server</artifactId>
    </dependency>
    <dependency>
        <groupId>org.springframework.boot</groupId>
        <artifactId>spring-boot-starter-test</artifactId>
        <scope>test</scope>
    </dependency>
    <!-- 修改后立即生效,热部署 -->
    <dependency>
        <groupId>org.springframework</groupId>
        <artifactId>springloaded</artifactId>
    </dependency>
    <dependency>
        <groupId>org.springframework.boot</groupId>
        <artifactId>spring-boot-devtools</artifactId>
    </dependency>
</dependencies>
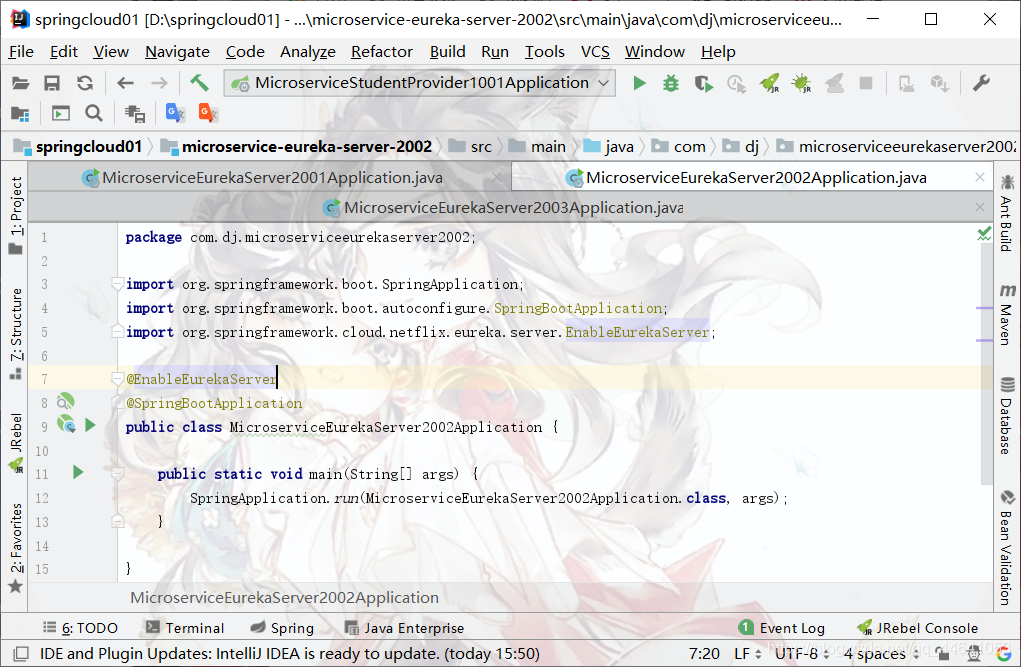
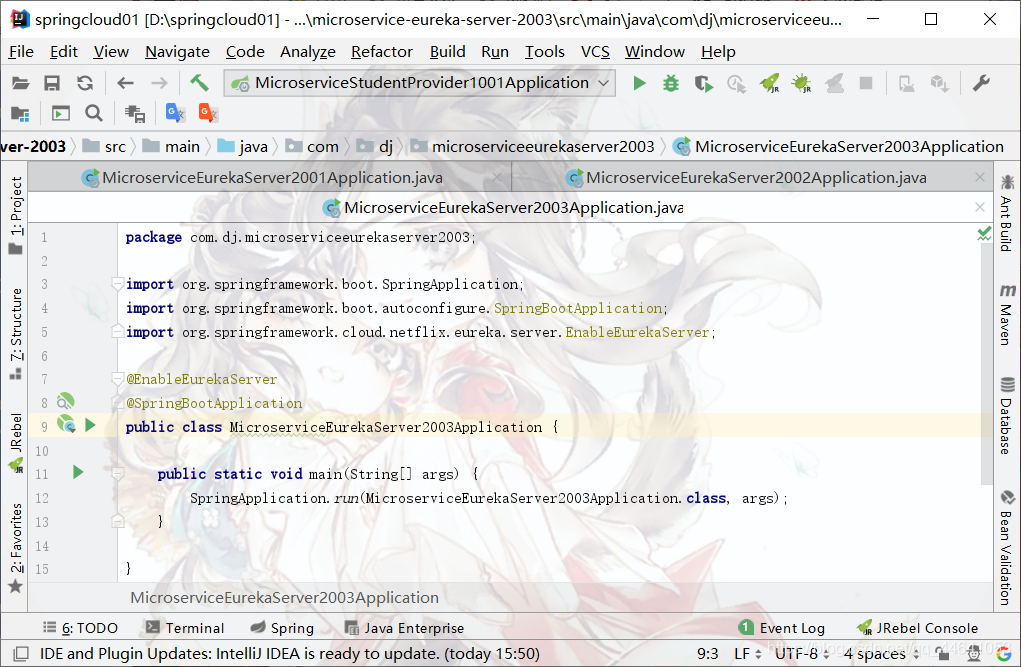
- 复制修改 2002 和 2003 的主启动类 EurekaServerApplication_2002,EurekaServerApplication_2003 ,
加入注解@EnableEurekaServer
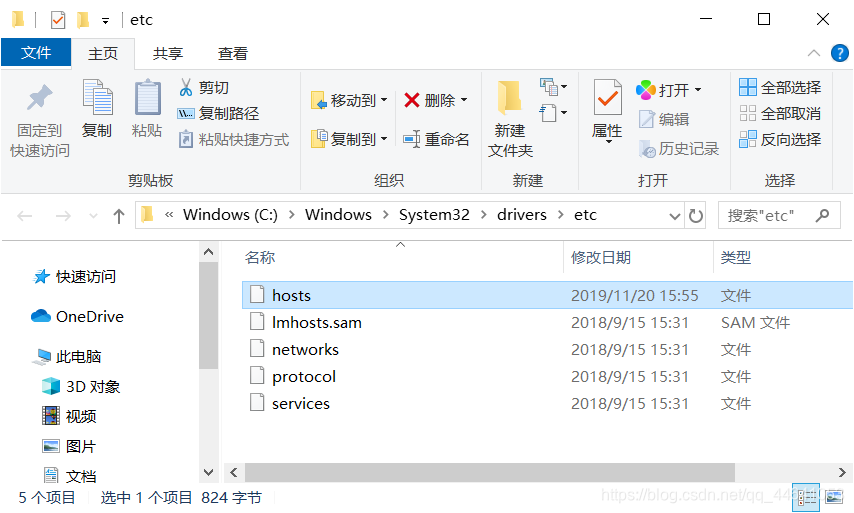
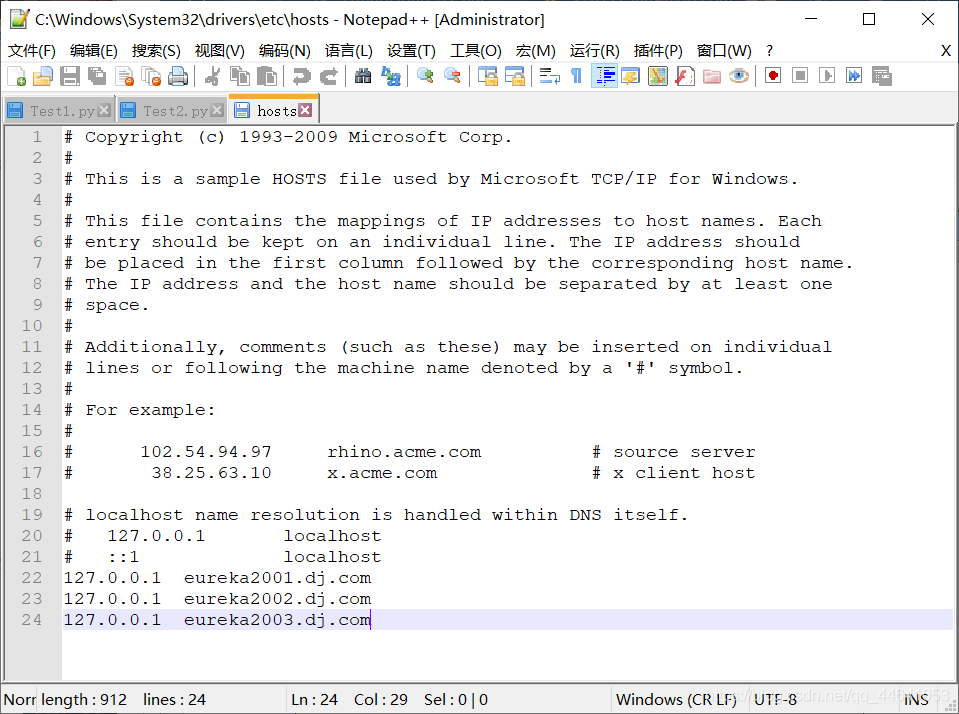
- 前面单机的时候 eureka 注册中心实例名称 是localhost,现在是集群,不能三个实例都是localhost,这里复杂的办法是搞三个虚拟机,感觉麻烦,这里有简单办法,直接配置本机hosts,来实现本机域名映射;
找到 C:\Windows\System32\drivers\etc 打开hosts,加配置
127.0.0.1 eureka2001.dj.com
127.0.0.1 eureka2002.dj.com
127.0.0.1 eureka2003.dj.com
- 修改三个项目的 application.yml 文件,主要是修改 hostname 和 defaultZone,
2001修改:
		server:
		  port: 2001
		  context-path: /

		eureka:
		  instance:
		    # 单机 hostname: localhost #eureka注册中心实例名称
		    hostname: eureka2001.dj.com # 集群
		  client:
		    register-with-eureka: false     #false 由于该应用为注册中心,所以设置为false,代表不向注册中心注册自己。
		    fetch-registry: false     #false 由于注册中心的职责就是维护服务实例,它并不需要去检索服务,所以也设置为false
		    service-url:
		      defaultZone: http://eureka2002.dj.com:2002/eureka/,http://eureka2003.dj.com:2003/eureka/ # 集群
		      #单机defaultZone: http://${eureka.instance.hostname}:${server.port}/eureka/       #设置与Eureka注册中心交互的地址,查询服务和注册服务用到
2002修改:
server:
  port: 2002
  context-path: /
eureka:
  instance:
    # 单机 hostname: localhost #eureka注册中心实例名称
    hostname: eureka2002.dj.com # 集群
  client:
    register-with-eureka: false     #false 由于该应用为注册中心,所以设置为false,代表不向注册中心注册自己。
    fetch-registry: false     #false 由于注册中心的职责就是维护服务实例,它并不需要去检索服务,所以也设置为false
    service-url:
      defaultZone: http://eureka2001.dj.com:2001/eureka/,http://eureka2003.dj.com:2003/eureka/ # 集群
      #单机defaultZone: http://${eureka.instance.hostname}:${server.port}/eureka/       #设置与Eureka注册中心交互的地址,查询服务和注册服务用到
2003修改:
server:
  port: 2003
  context-path: /
eureka:
  instance:
    # 单机 hostname: localhost #eureka注册中心实例名称
    hostname: eureka2003.dj.com # 集群
  client:
    register-with-eureka: false     #false 由于该应用为注册中心,所以设置为false,代表不向注册中心注册自己。
    fetch-registry: false     #false 由于注册中心的职责就是维护服务实例,它并不需要去检索服务,所以也设置为false
    service-url:
      defaultZone: http://eureka2001.dj.com:2001/eureka/,http://eureka2002.dj.com:2002/eureka/ # 集群
      #单机defaultZone: http://${eureka.instance.hostname}:${server.port}/eureka/       #设置与Eureka注册中心交互的地址,查询服务和注册服务用到
- 修改服务提供者项目的 application.yml,主要修改 eureka.client.service-url.defaultZone
eureka:
  instance:
    #eureka客户端主机实例名称
    hostname: localhost
    #客户端服务名
    appname: microservice-student
    #客户端实例名称
    instance-id: microservice-student:1001
    #显示IP
    prefer-ip-address: true
  client:
    service-url:
      # 单机 defaultZone: http://localhost:2001/eureka   #把服务注册到eureka注册中心
      defaultZone: http://eureka2001.dj.com:2001/eureka/,http://eureka2002.dj.com:2002/eureka/,http://eureka2003.dj.com:2003/eureka/
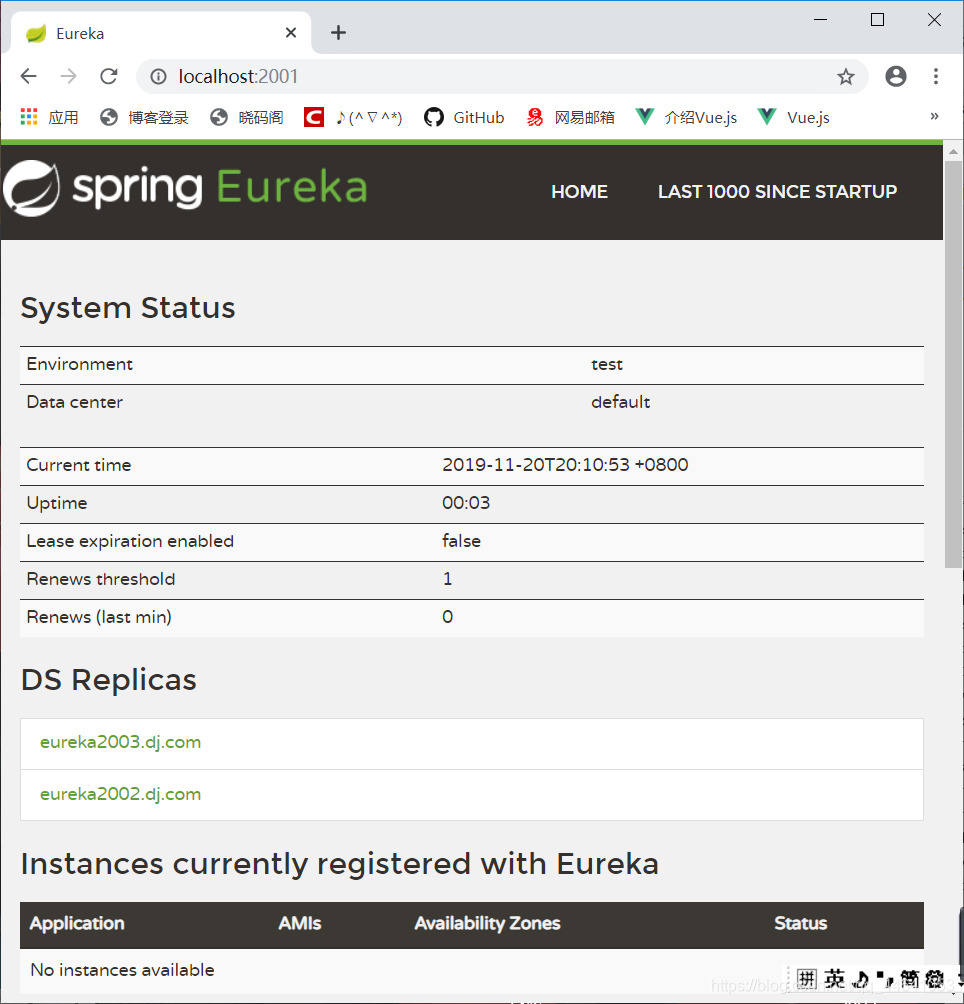
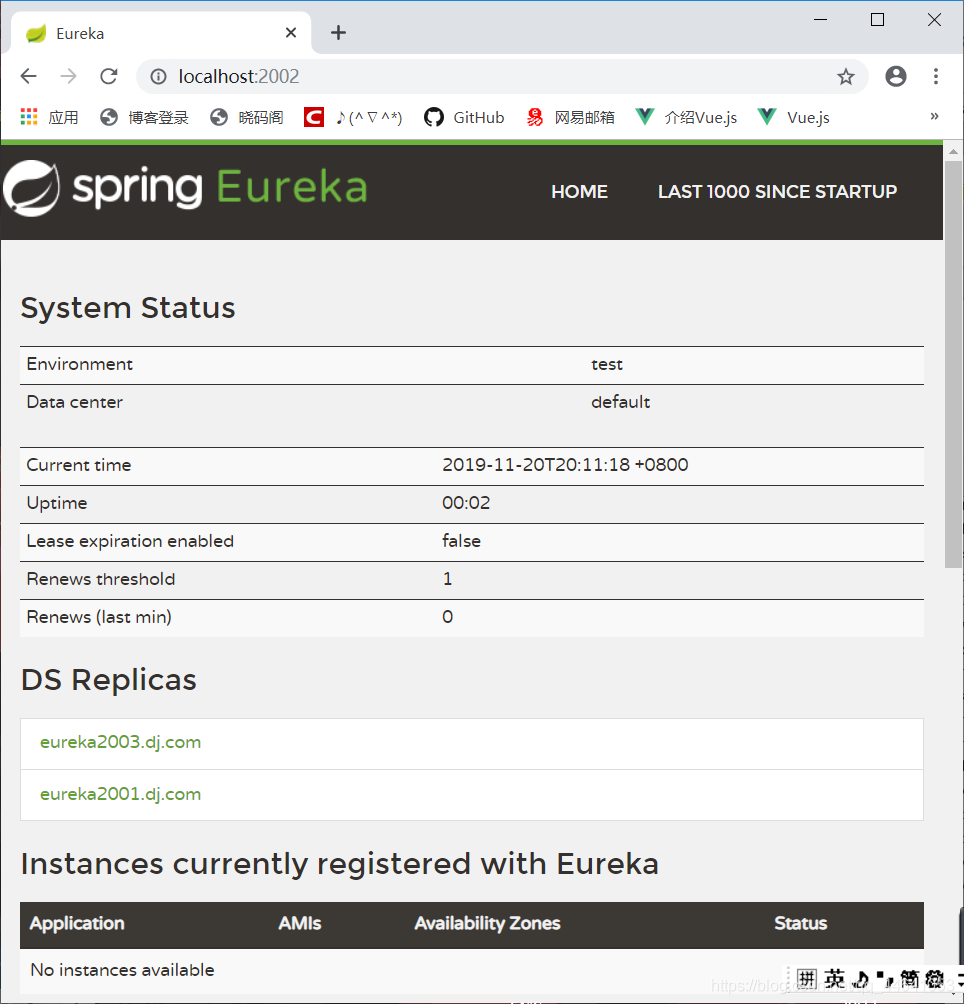
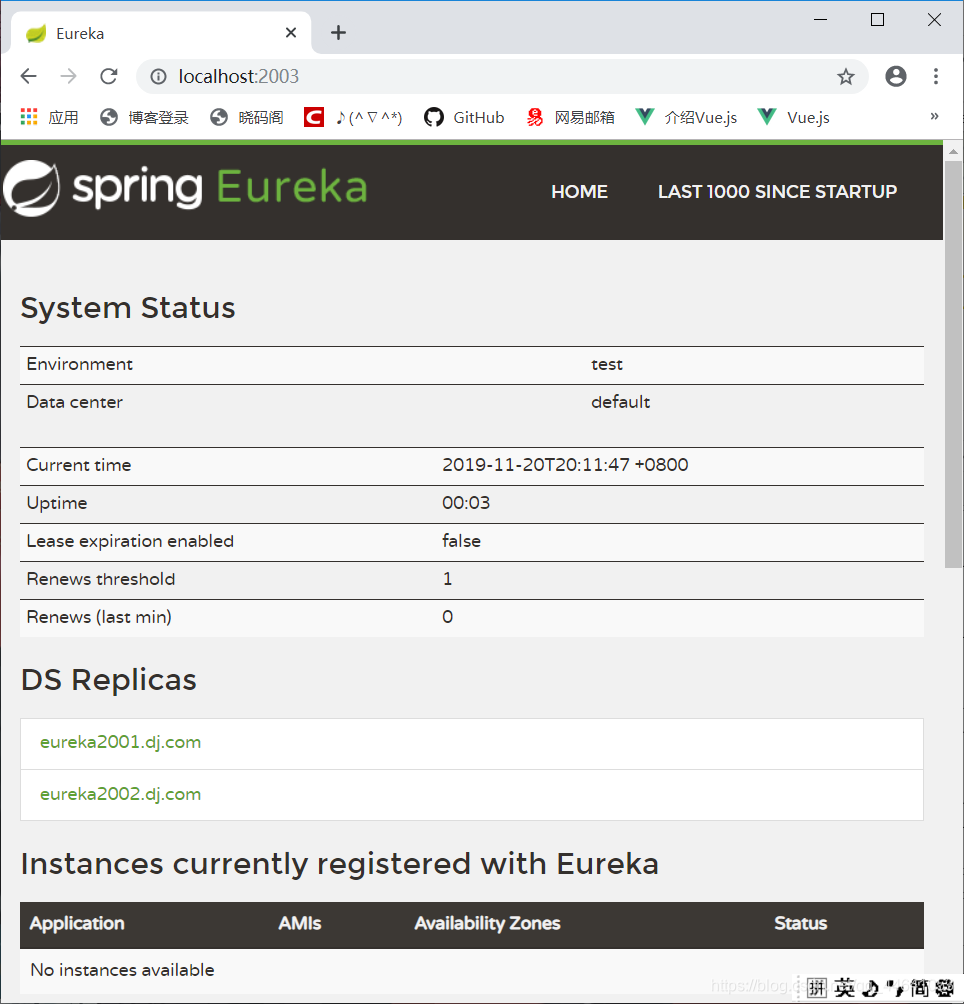
测试:
启动三个注册中心,以及服务提供者项目;
然后浏览器地址栏输入:
http://eureka2001.dj.com:2001/
http://eureka2002.dj.com:2002/
http://eureka2003.dj.com:2003/
效果展示:
代码优化
相信大家都注意到了,上面 Eureka 服务搭建,除了yml文件不一样,其他文件都一样。
那么我们有什么办法能够将多个Eureka服务集合到一个工程中去呢?我们往下看。
创建一个microservice-eureka-server(三合一)子工程
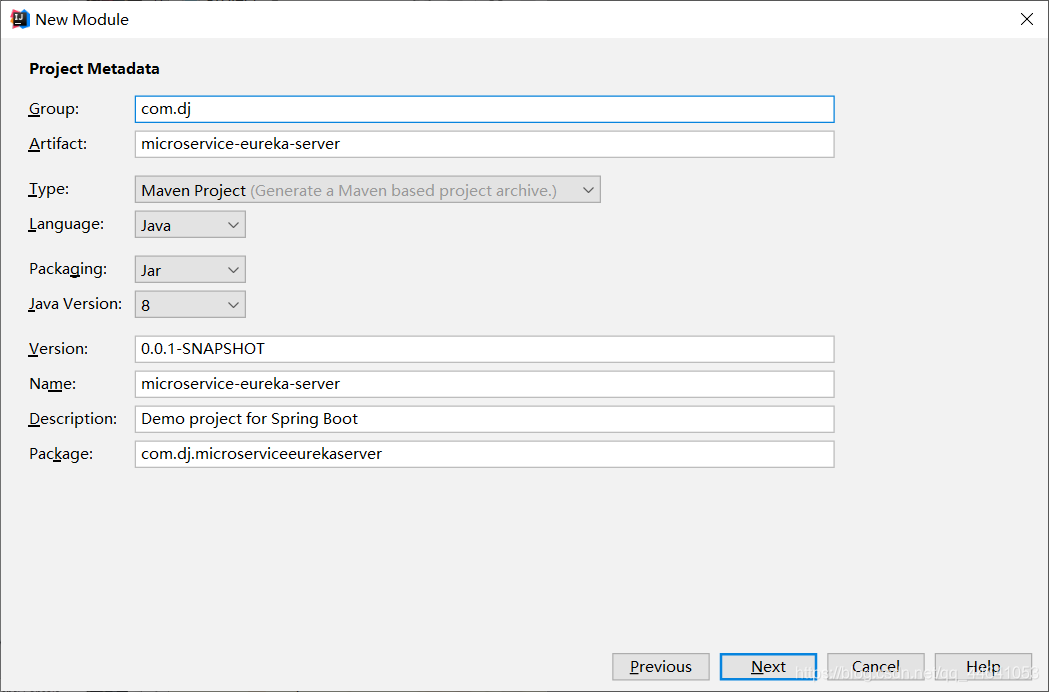
Pom依赖:
<?xml version="1.0" encoding="UTF-8"?>
<project xmlns="http://maven.apache.org/POM/4.0.0" xmlns:xsi="http://www.w3.org/2001/XMLSchema-instance"
         xsi:schemaLocation="http://maven.apache.org/POM/4.0.0 https://maven.apache.org/xsd/maven-4.0.0.xsd">
    <modelVersion>4.0.0</modelVersion>
    <parent>
        <groupId>com.dj</groupId>
        <artifactId>springcloud01</artifactId>
        <version>1.0-SNAPSHOT</version>
    </parent>
    <artifactId>microservice-eureka-server</artifactId>

    <properties>
        <java.version>1.8</java.version>
    </properties>
    <dependencies>
        <dependency>
            <groupId>org.springframework.cloud</groupId>
            <artifactId>spring-cloud-starter-eureka-server</artifactId>
        </dependency>
        <dependency>
            <groupId>org.springframework.boot</groupId>
            <artifactId>spring-boot-starter-test</artifactId>
            <scope>test</scope>
        </dependency>
        <!--  修改后立即生效,热部署  -->
        <dependency>
            <groupId>org.springframework</groupId>
            <artifactId>springloaded</artifactId>
        </dependency>
        <dependency>
            <groupId>org.springframework.boot</groupId>
            <artifactId>spring-boot-devtools</artifactId>
        </dependency>
        <!--添加注册中心Eureka相关配置-->
        <dependency>
            <groupId>org.springframework.cloud</groupId>
            <artifactId>spring-cloud-starter-eureka</artifactId>
        </dependency>
        <dependency>
            <groupId>org.springframework.cloud</groupId>
            <artifactId>spring-cloud-starter-config</artifactId>
        </dependency>
    </dependencies>
    <build>
        <plugins>
            <plugin>
                <groupId>org.springframework.boot</groupId>
                <artifactId>spring-boot-maven-plugin</artifactId>
            </plugin>
        </plugins>
    </build>

</project>
yml文件
---
server:
  port: 2001
  context-path: /
eureka:
  instance:
    hostname: eureka2001.dj.com
  client:
    register-with-eureka: false
    fetch-registry: false
    service-url:
      defaultZone: http://eureka2002.dj.com:2002/eureka/,http://eureka2003.dj.com:2003/eureka/
spring:
  profiles: eureka2001
---
server:
  port: 2002
  context-path: /
eureka:
  instance:
    hostname: eureka2002.dj.com
  client:
    register-with-eureka: false
    fetch-registry: false
    service-url:
      defaultZone: http://eureka2001.dj.com:2001/eureka/,http://eureka2003.dj.com:2003/eureka/
spring:
  profiles: eureka2002
---
server:
  port: 2003
  context-path: /
eureka:
  instance:
    hostname: eureka2003.dj.com
  client:
    register-with-eureka: false
    fetch-registry: false
    service-url:
      defaultZone: http://eureka2001.dj.com:2001/eureka/,http://eureka2002.dj.com:2002/eureka/
spring:
  profiles: eureka2003
这样其实就是一个启动类,跑三个不同的yml工程。
启动类MicroserviceEurekaServerApplication.java
package com.dj.microserviceeurekaserver;

import org.springframework.boot.SpringApplication;
import org.springframework.boot.autoconfigure.SpringBootApplication;
import org.springframework.cloud.netflix.eureka.server.EnableEurekaServer;

@EnableEurekaServer
@SpringBootApplication
public class MicroserviceEurekaServerApplication {

    public static void main(String[] args) {
        SpringApplication.run(MicroserviceEurekaServerApplication.class, args);
    }

}
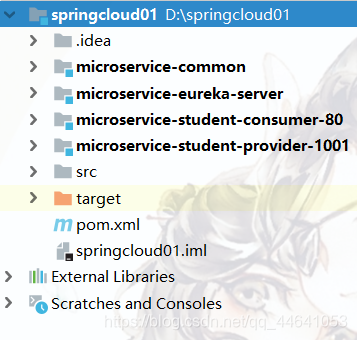
现在,我们可以删掉那三个模块了。
删除后的目录结构:
跑起来的效果跟普通操作的效果是一致的;
Eureka自我保护机制
开发环境,我们经常会遇到这个红色的警告;
当我们长时间为访问服务以及变更服务实例名称的时候,就会出现这个红色警告;
启动了服务提供者,然后,再停掉服务提供者出现的信息!!!
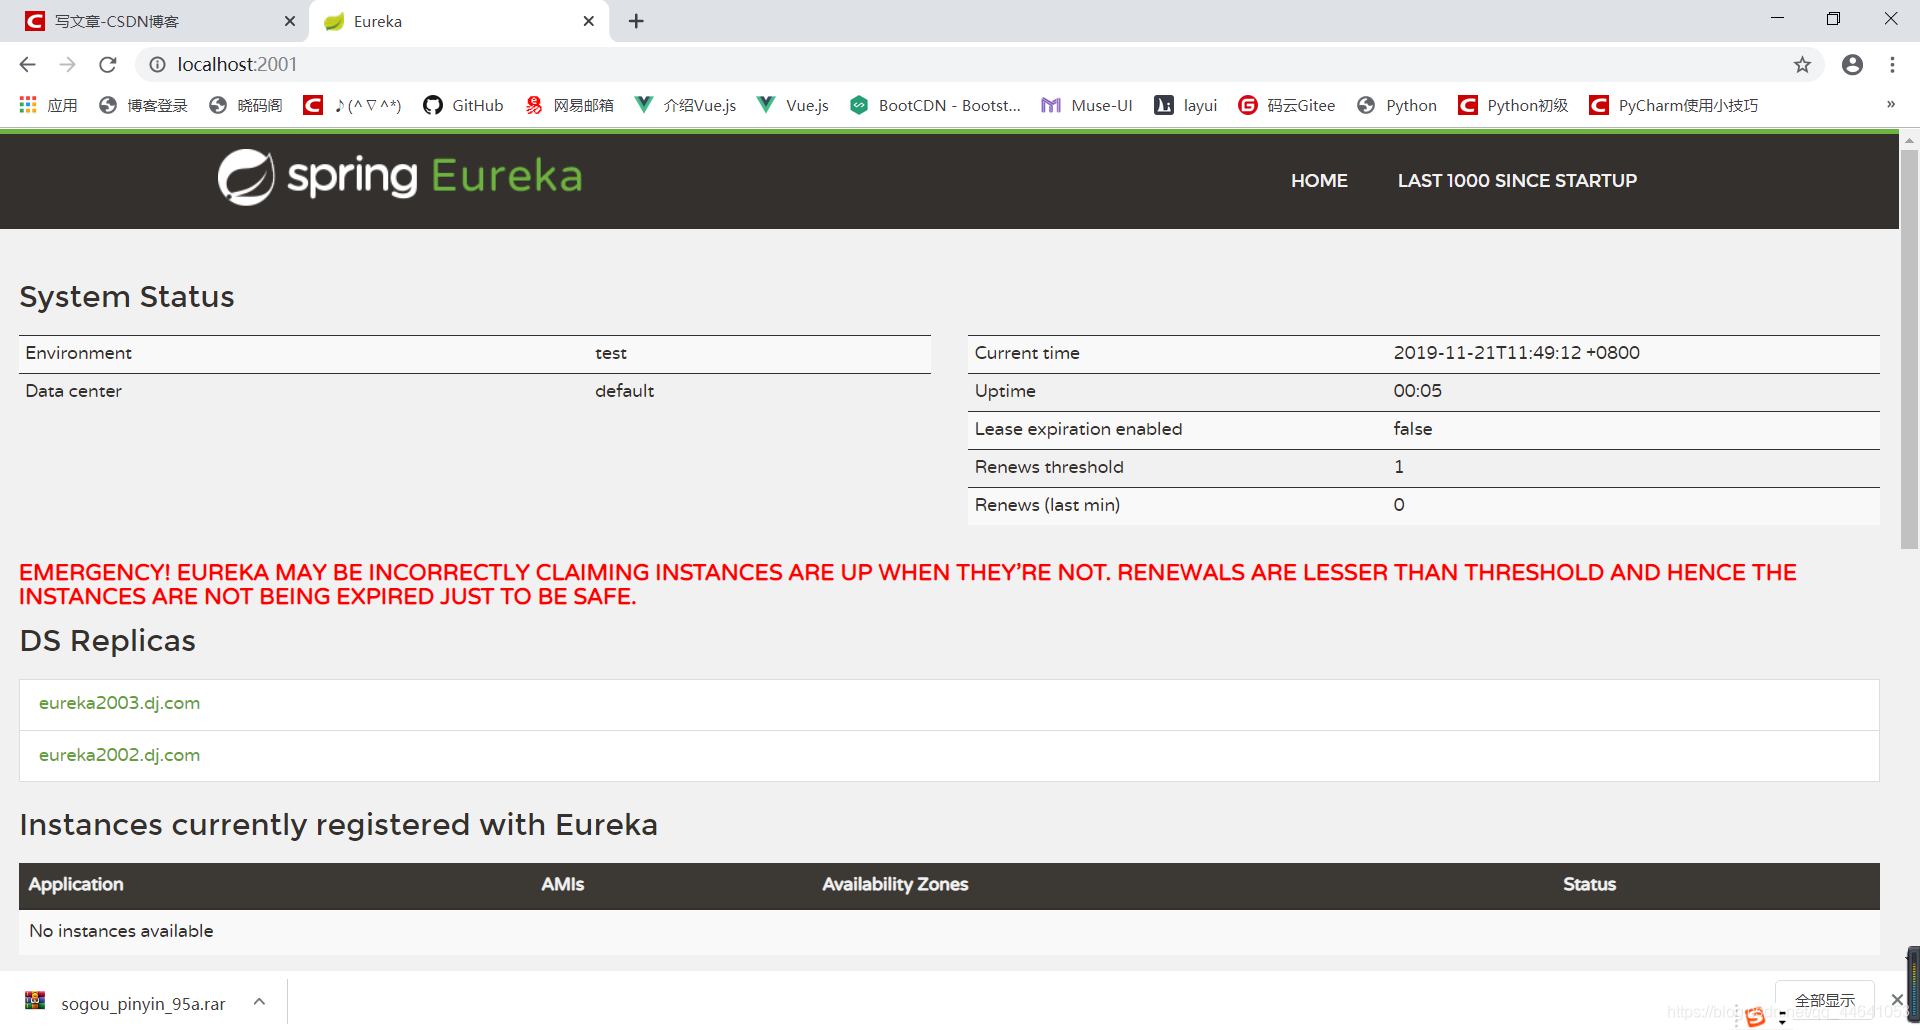
默认情况,如果服务注册中心再一段时间内没有接收到某个微服务实例的心跳,服务注册中心会注销该实例(默认90秒)。
由于正式环境,经常会有网络故障,网络延迟问题发生,服务和注册中心无法正常通信,此时服务是正常的,不应该注销该服务,Eureka这时候,就通过“自我保护模式”来解决问题,当短时间和服务失去通信时,保留服务信息,当恢复网络和通信时候,退出“自我保护模式”;
通过“自我保护模式”,使Eureka集群更加的健壮和稳定;
本章小结:
SpringCloud 的集群搭建:
1、那么,先总结一下集群有个什么用?
比如说:一共有a,b,c三个服务注册中心,
三个分别对应这a模块,b模块,c模块
如果不是集群的话,此时aEureka挂了,那么如果不是集群的话对应的a模块就访问不了,即使a模块没有问题哈 。
如果是集群的话,此时aEureka挂了后,bEureka和cEureka都可以继承好他的任务(分服务给a模块)。
(这样听起来是不是感觉比较好理解呢 o( ̄▽ ̄)ブ )
所以说一个多层次的集群可以很好的阻止服务功能失效。
2、一个在一台主机上可以模拟多个 IP 的方法
那么有一个适合我们进行模拟的方法:欺骗ip
格式:
127.0.0.1 eureka2001.dj.com
127.0.0.1 eureka2002.dj.com
127.0.0.1 eureka2003.dj.com
3、Eureka的安全策略
这个嘛,总的说,就是如果那个在服务注册中心注册过的服务提供者突然失去了联系的话,服务注册中心不会立即注销掉该服务提供者的信息,而是会等个90秒再注销。
这样就使得Eureka集群更加的健壮和稳定
总结:本章博客主要是了解好集群的概念和集群是来干嘛的就行,脑子里得有个概念,重点在下篇博客哦!


 4948
4948


 被折叠的 条评论
为什么被折叠?
被折叠的 条评论
为什么被折叠?
 到【灌水乐园】发言


