


实战:SpringBoot整合RabbitMQ
上文介绍了RabbitMQ的六种工作模式,下面简单使用SpringBoot整合一下RabbitMQ,看看SpringBoot对RabbitMQ的封装是怎样的?
RabbitTemplate
RabbitTemplate:消息模板。
如同JdbcTemplate或者RedisTemplate一样,这是spring整合rabbit提供的消息模板。是进行发送消息的关键类。
功能:
该类提供了丰富的发送方法,包括可靠性投递消息方法、回调监听消息接口ConfirmCallback、返回值确认接口ReturnCallBack等等。同样我们需要注入到spring容器中,然后就可以想其他bean那样正常使用了。
生产者项目搭建
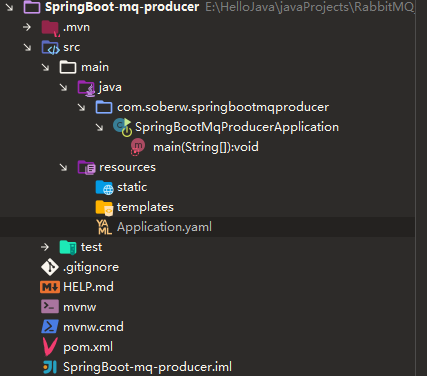
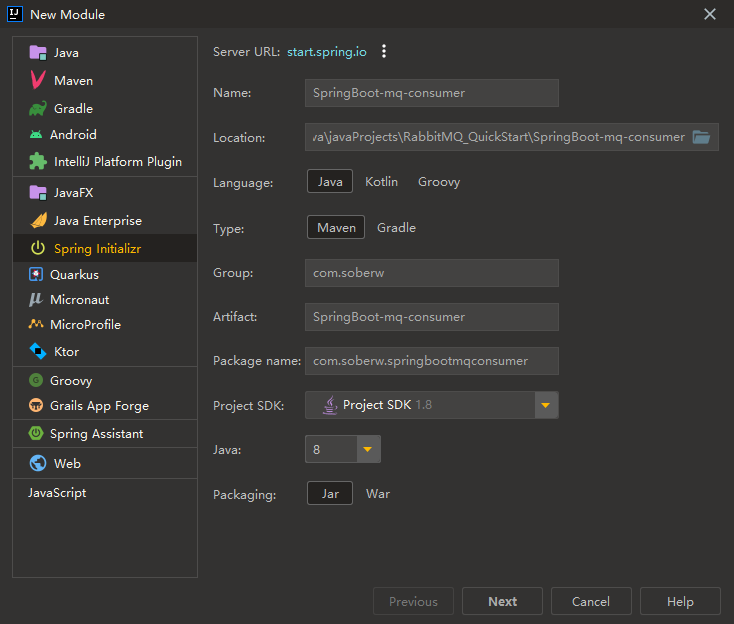
创建工程
创建一个工程SpringBoot-mq-producer,对应生产者:

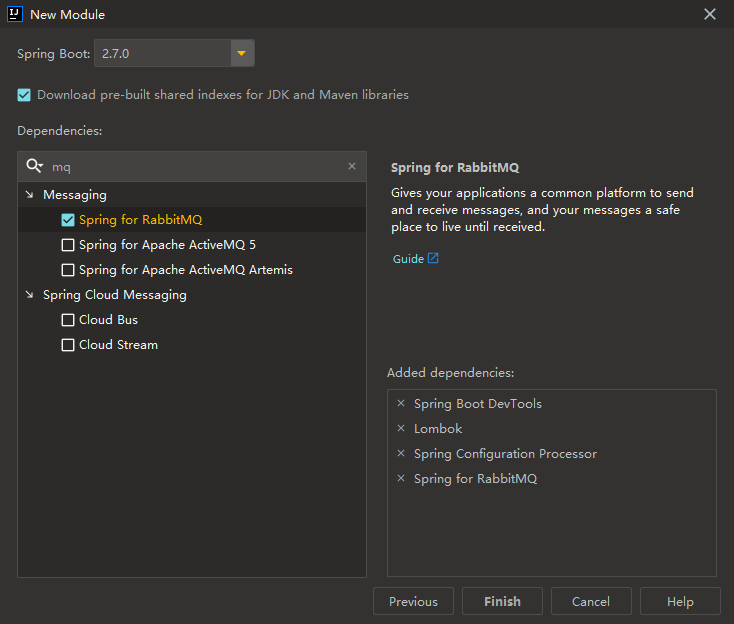
添加相关依赖:
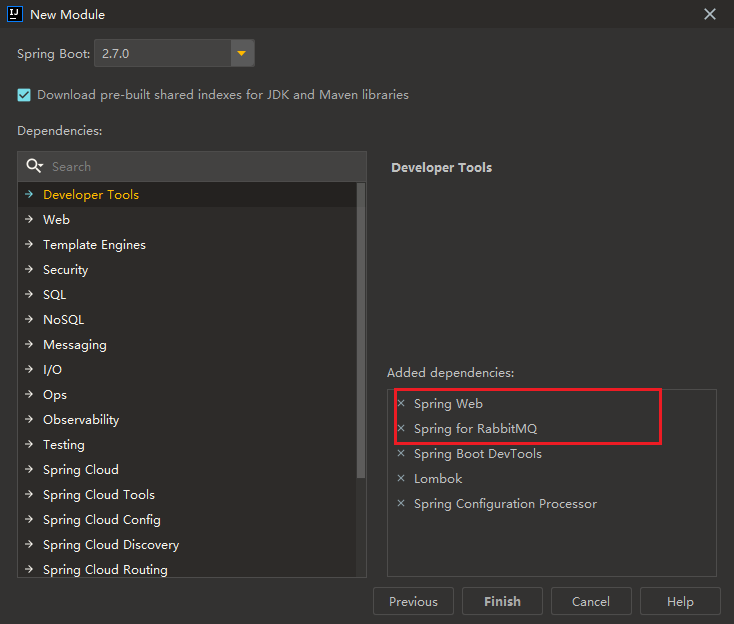
为了方便测试,我们也可以引入Thymeleaf的启动器:
<dependency>
    <groupId>org.springframework.boot</groupId>
    <artifactId>spring-boot-starter-thymeleaf</artifactId>
</dependency>
环境配置
通过查看SpringBoot中RabbitMQ对应的自动配置类 RabbitAutoConfiguration 可以看到,SpringBoot已经给RabbitMQ进行了默认的配置
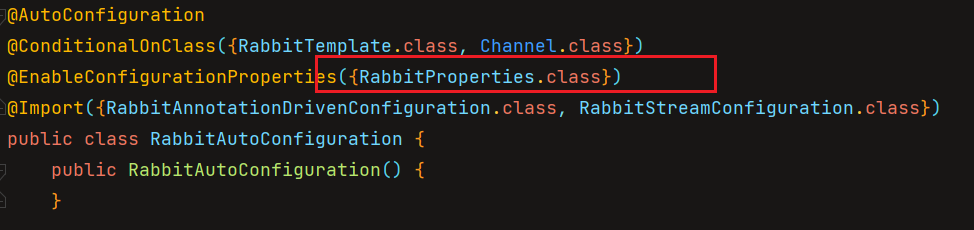
配置的属性都对应在 RabbitProperties 中:
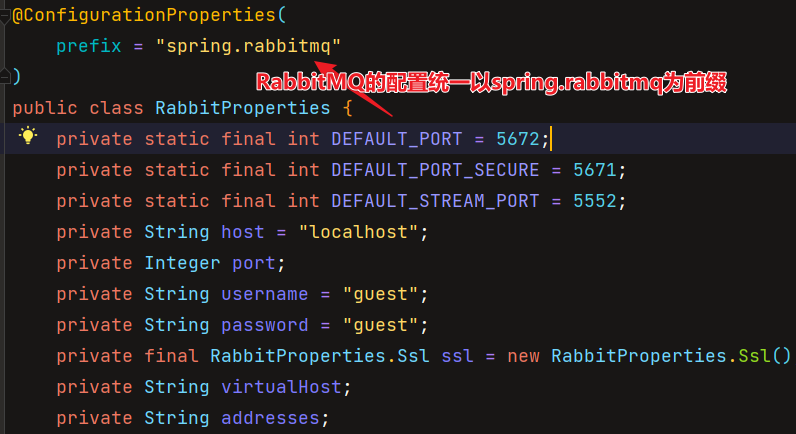
因此,我们可以在yaml中,对我们自己的环境进行配置,在两个工程中分别配置:
server:
  # web服务器端口号
  port: 8080
spring:
  #RabbitMQ配置
  rabbitmq:
    # 设置mq服务器连接地址
    host: 192.168.6.200
    # 设置用户名
    username: soberw
    # 设置密码
    password: 123456
    # 设置连接端口
    port: 5673
    # 设置虚拟主机名称
    virtual-host: /
接下来就 work queues工作队列模式 以及 topic主题模式 展开举例。
topic模式的搭建还是比较简单的,这里就先从topic开始:
Topic主题模式
配置类创建
此时还未创建交换机、队列等信息,因此我们还需要声明一个配置类RabbitMQConfig,
以对相关信息进行配置:
package com.soberw.springbootmqproducer.config;

import org.springframework.amqp.core.*;
import org.springframework.beans.factory.annotation.Qualifier;
import org.springframework.context.annotation.Bean;
import org.springframework.context.annotation.Configuration;

/**
 * @author soberw
 * @Classname RabbitMQConfig
 * @Description RabbitMQ 配置类
 * @Date 2022-06-01 17:57
 */
@Configuration
public class RabbitMQConfig {

    /**
     * 交换机名称
     */
    public static final String TOPIC_EXCHANGE_NAME = "topic_exchange";
    /**
     * 队列名称
     */
    public static final String TOPIC_QUEUE_NAME1 = "topic_queue1";
    public static final String TOPIC_QUEUE_NAME2 = "topic_queue2";

    /**
     * 声明交换机
     *
     * @return
     */
    @Bean("topicExchange")
    public Exchange topicExchange() {
        //第二个参数为是否支持持久化
        //对于不同的订阅模式,只需要调用不同的方法即可
        return ExchangeBuilder.topicExchange(TOPIC_EXCHANGE_NAME).durable(true).build();
    }

    /**
     * 声明队列1
     *
     * @return
     */
    @Bean("topicQueue1")
    public Queue topicQueue1() {
        return QueueBuilder.durable(TOPIC_QUEUE_NAME1).build();
    }

    /**
     * 声明队列2
     *
     * @return
     */
    @Bean("topicQueue2")
    public Queue topicQueue2() {
        return QueueBuilder.durable(TOPIC_QUEUE_NAME2).build();
    }

    /**
     * 绑定队列以及交换机
     * @param queue  队列
     * @param exchange  交换机
     * @return
     */
    @Bean
    public Binding topicQueueExchange1(@Qualifier("topicQueue1") Queue queue,
                                     @Qualifier("topicExchange") Exchange exchange) {
        //将哪个队列绑定到哪个交换机上,且对应的routingKey是什么
        return BindingBuilder.bind(queue).to(exchange).with("info.#").noargs();
    }
    @Bean
    public Binding topicQueueExchange2(@Qualifier("topicQueue2") Queue queue,
                                       @Qualifier("topicExchange") Exchange exchange) {
        //将哪个队列绑定到哪个交换机上,且对应的routingKey是什么
        return BindingBuilder.bind(queue).to(exchange).with("error.#").noargs();
    }

}
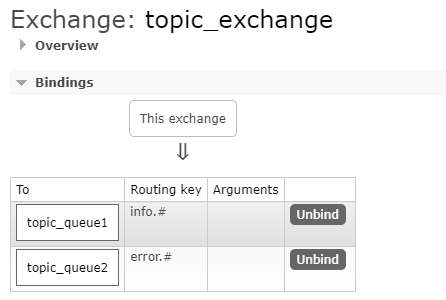
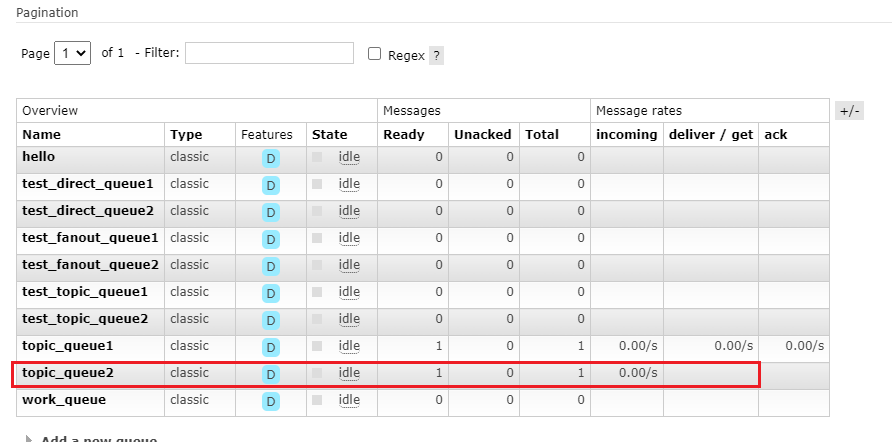
这里声明了两个匹配规则,对应着两个队列去接收:
- info.#
- error.#
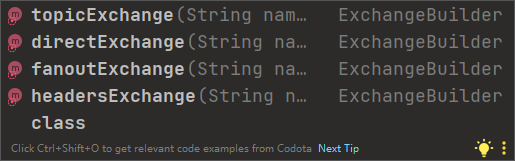
这里我们调用的是对应topic的交换机创建方法,如果需要创建其他两种,只需要调用不同的方法即可:
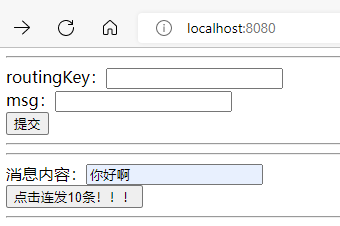
模拟发送消息
简单的创建一个页面,模拟用户发送的消息,并创建一个Conroller控制类接收,存放在队列中:
<!DOCTYPE html>
<html lang="en" xmlns:th="http://www.thymeleaf.org">
<head>
    <meta charset="UTF-8">
    <title>生产者</title>
</head>
<body>
<div>
    <hr>
    <form th:action="@{/index/testTopic}" method="post">
        routingKey:<input type="text" name="routingKey"><br>
        msg:<input type="text" name="msg"><br>
        <input type="submit" value="提交">
    </form>
    <hr>
</div>
</body>
</html>
对应的Controller实现:
package com.soberw.springbootmqproducer.config.controller;
import com.soberw.springbootmqproducer.config.RabbitMQConfig;
import org.springframework.amqp.rabbit.core.RabbitTemplate;
import org.springframework.beans.factory.annotation.Autowired;
import org.springframework.web.bind.annotation.PostMapping;
import org.springframework.web.bind.annotation.RequestMapping;
import org.springframework.web.bind.annotation.RequestParam;
import org.springframework.web.bind.annotation.RestController;
/**
* @author soberw
* @Classname IndexController
* @Description
* @Date 2022-06-01 20:40
*/
@RestController
@RequestMapping("/index")
public class IndexController {
@Autowired(required = false)
RabbitTemplate rabbitTemplate;
@PostMapping("/testTopic")
public String testSimple(@RequestParam("routingKey") String routingKey, @RequestParam("msg") String msg) {
/*
* 发送消息
* 参数一:交换机名称
* 参数二:路由routingKey,符合路由匹配规则即可
* 参数三:发送的消息
*/
rabbitTemplate.convertAndSend(RabbitMQConfig.TOPIC_EXCHANGE_NAME, routingKey, msg);
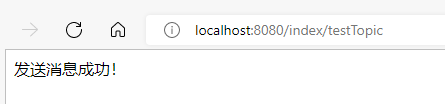
//返回消息
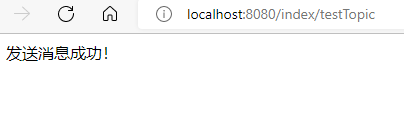
return "发送消息成功!";
}
}
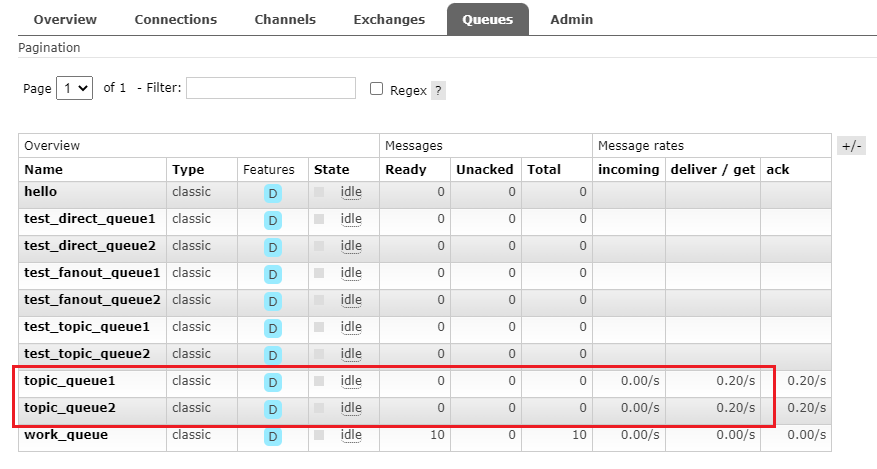
产生了两个匹配不同规则的队列:
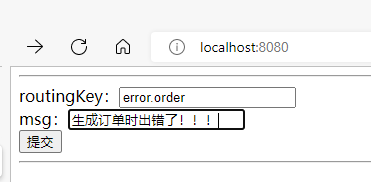
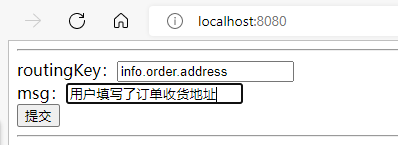
现在前台发送消息:

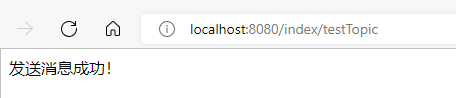
成功接收到:
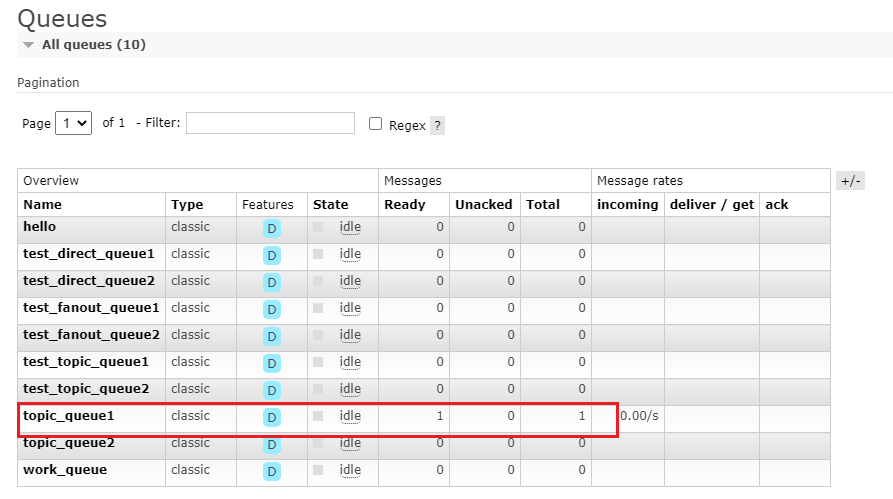
队列中存在了此消息
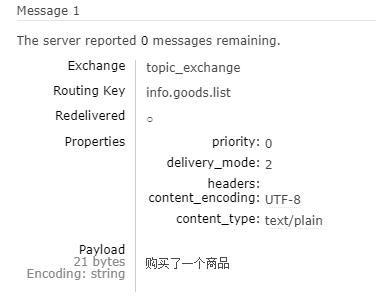
再发送匹配error.#的:
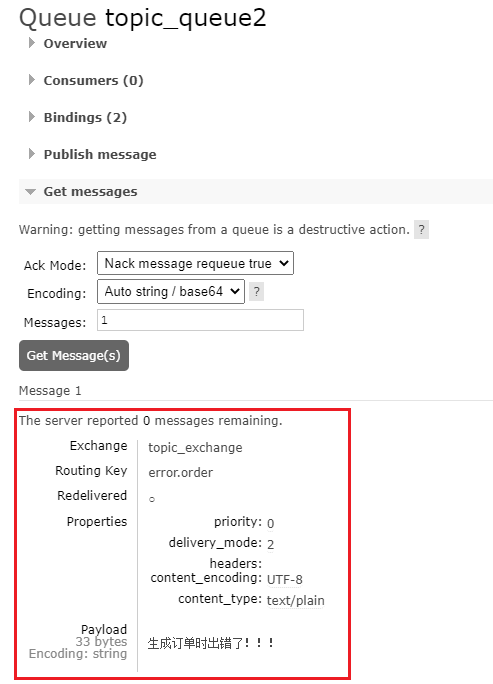
Work Queues 工作队列模式
前面我们知道,此种模式有两种竞争处理:
- 公平竞争
- 不公平竞争
公平竞争比较好实现,这里不再演示,这里主要举例如何实现不公平分发,即在SpringBoot中如何实现手动确认以及预先抓取。
添加配置项
同样需要在配置类中创建队列,而因为是工作模式,不需要创建交换机,继续沿用上面的配置类,添加新的配置项:
public static final String WORK_QUEUE_NAME = "work_queue";
/**
 * 声明work队列
 *
 * @return
 */
@Bean("workQueue")
public Queue workQueue() {
    return QueueBuilder.durable(WORK_QUEUE_NAME).build();
}
模拟发送消息
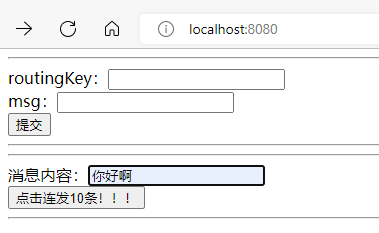
添加发送work消息的表单:
<hr>
<form th:action="@{/index/testWork}" method="post">
    消息内容:<input type="text" name="msg"><br>
    <input type="submit" value="点击连发10条!!!">
</form>
<hr>
对应的控制层方法:
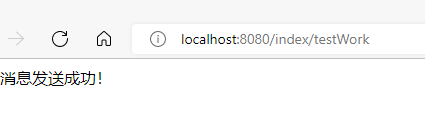
@PostMapping("/testWork")
public String testWork(@RequestParam("msg") String msg) {
if (msg == null || "".equals(msg)) {
return "请输入正确的信息!";
}
for (int i = 0; i < 10; i++) {
rabbitTemplate.convertAndSend(RabbitMQConfig.WORK_QUEUE_NAME, msg);
}
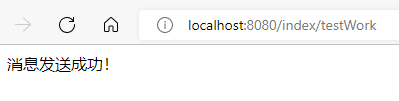
return "消息发送成功!";
}
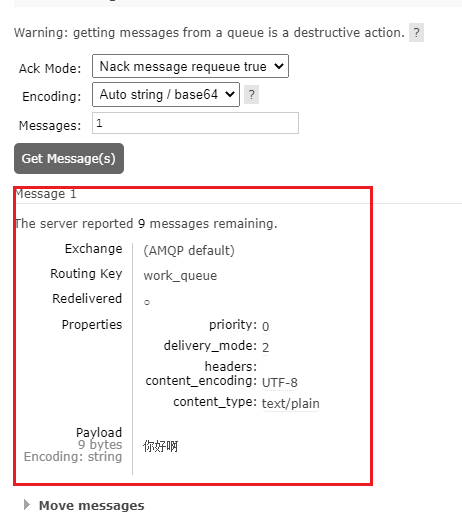
测试一下:
去往控制面板查看:

消费者项目搭建
创建工程
与生产者同样的创建步骤:
环境配置
因为在work模式中需要手动确认消息,因此需要在配置文件中进行配置:
spring:
  #RabbitMQ配置
  rabbitmq:
    # 设置mq服务器连接地址
    host: 192.168.6.200
    # 设置用户名
    username: soberw
    # 设置密码
    password: 123456
    # 设置连接端口
    port: 5672
    # 设置虚拟主机名称
    virtual-host: /
    listener:
      simple:
        # 设置消息的确认方式,设置为手动确认
        acknowledge-mode: MANUAL
        prefetch: 1
Topic主题模式
队列监听器
消息如何从队列中拿到呢?
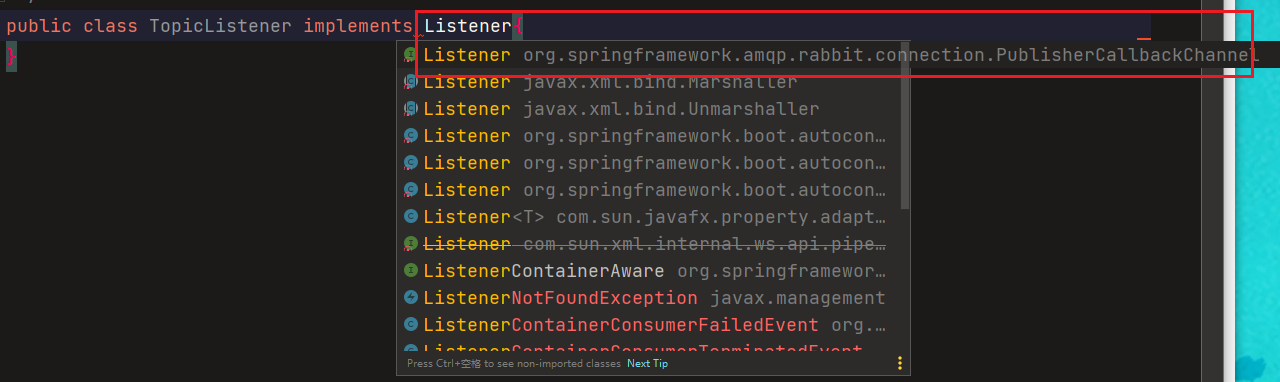
只需要创建一个队列监听器,绑定上将要监听的队列即可,监听器会自动从队列中获取消息,当然也可以选择实现RabbitMQ提供的监听器接口方式去实现,这里不再演示(注意不要导错包):
如果使用的是注解的方式,则只需要在方法上添加@RabbitListener注解,并指定将要绑定的队列名称即可绑定,在方法入参中,写入想要获取的值,如同SpringMVC的处理方式一样,会自动返回给你,例如信道Channel、消息Message、或者只获取发送的消息体msg。
package com.soberw.springbootmqconsumer.listener;

import com.rabbitmq.client.Channel;
import lombok.SneakyThrows;
import org.springframework.amqp.core.Message;
import org.springframework.amqp.rabbit.annotation.RabbitListener;
import org.springframework.stereotype.Component;

/**
 * @author soberw
 * @Classname TopicListener
 * @Description
 * @Date 2022-06-02 13:56
 */
@Component
public class TopicListener {


    /**
     * 匹配info.#的队列
     *
     * @param message
     */
    @SneakyThrows
    @RabbitListener(queues = "topic_queue1")
    public void queue1(Message message, Channel channel) {
        byte[] body = message.getBody();
        System.out.println("msg = " + new String(body));
        //手动确认
        channel.basicAck(message.getMessageProperties().getDeliveryTag(),false);
    }

    /**
     * 匹配error.#的队列
     *
     * @param message
     */
    @RabbitListener(queues = "topic_queue2")
    @SneakyThrows
    public void queue2(Message message,Channel channel) {
        byte[] body = message.getBody();
        System.out.println("msg = " + new String(body));
        channel.basicAck(message.getMessageProperties().getDeliveryTag(),false);
    }

}
模拟接收消息
将两个项目同时启动,观察消费者控制台,打印信息:
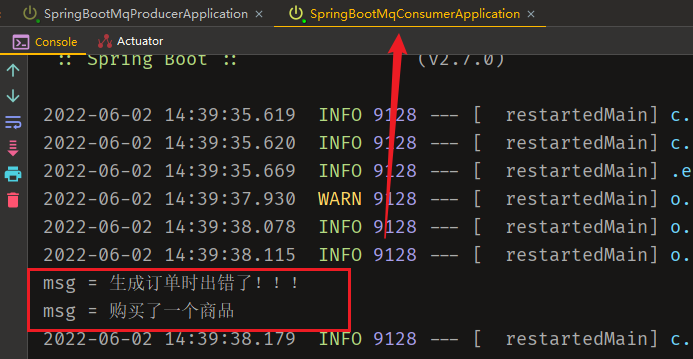
可以看到,刚才发送的消息已经被取出来了。
队列中的也已经被取出来了。
下面生产者发送一条:
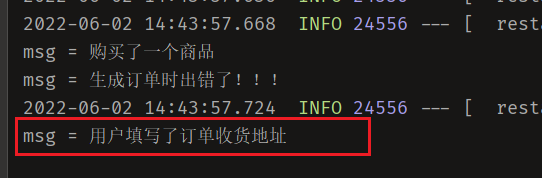
对应的队列也成功监听到消息。
Work Queues 工作队列模式
队列监听器
package com.soberw.springbootmqconsumer.listener;

import com.rabbitmq.client.Channel;
import lombok.SneakyThrows;
import org.springframework.amqp.core.Message;
import org.springframework.amqp.rabbit.annotation.RabbitListener;
import org.springframework.stereotype.Component;

import java.util.concurrent.TimeUnit;

/**
 * @author soberw
 * @Classname WorkListener
 * @Description
 * @Date 2022-06-02 13:57
 */
@Component
public class WorkListener {

    /**
     * 抢占work队列的消息
     *
     * @param channel
     */
    @SneakyThrows
    @RabbitListener(queues = "work_queue")
    public void workQueue1(Channel channel, Message message) {
        TimeUnit.SECONDS.sleep(1);
        channel.basicQos(1);
        System.out.println("body1: " + new String(message.getBody()));
        channel.basicAck(message.getMessageProperties().getDeliveryTag(), false);
    }

    @SneakyThrows
    @RabbitListener(queues = "work_queue")
    public void workQueue2(Channel channel, Message message) {
        TimeUnit.SECONDS.sleep(2);
        channel.basicQos(1);
        System.out.println("body2: " + new String(message.getBody()));
        channel.basicAck(message.getMessageProperties().getDeliveryTag(), false);
    }

}
模拟接收消息
生产者发送消息:
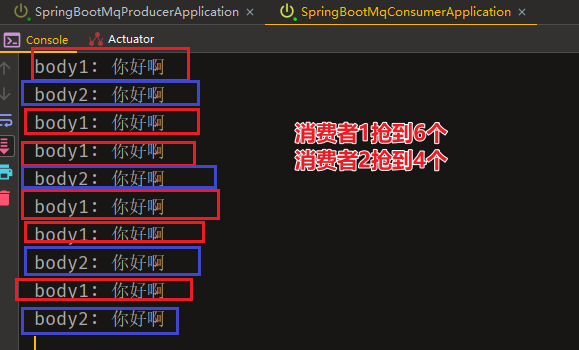
因此实现了不公平分发。
解决序列化问题
涉及网络传输的应用序列化不可避免,发送端以某种规则将消息转成 byte 数组进行发送,接收端则以约定的规则进行 byte[] 数组的解析。
上面我们发送的消息,都是比较普通的数据类型,比如字符串、数字等…
但是实际开发中,我们往往会发送一些对象,此时就需要进行序列化处理了。
默认序列化方式
RabbitMQ 抽象出一个 MessageConvert 接口处理消息的序列化,其默认的实现是 SimpleMessageConverter ,但是却并不好用。
SimpleMessageConverter 对于要发送的消息体 body 为 byte[] 时不进行处理,如果是 String 则转成字节数组,如果是 Java 对象,则使用 jdk 序列化将消息转成字节数组,转出来的结果较大,含class类名,类相应方法等信息,因此性能较差,且会存在乱码问题。
下面尝试使用原始的序列化方式发送一个对象,看看是什么样子的:
声明一个队列 simple_queue:
public static final String SIMPLE_QUEUE_NAME = "simple_queue";

@Bean("simpleQueue")
public Queue simpleQueue(){
    return QueueBuilder.durable(SIMPLE_QUEUE_NAME).build();
}
创建一个JavaBean对象 User :
注意:发送的对象必须实现序列化接口!!!
package com.soberw.springbootmqproducer.bean;

import lombok.AllArgsConstructor;
import lombok.Builder;
import lombok.Data;
import lombok.NoArgsConstructor;

import java.io.Serializable;

/**
 * @author soberw
 * @Classname User
 * @Description
 * @Date 2022-06-03 21:15
 */
@Data
@NoArgsConstructor
@AllArgsConstructor
@Builder
public class User implements Serializable {
    private String name;
    private int age;
    private int sex;
    private String address;
}
创建一个User对象,由生产者发送出去:
package com.soberw.springbootmqproducer;

import com.soberw.springbootmqproducer.bean.User;
import com.soberw.springbootmqproducer.config.RabbitMQConfig;
import org.junit.jupiter.api.Test;
import org.springframework.amqp.rabbit.core.RabbitTemplate;
import org.springframework.beans.factory.annotation.Autowired;
import org.springframework.boot.test.context.SpringBootTest;

@SpringBootTest
class SpringBootMqProducerApplicationTests {

    @Autowired(required = false)
    RabbitTemplate rabbitTemplate;

    @Test
    public void simple() {
        System.out.println("生产者开始发送消息...");
        User user = User.builder().name("张三")
            .age(18).sex(1).address("China").build();
        rabbitTemplate.convertAndSend(RabbitMQConfig.SIMPLE_QUEUE_NAME, user);
        System.out.println("生产者发送完毕...");
    }
}


发送成功了,但是我们点开看看:
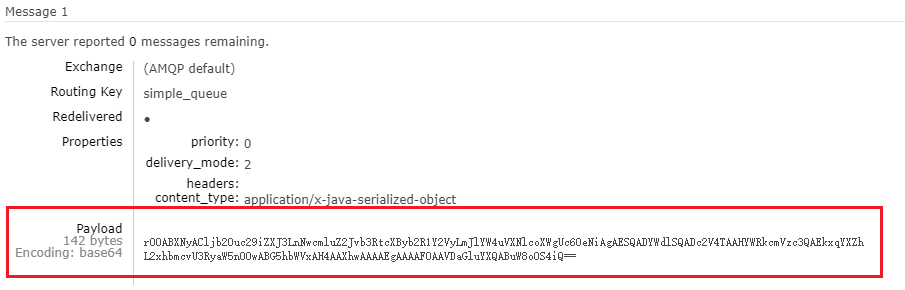
一堆乱码,这显然很不友好,不利于查看。
下面由消费者取出消息:
@Test
public void simpleConsumer(){
    Object o = rabbitTemplate.receiveAndConvert(RabbitMQConfig.SIMPLE_QUEUE_NAME);
    System.out.println(o);
}

发现取出来是没有任何问题的。
但是这种默认的序列化方式,总归是不太友好。
自定义序列化方式
自定义序列化的方式有很多,我们一般会将对象序列化成JSON对象,方便查看且结构清晰。
这里使用自带的Jackson2JsonMessageConverter序列化方式,当然,使用阿里提供的JSON系列化工具也可以。方法都是一样的。
实现自定义序列化以及反序列化,需要我们在配置类中进行配置:
package com.soberw.springbootmqproducer.config;

import org.springframework.amqp.rabbit.annotation.RabbitListenerConfigurer;
import org.springframework.amqp.rabbit.listener.RabbitListenerEndpointRegistrar;
import org.springframework.amqp.support.converter.Jackson2JsonMessageConverter;
import org.springframework.amqp.support.converter.MessageConverter;
import org.springframework.context.annotation.Bean;
import org.springframework.context.annotation.Configuration;
import org.springframework.messaging.converter.MappingJackson2MessageConverter;
import org.springframework.messaging.handler.annotation.support.DefaultMessageHandlerMethodFactory;
import org.springframework.messaging.handler.annotation.support.MessageHandlerMethodFactory;

/**
 * @author soberw
 * @Classname JSONConfig
 * @Description
 * @Date 2022-06-03 22:58
 */
@Configuration
public class JSONConfig implements RabbitListenerConfigurer {


    /**
     * 序列化方式1:
     * @return
     */
//    @Bean
//    public RabbitTemplate jacksonRabbitTemplate(ConnectionFactory connectionFactory){
//        RabbitTemplate rabbitTemplate = new RabbitTemplate(connectionFactory);
//        rabbitTemplate.setMessageConverter(new Jackson2JsonMessageConverter());
//        return rabbitTemplate;
//    }

    /**
     * 序列化方式2:
     * @return
     */
    @Bean
    public MessageConverter getMessageConverter(){
        return new Jackson2JsonMessageConverter();
    }
    //--------------------------------反序列化配置----------------------------

    /**
     * 可以将JSON串反序列化为对象
     * @param rer
     */
    @Override
    public void configureRabbitListeners(RabbitListenerEndpointRegistrar rer){
        rer.setMessageHandlerMethodFactory(mhmf());
    }

    @Bean
    public MessageHandlerMethodFactory mhmf(){
        DefaultMessageHandlerMethodFactory mhf = new DefaultMessageHandlerMethodFactory();
        mhf.setMessageConverter(mappingJackson2MessageConverter());
        return mhf;
    }

    @Bean
    public MappingJackson2MessageConverter mappingJackson2MessageConverter(){
        return new MappingJackson2MessageConverter();
    }

}
设置完成之后,我们再发送一条:
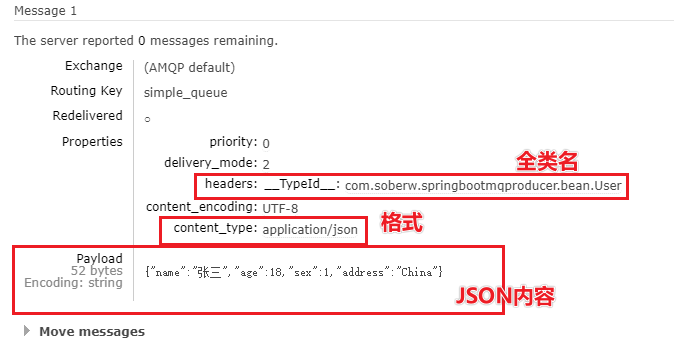
此时接收也是没有问题的:


 49万+
49万+


 被折叠的 条评论
为什么被折叠?
被折叠的 条评论
为什么被折叠?
 到【灌水乐园】发言


