


1、简介
1.1、什么是StringBoot ?
StringBoot 在Spring的基础之上,搭建起来的框架,用于整合市面上最流行的框架,帮助我们快速搭建项目。
StringBoot 不是新的技术,而是新的框架,是基于Spring来搭建起来的。
特性:约定大于配置!
1.2、为什么使用springboot
- 开发效率快,内置有配置好的版本依赖;
- 基于Spring;
- 容易上手。
2、构建一个 SpringBoot 项目(helloWorld)
开发环境:
- jdk1.8
- maven-4.0.0
- SpringBoot 2.7.4
官方文档 https://docs.spring.io/spring-boot/docs/2.7.4/reference/htmlsingle/
创建方式:
- 在官网进行创建,下载完成之后再打开进行编辑
- 直接在idea中创建(本次使用此种创建方式)
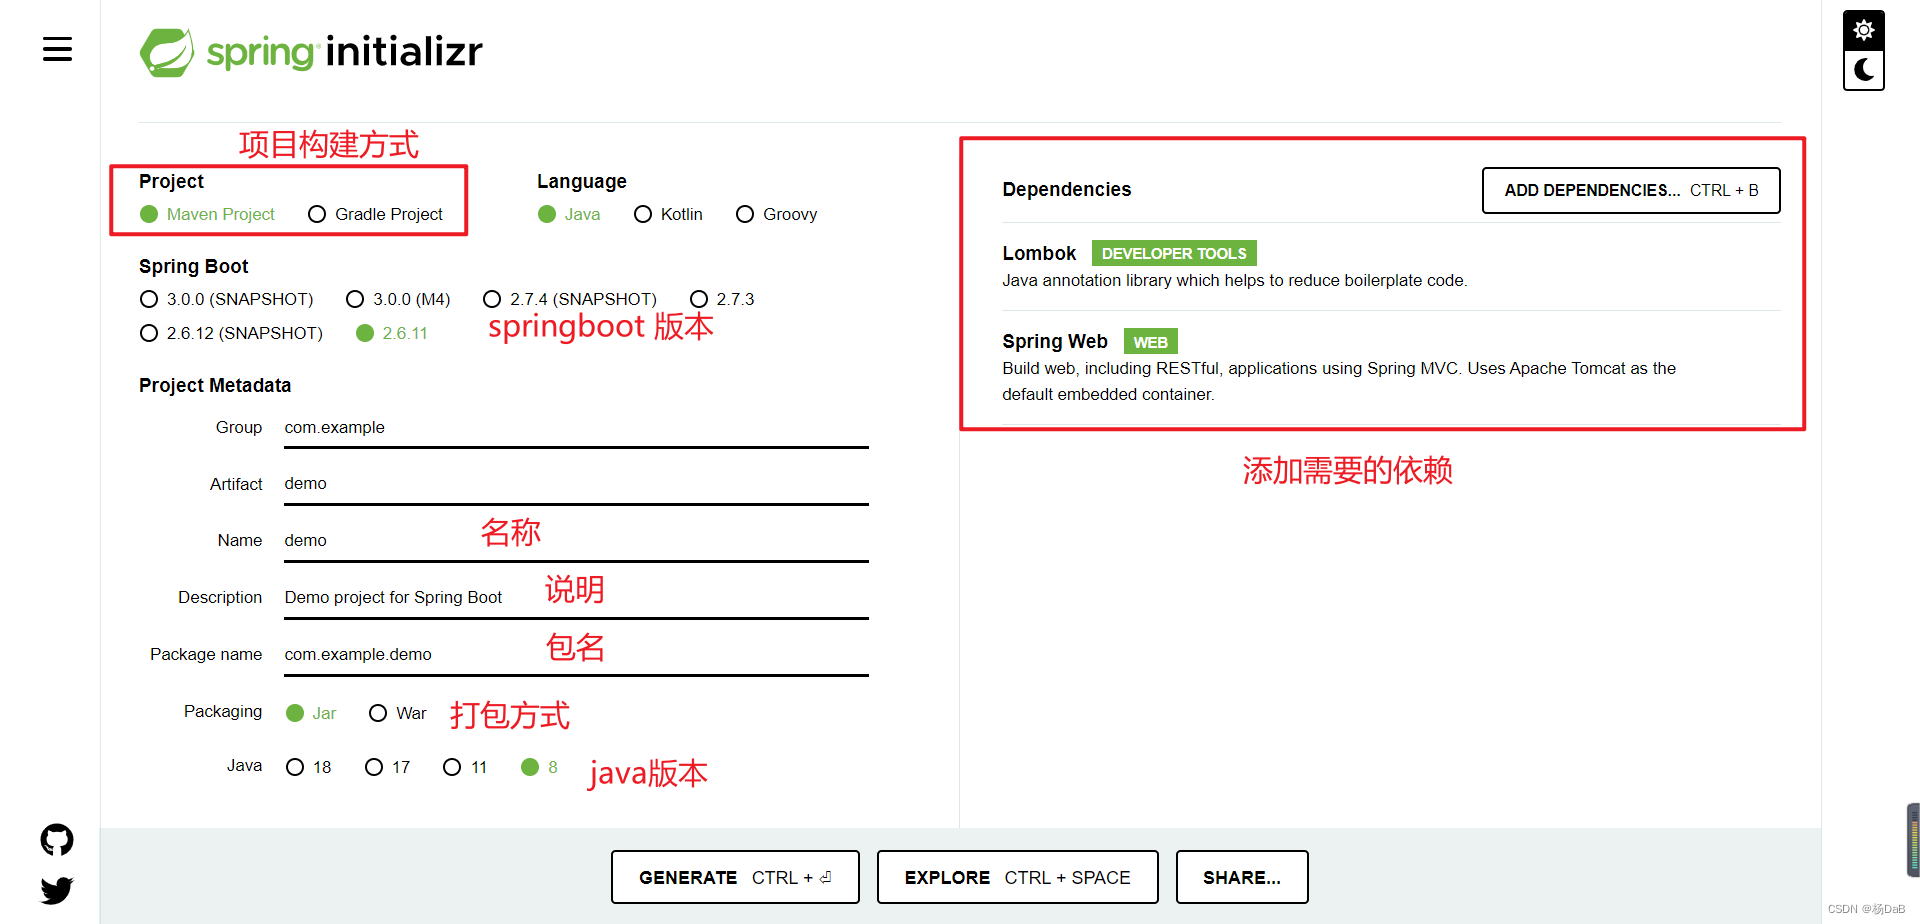
2.1、项目创建
2.1.1 页面创建
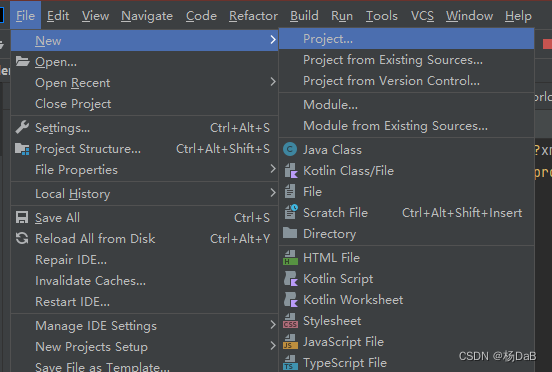
2.1.2 IDEA创建
新建项目
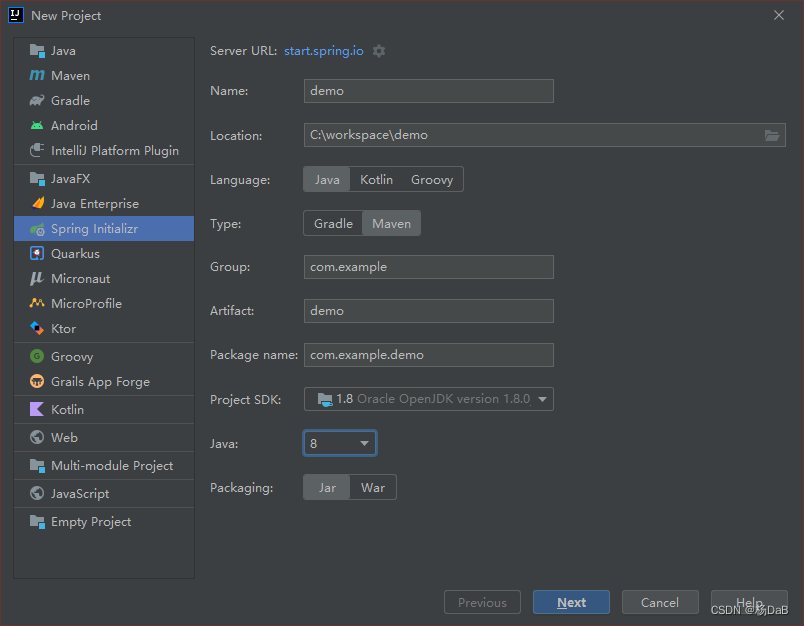
选择jdk版本
 选择使用的SpringBoot的版本以及依赖环境
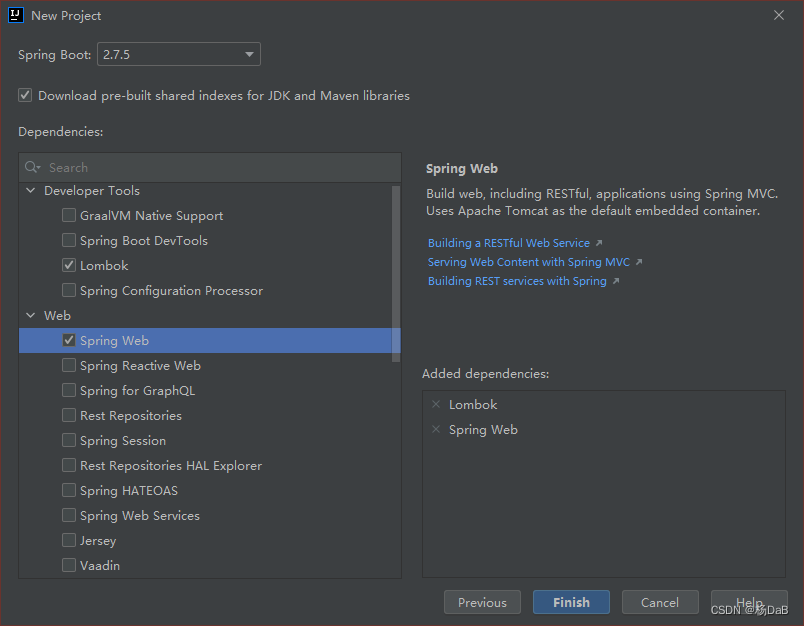
点击Finish 即可完成项目的创建
2.2、启动项目并访问
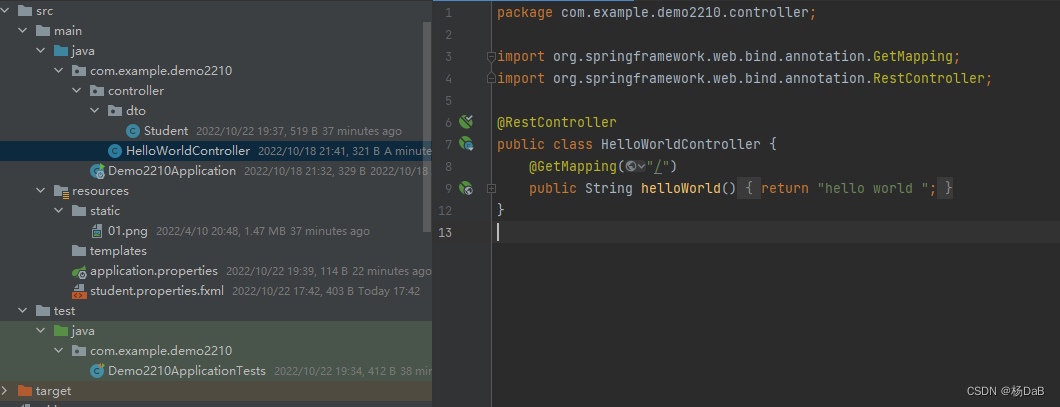
2.2.1 创建一个HelloController.java
代码如下:
package com.example.demo2210.controller;

import org.springframework.web.bind.annotation.GetMapping;
import org.springframework.web.bind.annotation.RestController;

@RestController
public class HelloWorldController {
    @GetMapping("/")
    public String helloWorld(){
        return "hello world ";
    }
}
文件布局:
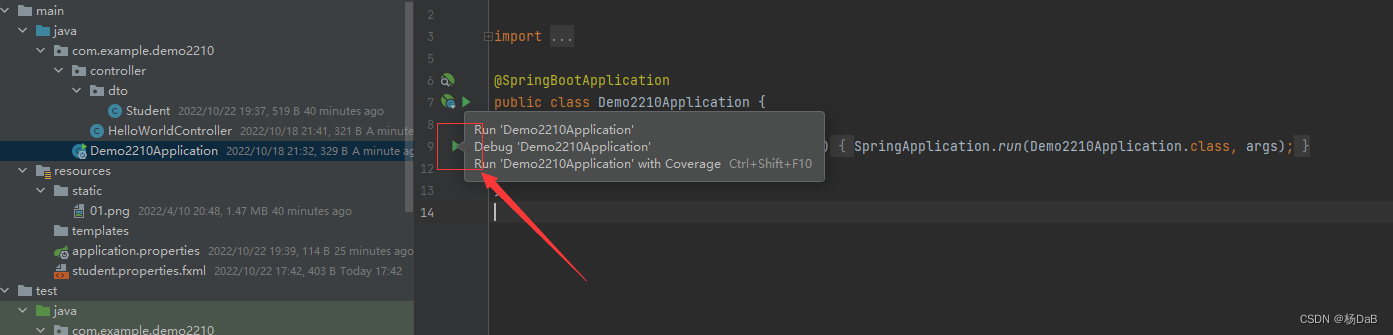
2.2.2 启动项目
点击这个地方进行项目架动
 查看端口是808
 打开浏览器输入该网址
 http://localhost:8080/ 可以看到自己打开的helloworld页面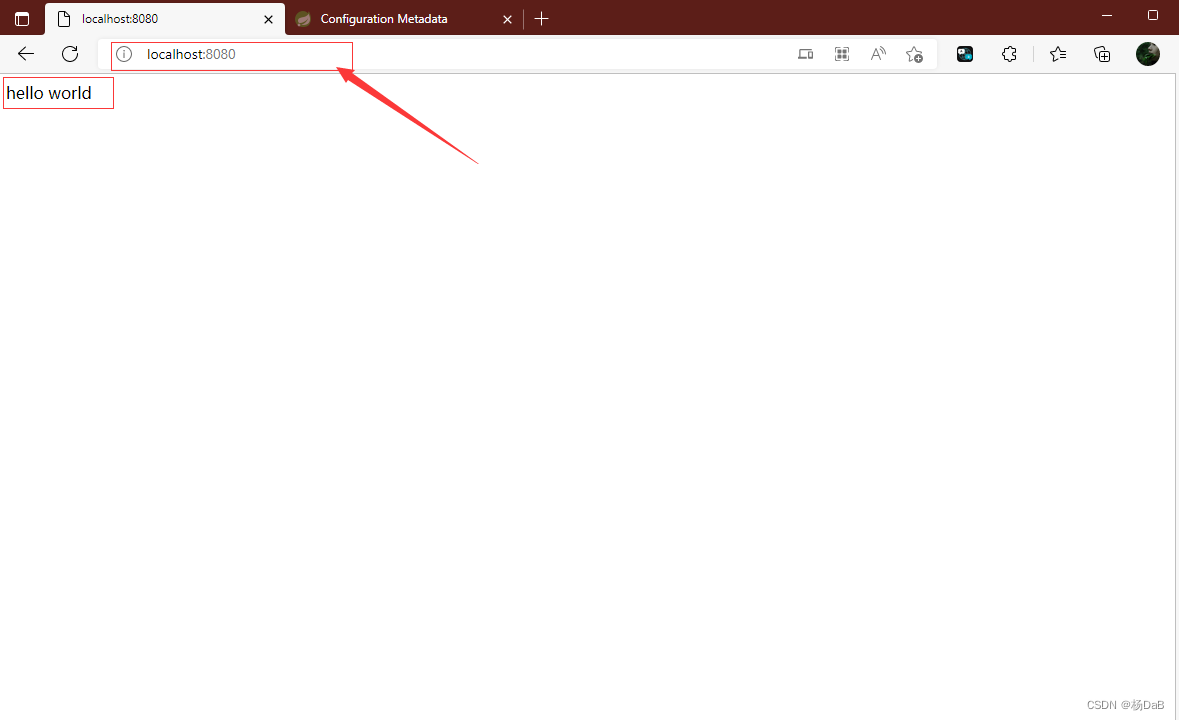
这样子项目就创建完成了。
2.3、自定义banner图
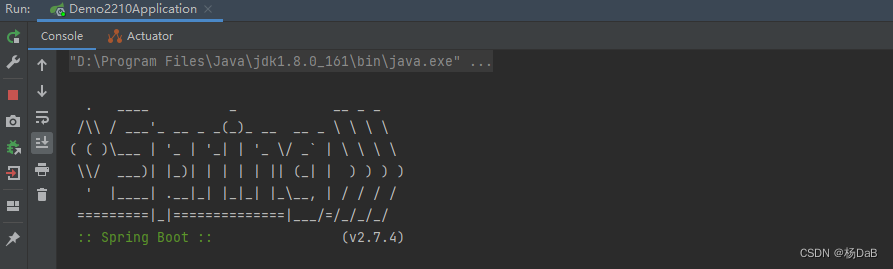 编译开始的时候的图是可以自己定义的:
在根目录下添加banner.txt或者添加静态资源图片即可。
3、Spring Boot启动器
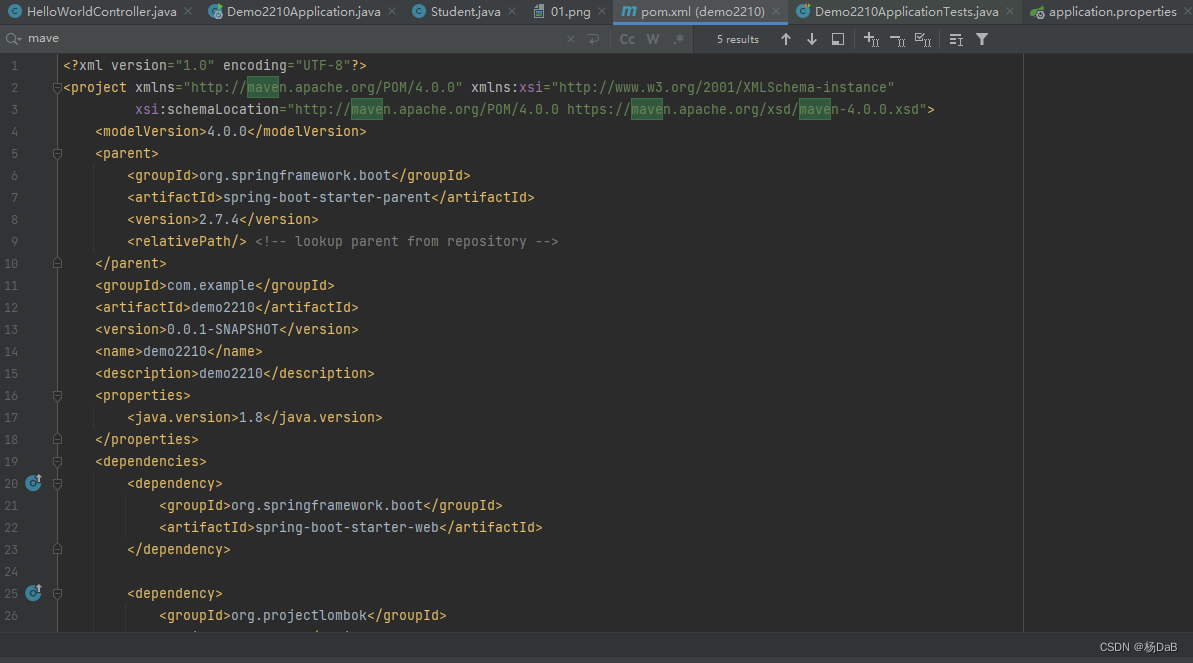
创建项目的时候在pom.xml中添加了一个web的依赖。
<dependency>
    <groupId>org.springframework.boot</groupId>
    <artifactId>spring-boot-starter-web</artifactId>
</dependency>
只添加spring-boot-starter-web就可以进行web开发了。
启动器 包含许多依赖项,包括版本号,可以添加这些依赖项使项目快速启动并运行。
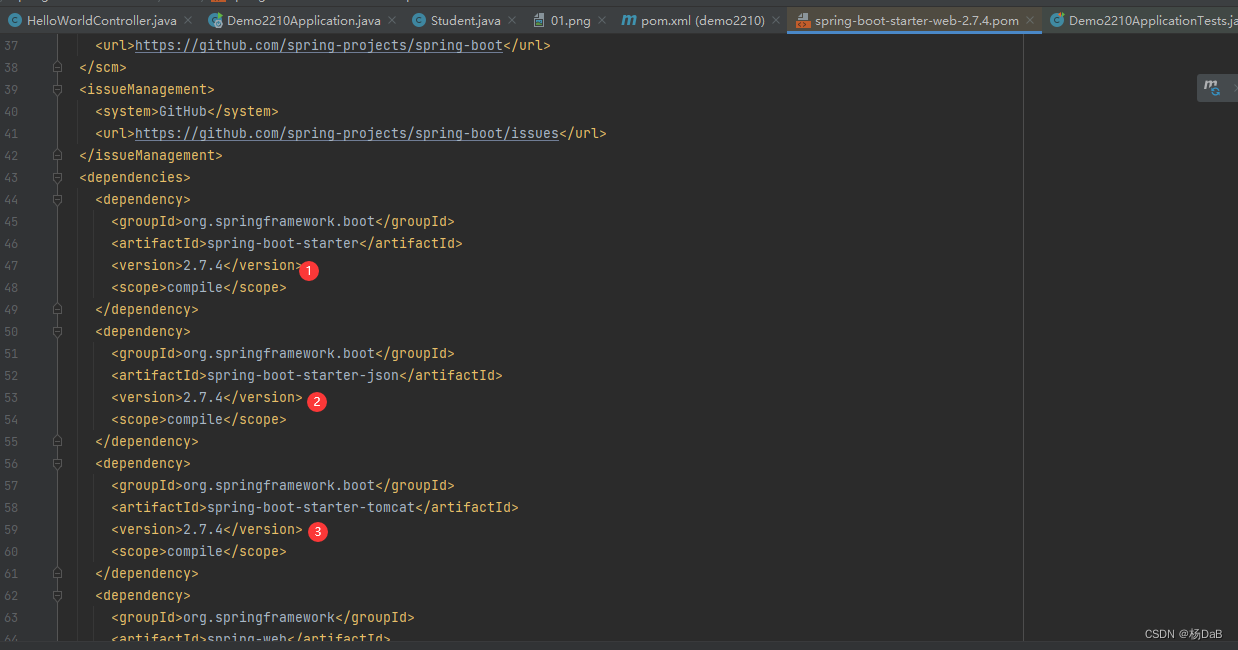
 官方启动器 命名规则:spring-boot-starter-,其中是特定类型的应用程序。例如,spring-boot-starter-web。
第三方启动器 命名规则:以项目名称开头*-boot-starter。例如,MyBatis-Plus。他的命名是mybatis-plus-boot-starter
整合第三方技术的两种方式:
- 自定义
- 找starter
4、配置文件
Spring Boot支持两种格式的配置文件,.properties和.yml,两相存在的时候.properties优先级较高。
4.1、配置文件区别
.properties,.yml区别在于语法结构不同。
.properties结构 :key=value
server.port=8081
.yml结构 :key: value
server:
  port: 8081
4.2、实体类获取配置信息
加载单个配置
// @Value 加载单个配置
@Value("${student.name}")
创建学生对象,用于默认就把配置信息加载进去
4.2.1 springboot项目中的resources目录下新建一个文件 application.yml
student:
  name: Zhang San
  birthdate: 1990/09/01
  interests: [eat, sleep]
4.2.2、添加实体类
//注册bean到容器中
@Component
// 开头为student配置
@ConfigurationProperties(prefix = "student")
@Data
public class Student {
    private String name;
    private Date birthdate;
    private List<String> interests;
}
会出现以下页面:
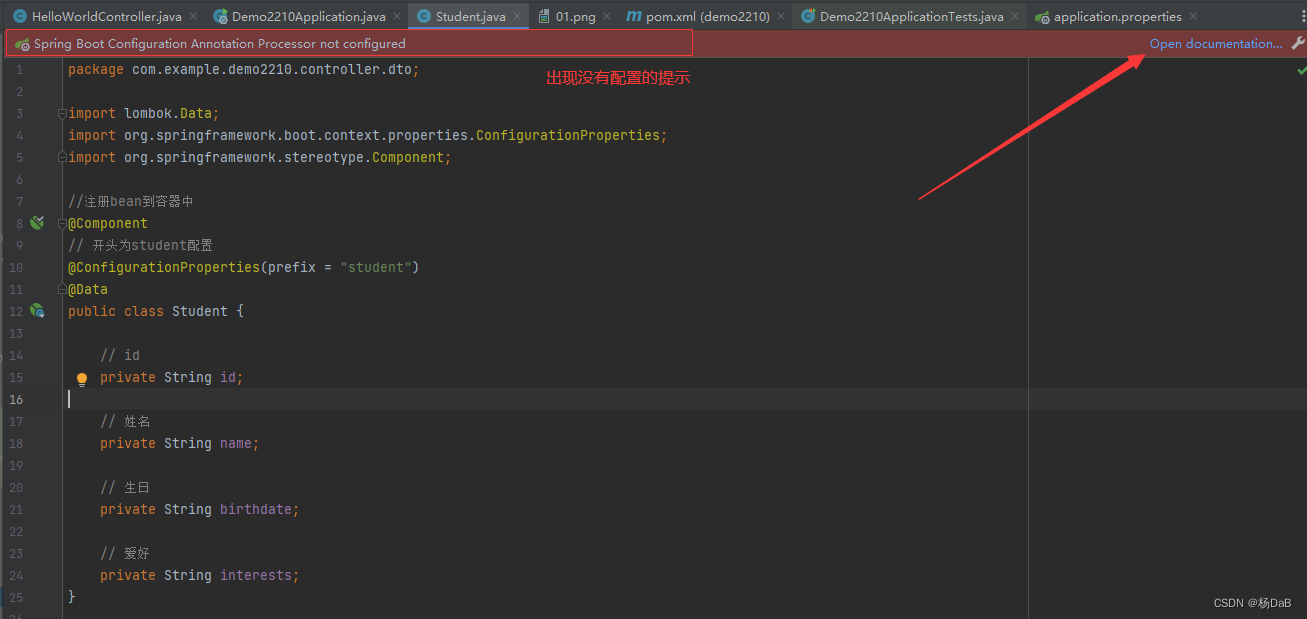 在
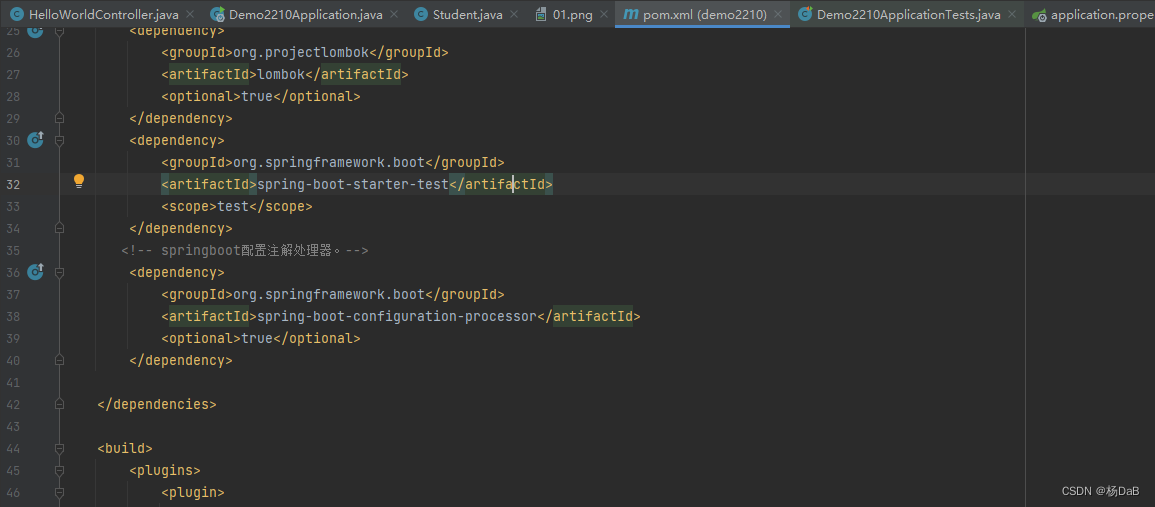
在pom.xml中追加springboot配置注解处理器,方便在Test测试。
<dependency>
    <groupId>org.springframework.boot</groupId>
    <artifactId>spring-boot-configuration-processor</artifactId>
    <optional>true</optional>
</dependency>
如图:
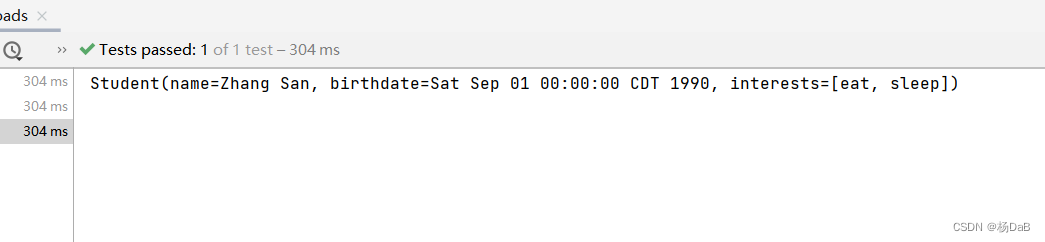
4.2.3、测试类中测试
@SpringBootTest
class DemoApplicationTests {
    @Autowired
    Student student;
    @Test
    void contextLoads() {
        System.out.println(student);
    }
}
运行测试的ApplicationTests.java是会出现下图,表示能正常调用
4.3、加载指定的配置文件
在resources目录下新建一个student.properties文件,yaml不生效。
student.name=Wang mou
student.birthdate=1995/09/01
student.interests=[sleep,dream]
修改配置类
//注册bean到容器中
@Component
// 开头为student配置
@ConfigurationProperties(prefix = "student")
// 资源路径
@PropertySource(value = "classpath:student.properties")
@Data
public class Student {
    private String name;
    private Date birthdate;
    private List<String> interests;
}
出现的则是 properties 的内容
4.4、yaml语法总结
参照 Yaml编程语言学习,内有具体的yaml的代码总结
4.5、配置文件优化级
springboot 启动会扫描以下位置的application.properties或者application.yml文件作为Spring boot的默认配置文件:
- 类路径
①类路径
②类路径/config包 - 当前目录
①当前目录
②当前目录中的/config子目录
③子目录的/config直接子目录
4.6、多环境切换
profile是Spring对不同环境提供不同配置功能的支持,可以通过激活不同的环境版本,实现快速切换环境;
我们在主配置文件编写的时候,文件名可以是 application-{profile}.properties/yml , 用来指定多个环境版本;
例如:
- application-test.yml:代表测试环境配置
- application-dev.yml:代表开发环境配置
但是Springboot并不会直接启动这些配置文件,它默认使用application.properties主配置文件,如果没有就会找application.yml。
我们需要通过配置来选择需要激活的环境
spring:
  profiles:
    active: dev #使用开发环境。


 555
555


 被折叠的 条评论
为什么被折叠?
被折叠的 条评论
为什么被折叠?
 到【灌水乐园】发言


