


Spring系列教程——05Bean的生命周期与作用域
上一篇:Spring系列教程——04三种Bean装配方式讲解
一.Bean作用域
Bean作用域的类别被分为singleton,prototype,request,session,globalSession五种,不过我们只需要掌握前面两个就够了。
singleton:在Spring IoC容器中仅存在一个Bean实例,Bean以单例方式存在,这个
是默认值
prototype:每次从容器中调用Bean时,都返回一个新的实例,即每次调用getBean()
时,相当于执行new XxxBean()
singleton在第一节其实我们演示过了,只是当时没有明确的说,singleton是默认值。这里不做演示,我们直接看看protoype:
<bean id="UserDao" class="Impl.UserDaoImpl" scope="prototype"></bean>
测试代码:
ClassPathXmlApplicationContext context = new ClassPathXmlApplicationContext("beans.xml");
UserDaoImpl userDaoImpl = (UserDaoImpl) context.getBean("UserDao");
UserDaoImpl userDaoImpl2 = (UserDaoImpl) context.getBean("UserDao");
System.out.println(userDaoImpl);
System.out.println(userDaoImpl2);
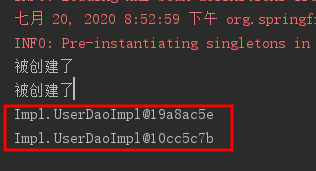
我们配置了多例模式,所以这里确实得到了不同的对象。
二.Bean生命周期(了解即可)
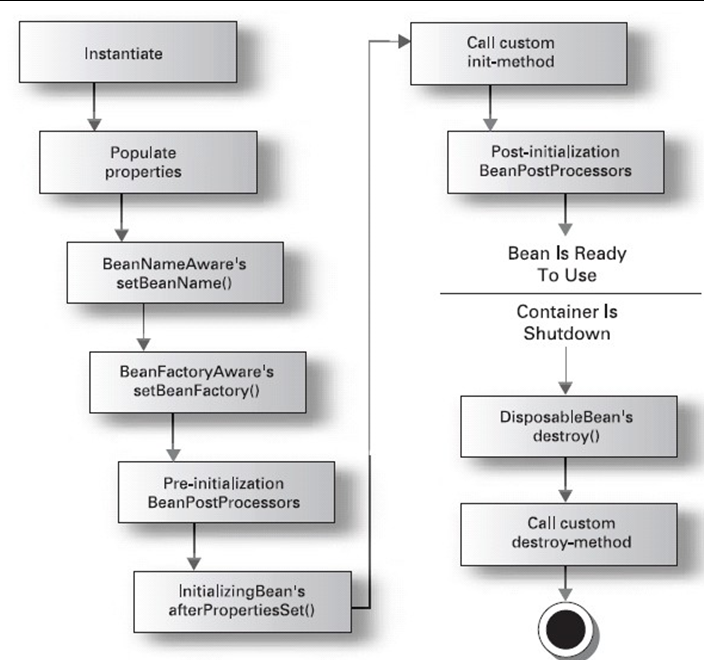
上图是一张bean对象的生命周期图。
接下来我们将从这张图来展开讲解:
一.业务处理前:
1.instantiate bean对象实例化
2.populate properties 封装属性
3.如果Bean实现BeanNameAware(接口)执行setBeanName
4.如果Bean实现BeanFactoryAware(接口)执行setBeanFactory,获取Spring容器
5.如果存在类实现 BeanPostProcessor(后处理Bean),
执行postProcessBeforeInitialization
6.如果Bean实现InitializingBean 执行 afterPropertiesSet
7.调用<bean init-method="init"> 指定初始化方法 init
8.如果存在类实现 BeanPostProcessor(处理Bean),
执行postProcessAfterInitialization
二.执行业务处理:
9.如果Bean实现 DisposableBean 执行 destroy
10.调用<bean destroy-method="customerDestroy">
指定销毁方法 customerDestroy
下面我们按照上面的步骤来写一个Bean类来验证上面的内容:
1.对象实例化
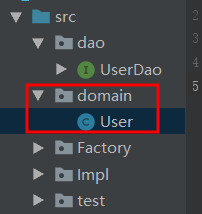
在src目录下创建domain包,在新建一个类叫做User。其内容如下:
package domain;
public class User {
    private String username;
    private String password;

    @Override
    public String toString() {
        return "User{" +
                "username='" + username + '\'' +
                ", password='" + password + '\'' +
                '}';
    }

    public String getUsername() {
        return username;
    }

    public void setUsername(String username) {
        this.username = username;
    }

    public String getPassword() {
        return password;
    }

    public void setPassword(String password) {
        this.password = password;
    }
    public User(){
        System.out.println("1.对象实例化");
    }
}
同时配置beans.xml:
<bean id="User" class="domain.User"></bean>
测试代码如下:
ClassPathXmlApplicationContext context = new ClassPathXmlApplicationContext("beans.xml");
User user = (User) context.getBean("User");
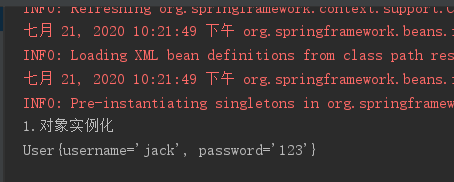
System.out.println(user);
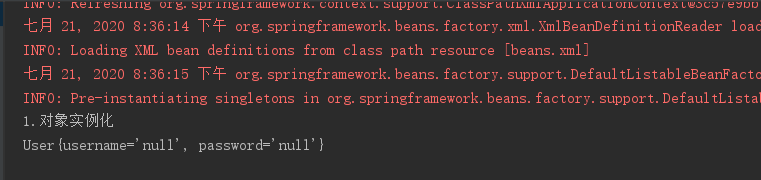
这里对象实例化了,但是还没有完成对象属性的赋值。
2.封装属性
现在我们对beans.xml进行修改:
<bean id="User" class="domain.User">
    <property name="username" value="jack"></property>
    <property name="password" value="123"></property>
 </bean>
然后再次运行测试代码如下:
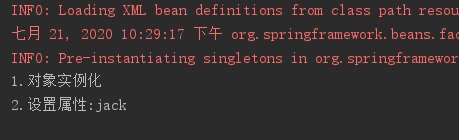
不过上面这个测试代码来测试顺序不太严谨,我们先把setUsername方法加上下面代码:
System.out.println("2.设置属性:"+username);
测试代码改为:
ClassPathXmlApplicationContext context = new ClassPathXmlApplicationContext("beans.xml");
User user = (User) context.getBean("User");
运行如下:
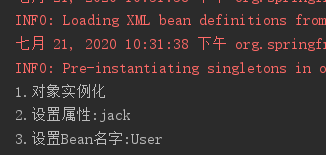
3.实现BeanNameAware
User实现BeanNameWare接口,setBeanName方法内容如下:
System.out.println("3.设置Bean名字:"+s);
再次测试结果如下:
4.实现BeanFactoryAware
User实现BeanFactoryAware接口,setBeanFactory方法内容如下:
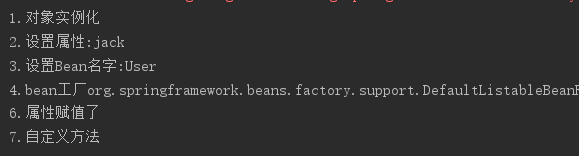
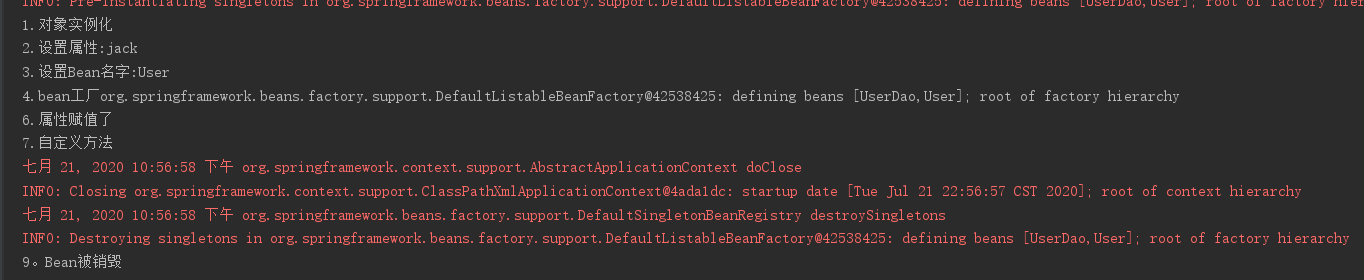
System.out.println("4.bean工厂"+beanFactory);
运行结果为:
1.对象实例化
2.设置属性:jack
3.设置Bean名字:User
4.bean工厂org.springframework.beans.factory.support.DefaultListableBeanFactory@42538425: defining beans [User]; root of factory hierarchy
第4点说明了User对象放入了bean工厂里面。
5.实现 BeanPostProcessor
这一个我们先不管,看下面的内容,最后来演示。
6.实现InitializingBean
User实现InitializingBean接口,afterPropertiesSet()内容为:
System.out.println("6.属性赋值了");

7.调用自定义的初始化方法
在User类里面加上如下方法:
public void myInit(){
      System.out.println("7.自定义方法");
}
beans.xml的对应配置修改为(加了init-method=“myInit”):
<bean id="User" class="domain.User" init-method="myInit">
   <property name="username" value="jack"></property>
   <property name="password" value="123"></property>
</bean>
8.实现 BeanPostProcessor
这一个我们先不管,看下面的内容,最后来演示。
接下来我们进入业务处理的部分:
9.User实现DisposableBean,destory方法内容如下
System.out.println("9。Bean被销毁");
并没有被销毁,我们需要在测试代码中关闭容器
测试代码如下:
ClassPathXmlApplicationContext context = new ClassPathXmlApplicationContext("beans.xml");
User user = (User) context.getBean("User");
//关闭容器
context.getClass().getMethod("close").invoke(context);
10.自定义销毁方法
public void myDestroy(){
    System.out.println("10.自定义销毁方法");
}
beans.xml的对应配置修改为(加了destroy-method=“myDestroy”):
<bean id="User" class="domain.User" init-method="myInit" destroy-method="myDestroy">
   <property name="username" value="jack"></property>
   <property name="password" value="123"></property>
</bean>

前面我们对5,8没有做演示,这里我们来演示:
我们创建一个类:
package domain;
import org.springframework.beans.BeansException;
import org.springframework.beans.factory.config.BeanPostProcessor;
public class MyBeanProcessor implements BeanPostProcessor {
    @Override
    public Object postProcessBeforeInitialization(Object o, String s) throws BeansException {
        System.out.println("5.Bean预处理"+o+":"+s);
        return o;
    }
    @Override
    public Object postProcessAfterInitialization(Object o, String s) throws BeansException {
        System.out.println("8.Bean后处理"+o+":"+s);
        return o;
    }
}
上面的参数o其实就是我们的bean对象,而参数s就是bean对象的id。5和8可以用于对多个对象做相同的处理。
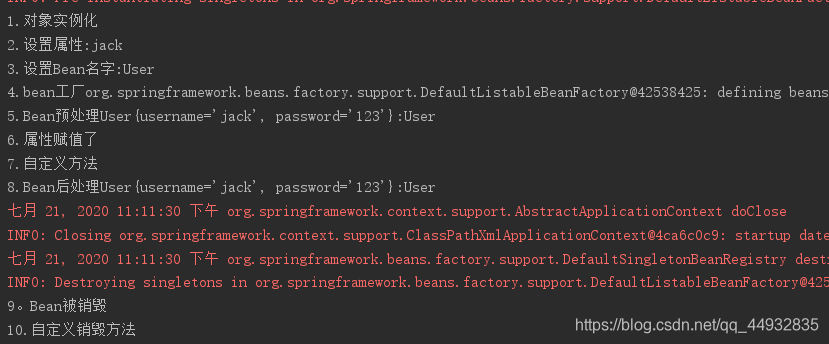
到这里我们讲完了Bean的整个生命周期的演示。


 104
104


 被折叠的 条评论
为什么被折叠?
被折叠的 条评论
为什么被折叠?
 到【灌水乐园】发言


