


一、上章使用了consul的服务发现,将我们的服务注册进consul,笔者理解此处consul就是存储服务状态的服务,当然现在是单机的consul,如果consul挂了岂不是注册进来的服务都没人管了,这里就可以用consul的集群,总之真的上一个服务实例肯定是不够的,后面都可以做集群。但笔者只是菜鸡和学习微服务的组件,暂时不考虑高可用。哈哈哈....
二、ocelot是.net core开源的网关框架,提供了网关、服务发现、限流、熔断、缓存等服务治理的功能、集成Id4等功能
1、官方文档 Welcome to Ocelot — Ocelot 1.0.0 documentation
2、github GitHub - ThreeMammals/Ocelot: dotnet 7.0 API Gateway
三、开始使用
先安装这几个nuget包
    <PackageReference Include="IdentityServer4.AccessTokenValidation" Version="3.0.1" />
    <PackageReference Include="Ocelot" Version="18.0.0" />
    <PackageReference Include="Ocelot.Cache.CacheManager" Version="18.0.0" />
    <PackageReference Include="Ocelot.Provider.Consul" Version="18.0.0" />
    <PackageReference Include="Ocelot.Provider.Polly" Version="18.0.0" />
IdentityServer4.AccessTokenValidation:ocelot集成id4
Ocelot.Cache.CacheManager:缓存
Ocelot.Provider.Consul:集成consul服务发现
Ocelot.Provider.Polly:提供超时、熔断
3.1 加载ocelot配置文件,可以自己新建一个ocelot配置文件,json格式
{
  "Routes": [
    {
      "DownstreamPathTemplate": "/{matchall}",
      "DownstreamScheme": "http",
      "UpstreamPathTemplate": "/product/{matchall}",
      "UpstreamHttpMethod": [ "Get", "Post" ],
      "ServiceName": "productservice",
      "UseServiceDiscovery": true,
      "LoadBalancerOptions": {
        "Type": "RoundRobin"
      },
      "FileCacheOptions": {
        "TtlSeconds": 3,
        "Region": "product"
      },
      //"RateLimitOptions": {
      //  "ClientWhitelist": [],
      //  "EnableRateLimiting": true,
      //  "Period": "1s",
      //  "PeriodTimespan": 1,
      //  "Limit": 1
      //},
      "QoSOptions": {
        "ExceptionsAllowedBeforeBreaking": 1,
        "DurationOfBreak": 3000,
        "TimeoutValue": 5000
      },
      "AuthenticationOptions": {
        "AuthenticationProviderKey": "productService",
        "AllowScopes": []
      }
    },
    {
      "DownstreamPathTemplate": "/{matchall}",
      "DownstreamScheme": "http",
      "UpstreamPathTemplate": "/order/{matchall}",
      "UpstreamHttpMethod": [ "Get", "Post" ],
      "ServiceName": "orderservice",
      "UseServiceDiscovery": true,
      "LoadBalancerOptions": {
        "Type": "RoundRobin"
      },
      "FileCacheOptions": {
        "TtlSeconds": 3,
        "Region": "order"
      },
      //"RateLimitOptions": {
      //  "ClientWhitelist": [],
      //  "EnableRateLimiting": true,
      //  "Period": "1s",
      //  "PeriodTimespan": 1,
      //  "Limit": 1
      //},
      "QoSOptions": {
        "ExceptionsAllowedBeforeBreaking": 1,
        "DurationOfBreak": 3000,
        "TimeoutValue": 5000
      },
      "AuthenticationOptions": {
        "AuthenticationProviderKey": "orderService",
        "AllowScopes": []
      }
    },
    {
      "DownstreamPathTemplate": "/{url}",
      "DownstreamScheme": "https",
      "DownstreamHostAndPorts": [
        {
          "Host": "localhost",
          "Port": 7878
        }
      ],
      "UpstreamPathTemplate": "/auth/{url}",
      "UpstreamHttpMethod": [
        "Get",
        "Post"
      ],
      "LoadBalancerOptions": {
        "Type": "RoundRobin"
      }
    }
  ],
  "GlobalConfiguration": {
    "BaseUrl": "https://localhost:7240",
    "ServiceDiscoveryProvider": {
      "Scheme": "http",
      "Host": "localhost",
      "Port": 8500,
      "Type": "Consul"
    },
    //"RateLimitOptions": {
    //  "DisableRateLimitHeaders": false,
    //  "QuotaExceededMessage": "测试",
    //  "HttpStatusCode": 999,
    //  "ClientIdHeader": "Test"
    //}
  }
}
DownstreamPathTemplate:下游服务的模板路由,{matchall}对应的上游UpstreamPathTemplate{matchall},如访问/product/api/getlist,就会转化为下游的/api/getlist
DownstreamScheme:下游使用什么方式请求,这里是http
UpstreamPathTemplate:上游路由模板
UpstreamHttpMethod:上游的请求谓词
ServiceName:使用服务发现的时候,注册到consul的服务名
UseServiceDiscovery:是否使用服务发现
LoadBalancerOptions:配置负载均衡,有几个可选项
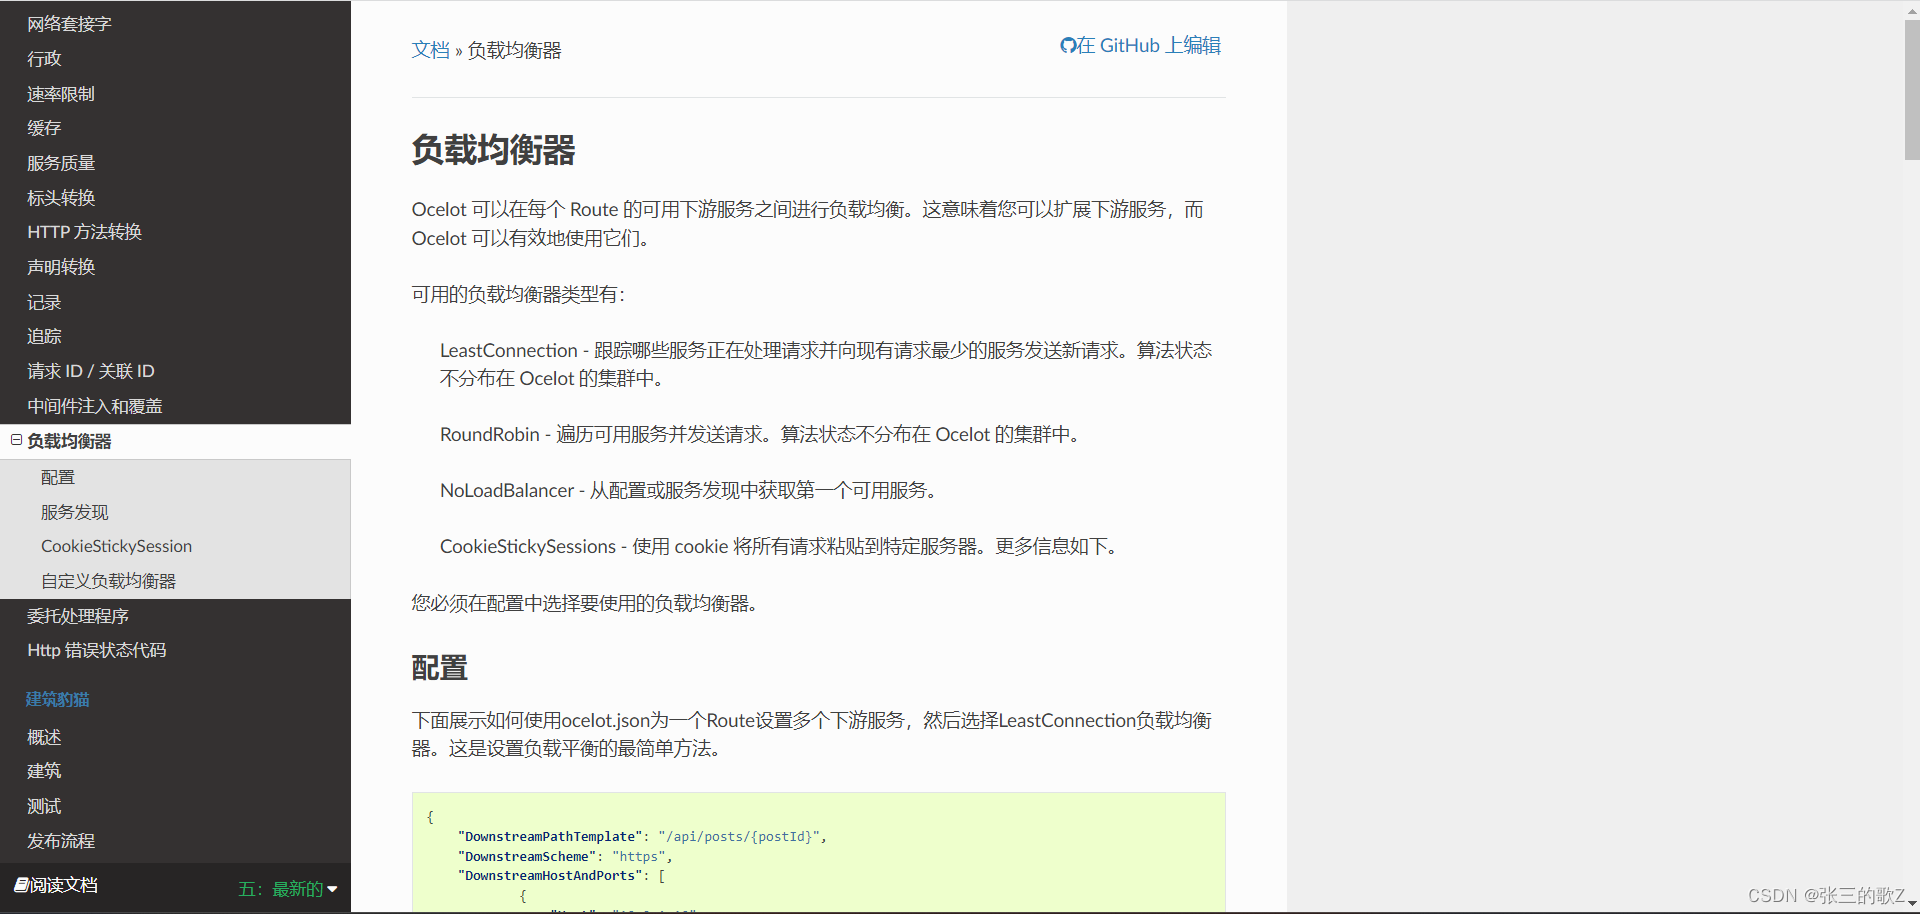
FileCacheOptions:缓存,参考官网
RateLimitOptions:限流
QoSOptions:熔断
AuthenticationOptions:认证与授权
GlobalConfiguration:全局配置
BaseUrl:ocelot运行的地址
ServiceDiscoveryProvider:服务发现配置
加载配置文件
builder.Configuration.AddJsonFile("OcelotConfig.json",false,true);添加ocelot相关配置
builder.Services
    .AddOcelot()
    .AddConsul()
    .AddPolly()
    .AddCacheManager(config=>config.WithDictionaryHandle());
配置管道
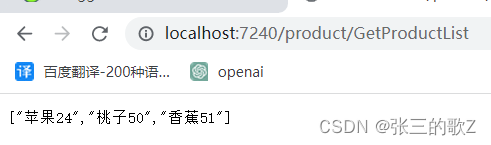
app.UseOcelot().Wait();启动ocelot项目和product项目,此时就可以通过网关的url访问下游的服务
此时:网关为7240端口,productservice为5000端口,访问http://localhost:7240/product/GetProductList
返回的应该是下游productservice服务的GetProductList接口
3.2 到此,最简单的ocelot基本使用就是这些,可以自己演示下超时、缓存、限流、熔断怎么用,这里不在赘述,基本是通过配置项来配置的


 660
660


 被折叠的 条评论
为什么被折叠?
被折叠的 条评论
为什么被折叠?
 到【灌水乐园】发言


