


一、上篇说了如何简单使用ocelot,这篇主要是讲ocelot集成IdentityServer4
1.1 IdentityServer4也是个开源的授权认证框架,不过最新版的好像收费了,这个仓库不在更新了
官网:欢迎使用 IdentityServer4(最新) — IdentityServer4 1.0.0 文档
github:GitHub - IdentityServer/IdentityServer4: OpenID Connect and OAuth 2.0 Framework for ASP.NET Core
1.2 安装Id4的项目模板
打开cmd执行 dotnet new -i IdentityServer4.Templates
安装后使用 dotnet new --list 查看已安装的模板
 我们使用is4inmem模板,表示数据都在内存中
在需要新建的目录执行 dotnet new is4inmem --name 项目名称 开始生成模板
这个模板的数据都是写死的,查看Config类
定义了受保护的api,apiscope,client
具体属性参考官网,默认会新增alice和bob两个测试用户,这里客户端我就写了一个,使用的授权码模式,简单来说就是用户授权通过后就可以获取到access_token,然后根据access_token去访问受保护的资源
二、新建IdentityServer4客户端
2.1 新建webapi项目
2.2 安装 nuget包
<PackageReference Include="Microsoft.AspNetCore.Authentication.OpenIdConnect" Version="6.0.15" />2.3在Program类配置认证代码
builder.Services.AddAuthentication(options =>
{
    options.DefaultScheme = "Cookies";
    options.DefaultChallengeScheme = "oidc";
})
.AddCookie("Cookies")
.AddOpenIdConnect("oidc", options =>
{
    options.Authority = "http://localhost:7240/auth";//通过网关访问鉴权中心
                                                      //options.Authority = "http://localhost:9080";
    options.ClientId = "webclient";
    options.ClientSecret = "webclient";
    options.ResponseType = "code";

    options.RequireHttpsMetadata = false;

    options.SaveTokens = true;

    options.Scope.Add("orderScope");
    options.Scope.Add("productScope");
});
Authority:认证中心地址,这里使用网关代理了id4服务
ClientId:客户端id,对应id4服务ClientId
2.4 配置认证与授权中间件
app.UseAuthentication();
app.UseAuthorization();
2.5在控制器中添加Authorize特性

三、ocelot代理id4服务
3.1在ocelot的Routes中新增id4的路由规则
{
      "DownstreamPathTemplate": "/{url}",
      "DownstreamScheme": "https",
      "DownstreamHostAndPorts": [
        {
          "Host": "localhost",
          "Port": 7878
        }
      ],
      "UpstreamPathTemplate": "/auth/{url}",
      "UpstreamHttpMethod": [
        "Get",
        "Post"
      ],
      "LoadBalancerOptions": {
        "Type": "RoundRobin"
      }
    }
四、ocelot集成id4
在Program中
builder.Services.AddAuthentication(IdentityServerAuthenticationDefaults.AuthenticationScheme)
        .AddIdentityServerAuthentication("orderService", options =>
        {
            options.Authority = "https://localhost:7878";//鉴权中心地址
            options.ApiName = "orderAPI";
            options.SupportedTokens = SupportedTokens.Both;
            //options.ApiSecret = "orderApi secret";
            options.RequireHttpsMetadata = false;
        })
        .AddIdentityServerAuthentication("productService", options =>
        {
            options.Authority = "https://localhost:7878";//鉴权中心地址
            options.ApiName = "productAPI";
            options.SupportedTokens = SupportedTokens.Both;
            //options.ApiSecret = "productApi secret";
            options.RequireHttpsMetadata = false;
        });
注意:AddIdentityServerAuthentication方法第一个参数要和ocelot中的AuthenticationProviderKey一致,options.ApiName要和id4服务config定义的ApiResources的Name一致
五、运行ocelot、product、id4、id4client,各服务端口如下
ocelot:7240
product:5000
id4:7878
id4client:7058
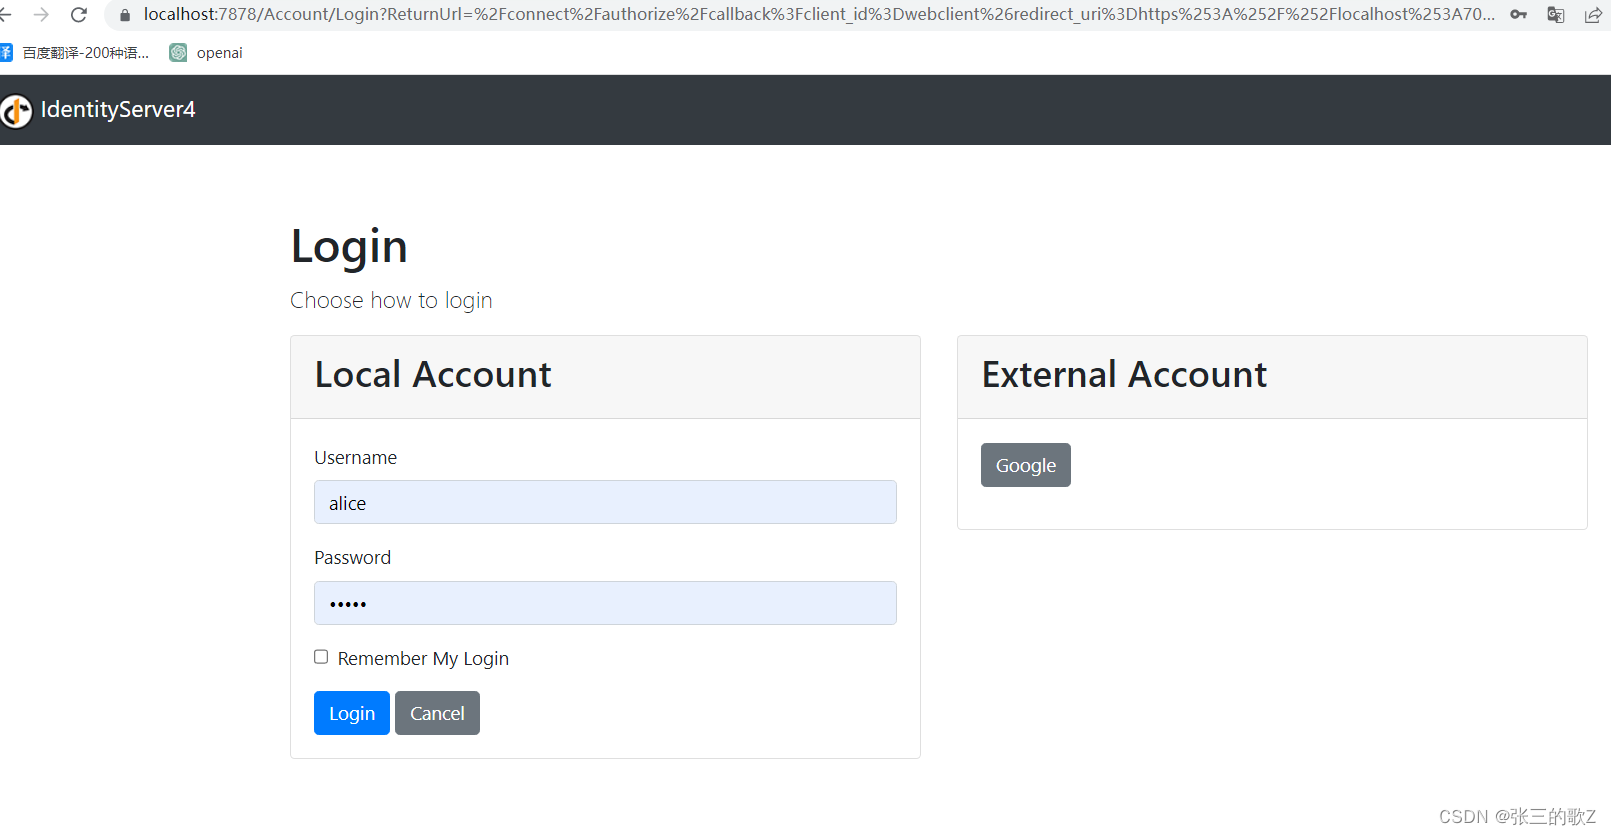
访问https://localhost:7058/WeatherForecast
就会自动跳转到id4登录认证界面
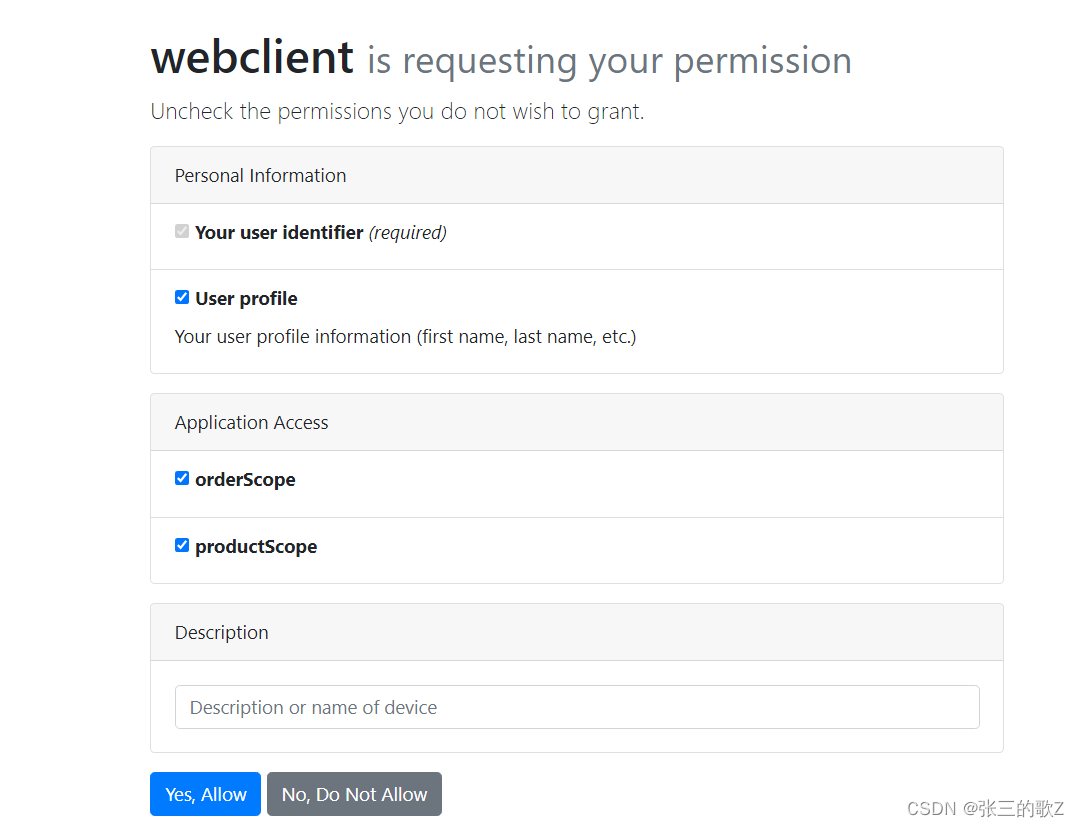
同意授权后就会跳转到刚刚请求的接口,并且可以获取到access_token

然后将token传入网关就可以了。


 5282
5282


 被折叠的 条评论
为什么被折叠?
被折叠的 条评论
为什么被折叠?
 到【灌水乐园】发言


