


什么是 render props
官网链接:https://react.docschina.org/docs/render-props.html
术语 “render prop” 是指一种在 React 组件之间使用一个值为函数的 prop 共享代码的简单技术
render属性接收的一个函数,该函数返回一个React元素。也就是说,具有render props的组件使用外部传递进来的函数去子组件结构,而不是用自身的渲染逻辑
使用
示例1:
import React from "react";

function Repeat(props) {
  const items = []
  for (let i = 0, j = props.runTimes; i < j; i++) {
    items.push(props.render(i))
  }
  return items
}


export default class Home extends React.Component {

  render() {
    return (
      <>
        <Repeat
          runTimes={4}
          render={(i) => <h1 key={i}>Hello world</h1>}>
        </Repeat>
      </>
    )
  }
}
代码解释:
- 定义了一个
Repeat组件,接收循环次数的属性runTimes,循环的内容由props.render()执行的返回值决定 - 在
Home组件中调用Repeat组件时,传递给render属性一个函数,该函数返回一个React元素
执行效果:

render props 是一种技术,不是说必须要传递一个名为render的属性,只需传递一个可以共享代码的函数即可
也可以使用props.children
实现一个效果:在被鼠标追踪组件包装的组件上移动鼠标,会绘制高亮颜色的轨迹
示例2:
import React from "react";

function randomID () {
  return Math.random().toString(36).slice(-6)
}

class Circle extends React.Component {
  constructor(props) {
    super(props)
    this.radius = 5
  }

  render() {
    return (
      <div style={{
        position: 'absolute',
        left: this.props.x + 'px',
        top: this.props.y + 'px',
        width: this.radius + 'px',
        height: this.radius + 'px',
        backgroundColor: '#F0F',
        borderRadius: '50%'
      }}></div>
    )
  }
}
class DrawTrack extends React.Component {
  constructor(props) {
    super(props)
    this.state = {
      circles: [],
    }
    this.handleMouseMove = this.handleMouseMove.bind(this)
  }

  handleMouseMove(event) {
    const x = event.clientX
    const y = event.clientY
    const id = randomID()
    this.setState({
      circles: [...this.state.circles, {
        x,y,id
      }],
    })
  }

  render() {
    const circles = this.state.circles.map(({id, ...rest}) => <Circle key={id} {...rest} />)
    return (
      <div onMouseMove={this.handleMouseMove}>
        {circles}
        {this.props.children()}
      </div>
    )
  }
}

export default class Home extends React.Component {

  state = {
    text: 'Hello world'
  }

  render() {
    return (
      <>
        <DrawTrack>
          {() => <h1 style={{
            height: '50vh',
            lineHeight: '50vh'
          }}>{this.state.text}</h1>}
        </DrawTrack>
      </>
    )
  }
}
代码解释:
- 定义了最基本的圆点组件
Circle,确定轨迹点的坐标、颜色、大小 DrawTrack组件中为要渲染的内容套了一层div,绑定了鼠标移动事件,在事件处理函数中,添加实时的圆点- 组件更新,绘制页面
执行效果:
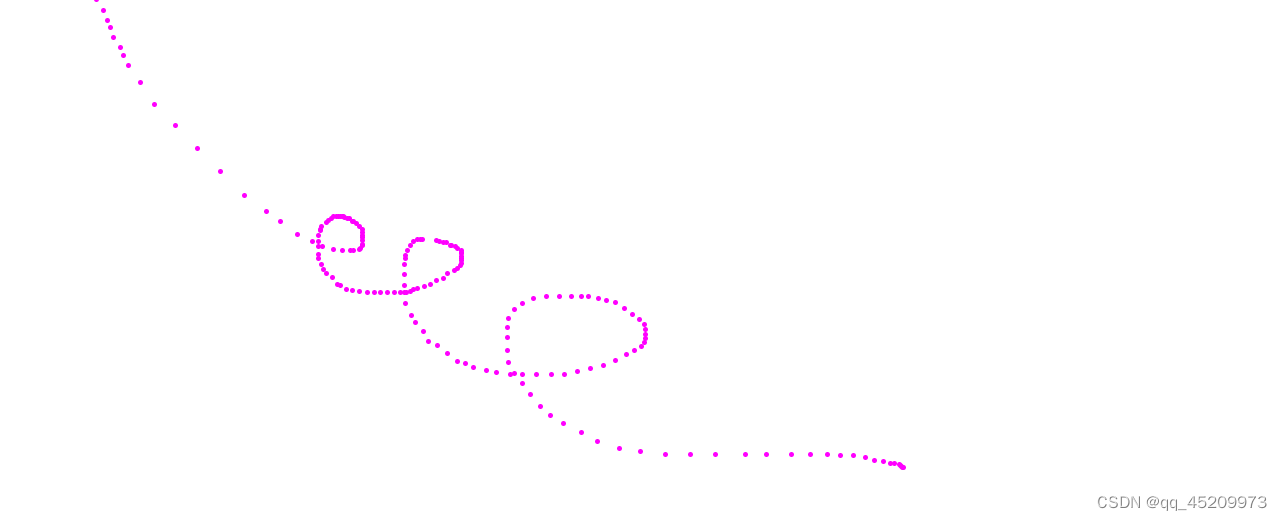
更具体地说,render prop 是一个用于告知组件需要渲染什么内容的函数 prop
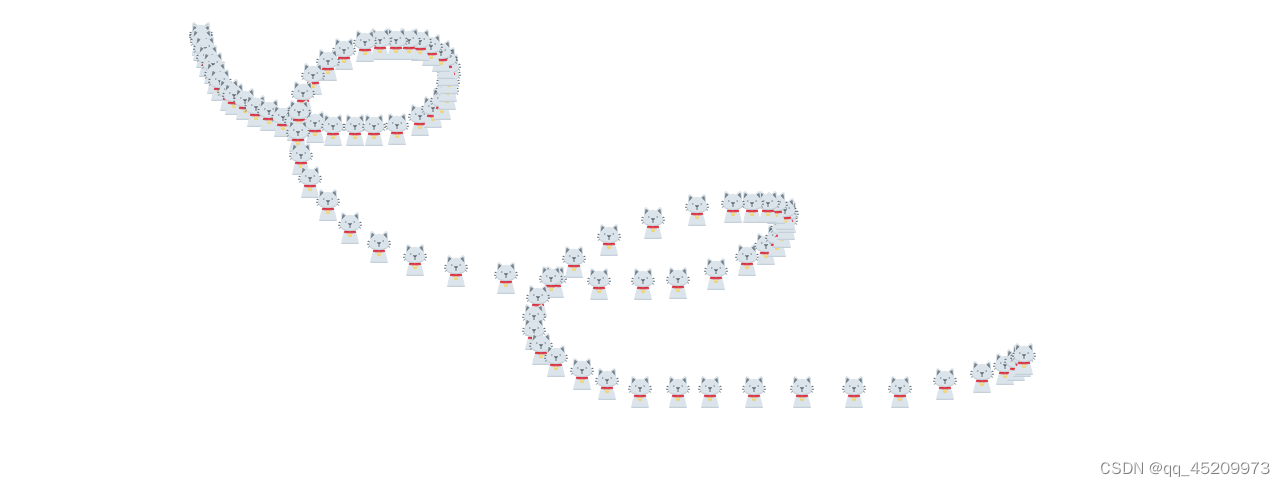
修改:不想使用圆点标记鼠标轨迹,使用猫咪图片绘制,所以,需要告诉DrawTrack组价绘制什么
添加猫咪组件:
class Cat extends React.Component {

  edg = 32

  render() {
    return (
      <div style={{
        position: 'absolute',
        left: this.props.x + 'px',
        top: this.props.y + 'px',
        width: this.edg + 'px',
        height: this.edg + 'px',
      }}>
        <img src={CatImg} style={{
          width: '100%',
          height: '100%',
        }} alt="cat" />
      </div>
    )
  }
}
与上面的Circle组件的区别不大,就是添加img子元素引用了猫咪图片,edg属性用于控制图片大小。使用方式一样,完整代码如下:
import React from "react";
import CatImg from '../assets/cat.png'

function randomID () {
  return Math.random().toString(36).slice(-6)
}

class Cat extends React.Component {

  edg = 32

  render() {
    return (
      <div style={{
        position: 'absolute',
        left: this.props.x + 'px',
        top: this.props.y + 'px',
        width: this.edg + 'px',
        height: this.edg + 'px',
      }}>
        <img src={CatImg} style={{
          width: '100%',
          height: '100%',
        }} alt="cat" />
      </div>
    )
  }
}


class DrawTrack extends React.Component {
  constructor(props) {
    super(props)
    this.state = {
      circles: [],
    }
    this.handleMouseMove = this.handleMouseMove.bind(this)
  }

  handleMouseMove(event) {
    const x = event.clientX
    const y = event.clientY
    const id = randomID()
    this.setState({
      circles: [...this.state.circles, {
        x,y,id
      }],
    })
  }

  render() {
    const circles = this.state.circles.map(({id, ...rest}) => this.props.children(id, rest))
    return (
      <div style={{
        width: '100vw',
        height: '100vh',
      }} onMouseMove={this.handleMouseMove}>
        {circles}
      </div>
    )
  }
}

export default class Home extends React.Component {

  state = {
    text: 'Hello world'
  }

  render() {
    return (
      <>
        <DrawTrack>
          {(id, props) => <Cat key={id} {...props} />}
        </DrawTrack>
      </>
    )
  }
}
执行效果:
小结
render props是一个代码共享的技术,通过传递一个返回React元素的函数,指示包装容器的渲染逻辑,借此达到代码逻辑复用的效果- 不一定是
render属性,任何属性都可以,一般用render属性名称或者children


 1919
1919


 被折叠的 条评论
为什么被折叠?
被折叠的 条评论
为什么被折叠?
 到【灌水乐园】发言


