


注:以下内容来源教程 https://www.bilibili.com/video/BV1bt411e71b/?spm_id_from=333.337.search-card.all.click&vd_source=d24d4d209aa65e8fc37220ced9cbcf2f
一、Angular 中的 dom 操作
1.原生 js
<h2>这是一个 dom 组件,用来演示DOM操作</h2>
<div id="box">
    this is a box
</div>
<div id="box1" *ngIf="flag">
    this is a box
</div>
import { Component } from '@angular/core';

@Component({
  selector: 'app-dom',
  templateUrl: './dom.component.html',
  styleUrls: ['./dom.component.css']
})
export class DomComponent {

  public flag:boolean = true;

  // 组件和指令初始化完成,并不是真正的dom加载完成
  ngOnInit() {
    let oBox:any = document.getElementById('box');
    console.log(oBox.innerHTML);
    oBox.style.color = 'red';

    // 获取不到dom节点
    // let oBox1:any = document.getElementById('box1');
    // console.log(oBox1.innerHTML);
    // oBox1.style.color = 'blue';
  }

  // 生命周期函数:视图加载完成之后触发,dom加载完成(建议dom操作放在这里面)
  ngAfterViewInit() {
    let oBox1:any = document.getElementById('box1');
    console.log(oBox1.innerHTML);
    oBox1.style.color = 'blue';
  }
}
2.装饰器 @ViewChild
- 首先给需要获取的 dom 节点起一个名字。
- 在业务逻辑中引入 Angular 核心模块中的 ViewChild。
- 生命周期函数 ngAfterViewInit 中获取 dom。
代码如下:
<h2>装饰器@ViewChild的dom操作</h2>
<div #myBox>
    我是一个dom节点
</div>
// 从Angular的核心模块中引入ViewChild
import { Component,ViewChild } from '@angular/core';

@Component({
  selector: 'app-dom-decorate',
  templateUrl: './dom-decorate.component.html',
  styleUrls: ['./dom-decorate.component.css']
})
export class DomDecorateComponent {

  // 获取dom节点
  @ViewChild('myBox') myBox:any;

  ngAfterViewInit() {
    console.log(this.myBox); // ElementRef {nativeElement: div}
    this.myBox.nativeElement.style.color = 'red';
  }
}
3.父组件通过 @ViewChild 调用子组件的方法
父组件:
<app-dom-header #domHeader></app-dom-header>
<button (click)="getChildRun()">获取子组件的方法</button>
// 从Angular的核心模块中引入ViewChild
import { Component,ViewChild } from '@angular/core';

@Component({
  selector: 'app-dom-decorate',
  templateUrl: './dom-decorate.component.html',
  styleUrls: ['./dom-decorate.component.css']
})
export class DomDecorateComponent {

  // 获取一个组件
  @ViewChild('domHeader') domHeader:any;

  getChildRun() {
    // 调用子组件中的方法
    this.domHeader.run();
  }
}
子组件:
<h1>我是一个dom头部组件</h1>
import { Component } from '@angular/core';

@Component({
  selector: 'app-dom-header',
  templateUrl: './dom-header.component.html',
  styleUrls: ['./dom-header.component.css']
})
export class DomHeaderComponent {

  run() {
    console.log('我是domHeader里面的run方法');
  }
}
二、Angular 执行 CSS3 动画
效果图:
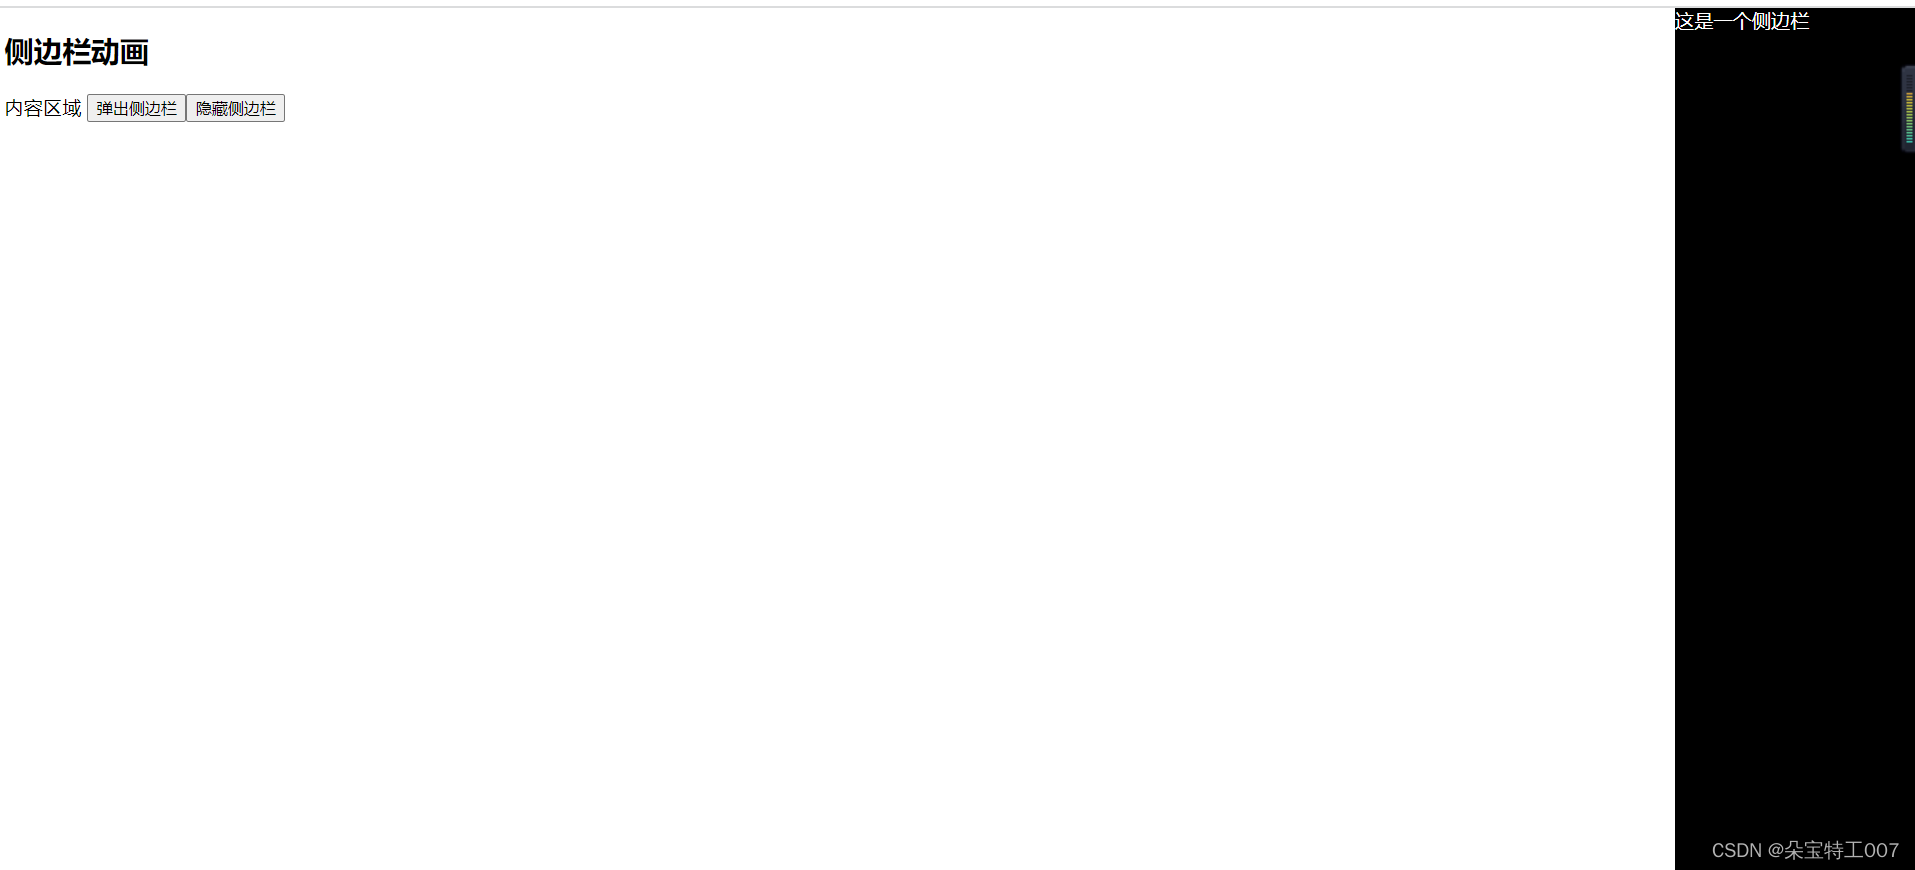
- 页面结构:
<h2>侧边栏动画</h2>
<div class="content">
    内容区域
    <button (click)="showAside()">弹出侧边栏</button>
    <button (click)="hideAside()">隐藏侧边栏</button>
</div>
<aside id="aside">
    这是一个侧边栏
</aside>
- 页面样式:
#aside {
    width: 200px;
    height: 100%;
    position: absolute;
    right: 0px;
    top: 0px;
    background-color: #000;
    color: #fff;
    transform: translate(100%, 0);
    transition: all 2s;
}
- 页面逻辑:
import { Component } from '@angular/core';

@Component({
  selector: 'app-transition',
  templateUrl: './transition.component.html',
  styleUrls: ['./transition.component.css']
})
export class TransitionComponent {
  showAside() {
    // 原生js获取dom节点
    var asideDom:any = document.getElementById('aside');
    asideDom.style.transform = "translate(0, 0)";
  }

  hideAside() {
    var asideDom:any = document.getElementById('aside');
    asideDom.style.transform = "translate(100%, 0)";
  }
}


 498
498


 被折叠的 条评论
为什么被折叠?
被折叠的 条评论
为什么被折叠?
 到【灌水乐园】发言


