


学习spring时,我们主要学习了两种配置方式:一是xml的方式,而是JavaConfig的的方式。
其中有非常多的注解,而使用最多的应该是@AutoWired注解。
@Autowired注解用法
将@AutoWired运用于构造函数
public class Person {
    @Autowired
    public Person() {
    }
}
将@AutoWired应用于setter方法
 @Autowired
    public void setName(String name) {
        this.name = name;
    }
将@AutoWired应用与具有任意名称和多个参数的方法
public void per(String name,String age){
        this.age=age;
        this.name=name;
    }
将@AutoWired添加到字段上,则Spring容器会自动寻找符合类型的所有bean
 @Autowired
    private String name;
@Autowired的作用
这个注解属于spring的容器配置的一个注解,同样的注解还有:@Required,@Primary@Qualifier。
从英文的意思来看是自动装配的意思,就是在Spring的容器中,将Spring容器中的bean自动的和需要的bean的类组装一起。
@AutoWired的实现
java是用反射来实现注解的。
我来看一下底层源码:
import java.lang.annotation.Documented;
import java.lang.annotation.ElementType;
import java.lang.annotation.Retention;
import java.lang.annotation.RetentionPolicy;
import java.lang.annotation.Target;
@Target({ElementType.CONSTRUCTOR, ElementType.METHOD, ElementType.PARAMETER, ElementType.FIELD, ElementType.ANNOTATION_TYPE})
@Retention(RetentionPolicy.RUNTIME)
@Documented
public @interface Autowired {
    boolean required() default true;
}
里面没有任何实现的逻辑,所以注解更像一个标签和一个声明。
从源码我们可以看出AutoWired注解可以应用在构造方法,普通方法,参数,字段,以及注解这五种类型的地方。
@Autowired参数的意义
Autowired注解,只有一个required元素,默认是true,也是就是说这个值能改为false。true和false的意义不同。
require=ture 时,表示解析被标记的字段或方法,一定有对应的bean存在。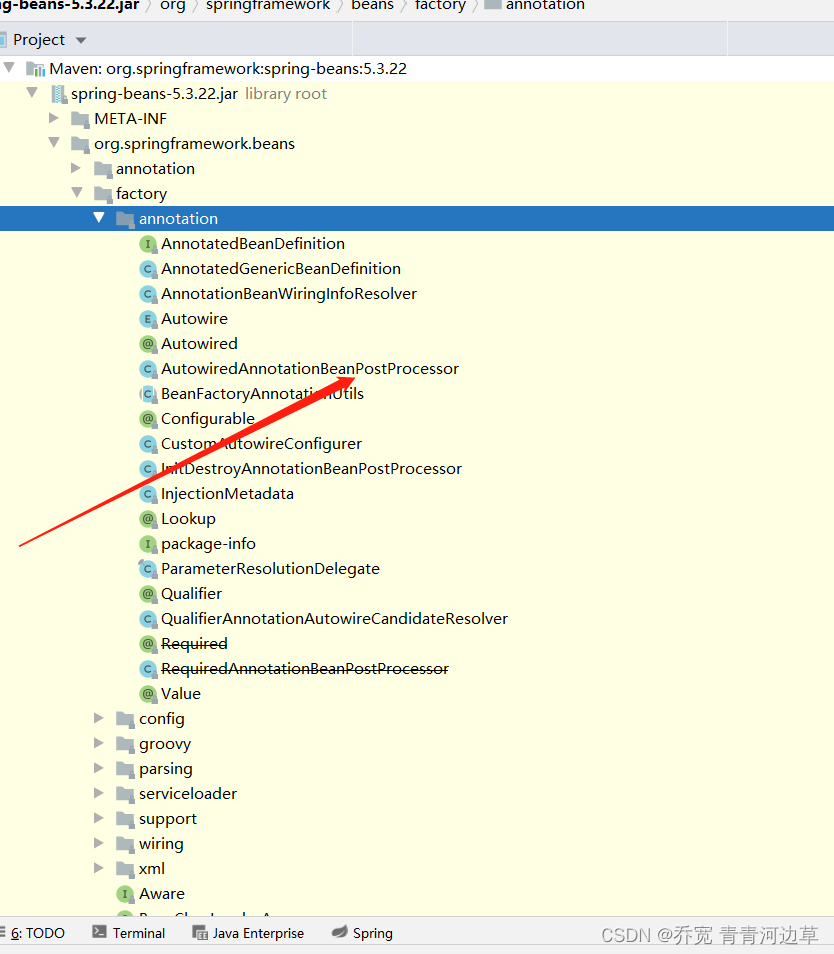
require=false 时,表示解析被标记的字段或方法,没有对应的bean存在不会报错。在Spring源代码当中,Autowired注解位于包org.springframework.beans.factory.annotation之中。autowire注解的实现逻辑位于类:AutowiredAnnotationBeanPostProcessor之中。
核心代码:
private InjectionMetadata buildAutowiringMetadata(final Class<?> clazz) {
		LinkedList<InjectionMetadata.InjectedElement> elements = new LinkedList<>();
		Class<?> targetClass = clazz;//需要处理的目标类

		do {
			final LinkedList<InjectionMetadata.InjectedElement> currElements = new LinkedList<>();

            /*通过反射获取该类所有的字段,并遍历每一个字段,并通过方法findAutowiredAnnotation遍历每一个字段的所用注解,并如果用autowired修饰了,则返回auotowired相关属性*/

			ReflectionUtils.doWithLocalFields(targetClass, field -> {
				AnnotationAttributes ann = findAutowiredAnnotation(field);
				if (ann != null) {//校验autowired注解是否用在了static方法上
					if (Modifier.isStatic(field.getModifiers())) {
						if (logger.isWarnEnabled()) {
							logger.warn("Autowired annotation is not supported on static fields: " + field);
						}
						return;
					}//判断是否指定了required
					boolean required = determineRequiredStatus(ann);
					currElements.add(new AutowiredFieldElement(field, required));
				}
			});
            //和上面一样的逻辑,但是是通过反射处理类的method
			ReflectionUtils.doWithLocalMethods(targetClass, method -> {
				Method bridgedMethod = BridgeMethodResolver.findBridgedMethod(method);
				if (!BridgeMethodResolver.isVisibilityBridgeMethodPair(method, bridgedMethod)) {
					return;
				}
				AnnotationAttributes ann = findAutowiredAnnotation(bridgedMethod);
				if (ann != null && method.equals(ClassUtils.getMostSpecificMethod(method, clazz))) {
					if (Modifier.isStatic(method.getModifiers())) {
						if (logger.isWarnEnabled()) {
							logger.warn("Autowired annotation is not supported on static methods: " + method);
						}
						return;
					}
					if (method.getParameterCount() == 0) {
						if (logger.isWarnEnabled()) {
							logger.warn("Autowired annotation should only be used on methods with parameters: " +
									method);
						}
					}
					boolean required = determineRequiredStatus(ann);
					PropertyDescriptor pd = BeanUtils.findPropertyForMethod(bridgedMethod, clazz);
              	    currElements.add(new AutowiredMethodElement(method, required, pd));
				}
			});
    //用@Autowired修饰的注解可能不止一个,因此都加在currElements这个容器里面,一起处理
			elements.addAll(0, currElements);
			targetClass = targetClass.getSuperclass();
		}
		while (targetClass != null && targetClass != Object.class);

		return new InjectionMetadata(clazz, elements);
	}
方法返回的就是包含所有带有autowire注解修饰的一个InjectionMetadata集合。这个类由两部分组成:
public InjectionMetadata(Class<?> targetClass, Collection<InjectedElement> elements) {
		this.targetClass = targetClass;
		this.injectedElements = elements;
	}
一是我们处理的目标类,二就是上述方法获取到的所以elements集合。
有了目标类,与所有需要注入的元素集合之后,我们就可以实现autowired的依赖注入逻辑了,实现的方法如下:
public void inject(Object target, @Nullable String beanName, @Nullable PropertyValues pvs) throws Throwable {
		Collection<InjectedElement> checkedElements = this.checkedElements;
		Collection<InjectedElement> elementsToIterate =
				(checkedElements != null ? checkedElements : this.injectedElements);
		if (!elementsToIterate.isEmpty()) {
			for (InjectedElement element : elementsToIterate) {
				if (logger.isTraceEnabled()) {
					logger.trace("Processing injected element of bean '" + beanName + "': " + element);
				}
				element.inject(target, beanName, pvs);
			}
		}
	}
它调用的方法是InjectionMetadata中定义的inject方法,如下
public void inject(Object target, @Nullable String beanName, @Nullable PropertyValues pvs) throws Throwable {
		Collection<InjectedElement> checkedElements = this.checkedElements;
		Collection<InjectedElement> elementsToIterate =
				(checkedElements != null ? checkedElements : this.injectedElements);
		if (!elementsToIterate.isEmpty()) {
			for (InjectedElement element : elementsToIterate) {
				if (logger.isTraceEnabled()) {
					logger.trace("Processing injected element of bean '" + beanName + "': " + element);
				}
				element.inject(target, beanName, pvs);
			}
		}
	}
其逻辑就是遍历,实现代码为:
		/**
		 * Either this or {@link #getResourceToInject} needs to be overridden.
		 */
		protected void inject(Object target, @Nullable String requestingBeanName, @Nullable PropertyValues pvs)
				throws Throwable {

			if (this.isField) {
				Field field = (Field) this.member;
				ReflectionUtils.makeAccessible(field);
				field.set(target, getResourceToInject(target, requestingBeanName));
			}
			else {
				if (checkPropertySkipping(pvs)) {
					return;
				}
				try {
					Method method = (Method) this.member;
					ReflectionUtils.makeAccessible(method);
					method.invoke(target, getResourceToInject(target, requestingBeanName));
				}
				catch (InvocationTargetException ex) {
					throw ex.getTargetException();
				}
			}
		}
inject也使用了反射技术并且依然是分成字段和方法去处理的。
总的来说@AutoWired和Spring一起工作,通过反射为这个成员变量赋值,也就是将其赋为期望的类实例。


 73
73


 被折叠的 条评论
为什么被折叠?
被折叠的 条评论
为什么被折叠?
 到【灌水乐园】发言


