


 本文介绍了如何在SpringBoot项目中集成Redis,包括添加依赖、配置连接参数,以及使用StringRedisTemplate进行手动操作和通过注解实现缓存控制的功能。
SpringBoot 集成Redis
- 添加 redis 依赖
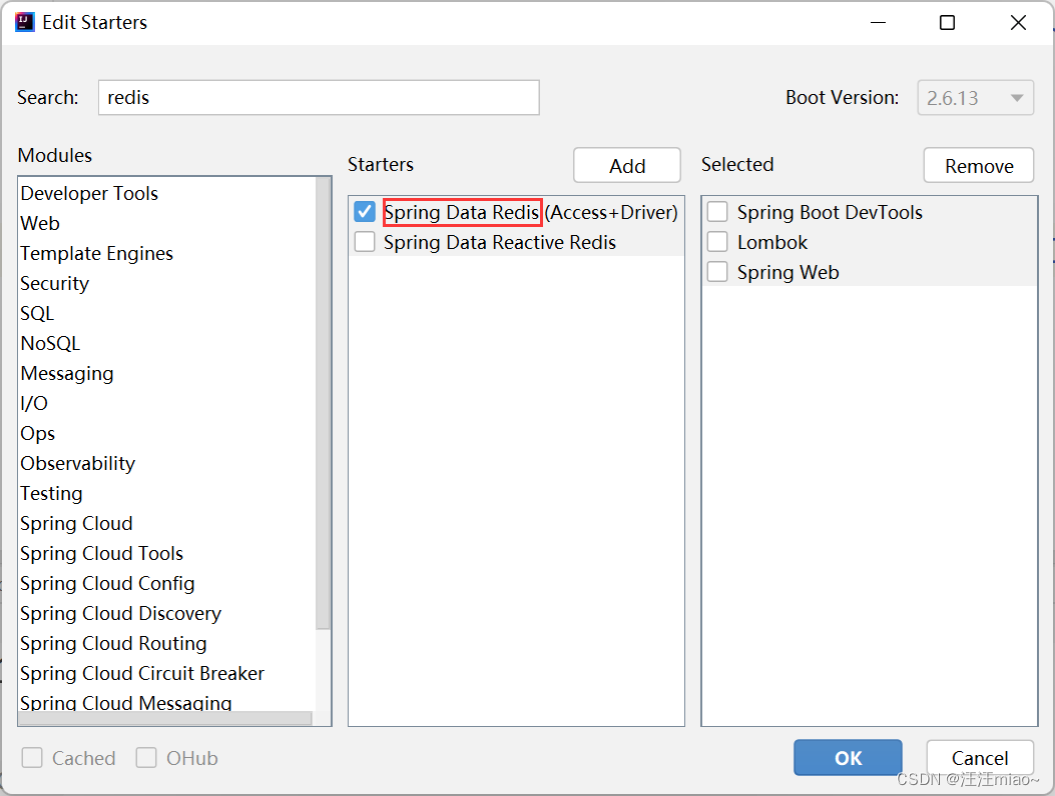
或将以下配置添加到 pom.xml 中:
<dependency>
  <groupId>org.springframework.boot</groupId>
  <artifactId>spring-boot-starter-data-redis</artifactId>
</dependency>
- 配置 redis
spring.redis.database=0
spring.redis.port=6379
spring.redis.host=82.157.146.10
# 可省略
spring.redis.lettuce.pool.min-idle=5
spring.redis.lettuce.pool.max-idle=10
spring.redis.lettuce.pool.max-active=8
spring.redis.lettuce.pool.max-wait=1ms
spring.redis.lettuce.shutdown-timeout=100ms
- ⼿动操作 redis
import org.springframework.beans.factory.annotation.Autowired; import org.springframework.data.redis.core.StringRedisTemplate; import org.springframework.web.bind.annotation.RequestMapping; import org.springframework.web.bind.annotation.RestController;

import java.util.concurrent.TimeUnit;

@RestController
public class RedisController {

    @Autowired
    private StringRedisTemplate stringRedisTemplate;
 // 在 redis 存储数据
    @RequestMapping("/setrs")
    public String setRedis(String name, String value) {
        stringRedisTemplate.opsForValue().set(name, value,
                30, TimeUnit.SECONDS);
        return "Set redis success.";
    }
 // 读取 redis 中的数据
    @RequestMapping("/getrs")
    public String getRedis(String name) {
        Object valObj = stringRedisTemplate.opsForValue().get(name);
        if (valObj != null) return valObj.toString();
        return "Null";
    }
}
- 注解操作 redis
<<1>> 开启缓存
@SpringBootApplication
@EnableCaching
<<2>> 注解操作 redis
import org.springframework.cache.annotation.CacheEvict;
import org.springframework.cache.annotation.CachePut;
import org.springframework.cache.annotation.Cacheable;
import org.springframework.util.StringUtils;
import org.springframework.web.bind.annotation.RequestMapping; import org.springframework.web.bind.annotation.RestController;

@RestController
public class RedisAnnotationController {

    @Cacheable(value = "spring:cache", key = "#name")
    @RequestMapping("/setrs")
    public String setRedis(String name, String value) {
        if (!StringUtils.hasLength(name) || !StringUtils.hasLength(value))
 {
            return "请先输⼊ name 和 value";
        }
        return value;
    }

    @RequestMapping("/uprs")
    @CachePut(value = "spring:cache", key = "#name")
    public String updateRedis(String name, String value) {
        if (!StringUtils.hasLength(name) || !StringUtils.hasLength(value))
 {
            return "请先输⼊ name 和 value";
        }
        return value;
    }

    @RequestMapping("/delrs")
    @CacheEvict(value = "spring:cache", key = "#name")
    public String delUser(String name) {
        return "delete success";
    }
}


 115
115


 被折叠的 条评论
为什么被折叠?
被折叠的 条评论
为什么被折叠?
 到【灌水乐园】发言


