


第一步 收集图片
按照自己喜欢的方式收集图片,我是做的火灾检测方面,所有收集的都是火灾图片。整理图片,收集的图片进行预处理。
image
train--- 训练集
test--- 测试集
val--- 验证集
第二步 打标签
使用熟悉的标注方式标注图片,如可使用LabelMe批量打开图片文件夹的图片,进行标注并保存为json文件。
conda create -n labelme python=3.X 创建新环境
activate labelme                   进入labelme环境
pip install labelme                安装labelme
labelme                            启动labelme
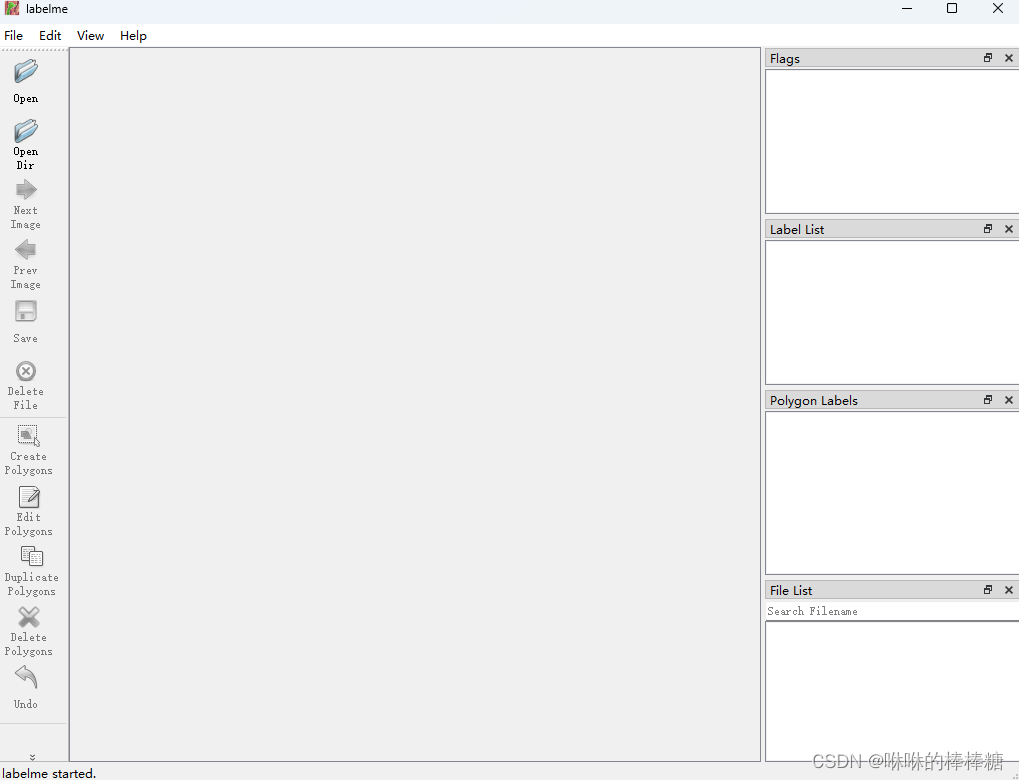
点击Open Dir 打开数据集文件夹 进行标注图片 后点击save 即生成.json文件 保存到文件夹内
![]()
第三步 转换为coco格式
将LabelMe格式的标注文件转换成COCO标注格式,可以使用如下代码:
import json
import numpy as np
import glob
import PIL.Image
from PIL import ImageDraw
from shapely.geometry import Polygon

class labelme2coco(object):
    def __init__(self, labelme_json=[], save_json_path='./new.json'):
        '''
        :param labelme_json: 所有labelme的json文件路径组成的列表
        :param save_json_path: json保存位置
        '''
        self.labelme_json = labelme_json
        self.save_json_path = save_json_path
        self.annotations = []
        self.images = []
        self.categories = [{'supercategory': None, 'id': 1, 'name': 'fire'}] # 指定标注的类别
        self.label = []
        self.annID = 1
        self.height = 0
        self.width = 0
        self.save_json()

    # 定义读取图像标注信息的方法
    def image(self, data, num):
        image = {}
        height = data['imageHeight']
        width = data['imageWidth']
        image['height'] = height
        image['width'] = width
        image['id'] = num + 1
        image['file_name'] = data['imagePath'].split('/')[-1]
        self.height = height
        self.width = width
        return image

    # 定义数据转换方法
    def data_transfer(self):
        for num, json_file in enumerate(self.labelme_json):
            with open(json_file, 'r') as fp:
                data = json.load(fp)  # 加载json文件
                self.images.append(self.image(data, num)) # 读取所有图像标注信息并加入images数组
                for shapes in data['shapes']:
                    label = shapes['label']
                    points = shapes['points']
                    shape_type = shapes['shape_type']
                    if shape_type == 'rectangle':
                        points = [points[0],[points[0][0],points[1][1]],points[1],[points[1][0],points[0][1]]]
                    self.annotations.append(self.annotation(points, label, num)) # 读取所有检测框标注信息并加入annotations数组
                    self.annID += 1
        print(self.annotations)

    # 定义读取检测框标注信息的方法
    def annotation(self, points, label, num):
        annotation = {}
        annotation['segmentation'] = [list(np.asarray(points).flatten())]
        poly = Polygon(points)
        area_ = round(poly.area, 6)
        annotation['area'] = area_
        annotation['iscrowd'] = 0
        annotation['image_id'] = num + 1
        annotation['bbox'] = list(map(float, self.getbbox(points)))
        annotation['category_id'] = self.getcatid(label)
        annotation['id'] = self.annID
        return annotation

    # 定义读取检测框的类别信息的方法
    def getcatid(self, label):
        for categorie in self.categories:
            if label == categorie['name']:
                return categorie['id']
        return -1

    def getbbox(self, points):
        polygons = points
        mask = self.polygons_to_mask([self.height, self.width], polygons)
        return self.mask2box(mask)

    def mask2box(self, mask):
        '''从mask反算出其边框
        mask:[h,w]  0、1组成的图片
        1对应对象,只需计算1对应的行列号(左上角行列号,右下角行列号,就可以算出其边框)
        '''
        # np.where(mask==1)
        index = np.argwhere(mask == 1)
        rows = index[:, 0]
        clos = index[:, 1]
        # 解析左上角行列号
        left_top_r = np.min(rows)  # y
        left_top_c = np.min(clos)  # x

        # 解析右下角行列号
        right_bottom_r = np.max(rows)
        right_bottom_c = np.max(clos)

        return [left_top_c, left_top_r, right_bottom_c - left_top_c,
                right_bottom_r - left_top_r]  # [x1,y1,w,h] 对应COCO的bbox格式

    def polygons_to_mask(self, img_shape, polygons):
        mask = np.zeros(img_shape, dtype=np.uint8)
        mask = PIL.Image.fromarray(mask)
        xy = list(map(tuple, polygons))
        PIL.ImageDraw.Draw(mask).polygon(xy=xy, outline=1, fill=1)
        mask = np.array(mask, dtype=bool)
        return mask

    def data2coco(self):
        data_coco = {}
        data_coco['images'] = self.images
        data_coco['categories'] = self.categories
        data_coco['annotations'] = self.annotations
        return data_coco

    def save_json(self):
        self.data_transfer()
        self.data_coco = self.data2coco()
        # 保存json文件
        json.dump(self.data_coco, open(self.save_json_path, 'w'), indent=4)  # 写入指定路径的json文件,indent=4 更加美观显示

labelme_json = glob.glob('./json/*.json')  # 获取指定目录下的json格式的文件
labelme2coco(labelme_json, './intances_train2017.json') # 指定生成文件路径
如图所示:打好标签的.json文件放在了json文件夹里,倒数第二行路径就写./json
labelme_json = glob.glob('./json/*.json') # 获取指定目录下的json格式的文件第四步 整理数据
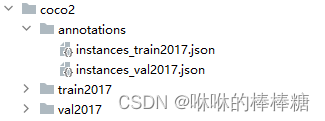
最后整理数据,由于我的程序是需要和coco数据集命名一致,最好就命名一致。
这里只做了训练集和验证机的annotations 。
最终应该格式如下
coco
-annotations
---instances_train2017
---instances_val2017
-train2017
-val2017
-test2017


 862
862

 被折叠的 条评论
为什么被折叠?
被折叠的 条评论
为什么被折叠?
 到【灌水乐园】发言


