


目录
监控
监控的目的是获取数据,通过数据分析了解机器是否正常运行
查看性能相关命令
-
查看cpu详细信息:
lscpu、cat /proc/cpuinfo -
查看CPU使用率:
top(一行一个进程,默认以CPU使用率排序)%Cpu(s): 0.2 us, 0.3 sy, 0.0 ni, 99.5 id, 0.0 wa, 0.0 hi, 0.0 si, 0.0 st当mysqld进程进行读写操作大多时候,调用系统调用如read()、write()、fork()等,系统调用就是操作系统给其他应用程序的接口,也就是实现某个功能的程序
us:用户空间(User Space)CPU使用率,表示用户进程所占用的CPU时间百分比。sy:系统空间(System Space)CPU使用率,表示内核进程所占用的CPU时间百分比。ni:nice值(Nice Value)CPU使用率,表示以较低优先级运行的进程所占用的CPU时间百分比。id:空闲(Idle)CPU时间百分比,表示CPU处于空闲状态的时间百分比。wa:等待(Wait)CPU时间百分比,表示CPU等待I/O操作完成的时间百分比。hi:硬中断(Hardware Interrupt)CPU时间百分比,表示处理硬件中断的时间百分比。si:软中断(Software Interrupt)CPU时间百分比,表示处理软件中断的时间百分比。st:偷取(Steal)CPU时间百分比,表示虚拟机(如果在虚拟化环境中运行)被物理主机偷取的CPU时间百分比。
top交互命令:

htop命令:yum install epel-release -y yum install htopz在top命令的输出中看到系统的负载平均值:
top - 10:13:26 up 19:20, 2 users, load average: 0.00, 0.02, 0.05Load Average 显示在
load average:后面的三个数字,分别是 1 分钟、5 分钟和 15 分钟的平均负载
系统平均负载是指过去的1分钟,5分钟,15分钟处于可运行或就绪或阻塞或不可中断的进程的平均数量
假如系统有n个核心,这个平均数量超过n就说明系统比较繁忙了,但如果不超过5n就说明还没有达到最忙的时候 -
查看内存使用情况
free -m,默认以kb为单位,接-m以M为单位[root@lb-2 keepalived]# free -m total used free shared buff/cache available Mem: 1819 240 1270 9 308 1419 Swap: 2047 0 2047-
Men:物理内存,即内存条的大小 -
Swap:交换分区的内存大小,交换分区是从磁盘里划分出来的一块空间临时做内存使用的,当物理内存不足的时候,将不活跃的进程交换到swap分区里。但由于交换分区速度慢,尽量不使用[root@lb-2 keepalived]# cat /proc/sys/vm/swappiness 30 # 当物理内存只剩下30%的时候,开始使用交换分区,临时修改为0% echo 0 >/proc/sys/vm/swappiness -
total:物理内存的总量 -
used:已用内存的总量。已用内存是当前被系统和应用程序使用的内存。 -
free:可用内存的总量。可用内存是当前未被使用的内存,可以用于新的进程和应用程序。 -
shared:共享内存的总量。共享内存是被多个进程共享的内存区域。在这里,共享内存为9 MB。 -
buff/cache:用于缓存的内存总量。这包括用于文件系统缓存和磁盘I/O缓存的内存。buff:内存的数据读取到磁盘的时候,先写到buffer里,等buffer满了再写到磁盘,减少IO读写次数。cache:磁盘的数据读取到内存的时候,先写在cache里,提升速度。 -
available:下一个进程可用内存的估计总量。这是系统根据当前内存使用情况和缓存来估计的可用内存量。
available = free + buff/cache里的未使用完的空间
-
-
查看网络流量:
dstat、iptraf、glances-
dstat[root@lb-2 keepalived]# dstat You did not select any stats, using -cdngy by default. ----total-cpu-usage---- -dsk/total- -net/total- ---paging-- ---system-- usr sys idl wai hiq siq| read writ| recv send| in out | int csw 0 0 100 0 0 0|4124B 1644B| 0 0 | 0 0 | 101 134 1 1 99 0 0 0| 0 0 | 180B 1024B| 0 0 | 139 161 0 1 99 0 0 0| 0 0 | 120B 398B| 0 0 | 141 174 1 1 99 0 0 0| 0 0 | 120B 398B| 0 0 | 121 145 [root@lb-2 keepalived]# dstat -N ens33 You did not select any stats, using -cdngy by default. ----total-cpu-usage---- -dsk/total- -net/ens33- ---paging-- ---system-- usr sys idl wai hiq siq| read writ| recv send| in out | int csw 0 0 100 0 0 0|4122B 1692B| 0 0 | 0 0 | 101 134 0 0 99 0 0 0| 0 0 | 120B 878B| 0 0 | 123 157 0 0 100 0 0 0| 0 0 | 120B 398B| 0 0 | 132 160 [root@lb-2 keepalived]# dstat -N ens33,total -am ----total-cpu-usage---- -dsk/total- -net/ens33---net/total- ---paging-- ---system-- ------memory-usage----- usr sys idl wai hiq siq| read writ| recv send: recv send| in out | int csw | used buff cach free 0 0 100 0 0 0|4113B 1695B| 0 0 : 0 0 | 0 0 | 101 134 | 309M 2108k 306M 1202M 0 0 100 0 0 0| 0 0 | 120B 1214B: 120B 1214B| 0 0 | 125 157 | 310M 2108k 306M 1201M 1 1 99 0 0 0| 0 0 | 120B 534B: 120B 534B| 0 0 | 123 155 | 310M 2108k 306M 1201M -
glances -
iftop -
iptraf:也可以抓包 -
nethogs
-
Prometheus
Prometheus:开源的监控软件
其他监控软件:
cacti:仙人掌。出图比较好
nagios:监控脚本多
zabbix:集合cacti和nagios的优点
openfalcon:小米公司开元的监控软件
组件:
1、tsdb:时序数据库time series database。
2、http server:web服务
3、push gateway:中间件(代理)
4、altermanager:告警软件
5、exporter:收集数据,采集数据
出图工具:grafana – 展示数据
1、安装和配置
-
在监控服务器(192.168.232.166)上编译安装
首先在官网上下载源码包https://prometheus.io/download/
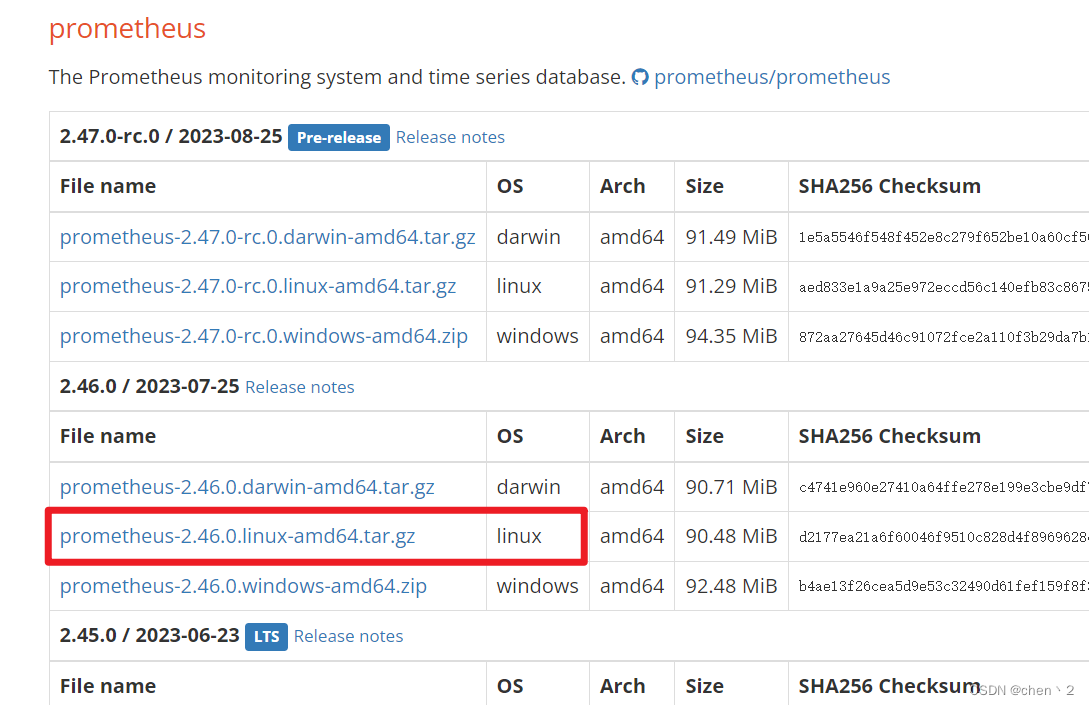
将下载好的源码包传到监控服务器,解压
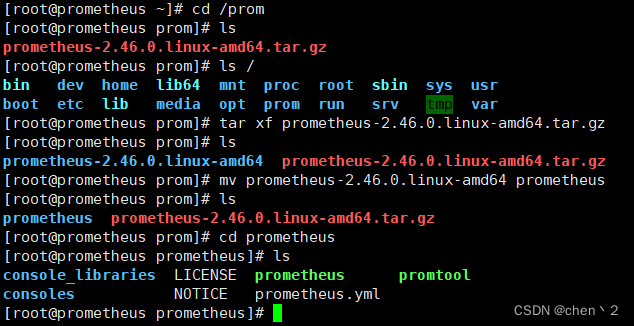
-
临时和永久修改PATH变量,添加prometheus路径
PATH=/prom/prometheus:$PATH [root@prometheus prometheus]# cat /root/.bashrc # .bashrc # User specific aliases and functions alias rm='rm -i' alias cp='cp -i' alias mv='mv -i' # Source global definitions if [ -f /etc/bashrc ]; then . /etc/bashrc fi PATH=/prom/prometheus:$PATH # 添加的信息 -
启动prometheus服务,并让他在后台运行,不受到终端关闭的影响(Prometheus监听9090端口)
nohup prometheus --config.file=/prom/prometheus/prometheus.yml & -
关闭防火墙,并设置永久关闭。然后就可以在服务器上输入
192.168.232.166:9090看到监控页面了service firewalld stop systemctl disable firewalld -
将源码二进制安装的Prometheus配置成一个服务,便于管理
[root@prometheus prometheus]# cat /usr/lib/systemd/system/prometheus.service
[Unit]
Description=prometheus
[Service]
ExecStart=/prom/prometheus/prometheus --config.file=/prom/prometheus/prometheus.yml
ExecReload=/bin/kill -HUP $MAINPID
KillMode=process
Restart=on-failure
[Install]
WantedBy=multi-user.target

# 重新加载systemd相关的服务
[root@prometheus prometheus]# systemctl daemon-reload
将之前使用nohup方式启动的Prometheus服务杀死,再使用以下命令开启
service prometheus start
容器安装prometheus:
docker run -d -p 9090:9090 --name sc-prom-1 prom/prometheus
2、将 NFS服务器和LB服务器作为exporter采集数据
-
在官网上下载node节点源码包,解压
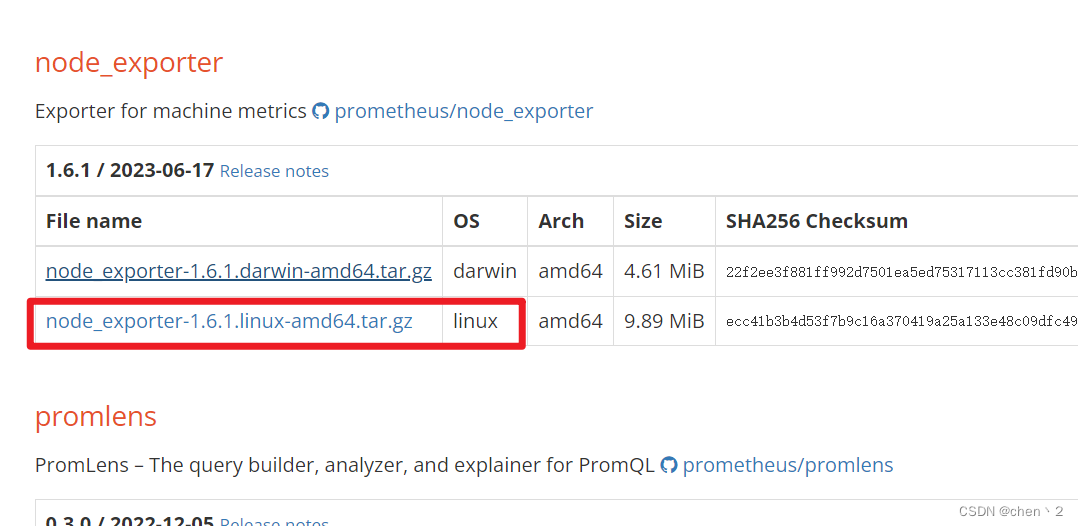
tar xf node_exporter-1.6.1.linux-amd64.tar.gz mv node_exporter-1.6.1.linux-amd64 /node_exporter cd /node_exporter/ -
修改PATH变量
PATH=/node_exporter/:$PATH [root@lb node_exporter]# cat /root/.bashrc # .bashrc # User specific aliases and functions alias rm='rm -i' alias cp='cp -i' alias mv='mv -i' # Source global definitions if [ -f /etc/bashrc ]; then . /etc/bashrc fi PATH=/usr/local/sbin:/usr/local/bin:/usr/sbin:/usr/bin:/root/bin:/usr/local/scnginx99/sbin:/usr/local/scnginx99/sbin PATH=/node_exporter/:$PATH -
启动exporter服务,并让他在后台运行,不受到终端关闭的影响(自定义exporter监听8090端口)
nohup node_exporter --web.listen-address 0.0.0.0:8090 & -
在浏览器上访问node节点上的metrics(指标)
http://192.168.232.164:8090/metrics
3、在prometheus server里添加安装exporter程序的服务器
[root@prometheus prometheus]# pwd
/prom/prometheus
[root@prometheus prometheus]# cat prometheus.yml

# The job name is added as a label `job=<job_name>` to any timeseries scraped from this config.
  - job_name: "prometheus"
    static_configs:
      - targets: ["localhost:9090"]
  - job_name: "LB1"
    static_configs:
      - targets: ["192.168.232.161:8090"]
  - job_name: "LB2"
    static_configs:
      - targets: ["192.168.232.165:8090"]
  - job_name: "NFS"
    static_configs:
      - targets: ["192.168.232.164:8090"]
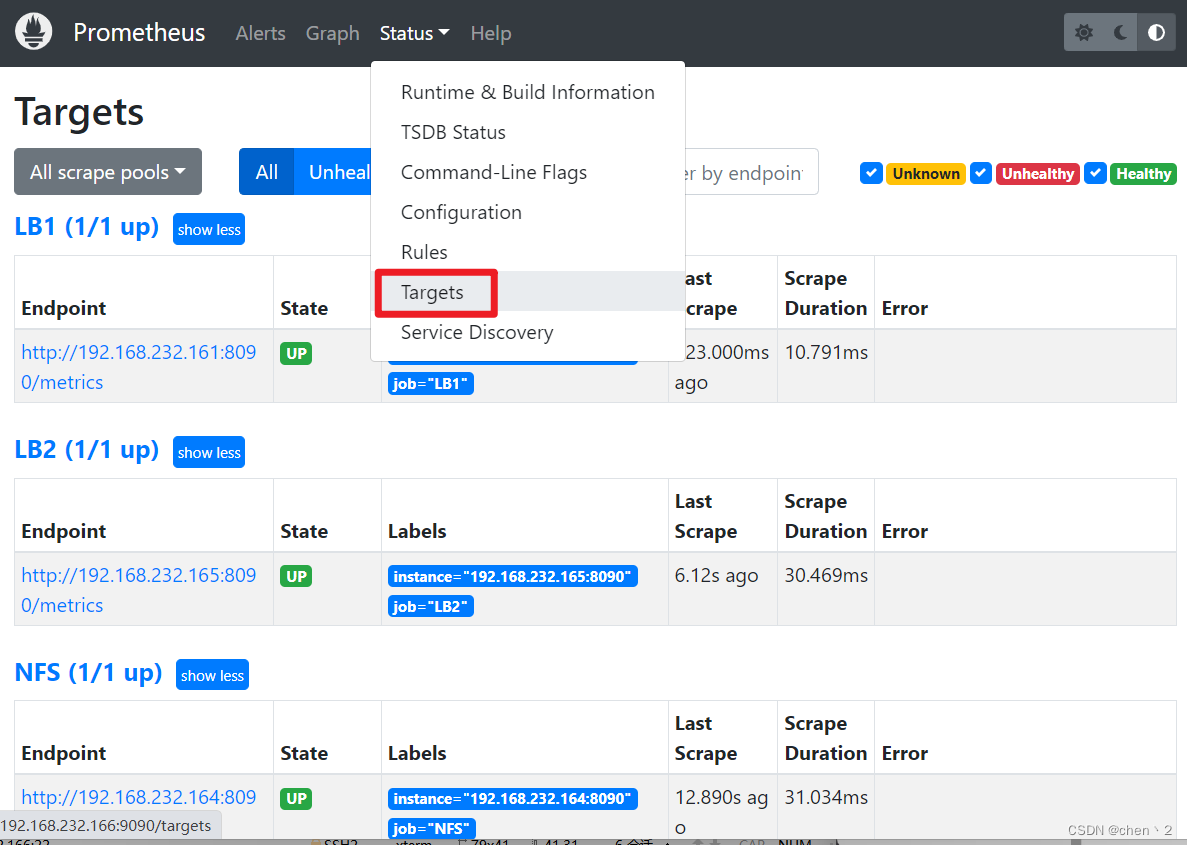
修改完之后记得重启服务
然后再去浏览器查看监控页面,就可以看到LB和NFS的相关信息了
grafana出图工具
-
将grafana和prometheus安装在一台机器上
官网https://dl.grafana.com/enterprise/release/grafana-enterprise-10.1.1-1.x86_64.rpm下载rpm包,传入prometheus服务器中
[root@prometheus grafana]# ls
grafana-enterprise-10.1.1-1.x86_64.rpm
[root@prometheus grafana]# yum install grafana-enterprise-10.1.1-1.x86_64.rpm

service grafana-server start
systemctl enable grafana-server
grafana监听3000端口
可以在浏览器上访问,用户和密码都为
admin -
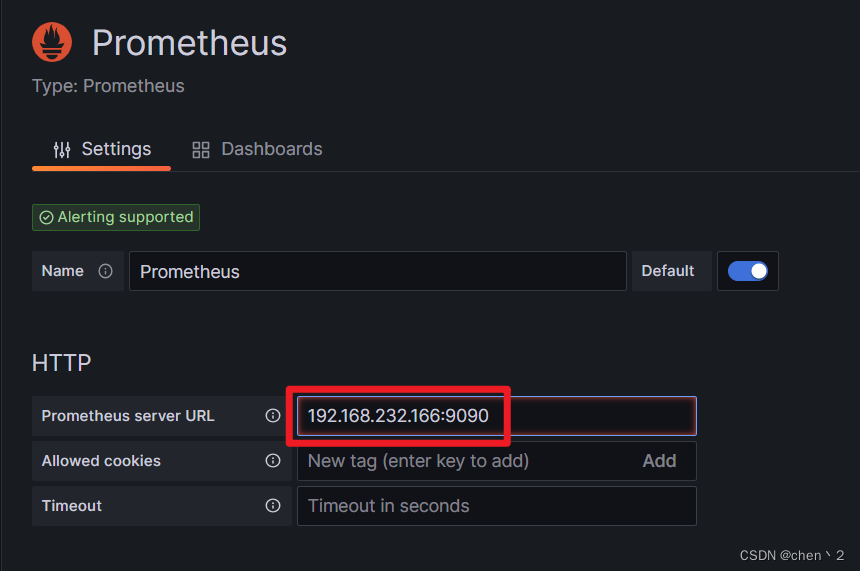
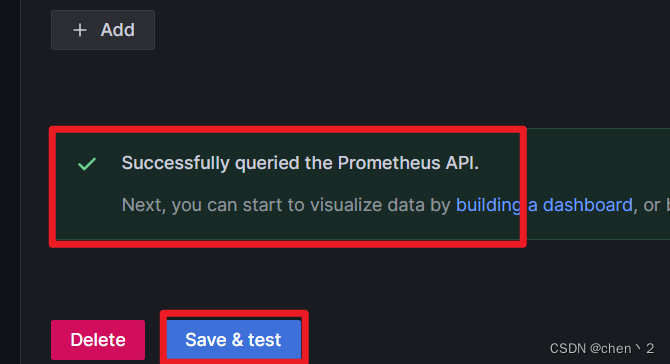
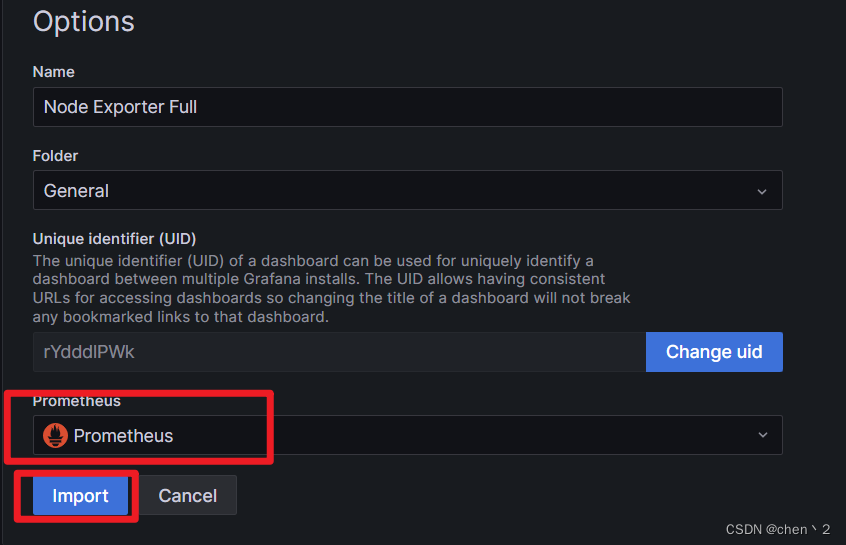
配置prometheus的数据源,导入模版
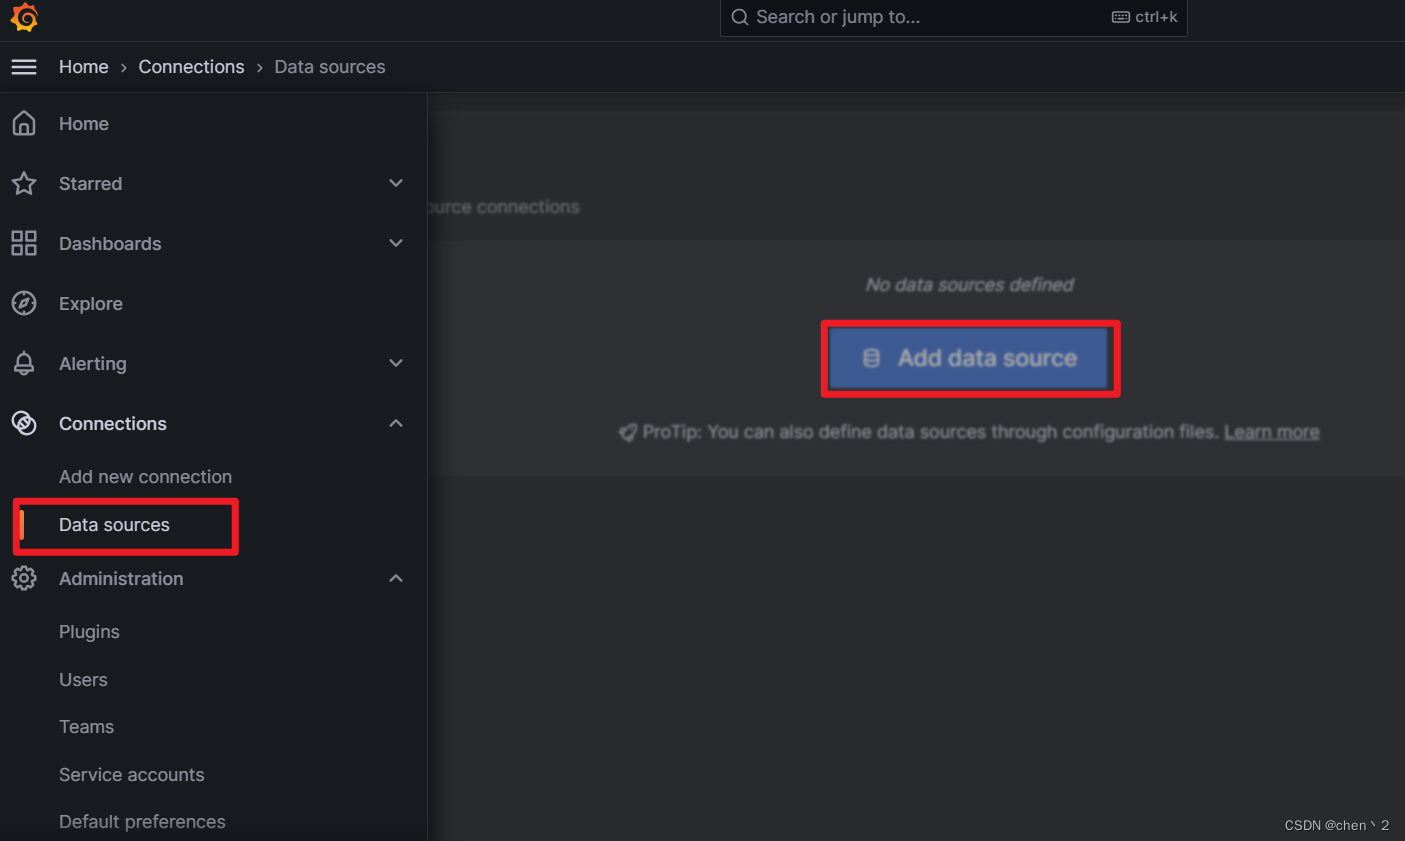
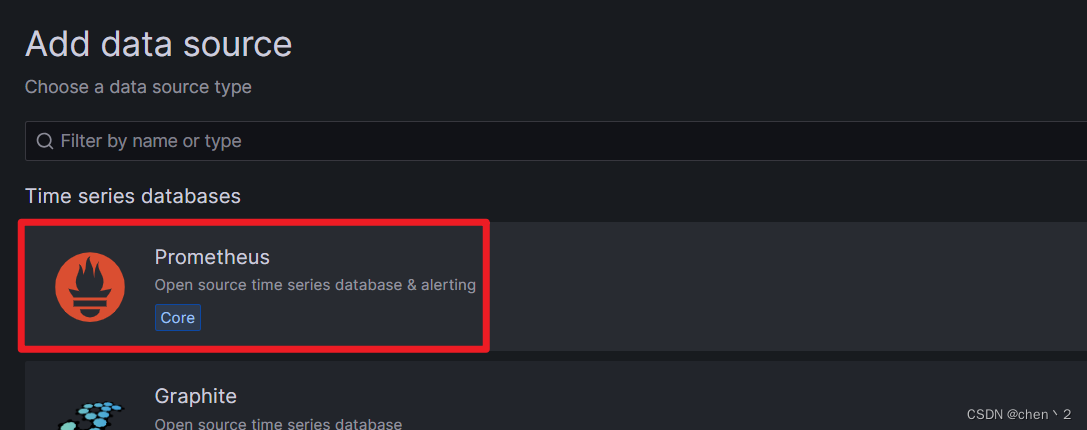
这里输入Prometheus的IP地址和端口号
导入出图模版
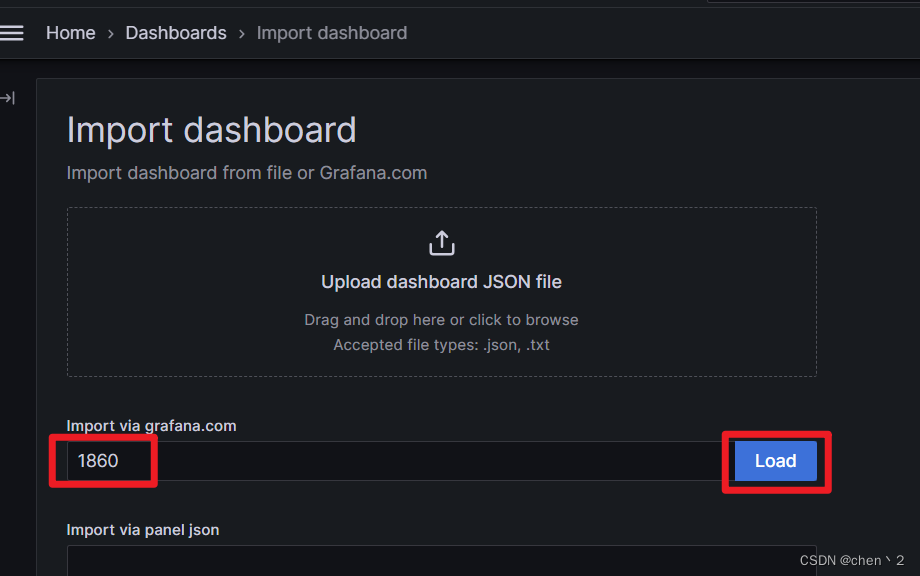
好模版编号:1860、8919


 1039
1039


 被折叠的 条评论
为什么被折叠?
被折叠的 条评论
为什么被折叠?
 到【灌水乐园】发言


