


Windows Terminal美化:oh-my-posh配置记录
前置:安装Windows Terminal + powershell,打开终端,默认路径为powershell。
这个流程踩了不少坑,记录在错误示范,正确的配置流程请移步配置流程。
[ 2023-3-13 ] 新增:WSL应用oh-my-posh
oh my posh for Linux
错误示范
按照网上教程开始配置,管理员身份启动shell,按如下过程进行:
Install-Module posh-git -Scope CurrentUser
Install-Module oh-my-posh -Scope CurrentUser
这里-Scope CurrentUser限制了域,仅当前用户可用。
Import-Module posh-git
Import-Module oh-my-posh
Set-Theme PowerLine
然后,递归地,就是极为惨痛的一段踩坑
无法加载文件 ,因为在此系统上禁止运行脚本
这里是powershell执行策略的问题。
About_Execution_Policies
输入如下指令:
Set-ExecutionPolicy RemoteSigned # Bypass也可
无法将“Set-Theme”项识别为cmdlet、函数、脚本文件或可运行程序的名称
这里应该是Windows Terminal测试版支持的指令,用Set-PoshPrompt代替即可。
无法将“oh-my-posh”项识别为 cmdlet、函数、脚本文件或可运行程序的名称
删除了C:\Users<UserName>\Documents\WindowsPowerShell下的几个文件夹,然后选择为全部用户安装oh-my-posh:
Install-Module -Name PSReadLine -Scope AllUsers -Force -SkipPublisherCheck
Install-Module posh-git -Scope AllUsers
Install-Module oh-my-posh -Scope AllUsers
这时插件会装在\Program Files\WindowsPowerShell文件夹下,但是报错仍然出现。这里是个大坑,删起文件来很费劲。
您需要来自 Trustedinstaller 的权限
更改权限时,选“最大的应用范围”(此文件夹、子文件夹和文件)。注意只把Modules下刚装的插件删掉即可。
配置流程
按官网说明操作。
https://ohmyposh.dev/docs/
Installation → Windows → manual,复制指令进终端:
Set-ExecutionPolicy Bypass -Scope Process -Force; Invoke-Expression ((New-Object System.Net.WebClient).DownloadString('https://ohmyposh.dev/install.ps1'))
安装oh-my-posh.exe及下载主题。
装好后会自动配置环境变量POSH_THEMES_PATH,是各种主题的json文件所在路径,以后可以通过$env:POSH_THEMES_PATH调用。
然后开始配置主题,首先查看powershell配置文件路径:
# powershell profile script
# 这个文件会在每次启动终端时调用
$PROFILE
得到一个后缀为.ps1的文件路径。我们希望每次启动powershell时,都可以加载oh-my-posh对页面进行美化,编辑该文件:
# 如果提示路径不存在,手动创建一下即可
notepad $PROFILE
输入如下指令:
# 第一条不加应该也可以,我是删文件不小心把PSReadLine也删了,后来还原的
Import-Module PSReadLine
# $env:POSH_THEMES_PATH\<theme_name.json>,去上文提到的环境变量里看看,这里我选的是powerline
oh-my-posh init pwsh --config $env:POSH_THEMES_PATH\powerline.omp.json | Invoke-Expression
保存后重启powershell,已经初步看到美化效果,但icon部分还是乱码。如果之前没有配置Set-ExecutionPolicy,会显示配置无法加载。
字体配置
下载Nerd Fonts,该字体为oh-my-posh所支持。任选一样式下载,解压后全选安装在系统字体库,路径为C:\Windows\Fonts。然后修改Windows Terminal的配置(不是powershell的配置!),在终端窗口设置里选中powershell → 外观 → 字体,或直接修改外观配置文件,路径为%LOCALAPPDATA%\Local\Packages\Microsoft.WindowsTerminal_8wekyb3d8bbwe\LocalState\settings.json。
Windows终端中的外观配置文件设置
这个文件中我们主要关注如下结构:
{
	...

	"profiles":
	{
		"defaults":
		{
			"font":
			{
				// 字体名称去字体文件夹里找,或者在官网
				// 如"face": "CodeNewRoman Nerd Font"
				"face": "<FontName>",
			},
		},
		"list":
		[
			...
		]
	}

	...
}
找到"defaults": {},手动添加font字段进去,配置后保存,这时终端能正常加载主题和字体了。
至此,oh-my-posh for powershell配置完成。
还可以设置一下终端背景,同样在defaults下加入以下字段:
"backgroundImage": "<imgpath>",
"backgroundImageAlignment": "bottomRight",
"backgroundImageOpacity": 0.3,
"backgroundImageStretchMode": "uniformToFill"
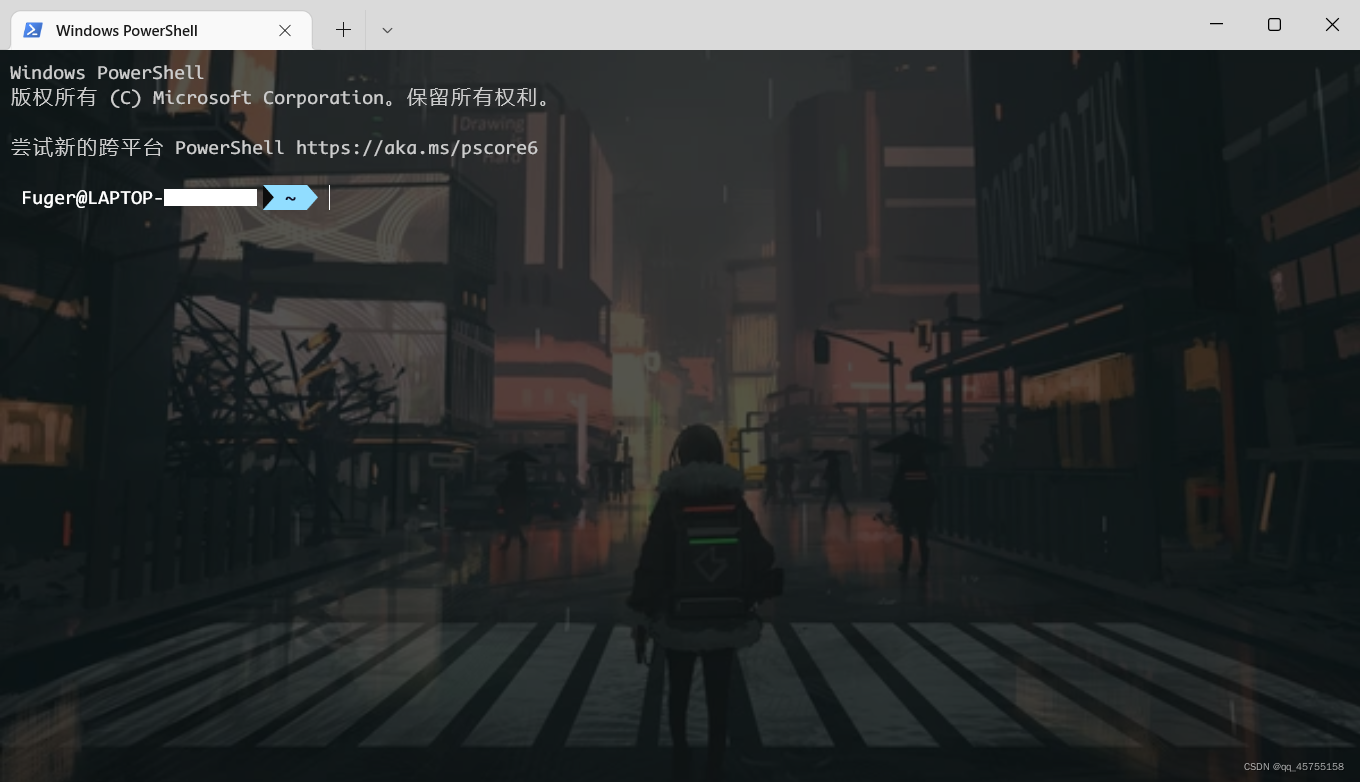
最终的完整终端界面:
现在发现,按Microsoft指导安装才是道门正派
https://learn.microsoft.com/zh-cn/windows/terminal/tutorials/custom-prompt-setup
oh my posh for Linux
参考Oh My Posh 文档中的 Linux 安装指南进行安装。因为我在一台ARM设备上安装,而Homebrew暂不支持ARM64,故采用手动安装。
# 注意把posh-linux-arm64换成你设备的ISA
sudo wget https://github.com/JanDeDobbeleer/oh-my-posh/releases/latest/download/posh-linux-arm64 -O /usr/local/bin/oh-my-posh
sudo chmod +x /usr/local/bin/oh-my-posh
下面是重新在Linux下安装了一遍主题库,这一步可以省略
mkdir ~/.poshthemes
wget https://github.com/JanDeDobbeleer/oh-my-posh/releases/latest/download/themes.zip -O ~/.poshthemes/themes.zip
unzip ~/.poshthemes/themes.zip -d ~/.poshthemes
chmod u+rw ~/.poshthemes/*.omp.*
rm ~/.poshthemes/themes.zip
配置.bashrc文件,或者配置在.profile里
linux关于bashrc与profile的区别
eval "$(oh-my-posh init bash --config ~/.poshthemes/powerline.omp.json)"
如果没有重装主题库,则路径改为/mnt/<Windows下的主题路径>/powerline.omp.json。字体设置同powershell。重启Bash,成功看到美化效果。
参考
- https://blog.csdn.net/lz6363/article/details/118876966
- https://blog.csdn.net/weixin_42818618/article/details/118104218
- https://blog.csdn.net/ba_wang_mao/article/details/121220935
- https://blog.csdn.net/qq_43108090/article/details/121687415
- https://blog.csdn.net/weixin_30920513/article/details/97960798
- https://blog.csdn.net/weixin_43924623/article/details/107947006
准备配posh-git的时候发现,我的powershell可以直接操作git,想来应该是以前找大佬远程协助的时候顺手装了(
黑夜来了,我驶进银河的港湾。


 535
535

 被折叠的 条评论
为什么被折叠?
被折叠的 条评论
为什么被折叠?
 到【灌水乐园】发言


